7 Ways to Retain a Paver Edge in Landscaping
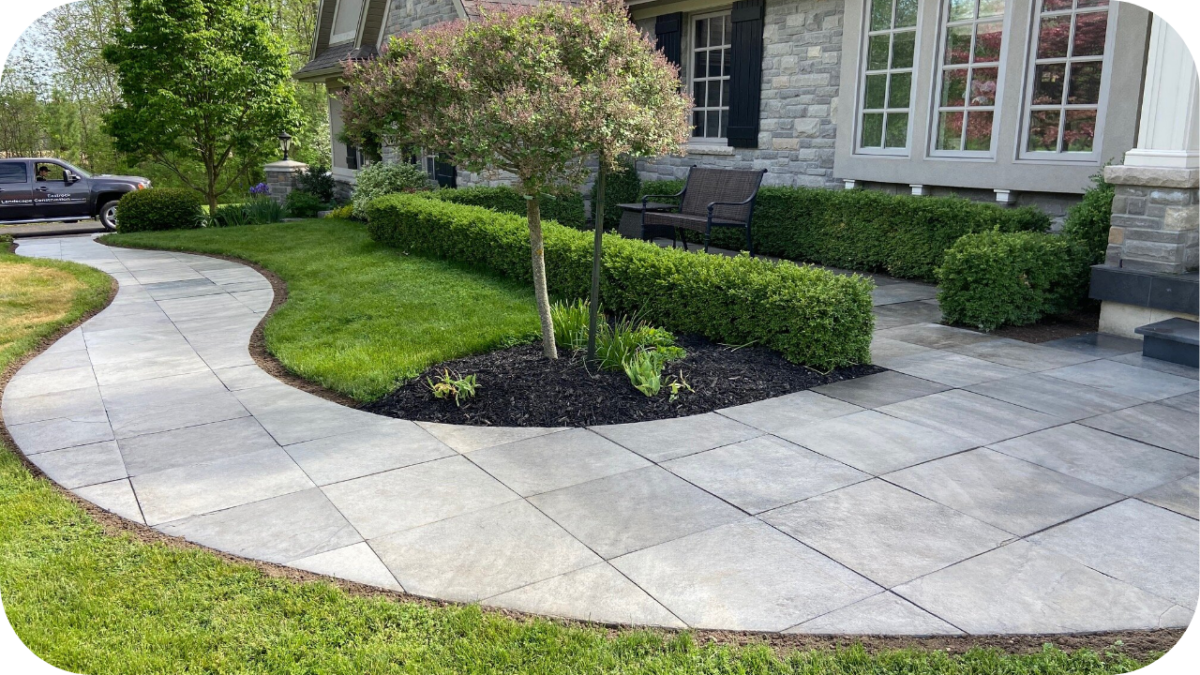
Well-designed paving relies on stable, defined edges to stay neat and long-lasting. Paver edge restraints provide a practical way to secure the layout while enhancing both structure and style.
Whether framing a driveway, anchoring a pathway, or outlining a patio, proper edge retention helps prevent shifting, erosion, and material loss over time. The right edging solution also reinforces the finish and keeps your landscape looking sharp.
In this guide, we’ll break down seven effective ways to retain paver edges, offering clear insights into materials, techniques, and long-term durability across all types of outdoor applications.
1. Concrete Edge Restraints
Concrete edge restraints offer one of the most robust solutions for keeping pavers in place over time. Whether poured in situ or using pre-formed concrete edging units, this method provides a strong foundation that resists lateral movement, ideal for high-traffic areas like driveways and main patios.
The edge can be designed to sit below the surface and remain hidden or brought up slightly for a more defined look that contributes to the design. Concrete’s versatility means it can follow both straight and curved layouts with ease. While installation requires more planning and effort, the long-term payoff in terms of stability is considerable.
It also supports weight effectively, making it especially valuable for areas with vehicular access. When reinforced properly, concrete edge restraints deliver unmatched durability, making them a preferred choice for landscapers and homeowners seeking a clean, permanent solution.
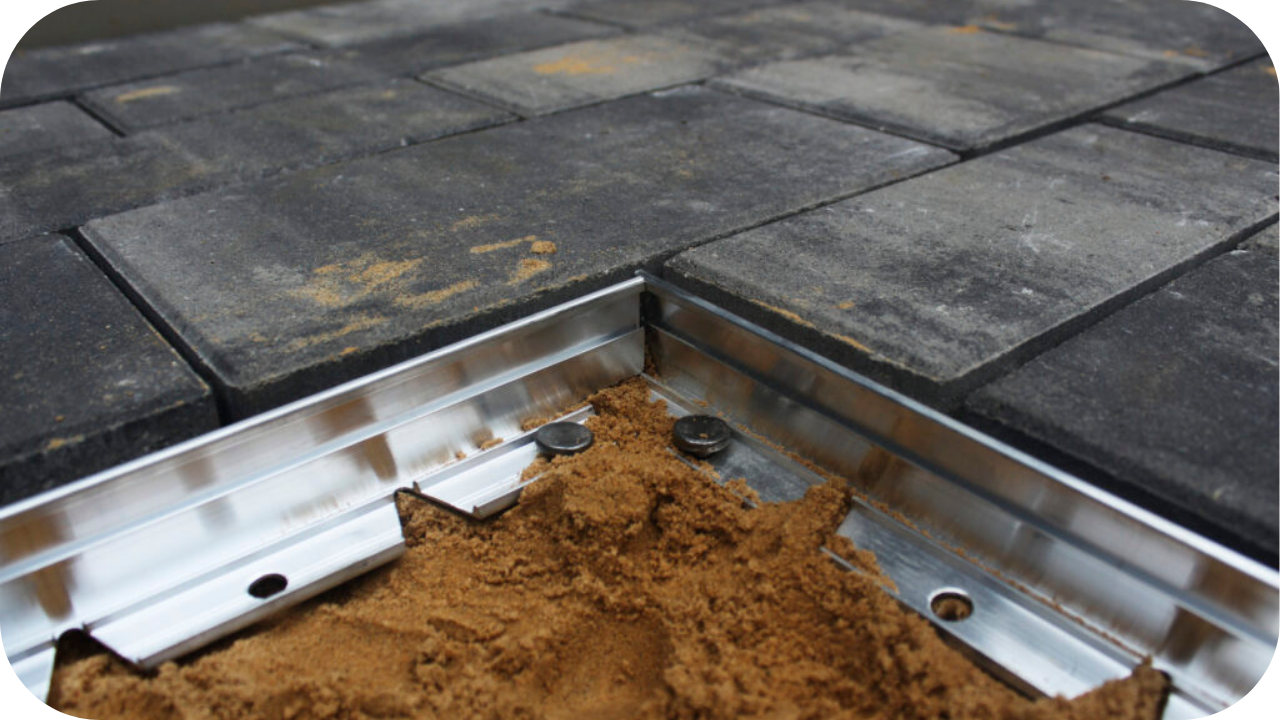
2. Aluminium or Steel Edging
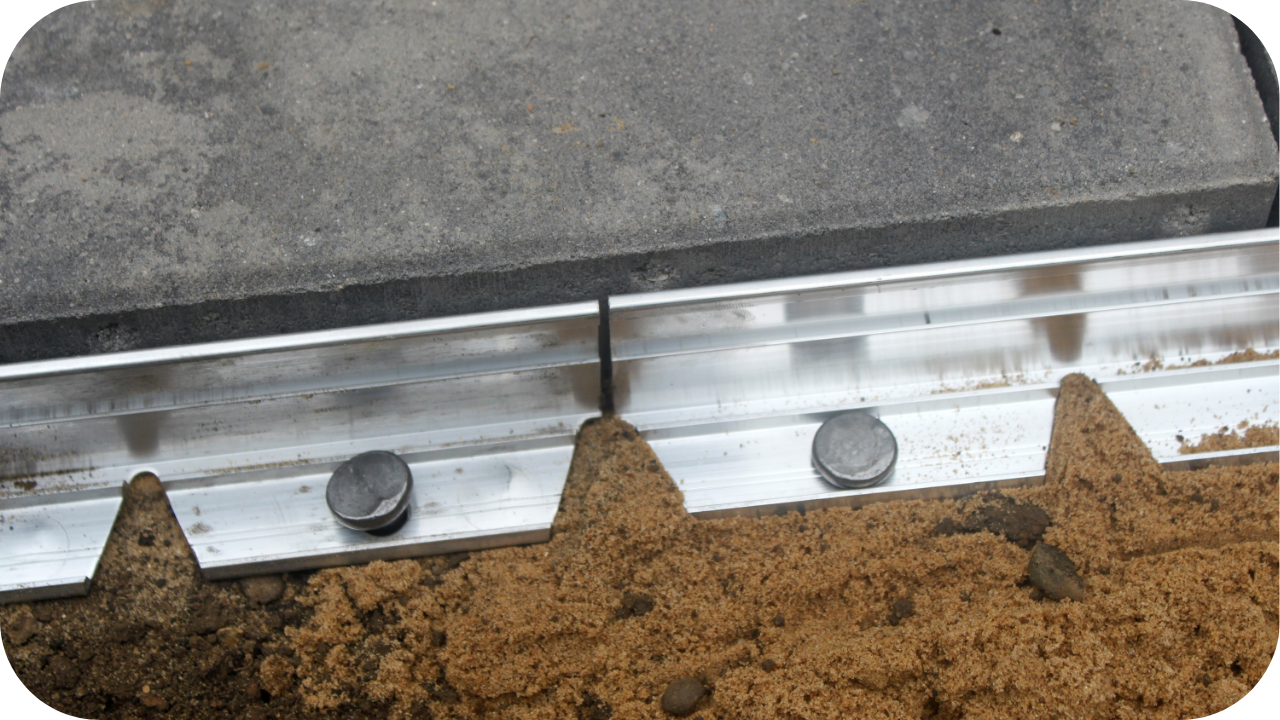
For a sleek, contemporary finish, aluminium or steel edging is a top choice among modern landscapers. This type of restraint is prized for its strength-to-weight ratio, allowing for high performance without adding bulk.
Its clean lines and low profile integrate seamlessly into minimalist or architectural outdoor designs, especially in gardens with angular paver layouts. Available in flexible or rigid forms, these metals can accommodate curves and corners with precision. Corrosion-resistant coatings extend the life of these edge restraints, even in wet or coastal environments.
Unlike more rigid concrete alternatives, metal edging installs quickly with minimal tools and disturbance to the surrounding area. It’s secured with stakes or pins and often disappears visually beneath gravel or turf once installed. For long-term edging that doesn’t distract from the overall design, aluminium or steel edging delivers durability with visual subtlety.
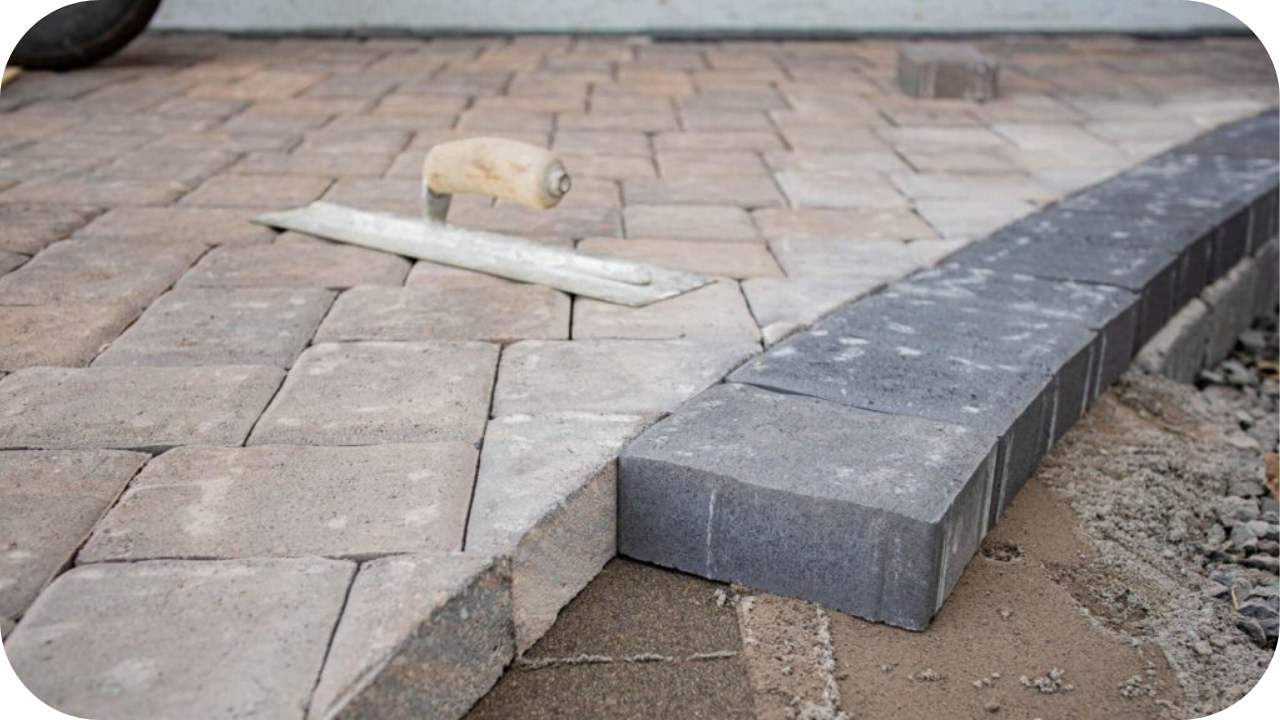
3. Paver Kerbs or Block Edge Courses
Creating a seamless transition between paved areas and surrounding surfaces, paver kerbs or block edge courses serve as both functional and aesthetic boundary solutions. These small-format units mirror the look and material of the main pavers, making the edge feel intentionally integrated rather than an afterthought.
Used frequently along pathways, patios, and driveways, they reinforce the edge while supporting adjacent landscaping features like garden beds or turf. When set slightly higher, they also help direct water flow and improve drainage. These blocks can be laid flush, raised, or recessed, depending on the design intent.
Their structured appearance lends itself to both traditional and contemporary designs. Installed on a compacted base and often mortared for strength, paver kerbs offer a refined edge that enhances visual continuity. The result is a cohesive, well-defined landscape that retains its layout and elegance season after season.
4. Compacted Aggregate Shoulders
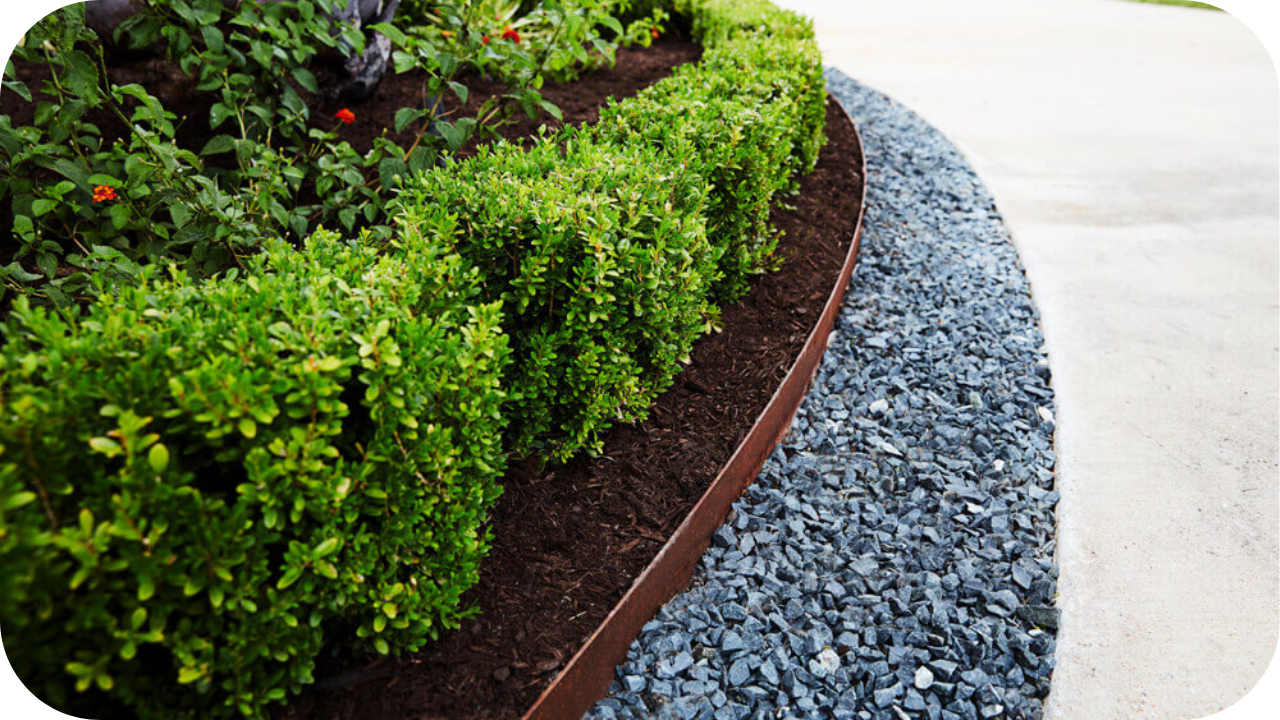
For casual landscapes or informal paths, compacted aggregate shoulders offer a cost-effective edge restraint method with natural appeal. This technique uses crushed stone or gravel packed tightly along the paver edges to hold everything in place. Though simple in execution, it requires proper layering and compaction to be truly effective.
Geo-fabric can be placed beneath the aggregate to improve stability and reduce weed intrusion. This edging style is particularly suited to rustic or garden paths where a softer, more organic transition is desired. While not ideal for high-traffic or vehicle-access areas, it performs well in lighter-use zones.
Its permeability also helps with surface drainage, reducing erosion in the long run. For homeowners looking to keep costs down without compromising the charm of their outdoor space, compacted aggregate shoulders offer practical performance with a touch of natural texture.
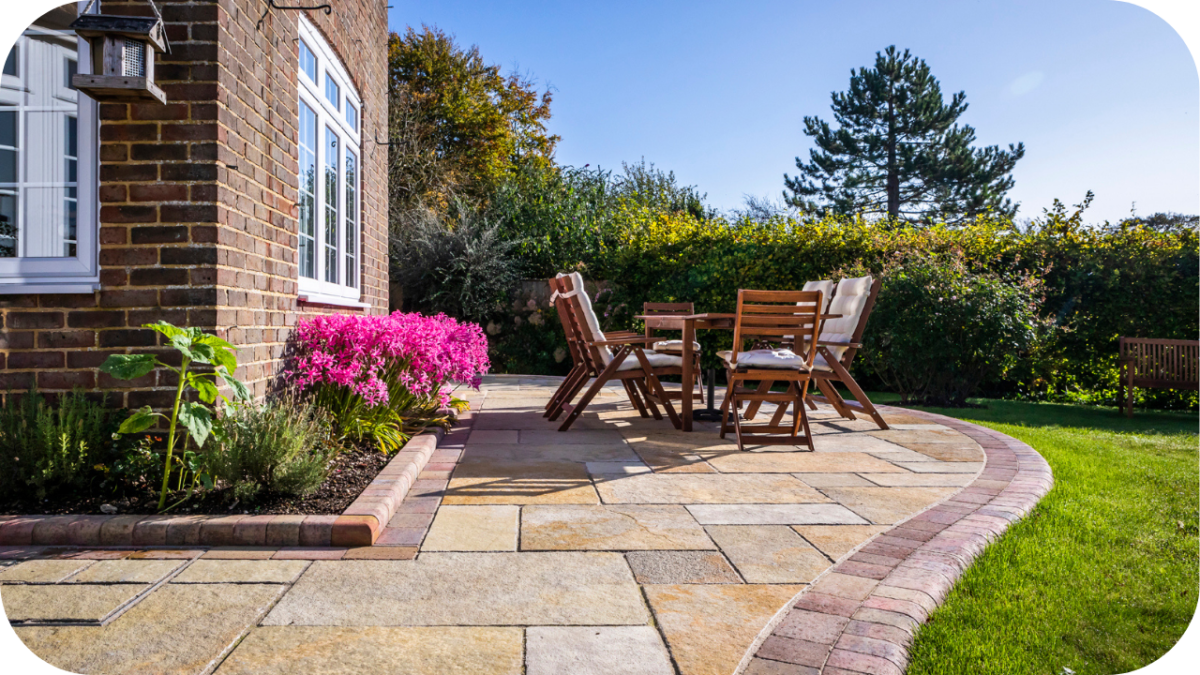
5. Natural Stone Borders
Incorporating natural stone as a border adds character and continuity to any outdoor space, especially when paired with stone paving. These borders do more than secure the edges; they act as visual accents that reinforce the overall design theme. Whether you’re edging curved garden paths or organic layouts, natural stone adapts easily to irregular forms.
When used alongside matching paving or walling stone, it creates a sense of cohesion throughout the garden. Installation typically involves setting stones in mortar or a compacted base, with each piece placed strategically to follow the layout.
The result is both robust and beautiful. Natural stone edging is especially valuable in traditional or rustic landscapes where texture and earthy tones are key. While more labour-intensive than plastic or metal alternatives, the aesthetic and lasting power make it a rewarding choice for high-impact borders.
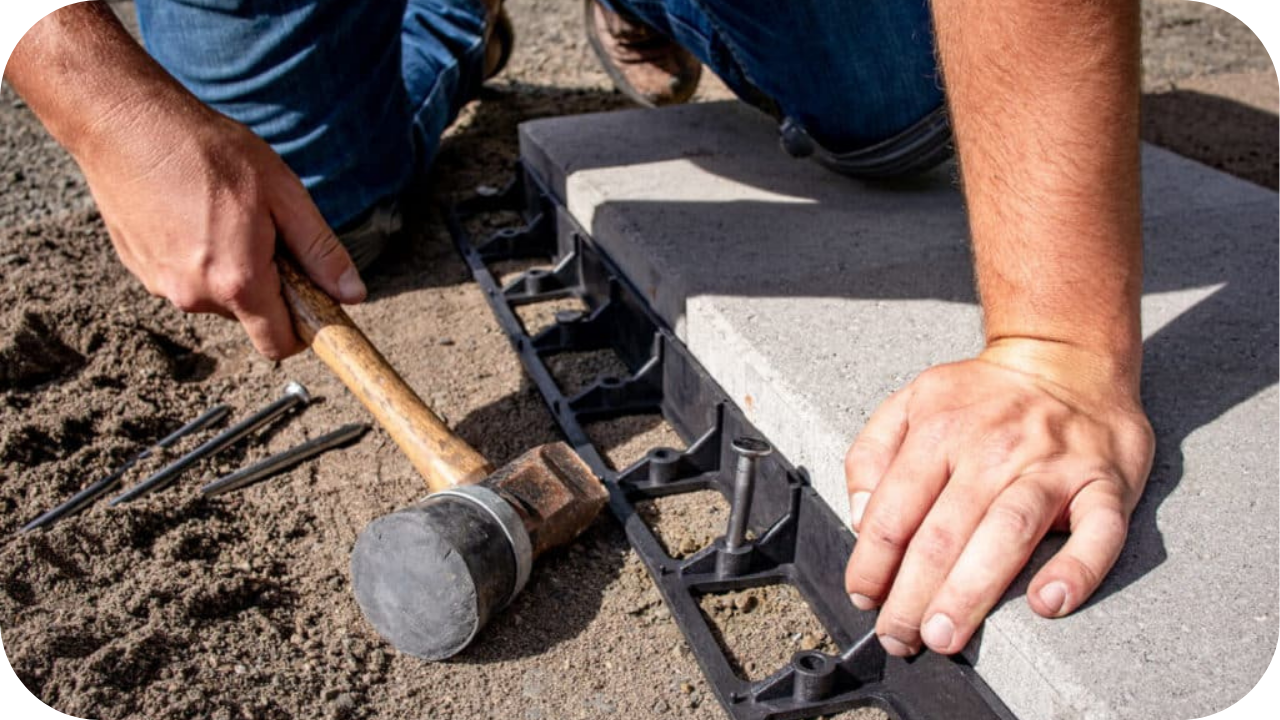
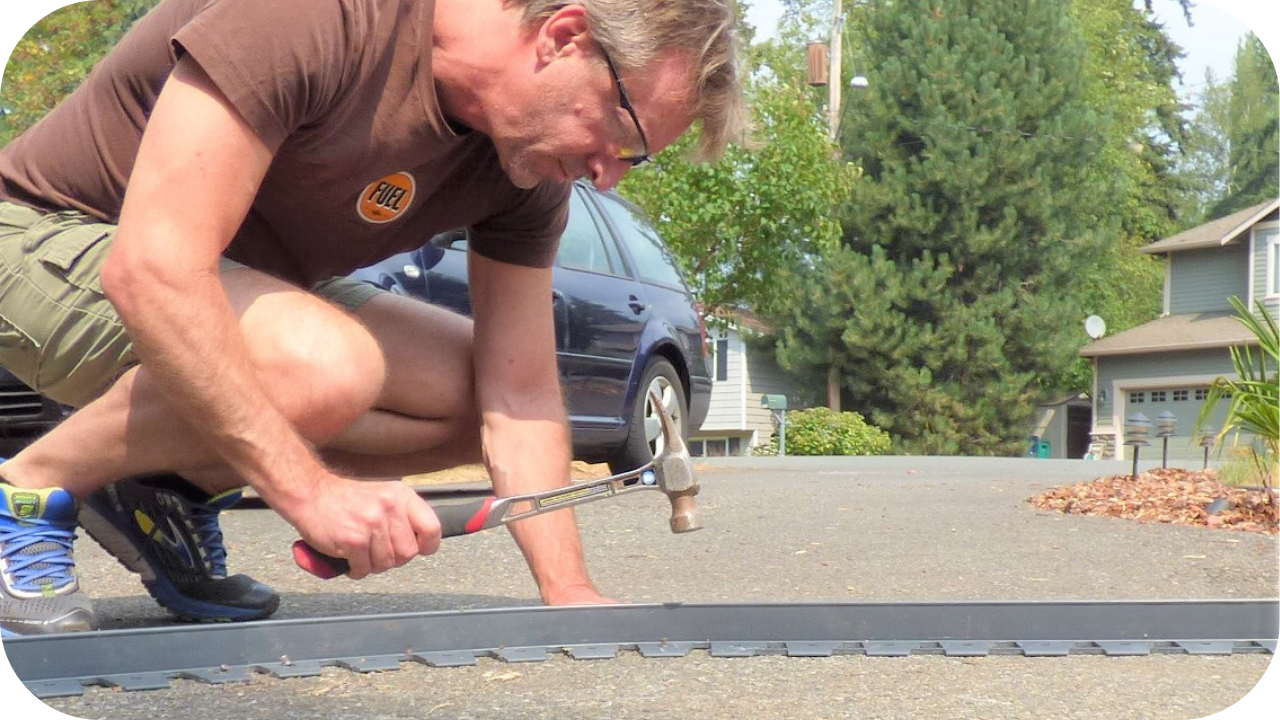
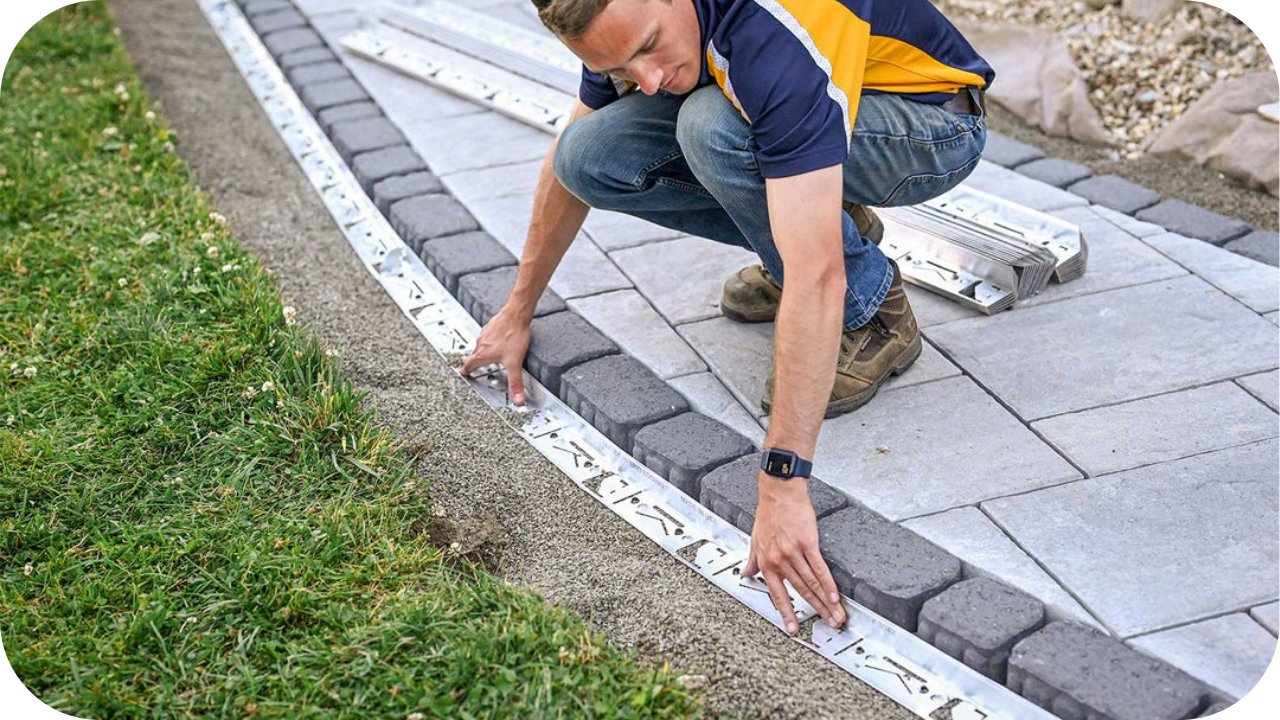
6. Plastic Edge Restraints

Plastic edge restraints provide a flexible, easy-to-install option for maintaining paver layouts, especially in curved or freeform designs. These lightweight systems are typically made from recycled materials and are secured using metal or plastic spikes driven into the subbase.
Once in place, they’re hidden beneath gravel, turf, or mulch, allowing the focus to remain on the paving. While best suited for light-traffic areas such as garden paths or decorative zones, some heavy-duty options are available for moderate use. Plastic edging is also useful in DIY projects due to its ease of handling and quick installation.
Though not as long-lasting as concrete or steel, it offers a great balance of flexibility and function for projects that prioritise adaptability. Its affordability and low profile make it an appealing option for homeowners creating organic shapes or working within tight budgets.
7. Mortared Edge Courses
Mortared edge courses are the go-to method for formal landscapes or heritage-style paving installations. This technique involves laying small paver units along the edge and fixing them in place with mortar, effectively locking in the entire paving field. It offers exceptional lateral strength and helps resist shifting caused by foot traffic, weather, or soil movement.
Mortared edging is ideal for high-use paths, courtyards, and areas where a polished, permanent finish is required. It adds visual weight to the design, giving the edge a crisp, intentional boundary that complements symmetrical or geometric layouts.
While installation is more involved and requires careful base preparation, the result is highly durable and architecturally consistent. With the right materials and technique, mortared edge courses become an integral part of the paving, reinforcing both the aesthetic and structural longevity of your landscape design.
Tips for Long-Lasting Edge Retention
To make your edging last for years, small installation details matter just as much as the material. Use these tips to strengthen and preserve your paver borders.
- Prepare a stable base beneath the pavers: Always compact the subbase thoroughly to prevent shifting and sinking that can compromise the edge integrity over time.
- Choose edge restraint based on traffic levels: Match the method to expected use. Driveways require strong materials like concrete, while garden paths may use flexible or aggregate edging.
- Factor in water flow and drainage: Plan edging to support natural runoff. This helps prevent pooling or erosion that could undermine your pavers and destabilise the border.
- Use appropriate joining or fixing methods: Whether it’s mortar, spikes or compaction, secure the edging firmly to resist movement through seasons and changing conditions.
- Inspect edges seasonally for movement: Check for lifting, loosening or erosion during maintenance and fix small issues early before they affect the entire paving layout.
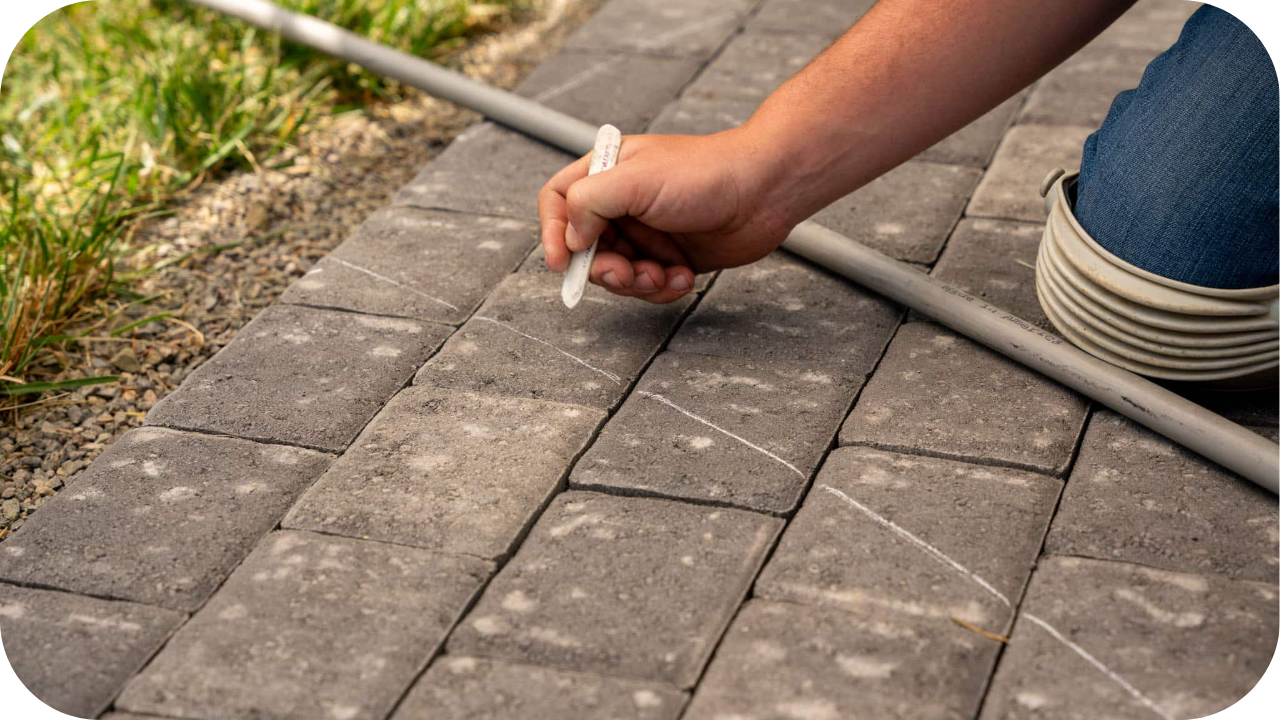
- Avoid cutting corners during installation: Ensure consistent depth, level alignment and correct spacing for all edging materials to achieve a long-lasting, professional finish.
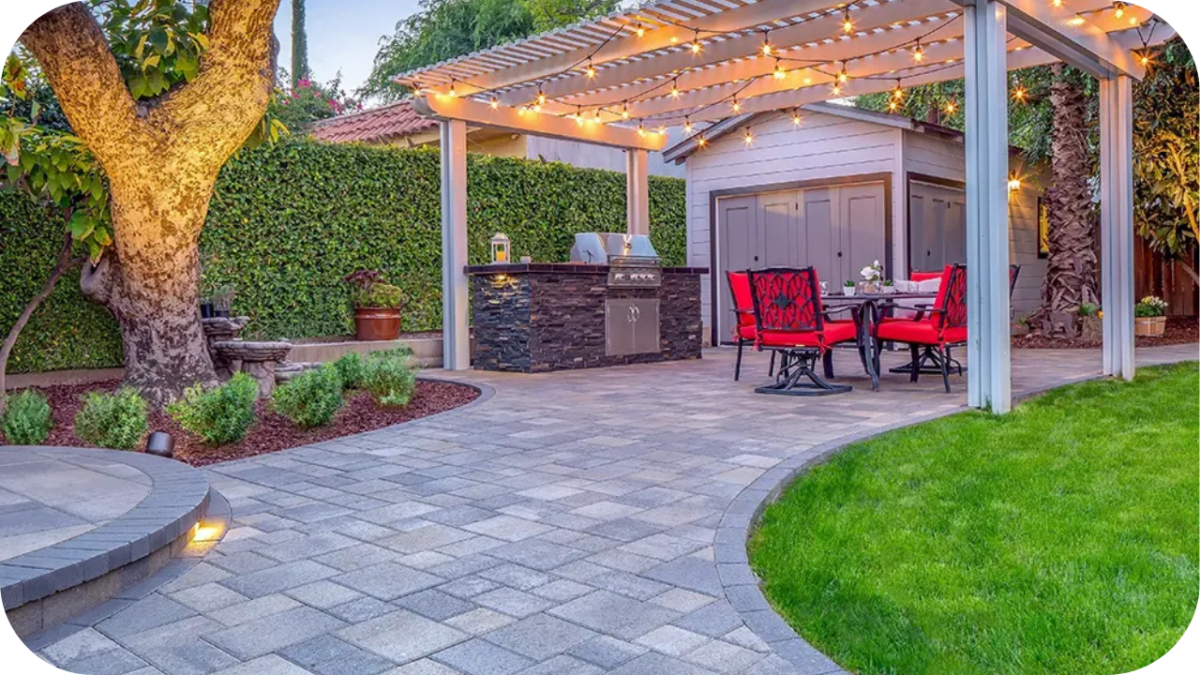
Conclusion
Properly retained paver edges are key to achieving a polished, durable outdoor finish that stands the test of time. Whether you’re working on a driveway, garden path, or patio, choosing the right method makes all the difference.
For quality natural stone edging solutions tailored to your project, speak with the experts at Splendour in Stone and elevate your landscape with confidence.