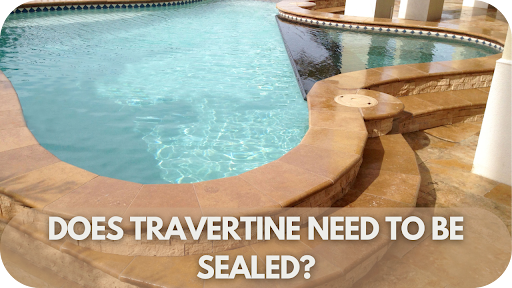
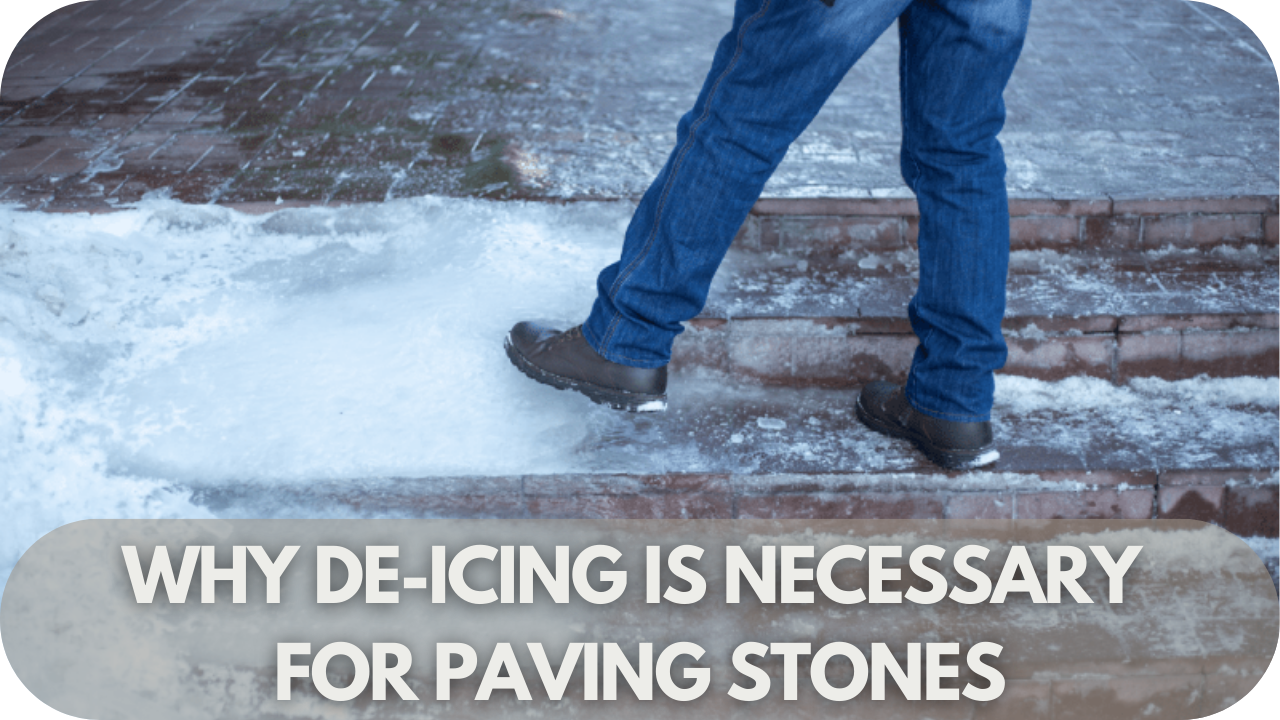
Does Water Damage Travertine?
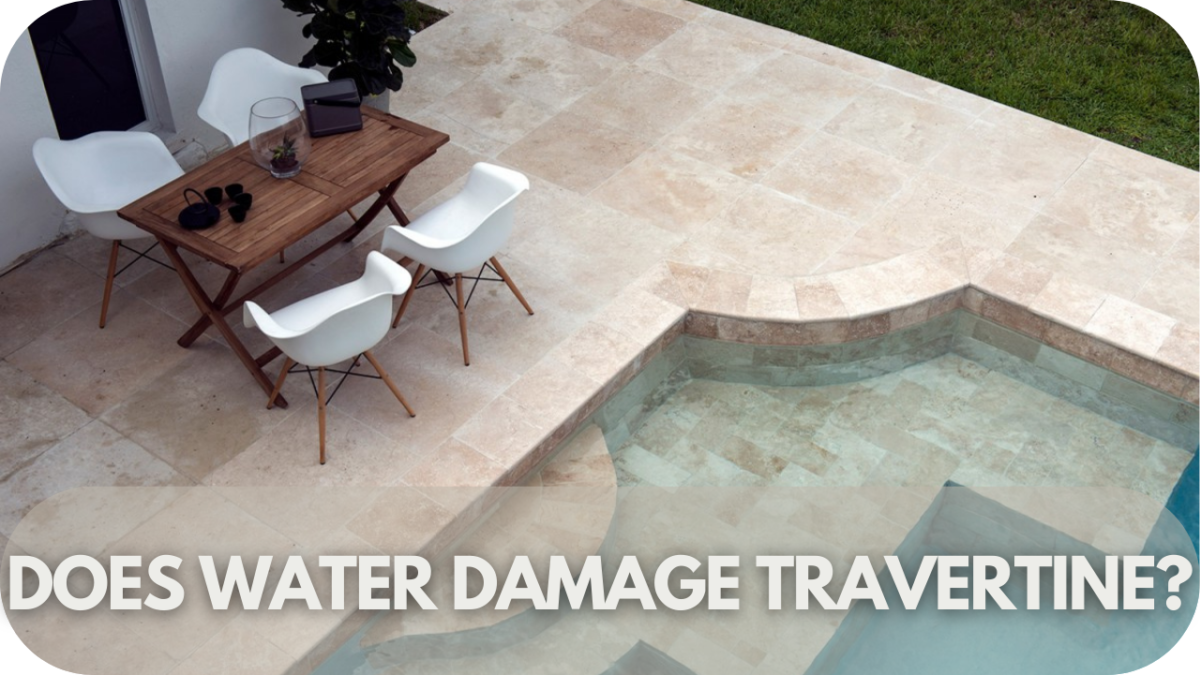
Travertine’s natural beauty adds elegance to any space, but its porous nature leaves it vulnerable to water damage. Over time, moisture can cause stains, cracks, and erosion if left unchecked.
The good news? With the right care, you can protect your travertine surfaces and keep them looking pristine.
Curious how water affects this stunning stone and what you can do to prevent damage? Let’s dive into everything you need to know to preserve the timeless appeal of your travertine.
Does Water Damage Travertine?
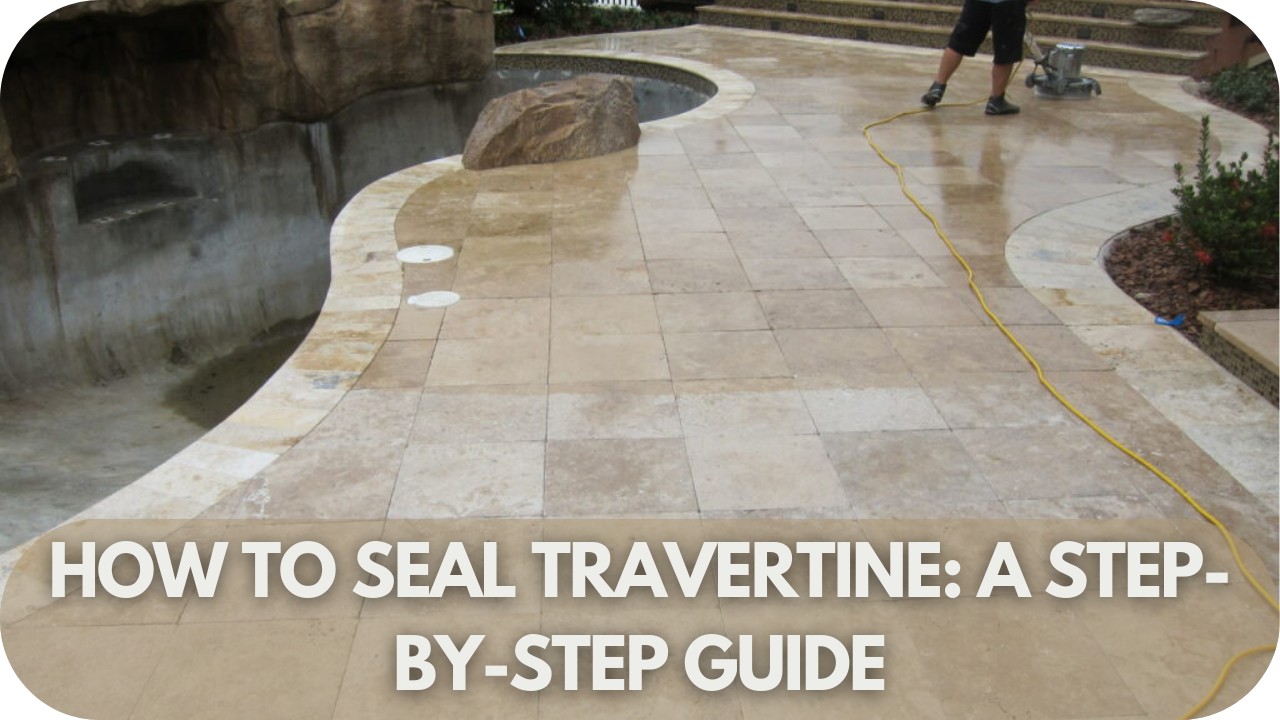
Yes, water can damage travertine due to its porous nature. Prolonged exposure to moisture can cause staining, mould growth, and surface erosion. Proper sealing prevents water absorption, protecting the stone’s durability and appearance. Regular maintenance, including sealing every 1–2 years, ensures travertine remains resistant to water damage in bathrooms, kitchens, and outdoor spaces.
Travertine’s Properties and Its Relationship with Water
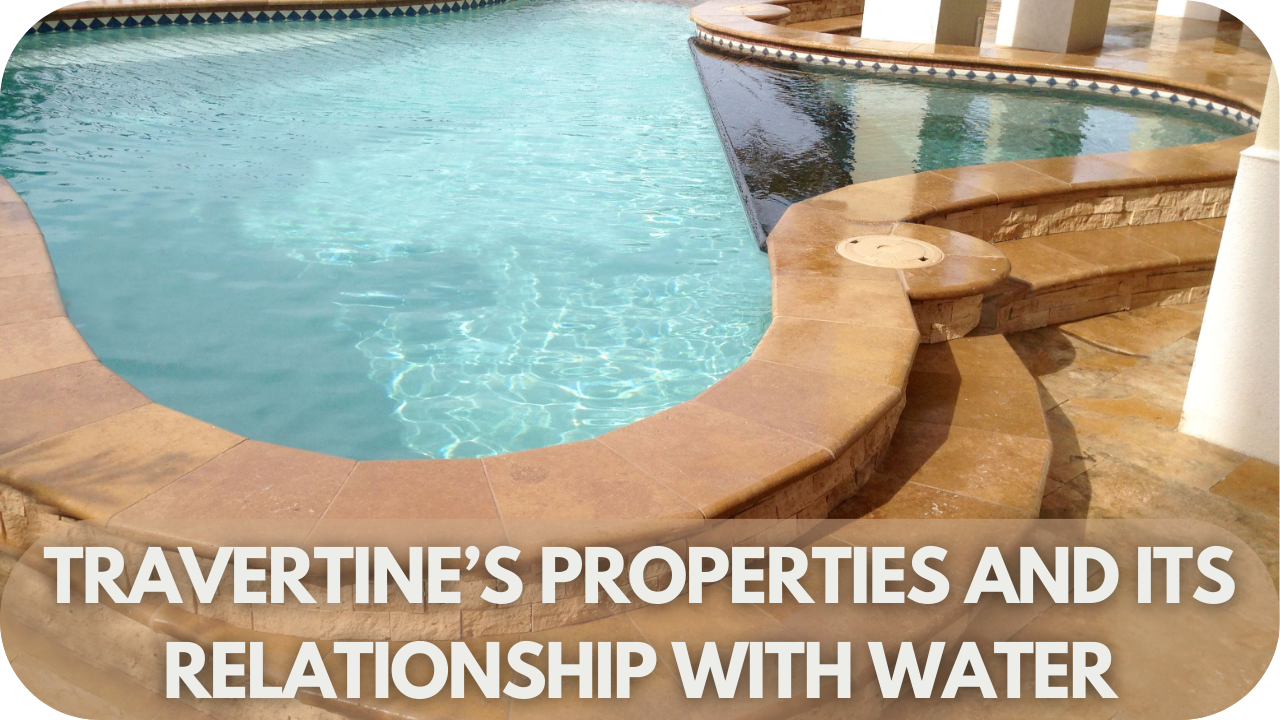
Travertine is a natural stone renowned for its timeless beauty and rustic charm. It is formed through mineral deposits from natural springs and boasts unique patterns, warm earthy tones, and a distinctive porous structure. These small holes and cavities contribute to its character but also impact its functionality.
The stone’s porous nature makes it highly absorbent, allowing water to seep into the surface if left untreated. Prolonged water exposure can lead to staining, discolouration, and mould growth in moisture-rich environments such as bathrooms, patios, or pool surrounds.
These issues compromise the stone’s aesthetic appeal and weaken its structure over time, potentially causing erosion or surface damage.
To maintain its longevity, proper sealing and regular maintenance are essential. When adequately protected, travertine can withstand wet environments while preserving its natural elegance and durability. With the right care, its beauty and strength can last for generations.
How Water Affects Travertine

Travertine’s porous nature makes it vulnerable to water exposure, which can lead to several issues over time. Below are the key ways water affects travertine and what it means for its durability and appearance.
1. Surface Stains and Discolouration
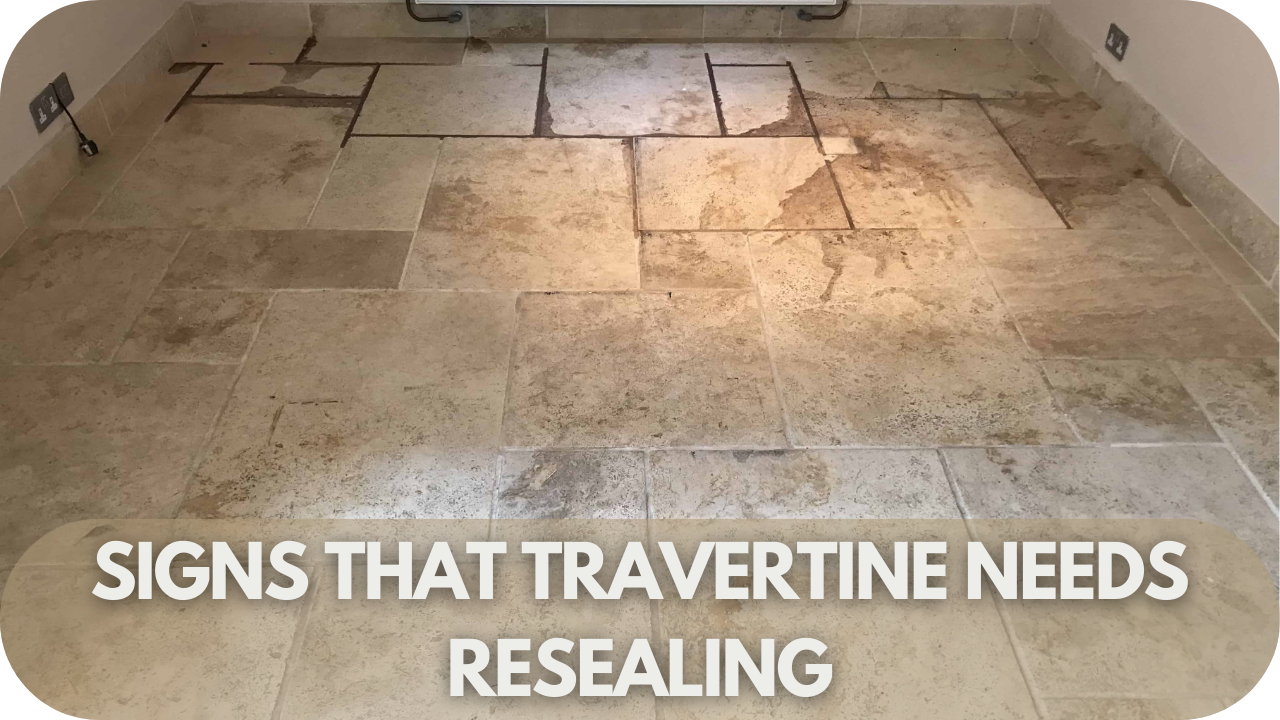
Water can seep into the travertine’s natural pores, causing stains and surface discolouration. In bathrooms, kitchens, or outdoor areas, prolonged moisture can darken the stone, leaving unsightly patches that diminish its aesthetic appeal if not cleaned or treated promptly.
2. Mould and Mildew Growth
Water trapped in travertine pores in high-moisture environments, like showers or patios, encourages mould and mildew growth. These create dark, unpleasant spots and pose potential health concerns, requiring specialised cleaning to restore the stone’s appearance.
3. Erosion and Pitting
Continuous water exposure erodes the surface of travertine over time, leading to pitting or small cavities. Outdoor surfaces, like pool decks are particularly susceptible, as standing water accelerates wear and weakens the stone’s structure.
4. Cracking from Freeze-Thaw Cycles
In colder climates, water absorbed into travertine can freeze and expand, causing cracks. The freeze-thaw cycle gradually damages the stone, leading to splits and weakening its durability, especially on outdoor installations.
5. Loss of Structural Integrity
Excessive moisture weakens travertine’s natural strength, making it more susceptible to cracks and breakage. Without proper sealing, the stone’s durability can be compromised, reducing its lifespan and requiring costly repairs.
Common Causes of Water Damage on Travertine

Travertine is a popular choice known for its natural beauty and durability, but its porous nature leaves it susceptible to water damage. Here are the primary causes:
1. Excessive Moisture Exposure
Areas with constant water exposure, like bathrooms, showers, or pool surrounds, can cause moisture to seep into the stone. Without proper sealing, the water penetrates the surface, leading to discolouration, erosion, or weakening over time.
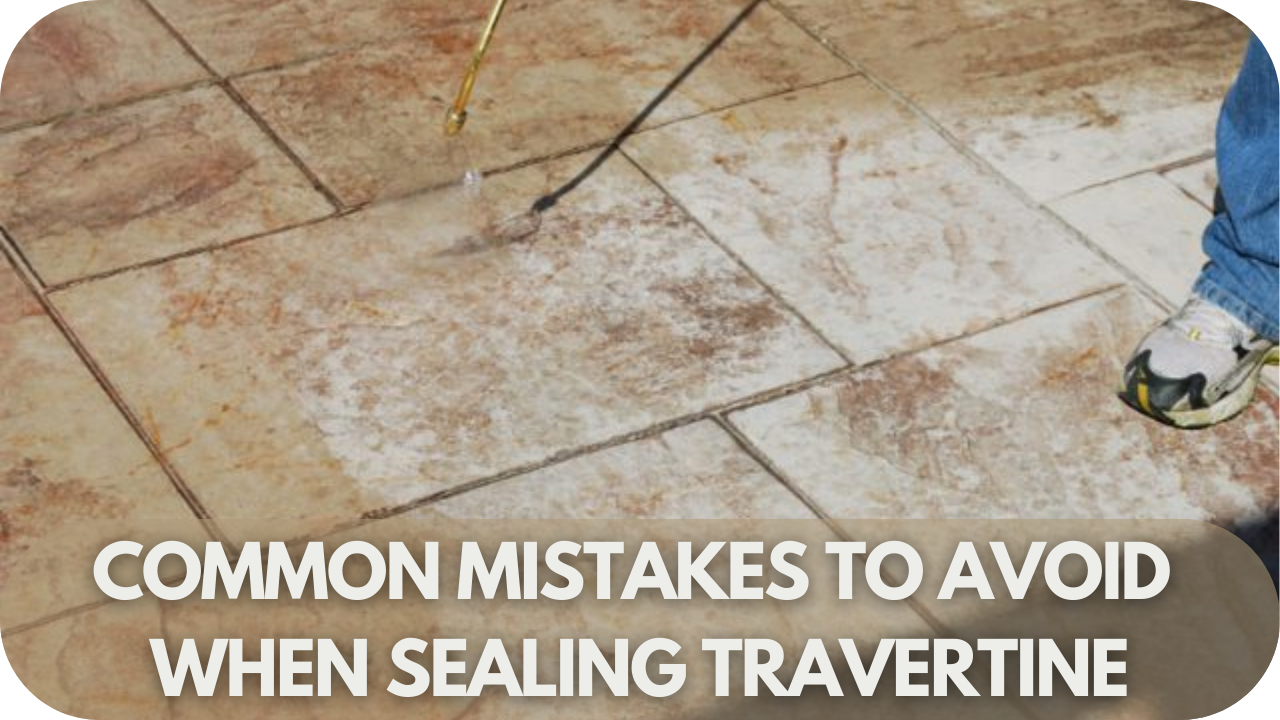
2. Improper Sealing or Lack of Sealing
Travertine must be sealed regularly to protect against water absorption. Unsealed or poorly sealed surfaces allow water to soak in, increasing the risk of stains, mould, and eventual surface deterioration.
3. Standing Water
Pooled or stagnant water, especially on outdoor travertine patios, can erode the stone’s surface. Over time, this results in pitting, cracks, or loosening of the stone if not addressed promptly.
4. Harsh Cleaning Products
Acidic or abrasive cleaners strip the sealant and damage the stone’s structure. Once the protective layer is gone, water can easily penetrate, causing significant harm.
5. High Humidity and Poor Ventilation
Indoor spaces with high humidity and limited airflow, such as basements or bathrooms, encourage moisture buildup. This creates the perfect environment for mould and mildew to thrive within the travertine’s pores.
6. Poor Installation and Drainage
Incorrect installation or inadequate drainage causes water to collect beneath the travertine, weakening its foundation. Over time, this leads to cracks, instability, and surface damage.
How to Prevent Water Damage on Travertine
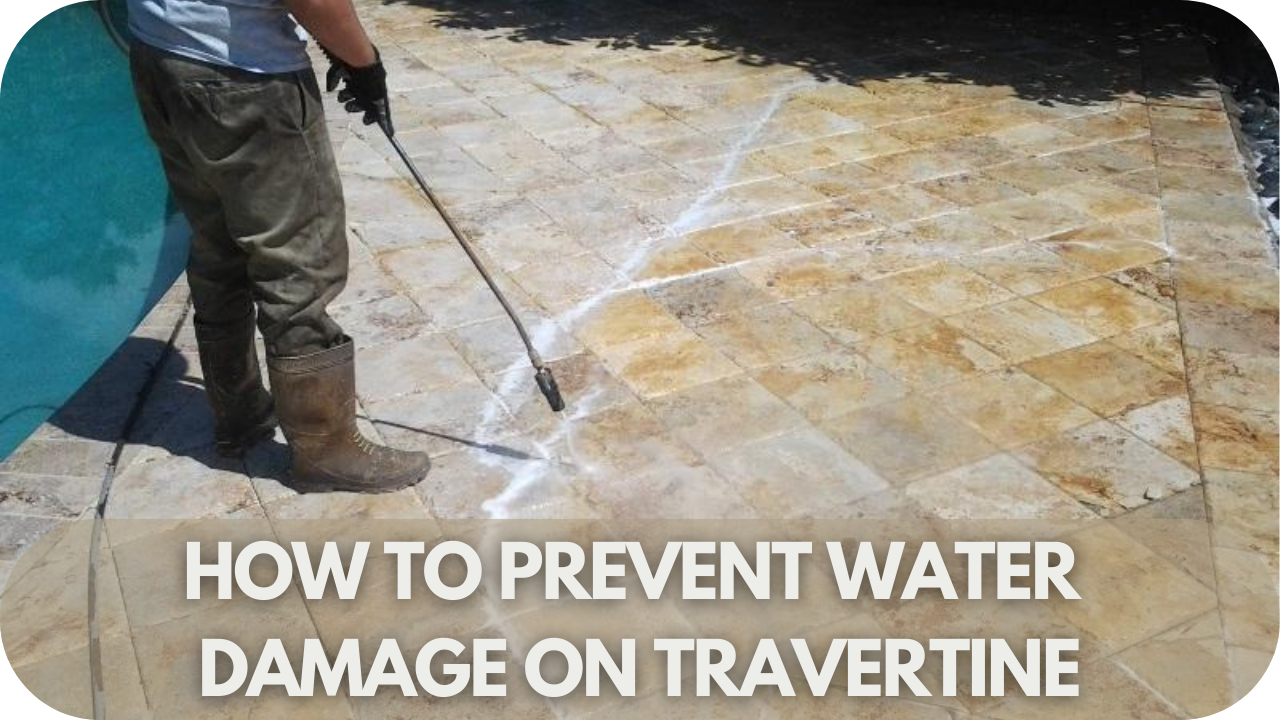
Travertine’s timeless appeal lies in its natural charm, but its porous nature makes it prone to water damage. The good news? With proper care and maintenance, you can protect its beauty and durability.
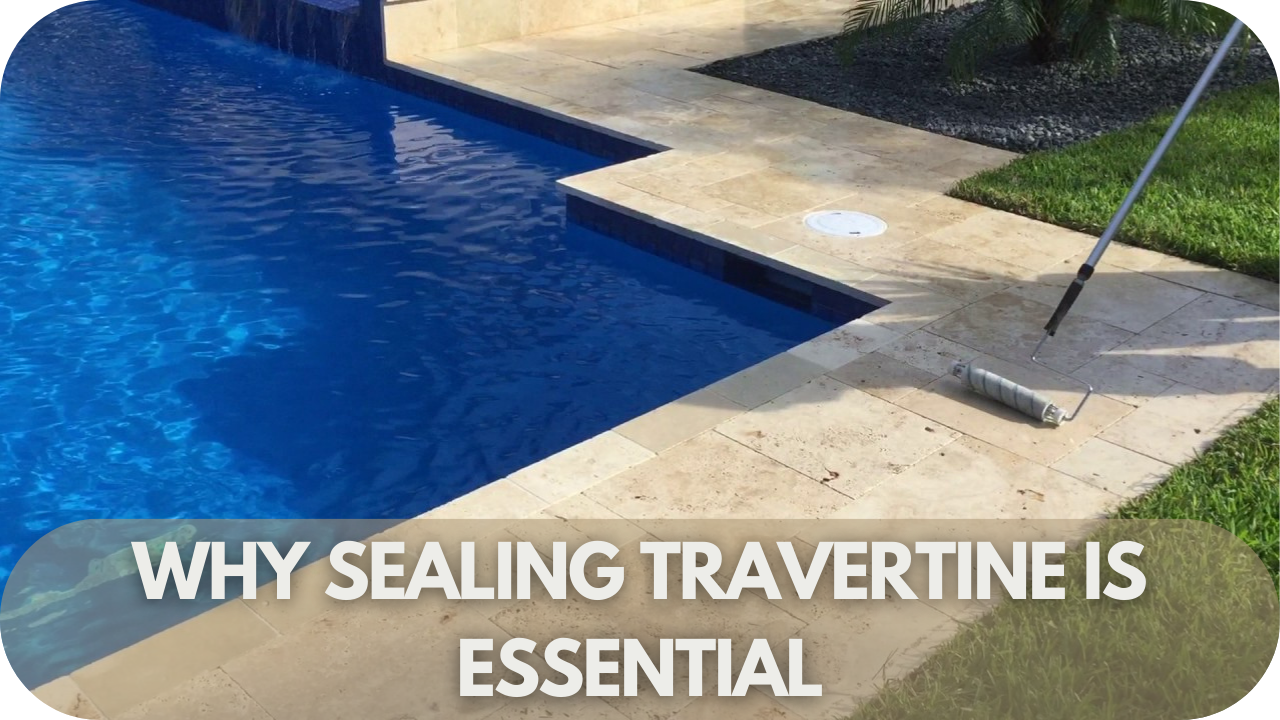
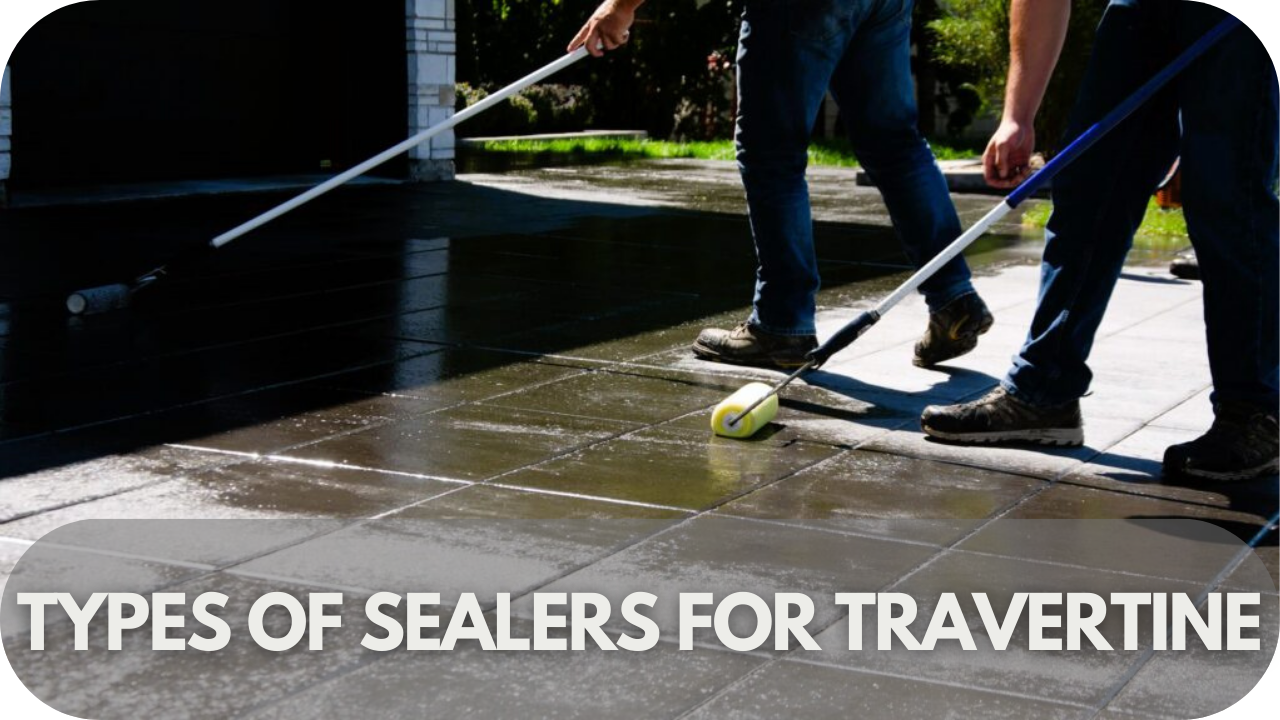
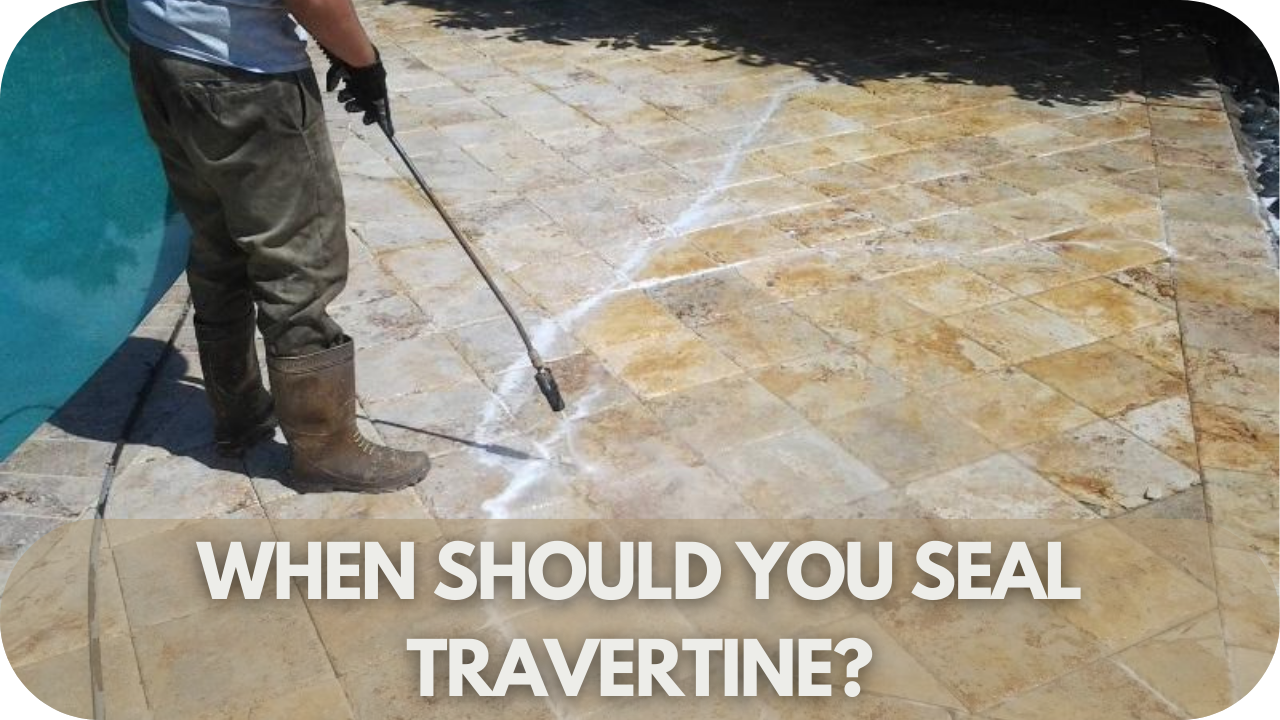
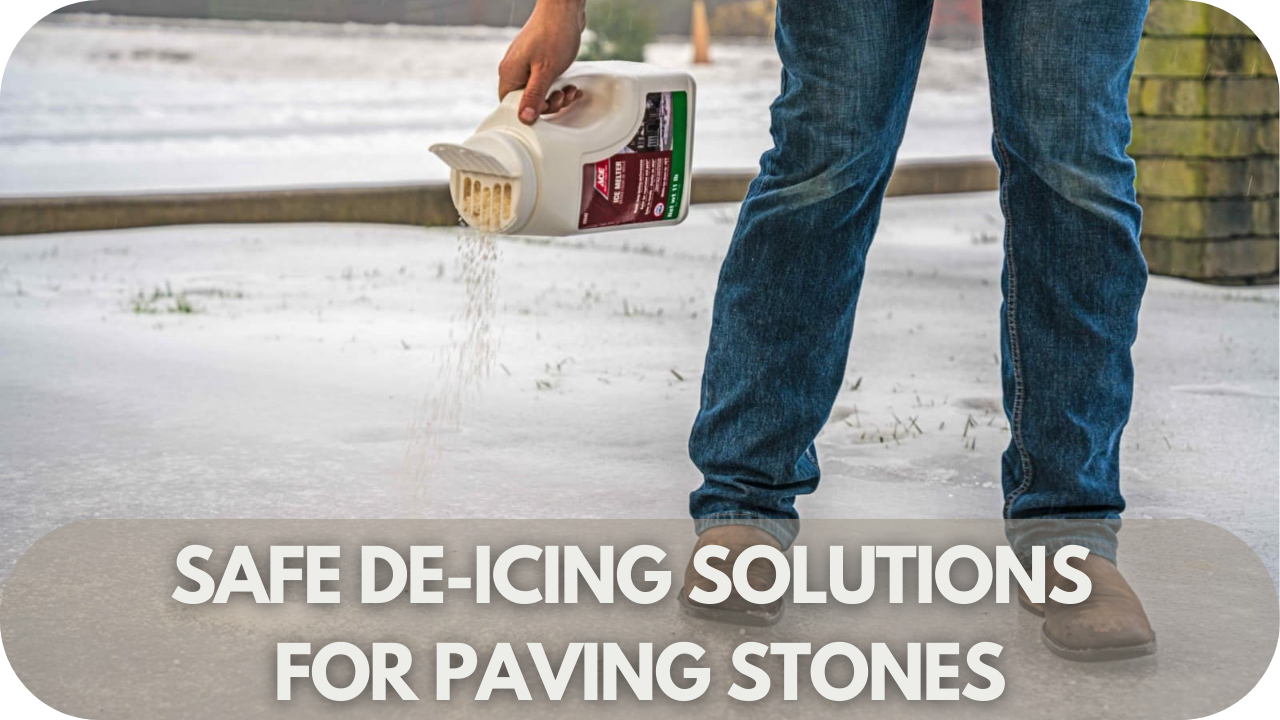
- Seal the Surface: Apply a high-quality, penetrating sealant to block water absorption. Reseal every 1–2 years, especially in bathrooms, kitchens, or outdoor areas exposed to heavy moisture.
- Clean Spills Immediately: Wipe up spills promptly to prevent staining and water penetration. Use soft cloths and pH-neutral cleaners specifically designed to protect natural stone from unnecessary wear.
- Ensure Proper Drainage: For outdoor areas like patios and pool surrounds, incorporate slight slopes or drainage systems to prevent standing water, accelerating erosion and weakening the stone’s structure.
- Avoid Harsh Cleaners: Acidic or abrasive cleaning products strip away sealant and damage the travertine’s surface. Opt for gentle, stone-safe solutions to maintain both the stone and its protective barrier.
- Improve Ventilation: Maintain good airflow in moisture-prone spaces like bathrooms or kitchens. Proper ventilation helps keep surfaces dry and reduces the risk of mould or mildew growth.
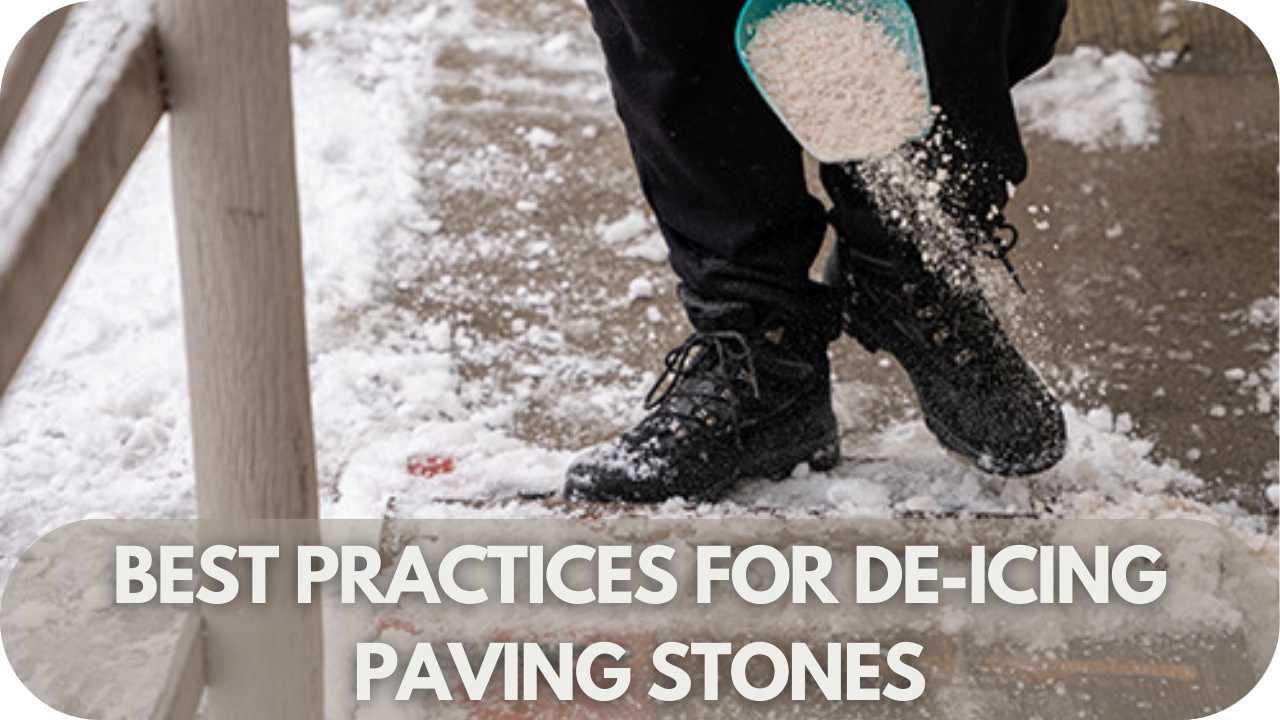
- Regular Maintenance: Inspect travertine surfaces regularly for early signs of water damage, like dark spots or erosion. Proactive cleaning and resealing will ensure long-lasting protection and durability.
How to Fix Water Damage on Travertine
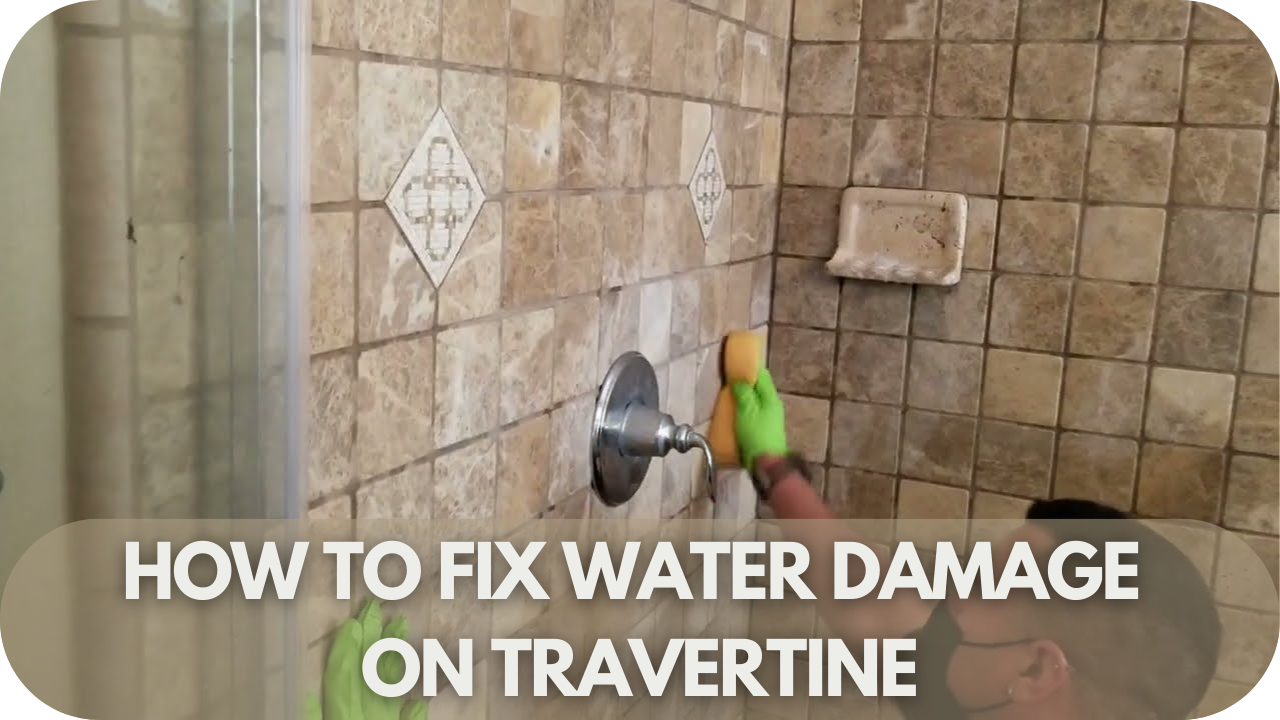
Water damage on travertine can be concerning, but it’s not irreversible. With the right methods, you can restore the stone’s beauty and prevent further issues.
- Clean Surface Stains: Use a pH-neutral stone cleaner and a soft cloth to gently remove surface stains. For stubborn stains, apply a specialised poultice to draw out moisture and discolouration.
- Remove Mould and Mildew: Treat affected areas with a stone-safe mould remover. Clean carefully, ensuring the surface dries completely. Proper ventilation prevents further moisture buildup and future mould growth.
- Repair Pitting and Erosion: Fill small pits and cavities with a travertine filler. Once it dries, buff the surface to create a smooth, even finish and restore the stone’s integrity.
- Polish the Surface: For dull or worn areas, lightly polish the stone to restore its natural sheen. Professional polishing may be necessary for significant water damage.
- Replace Severely Damaged Tiles: In cases of irreparable damage, replace individual tiles to maintain the overall look and integrity of the installation. Professional help ensures seamless results.
- Regrout Travertine Joints: Water can weaken grout over time, leading to gaps that trap moisture. Remove damaged grout and replace it with a suitable stone-safe grout to prevent further water seepage.
- Resurface the Travertine: For extensive damage, resurfacing the stone can remove eroded layers, revealing a fresh, smooth surface. This process is best handled by professionals for an even finish.
Conclusion
Water can damage travertine, but with the right care, its natural beauty and durability can be preserved for years. From sealing to regular maintenance, simple steps can prevent costly repairs and keep your travertine surfaces looking flawless.
Ready to protect and enhance your stone? At Splendour in Stone, we offer premium travertine solutions and expert advice tailored to your needs. Explore our range today and ensure your travertine stands the test of time.