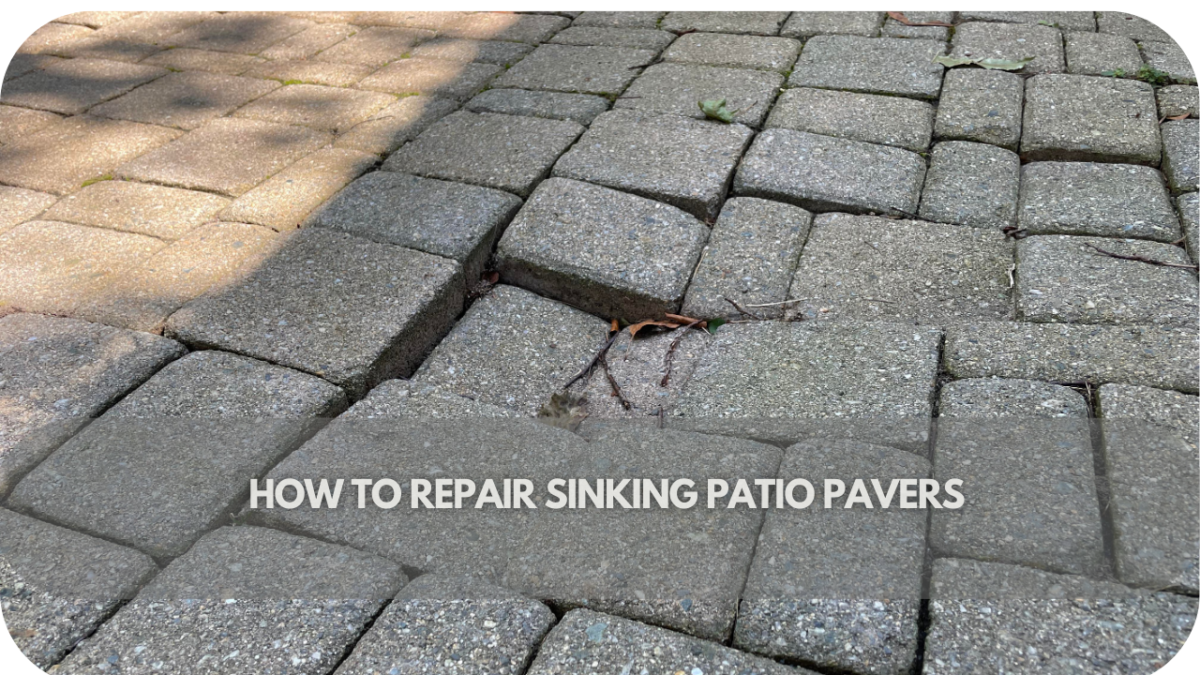
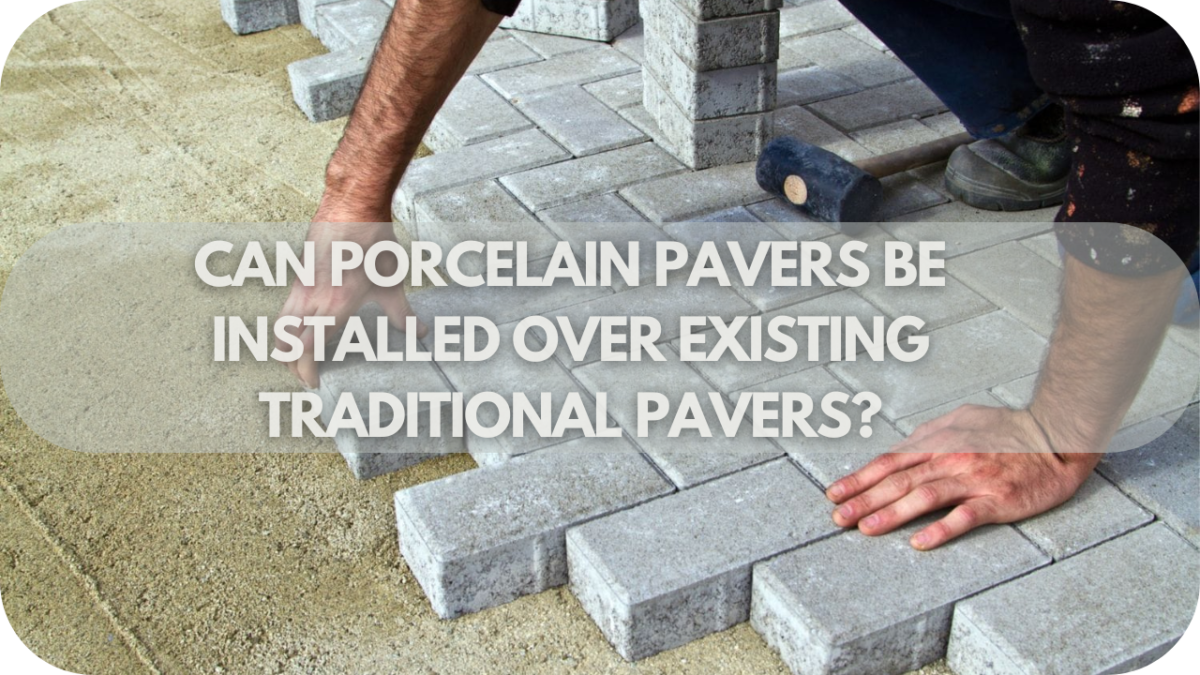
Can Porcelain Pavers Be Installed Over Existing Traditional Pavers?
Over time, traditional pavers can become outdated, cracked, or uneven, diminishing the beauty and functionality of your outdoor space.
Replacing them entirely involves significant expense, effort, and disruption, leaving homeowners frustrated and seeking a better alternative.
Luckily, installing porcelain pavers over existing traditional pavers is a cost-effective, efficient, and aesthetically pleasing solution that transforms your outdoor area with minimal hassle.
Can Porcelain Pavers Be Installed Over Existing Traditional Pavers?
Yes, porcelain pavers can be installed over existing traditional pavers. This method is cost-effective, time-saving, and minimises disruption. Ensure the existing pavers are stable, clean, and properly levelled. With proper preparation and installation, porcelain pavers offer a durable and aesthetically pleasing upgrade to your outdoor space.
Why Choose Porcelain Pavers for Overlaying Traditional Pavers?
Porcelain pavers are an excellent choice for overlaying traditional pavers due to their durability, low maintenance, and aesthetic appeal. Porcelain is highly resistant to cracking, fading, and weather damage, ideal for outdoor spaces where resilience is vital.
Its non-porous nature prevents moisture absorption, making it resistant to stains, frost, and mould—qualities that minimise upkeep compared to natural stone or concrete pavers.
In addition to practicality, porcelain offers a range of styles, colours, and textures, allowing you to achieve a sophisticated look that mimics natural stone or wood without the maintenance demands.
UV-resistant properties ensure that colours stay vibrant even under prolonged sunlight. Overall, porcelain pavers provide a stylish, durable, and low-maintenance overlay solution, transforming any outdoor space with ease and longevity.
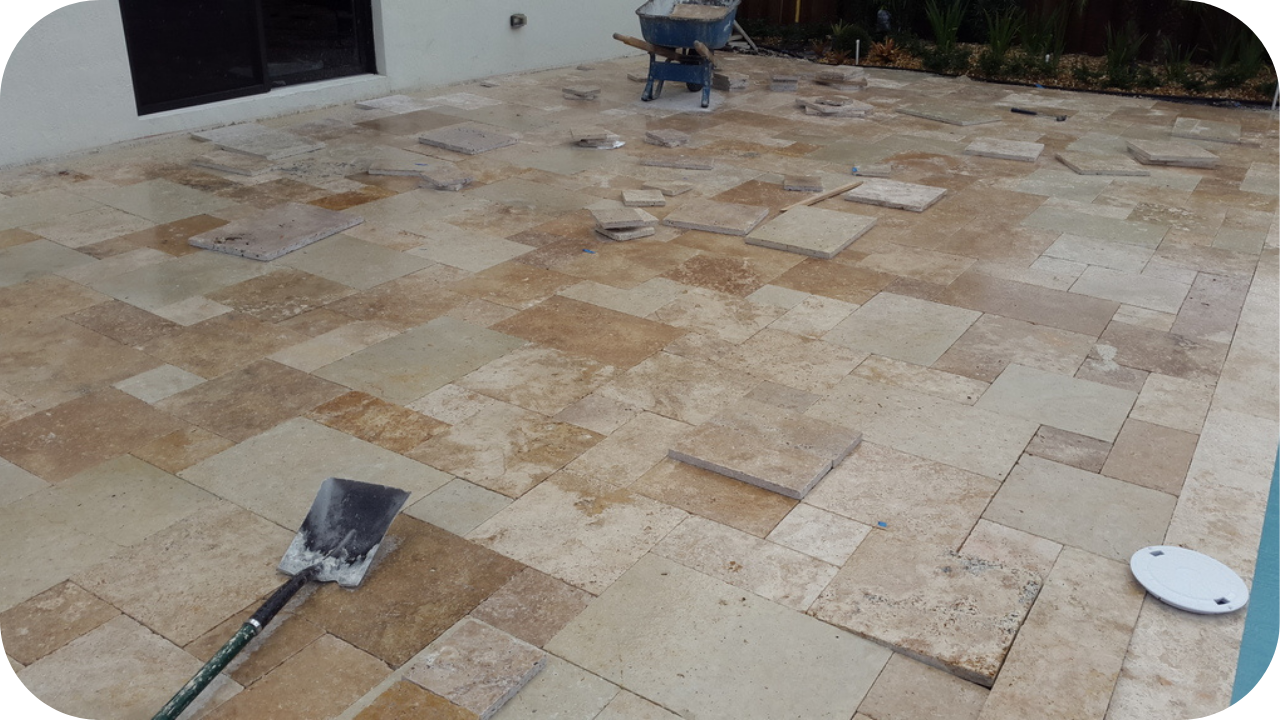
Assessing the Condition of Existing Pavers
Before installing porcelain pavers over traditional pavers, evaluating the base’s current condition is essential. The existing pavers must be stable and level to support the new porcelain layer effectively. Any instability or unevenness can cause cracks or shifting, leading to future issues.
Begin by checking for any damaged, cracked, or loose pavers. These must be repaired or replaced before installation to ensure a solid foundation. Additionally, any uneven sections should be levelled to prevent water pooling, which can impact the lifespan of the porcelain pavers.
Don’t forget to inspect the drainage system. Proper drainage is critical to avoid moisture getting trapped under the new pavers, which could lead to structural damage over time. If drainage issues are present, they must be addressed before installing the porcelain pavers.
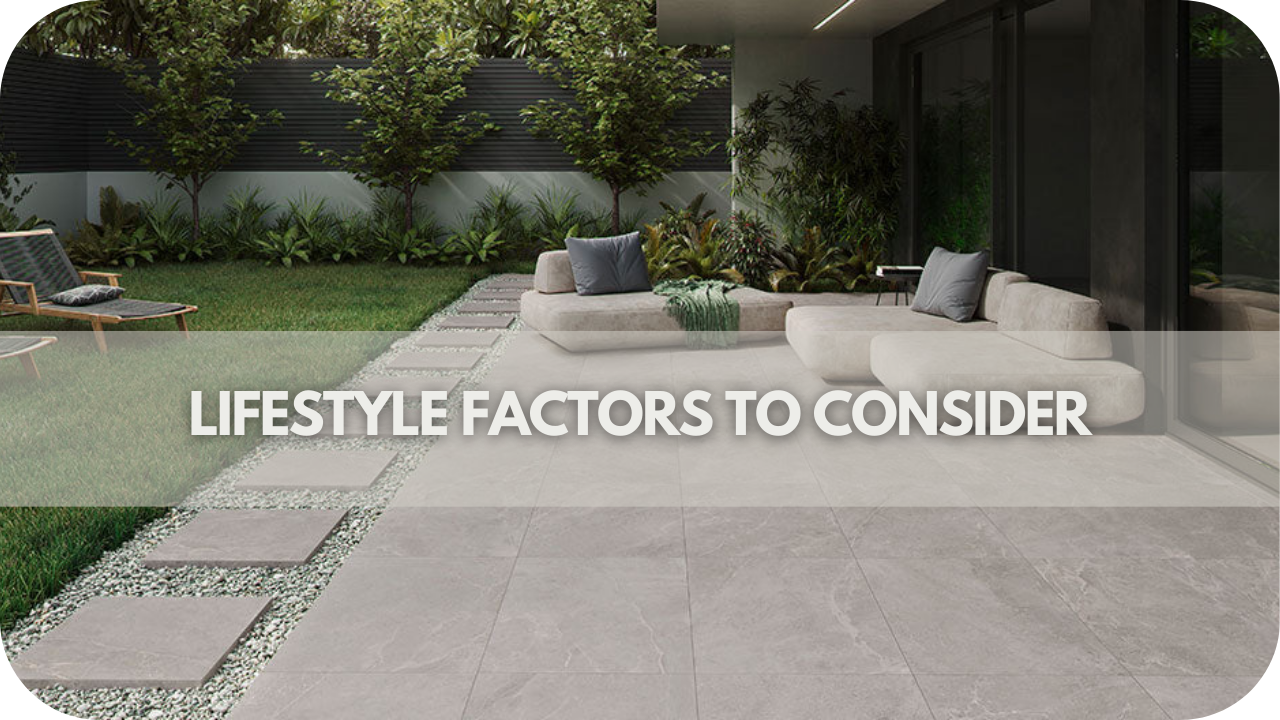
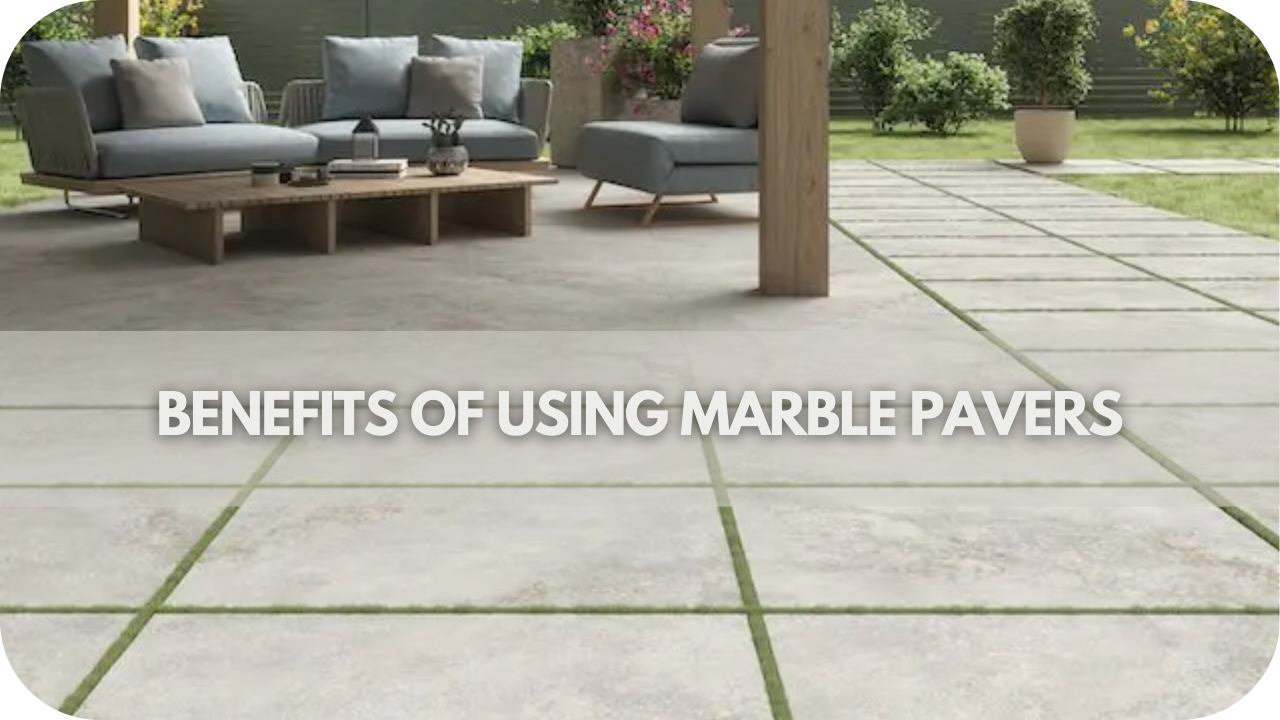
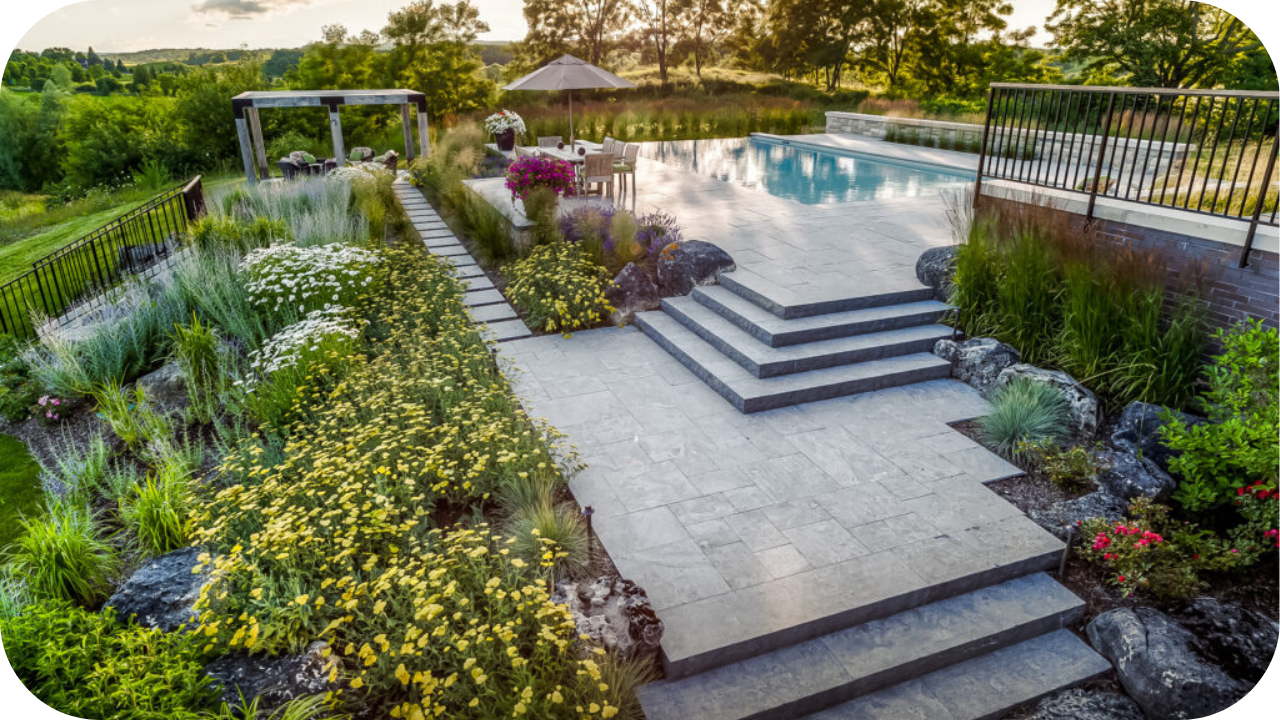
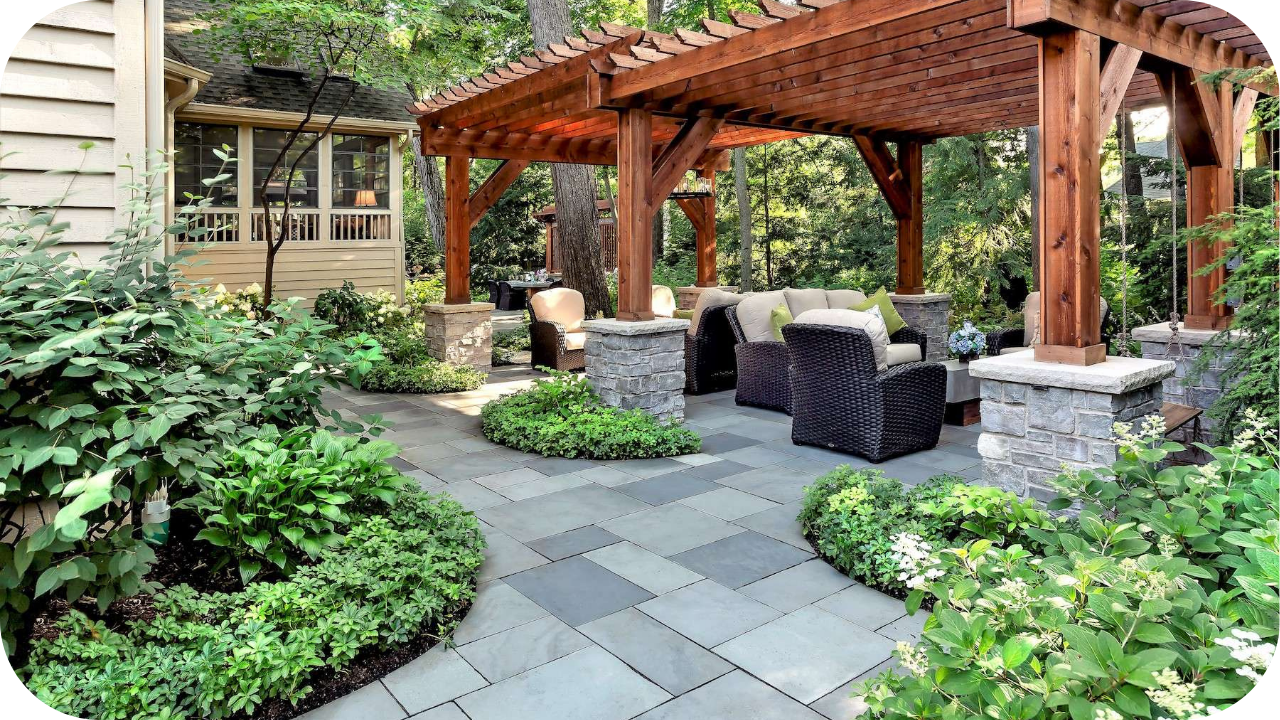
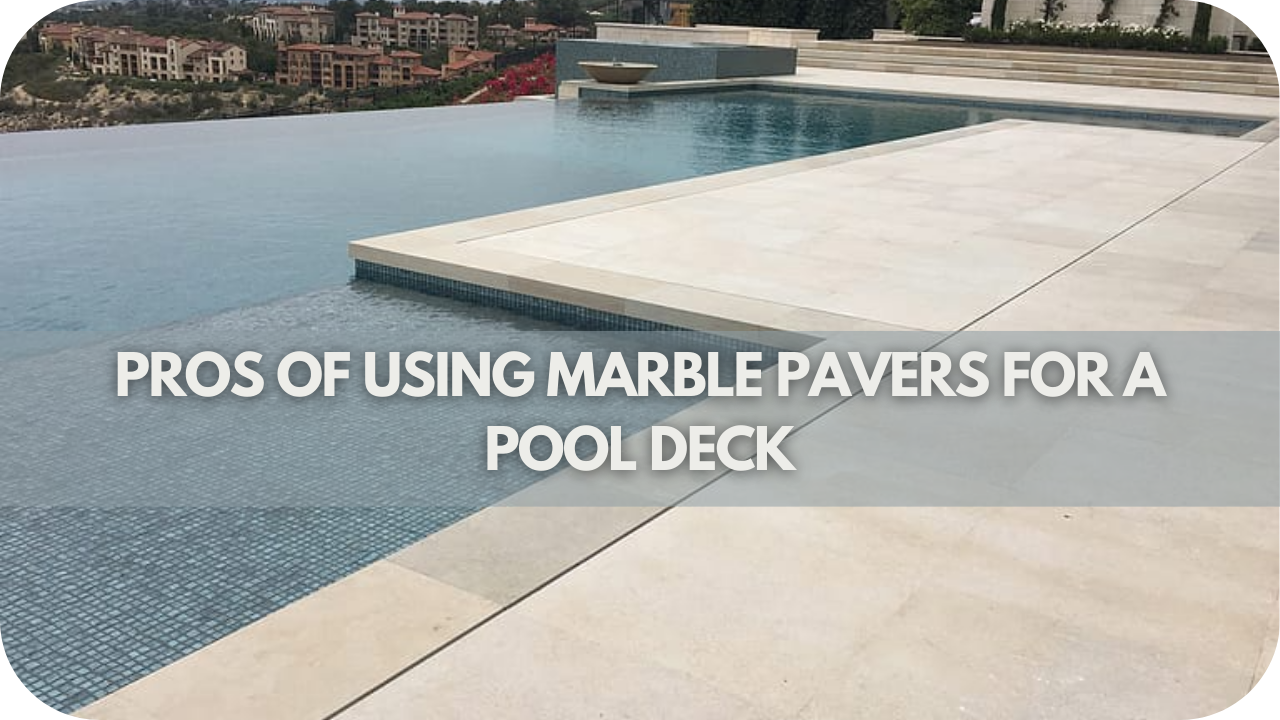
Benefits of Installing Porcelain Pavers Over Traditional Pavers
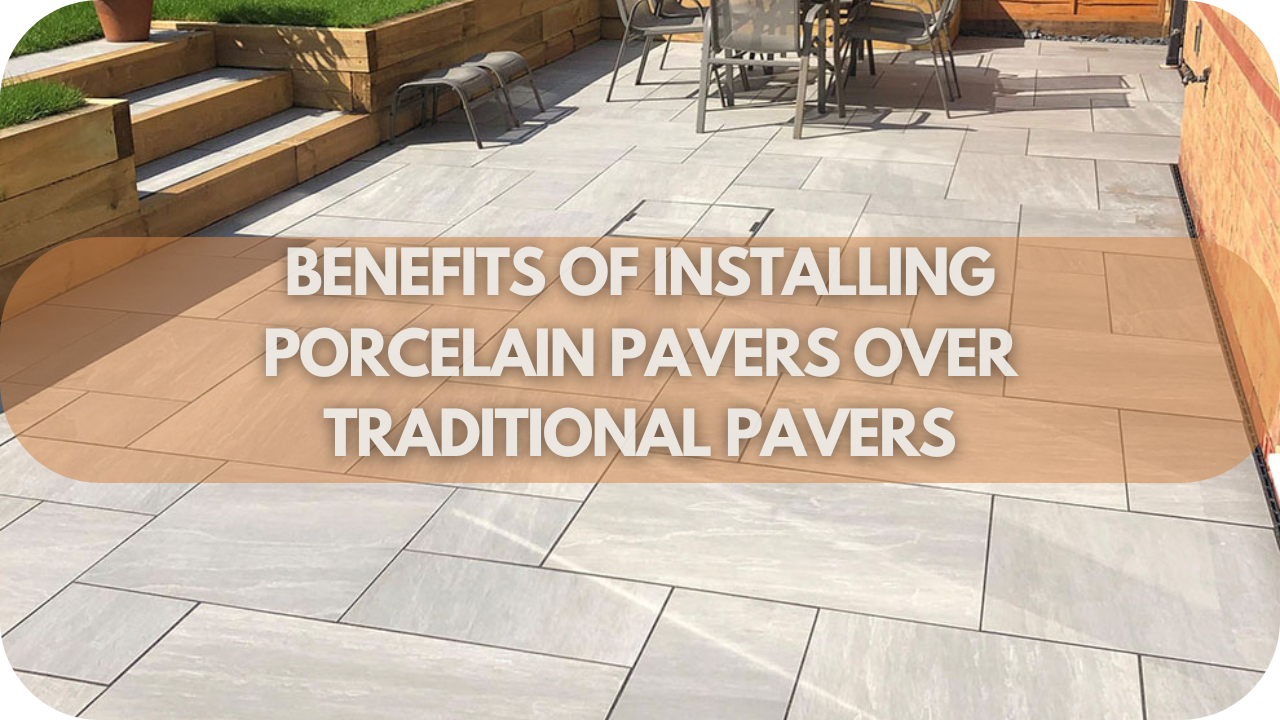
Are you thinking of upgrading your outdoor space? Installing porcelain pavers over your existing traditional pavers is a smart choice.
- Cost-effective: One of the most significant advantages is the cost savings. By laying porcelain pavers over your existing surface, you avoid the need for expensive demolition and disposal. This can significantly reduce your project’s overall cost.
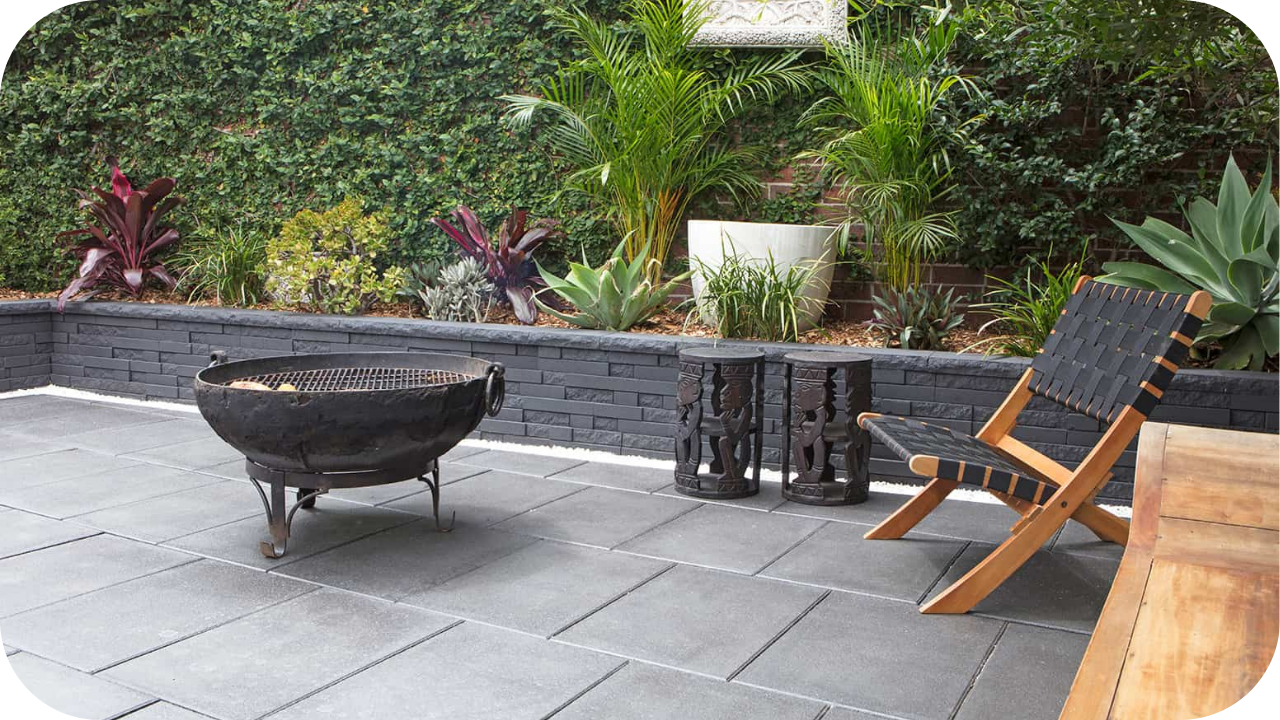
- Superior durability: Porcelain pavers are known for their incredible strength. They resist cracking, fading, and scratching, perfect for high-traffic areas and harsh outdoor environments.
- Low maintenance: Unlike traditional pavers, porcelain pavers require very little upkeep. A simple wash now and then is all that’s needed to keep them looking pristine.
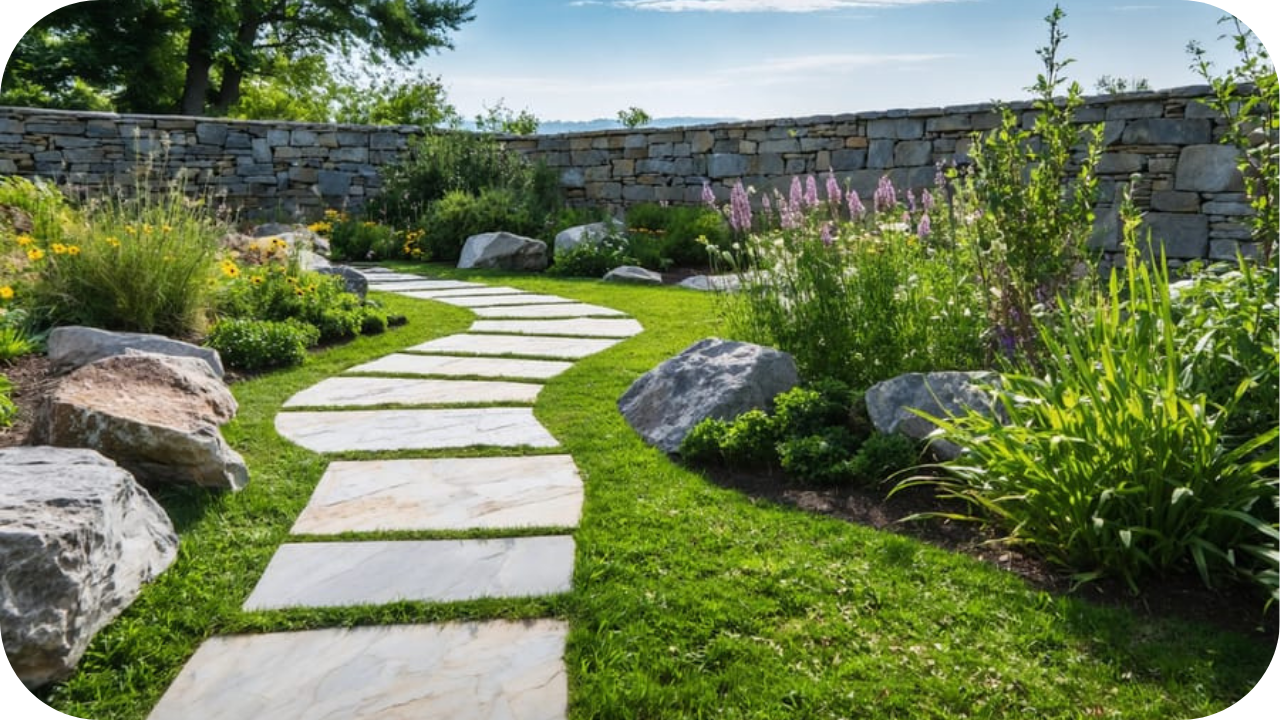
- Modern aesthetic: With a wide variety of styles, finishes, and colours, porcelain pavers can mimic the look of natural stone, wood, or concrete, offering a modern and stylish upgrade for your space.
- Quick installation: When the current pavers are in good condition, the installation process is faster and simpler, minimising disruption to your space.
- Weather-resistant: Withstands moisture, frost, and temperature changes without degrading.
- Slip-resistant: Textured surfaces enhance safety in wet areas.
- Colourfast: Resists fading even in direct sunlight.
- Eco-friendly: Reduces waste by eliminating demolition; made from recyclable materials.
- Boosts property value: Adds modern appeal, increasing overall property value.
- Stain-resistant: Resists stains from grease, oil, and other common outdoor messes.
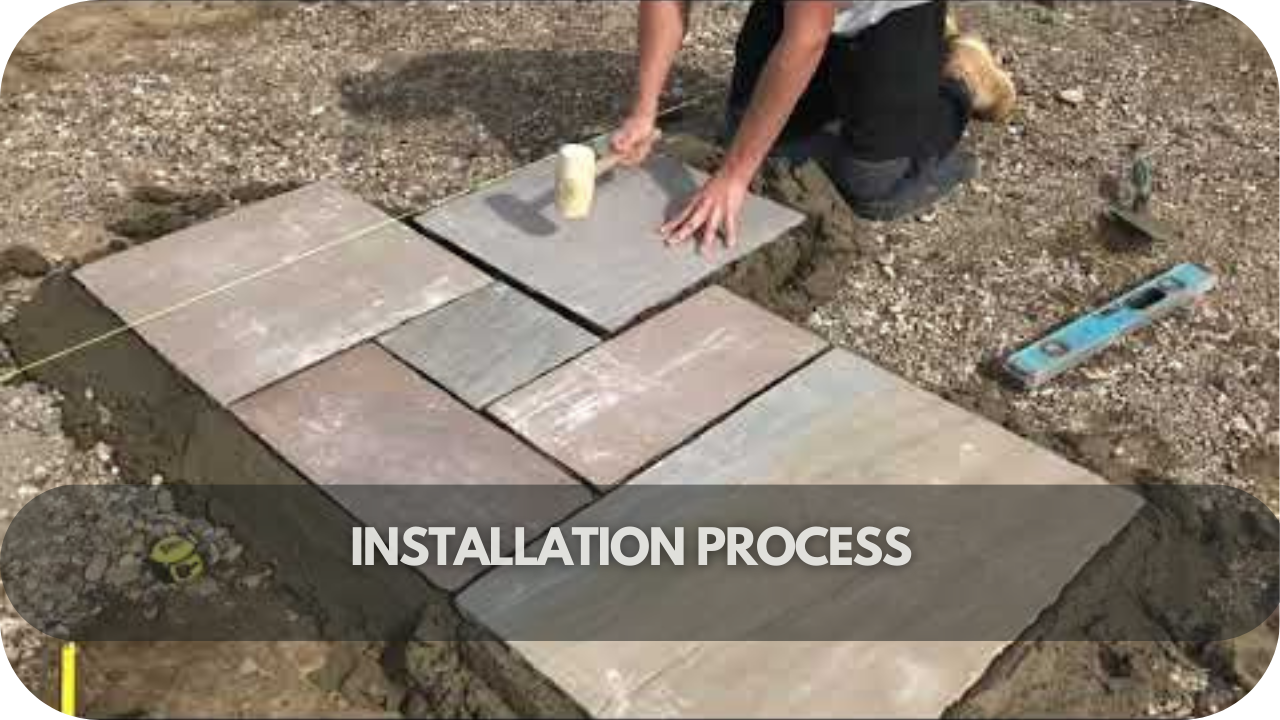
Step-by-Step Guide: Installing Porcelain Pavers Over Old Pavers
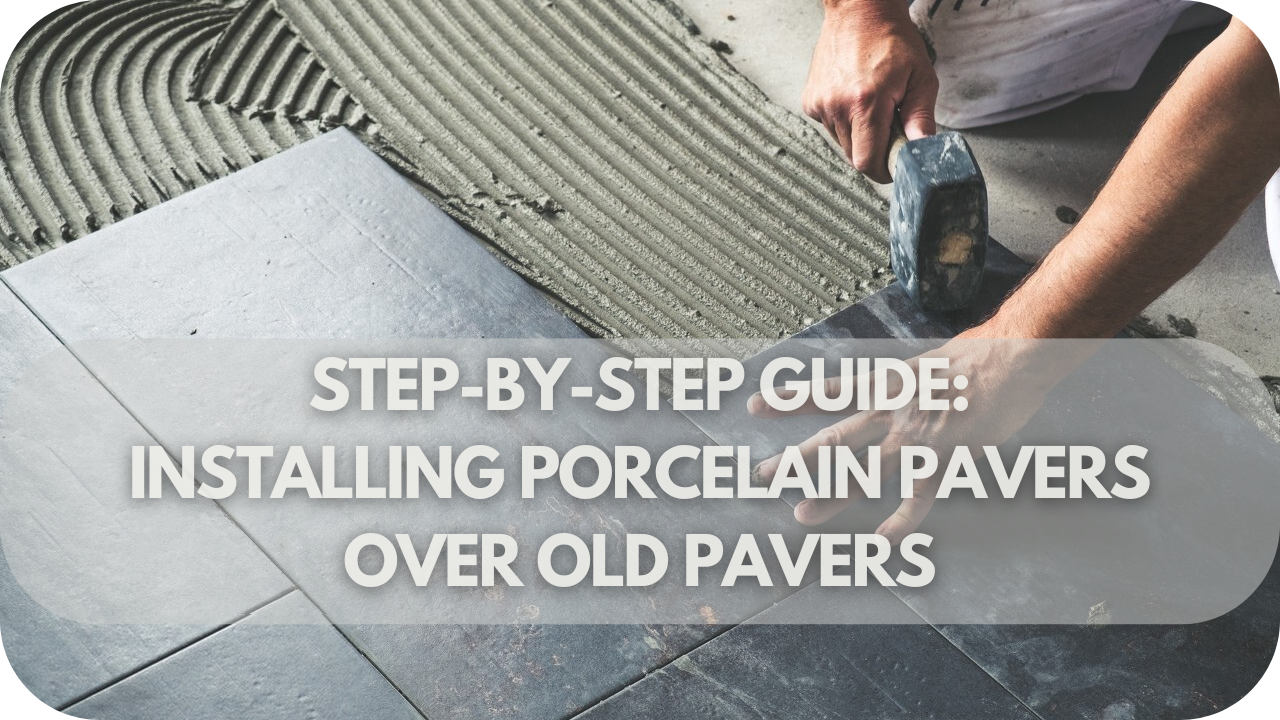
With the right preparation and techniques, traditional pavers can be transformed into porcelain. Here’s a detailed, step-by-step guide to ensure a successful installation that combines durability and style.
Step 1: Assess the Existing Surface
Start by carefully inspecting the old pavers for stability and level. A strong base is essential for porcelain. Check for cracks, loose pavers, or any areas where movement might occur—these issues must be fixed before beginning.
If any loose or uneven sections exist, resecure them or apply a levelling compound to create a solid, flat surface. A stable foundation will help prevent shifting or cracking in the porcelain layer.
Step 2: Clean the Area
A thorough cleaning ensures that the bonding layer will adhere effectively to the old pavers. Begin by sweeping the area to remove dust and debris, then use a power washer to clear away any stubborn dirt, moss, or residues.
The old surface must be dry before moving to the next step, as moisture can interfere with adhesion. This clean base will securely help the new layer bond for a long-lasting finish.
Step 3: Apply a Bonding Layer
Apply a high-quality bonding agent or a thin layer of mortar to secure the bond between the old pavers and the new porcelain layer.
Spread the bonding material evenly across the surface, ensuring it covers all areas to avoid gaps in adhesion. This bonding layer will create a durable attachment, helping the porcelain pavers withstand weather and heavy foot traffic.
Step 4: Lay the Porcelain Pavers
Position the porcelain pavers carefully, beginning from one edge and working systematically across the surface. Use spacers to maintain consistent gaps between each paver, ensuring an even and professional look.
As you lay each paver, check for levelness with a spirit level to prevent uneven spots, making adjustments as necessary.
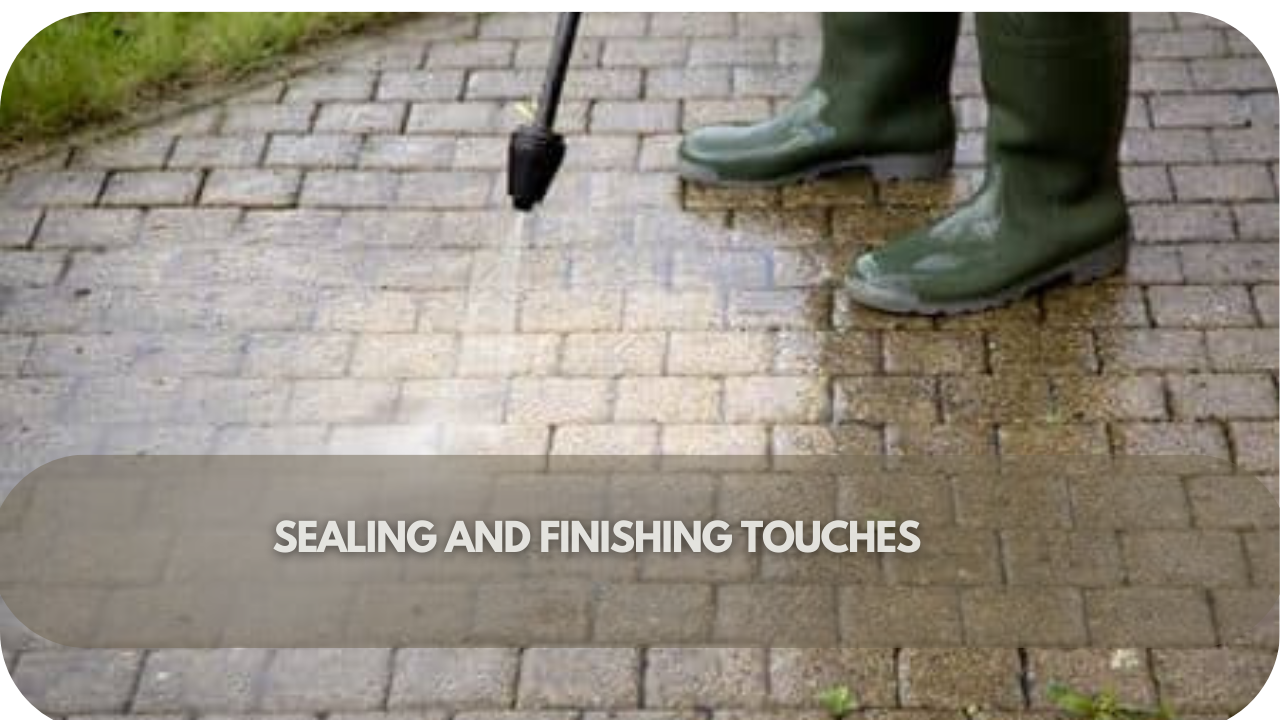
Step 5: Grout and Seal
Once all the pavers are in place and adjustments have been made, grout will be applied between each one. Use a grout suitable for outdoor porcelain pavers to resist weather and wear.
Consider sealing the surface if you’re in a high-traffic area or want extra protection. Although porcelain is non-porous and generally doesn’t need sealing, adding a sealant can provide additional durability in certain conditions.
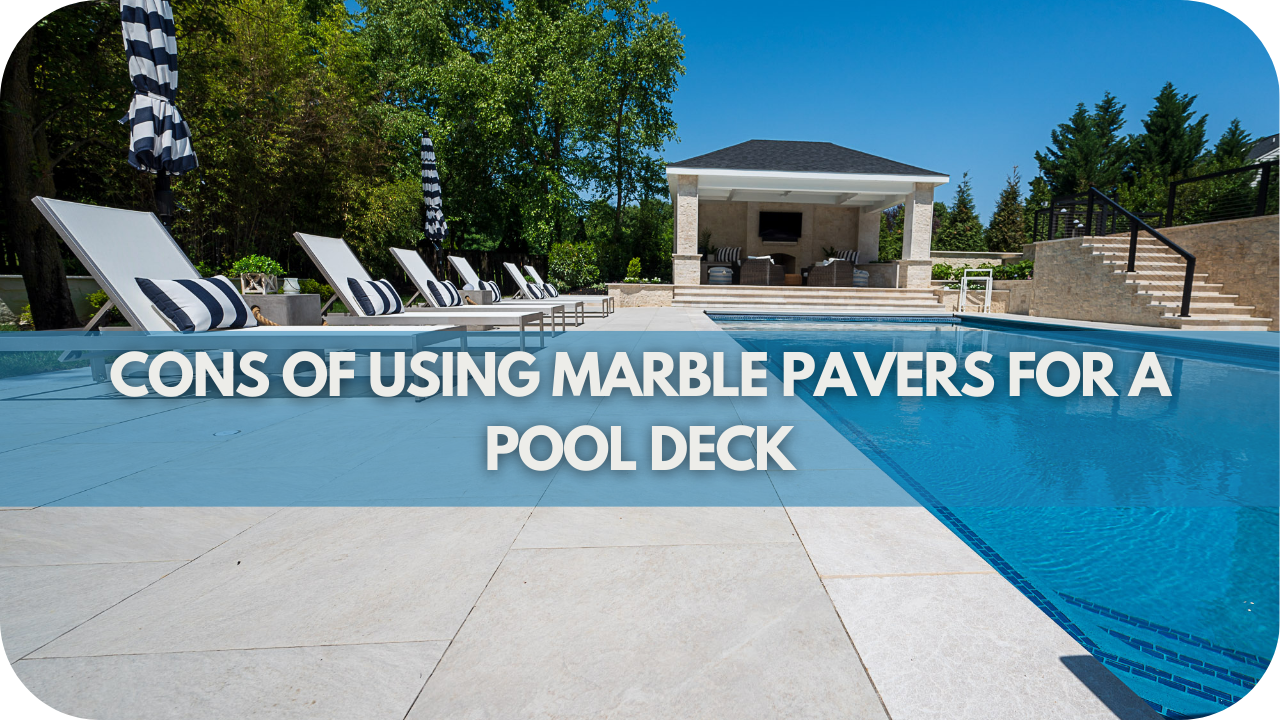
Advantages and Disadvantages of Installing Porcelain Pavers
Installing porcelain pavers over existing pavers offers an easy upgrade with noticeable benefits, but there are also a few factors to consider before making the decision.
Advantages:
Advantages of Installing Porcelain Pavers Over Traditional Paving: Explore why overlaying porcelain on existing pavers can elevate durability, style, and efficiency.
- Efficient and Cost-Effective: By skipping the need for demolition, you save time, labour costs, and waste disposal, making this a budget-friendly option for a stylish refresh.
- Low Maintenance and High Durability: Porcelain is non-porous, naturally resisting moisture, stains, and frost. This quality makes it ideal for patios and garden paths, as it withstands fluctuating weather without fading or staining.
- Long-Lasting Aesthetic Appeal: Thanks to UV resistance, porcelain pavers maintain their colour and texture for years, ensuring a modern look that requires little upkeep.
- Easy Cleaning: Porcelain surfaces are smooth and resistant to grime buildup, making them exceptionally easy to clean compared to traditional stone or brick.
- Versatile Design Options: Porcelain pavers come in various styles, finishes, and textures, easily mimicking stone, wood, or concrete. This allows for a custom look that complements any aesthetic.
- Slip Resistance Options: Many porcelain pavers have anti-slip surfaces, making them safe for wet areas like pool decks or garden pathways.
- Eco-Friendly Choice: Installing porcelain over existing pavers minimizes waste and reduces the environmental impact of disposal and demolition.
- Heat Resistance: Porcelain surfaces remain cool even under direct sunlight, making them ideal for outdoor areas where barefoot comfort is desired.
- Fast Installation: If the current pavers are level and stable, porcelain can be installed quickly with minimal disruption, making it an efficient choice for time-sensitive projects.
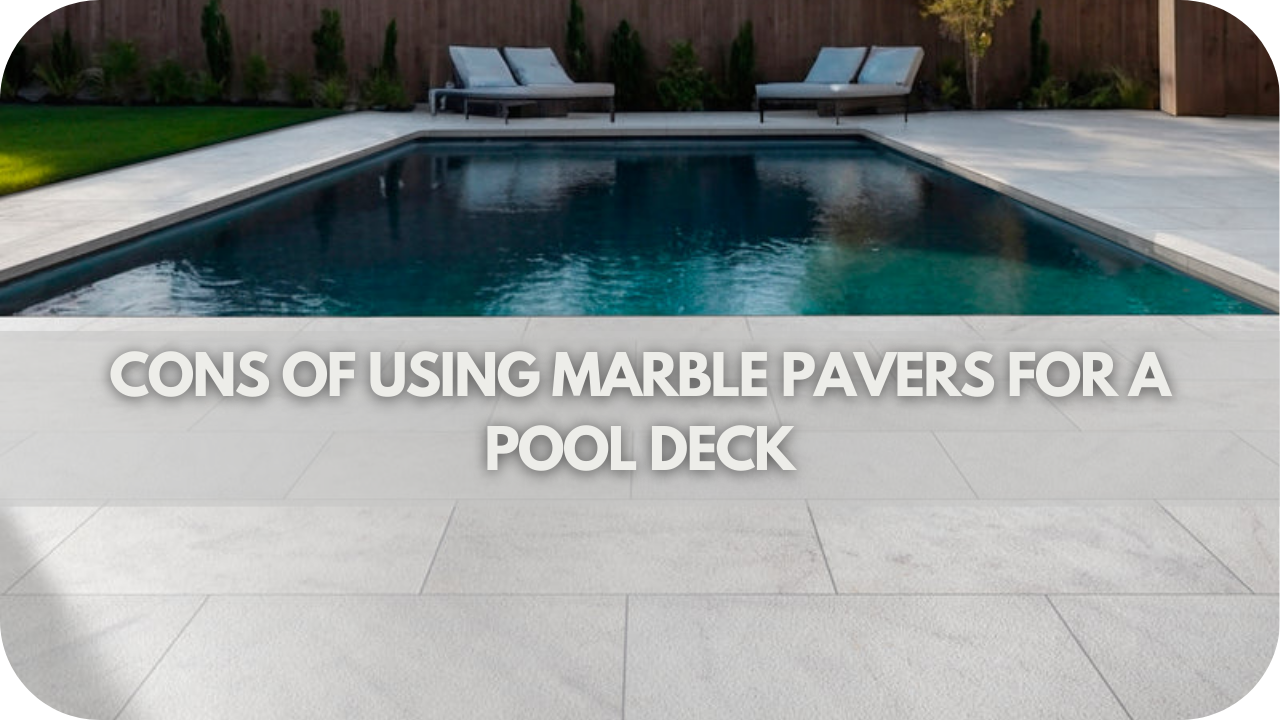
Disadvantages:
Disadvantages of Installing Porcelain Pavers Over Traditional Paving: Before I commit, here’s what I need to know about potential height, stability, and traffic concerns.
- Raised Surface Level: Adding porcelain over existing pavers increases the height, which may require adjustments to door thresholds, steps, and drainage. If these features are not considered, installation can be complicated.
- Thickness Limitations: Porcelain pavers are often thinner than traditional stone options, which may limit their suitability for heavy-traffic areas unless the underlying surface is well-supported.
- Dependent on Existing Foundation Stability: Any imperfections or movement in the underlying pavers can cause cracking or shifting in the porcelain layer, so the base must be in excellent condition.
- Possible Additional Costs: Although demolition isn’t required, the added preparation for ensuring a stable base may add to installation costs if repairs to the original surface are needed.
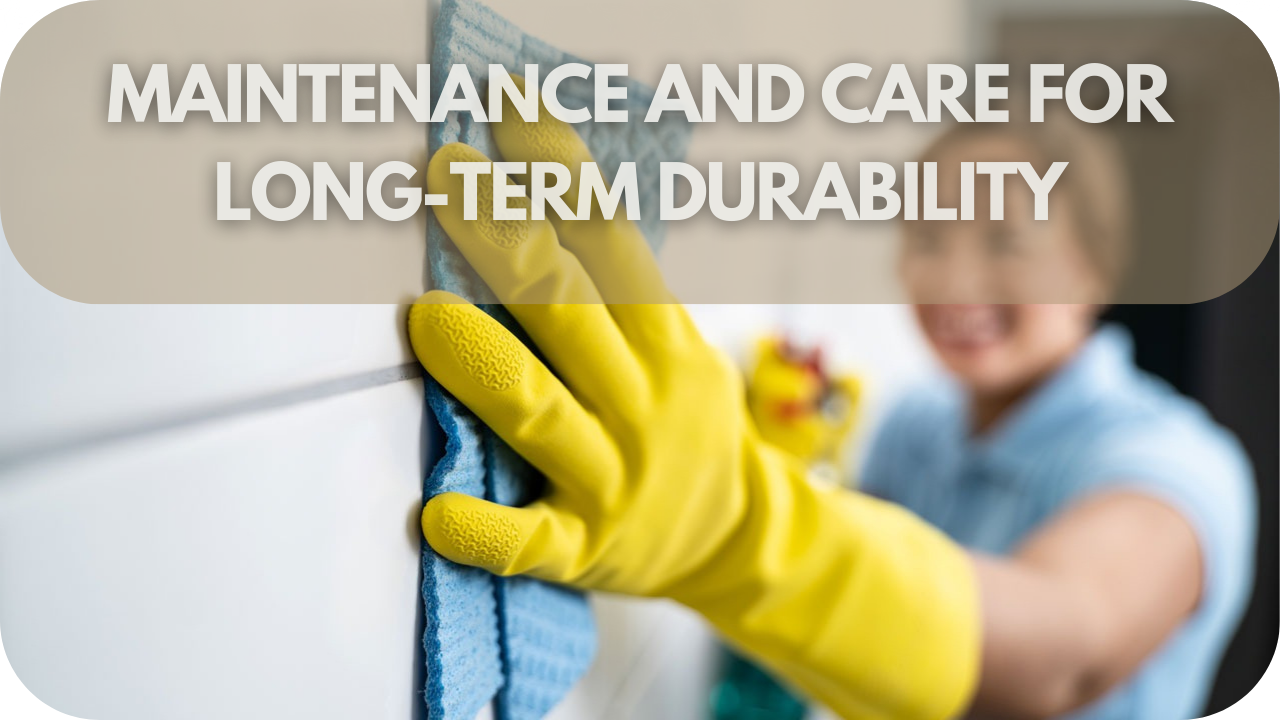
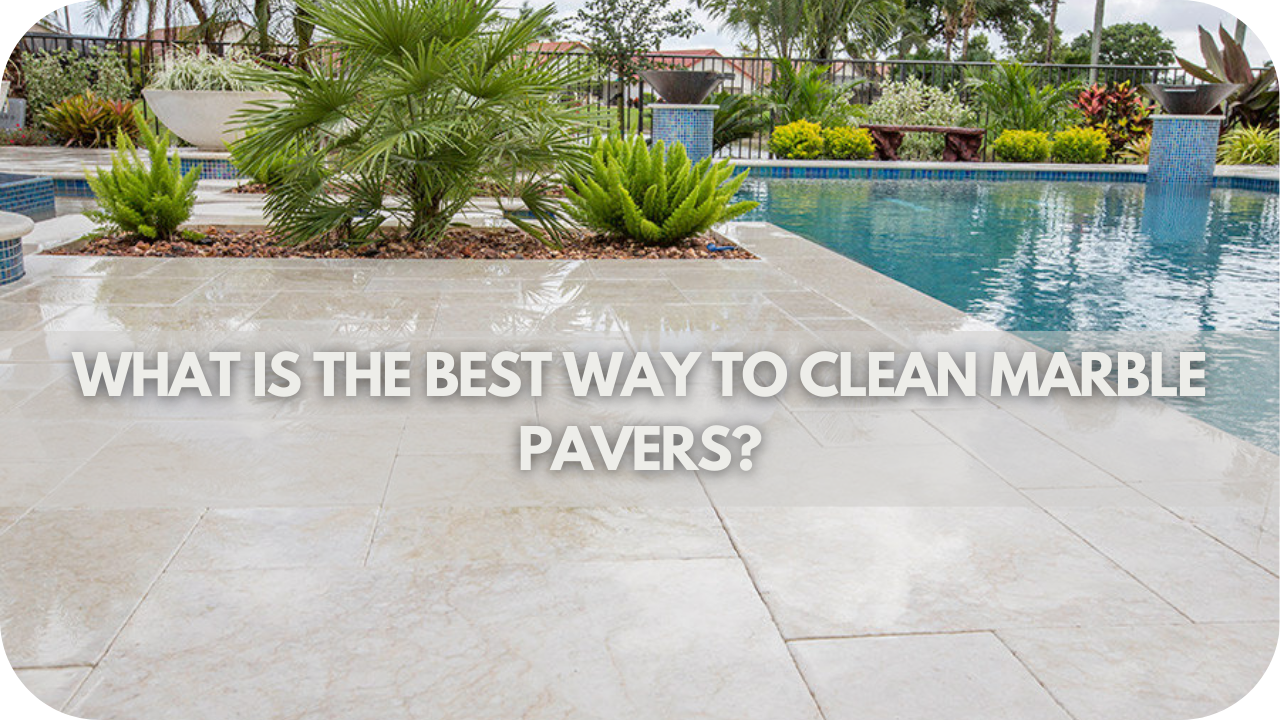
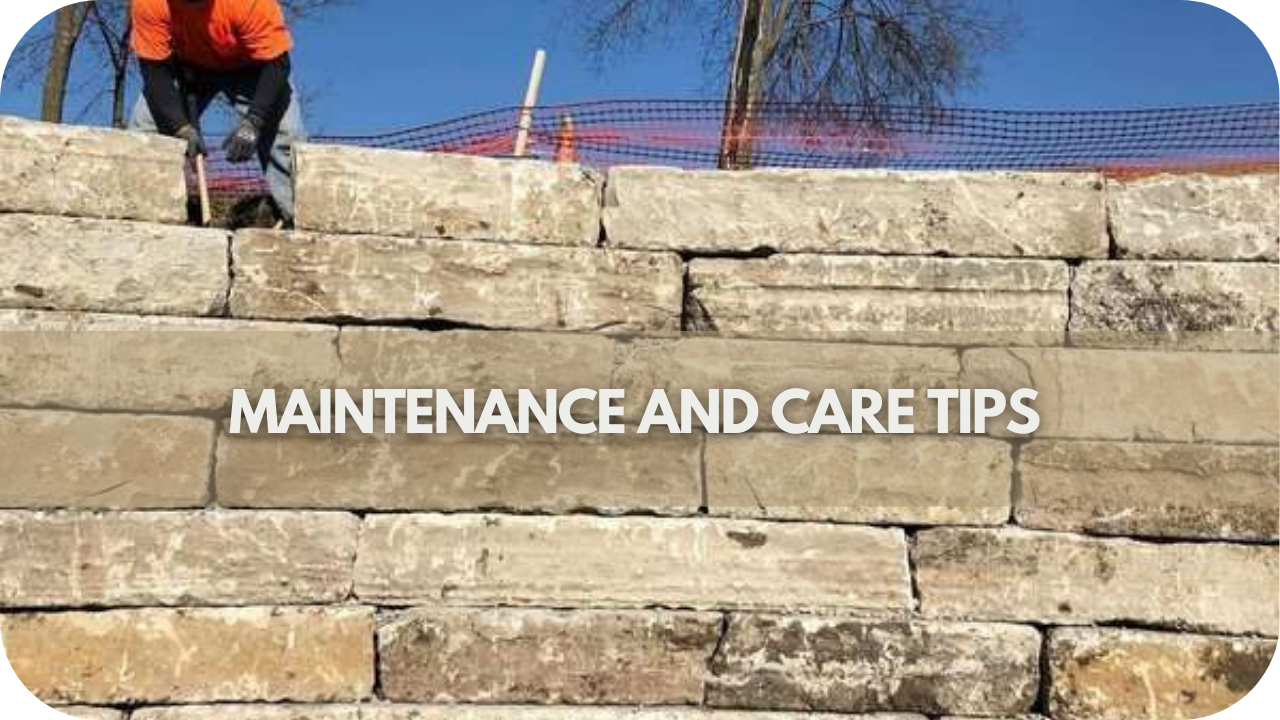
Porcelain Pavers Maintenance and Longevity Guide
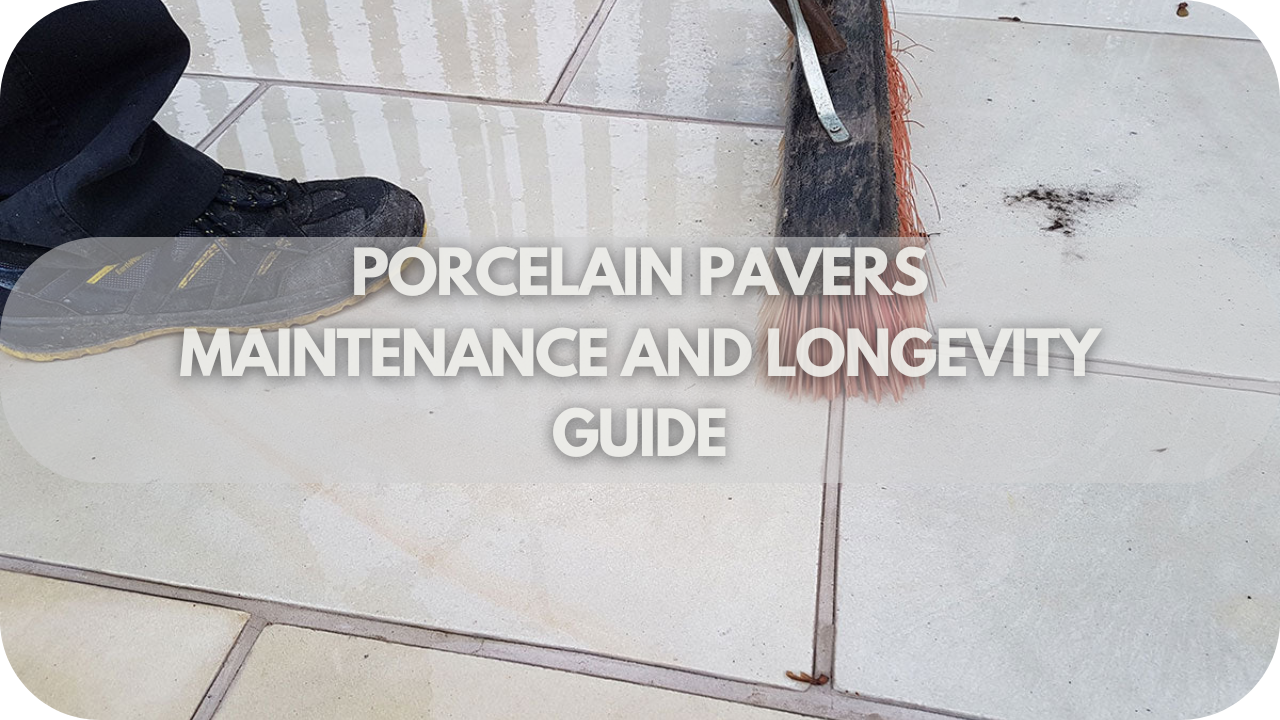
Porcelain pavers are known for their durability and low-maintenance qualities, making them an attractive choice for overlaying existing pavers. With minimal upkeep, these pavers retain their appearance and functionality over time, but understanding maintenance basics can further enhance their longevity.
Maintenance
Porcelain pavers require only periodic cleaning to keep them looking new. A simple wash with water and mild detergent removes dirt, while a soft brush helps eliminate tougher grime.
Unlike natural stone, porcelain is non-porous, meaning it doesn’t absorb stains or moisture, eliminating the need for sealing. However, periodically inspecting for any shifts or gaps, especially if installed over uneven traditional pavers, is essential to address early signs of movement.
Longevity
Porcelain’s high resistance to wear, UV exposure, and frost ensures it withstands weather conditions without fading, cracking, or warping.
When properly installed over a stable base, porcelain pavers can last decades, offering a durable and stylish solution for outdoor spaces. With regular attention, they can provide long-lasting beauty and functionality over traditional surfaces.
Frequently Asked Questions (FAQs)
1. Can Porcelain Pavers Be Installed Over Any Type of Existing Pavers?
Yes, porcelain pavers, including concrete, brick, and natural stone, can be installed over existing pavers. However, it is essential to ensure the existing pavers are stable, level, and free from significant damage.
2. Do I Need to Remove Weeds Before Installation?
Yes, removing weeds and any organic growth is crucial before installation. Thorough cleaning and applying a weed inhibitor or geotextile fabric will help prevent future weed growth between the new porcelain pavers.
3. How Long Does the Installation Process Take?
The installation duration depends on the area size and complexity. Generally, preparing the surface and installing porcelain pavers over existing ones is quicker than a complete removal and replacement, often completed within a few days.
4. Are There Special Adhesives Required for Porcelain Pavers?
Yes, it is recommended that you use a high-quality adhesive designed explicitly for porcelain pavers. These adhesives ensure proper bonding and durability, particularly in outdoor conditions.
5. Can I Install Porcelain Pavers, or Should I Hire a Professional?
While DIY installation is possible for those with experience and the right tools, hiring a professional ensures proper preparation, installation, and long-term performance. Professionals can handle challenges like cutting pavers and ensuring adequate drainage.
6. What Should I Do If My Existing Pavers Are Uneven?
If your existing pavers are uneven, you must level the surface before installing porcelain pavers. This may involve filling low spots with sand or a levelling compound and ensuring the surface is stable and smooth.
7. Are Porcelain Pavers Suitable for All Climates?
Yes, porcelain pavers are highly durable and suitable for various climates. They are resistant to frost, heat, and moisture, making them ideal for hot and cold weather conditions.
8. How Do Porcelain Pavers Compare to Natural Stone in Durability?
Porcelain pavers are incredibly durable, often more so than natural stone. They are resistant to staining, fading, and cracking and require less maintenance. Additionally, they are designed to withstand heavy foot traffic and harsh weather conditions.
Conclusion
Installing porcelain pavers over existing traditional pavers is a practical and aesthetic upgrade. Ensure proper preparation and follow best practices for a durable result.
Ready to transform your outdoor space? Contact Splendour In Stone for expert advice and high-quality porcelain pavers. Elevate your landscape effortlessly and beautifully!