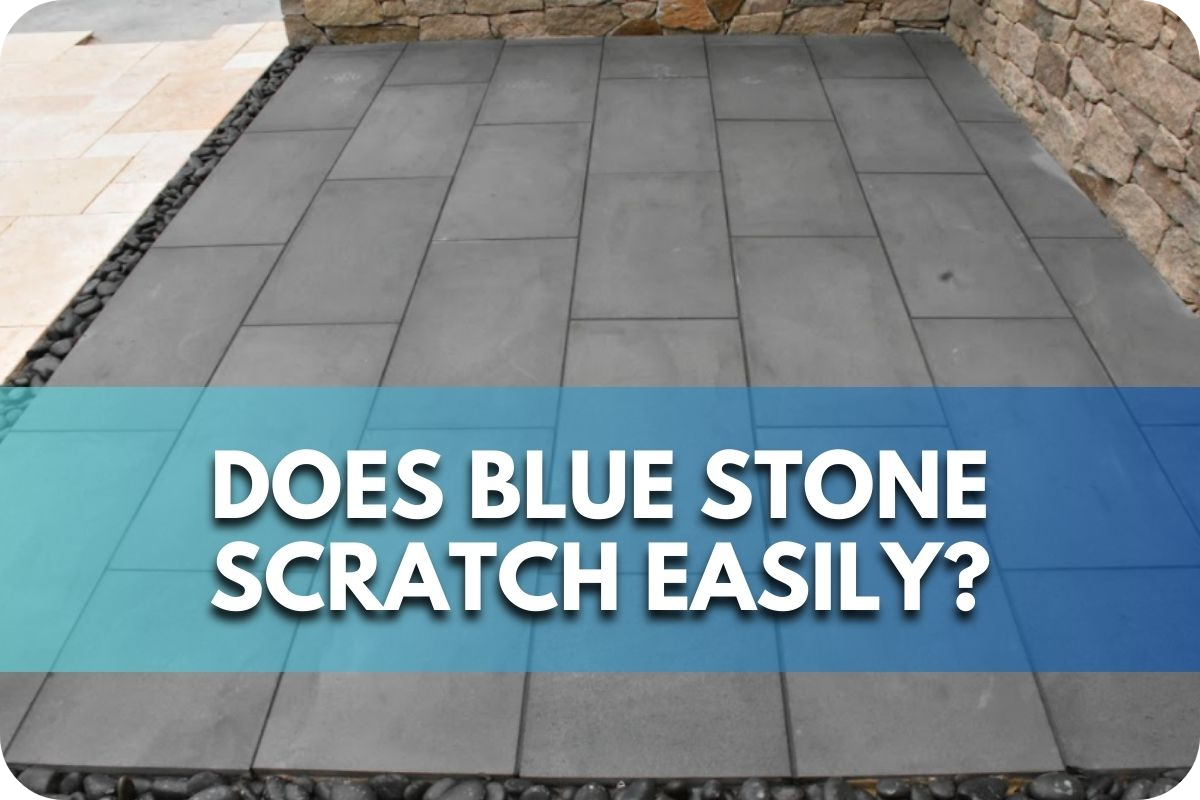
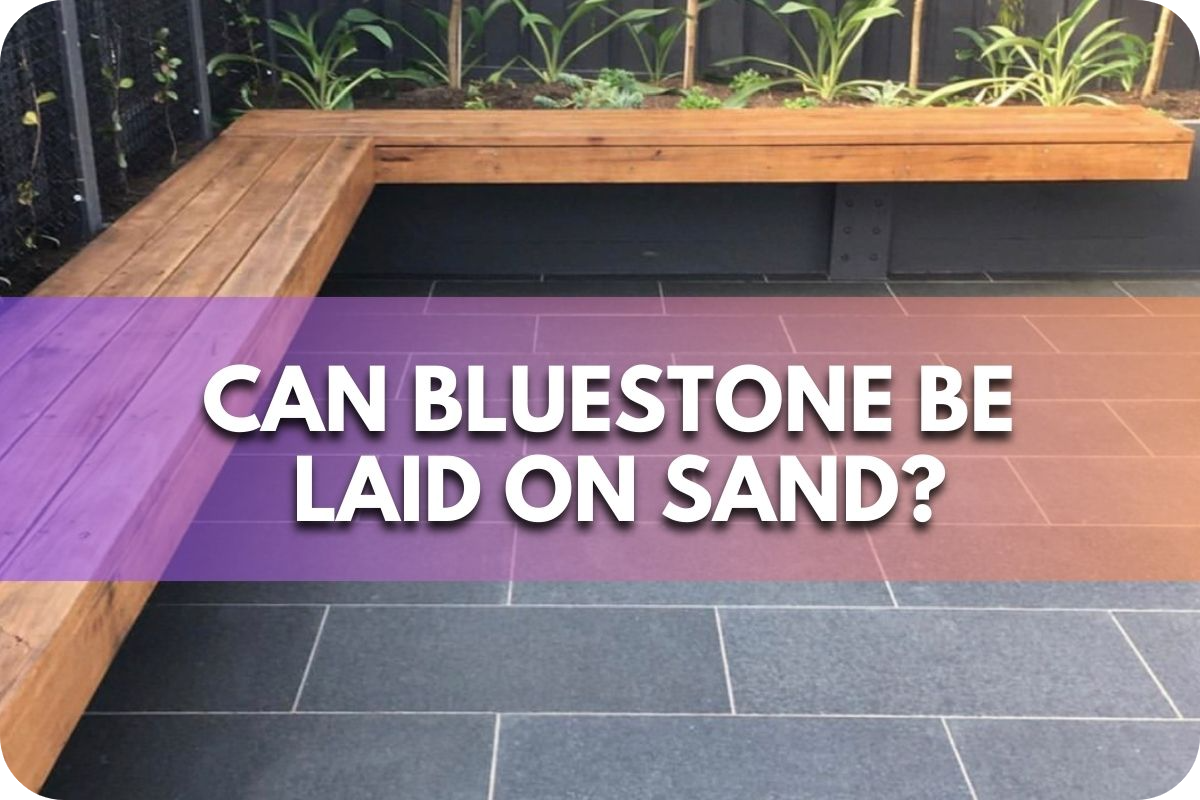
Can Bluestone Be Laid on Sand?
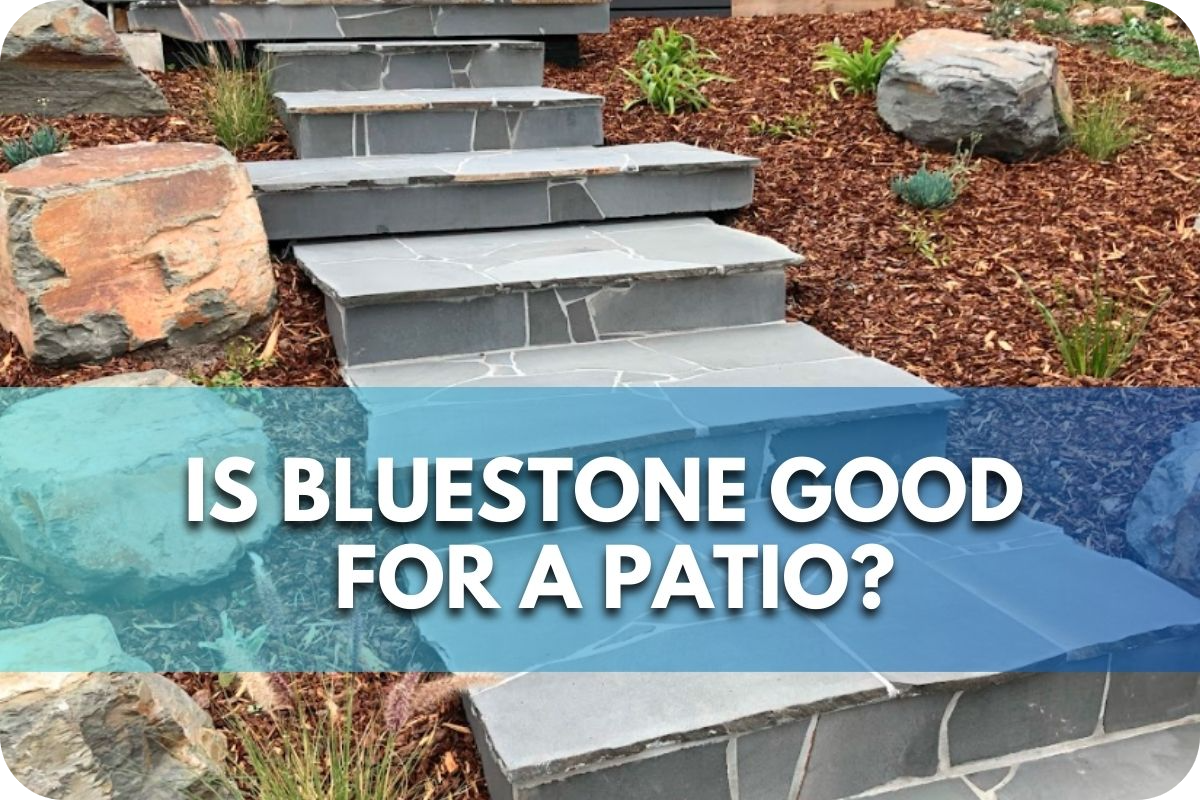
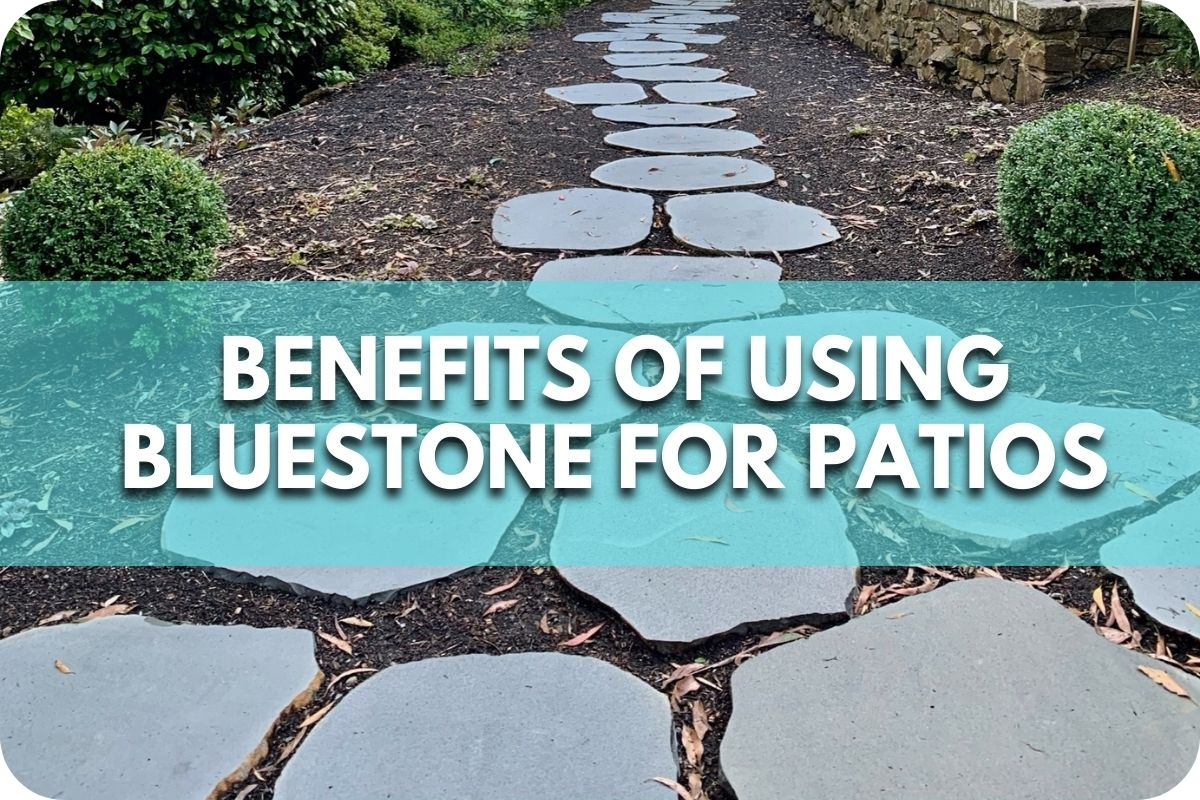
Homeowners often wonder if bluestone can be effectively laid on sand, given its popularity for patios and pathways.
Incorrect substrate choice for bluestone can lead to shifting, sinking, and premature wear, potentially ruining the aesthetics of outdoor spaces and incurring costly repairs.
This article explores the viability of laying bluestone on the sand, detailing the necessary steps and considerations to ensure a durable and visually pleasing outcome. Whether installing a new patio or revamping an old one, understanding the proper techniques is key.
Can Bluestone Be Laid on Sand?
Yes, bluestone can be laid on sand. The sand is a flexible base that allows for proper drainage and easy levelling. However, a compacted sand bed and proper edging is crucial to prevent the stones from shifting. For best results, ensure the sand base is stable and uniform before laying the bluestone.
The Sand Base Method
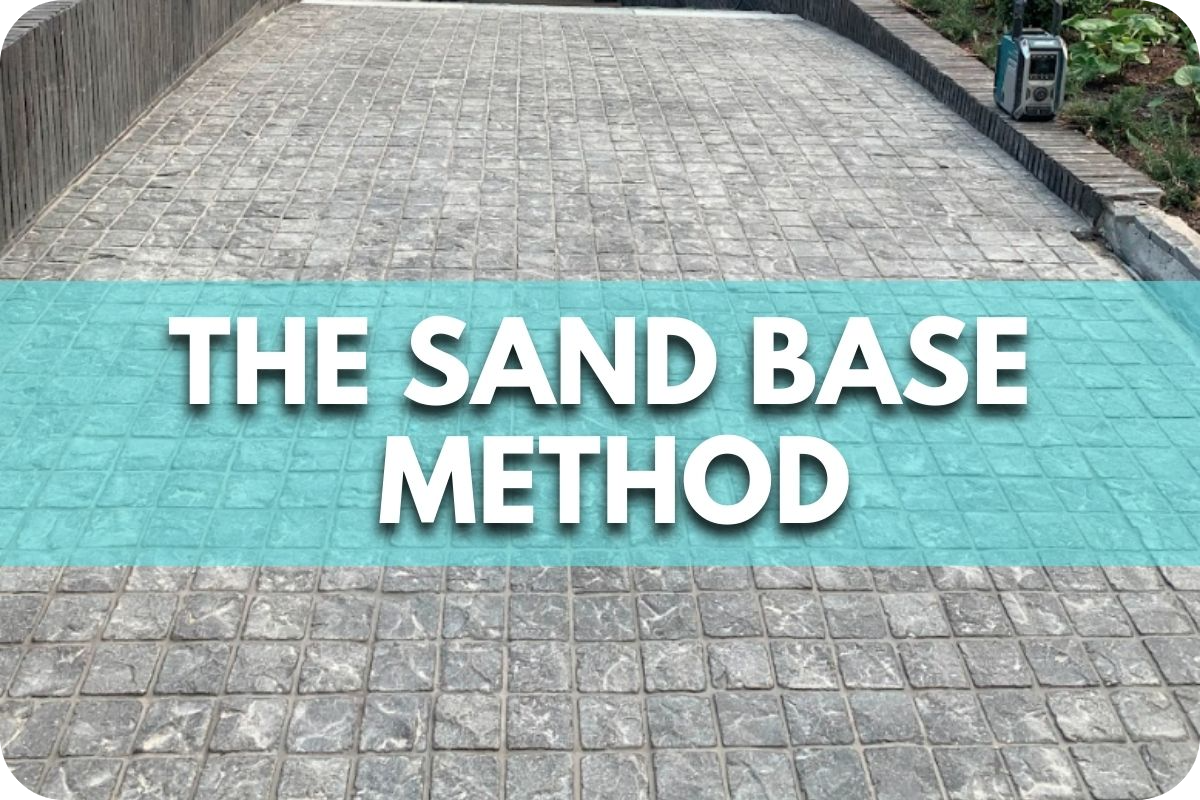
The sand base method is a traditional and effective technique for laying bluestone and other types of paving stones. It involves several key steps to ensure a stable and long-lasting installation:
STEP 1. Excavation
Begin by excavating the area to a depth that accommodates the bluestone’s base material, sand layer, and thickness. Typically, this requires digging approximately 8 to 10 inches below the desired final surface level. Ensure the excavation is even and accounts for any slope needed for drainage.
STEP 2. Base Material
Lay a crushed stone or gravel foundation as the base layer. This layer should be 4 to 6 inches deep and thoroughly compacted using a plate compactor or tamper. A well-compacted base ensures stability, enhances drainage, and prevents the bluestone from shifting or settling over time.
STEP 3. Sand Layer
Spread a 1- to 2-inch layer of coarse sand evenly over the compacted base. This sand layer serves as a flexible bed, allowing you to level the bluestone more easily. Use a rake to distribute the sand uniformly and compact it lightly to create a firm, even surface.
STEP 4. Setting the Stone
Place the bluestone slabs or tiles directly on the compacted sand bed. Position each piece carefully and use a level to ensure it is even with adjacent stones. Make adjustments by adding or removing sand beneath individual stones to achieve a smooth, uniform surface. Work methodically to ensure tight, clean joints.
STEP 5. Joint Filling
Once all the stones are in place, fill the joints between them with sand. Sweep sand into the joints using a broom, ensuring all gaps are filled. This step locks the stones together, prevents movement, and minimises the growth of weeds or infiltration by pests. Refill joints periodically as needed for long-term durability.
Advantages of Using Sand
Using sand as a base for laying pavers, including bluestone, offers several significant advantages:
- Flexibility: Sand provides a flexible base that can adapt to minor ground movements, helping prevent the pavers from cracking. This is particularly beneficial in areas with freeze-thaw cycles or other ground shifts.
- Ease of Installation: Sand is relatively easier to work with than other base materials. It can be spread and levelled without specialised equipment, making it a popular choice for DIY projects.
- Cost-Effective: Sand is less expensive than base materials like crushed stone or concrete, making it a cost-effective option for large projects or those on a budget.
- Drainage: Sand allows water to drain through the gaps between pavers, which helps prevent water pooling and the associated risks of slipping or paver displacement. Proper drainage also reduces the likelihood of frost heave in colder climates.
- Simple Adjustments: During installation, it’s easier to adjust the height and level of the pavers by adding or removing sand underneath them. This ensures a flat and even surface throughout the installation area.
- Weed Prevention: When properly compacted and used with a sealing material, sand can inhibit weed growth between pavers, reducing maintenance requirements.
- Smooth Finish: Sand can tightly fill the joints between pavers, creating a smooth, cohesive surface that enhances the paved area’s overall aesthetic appeal.
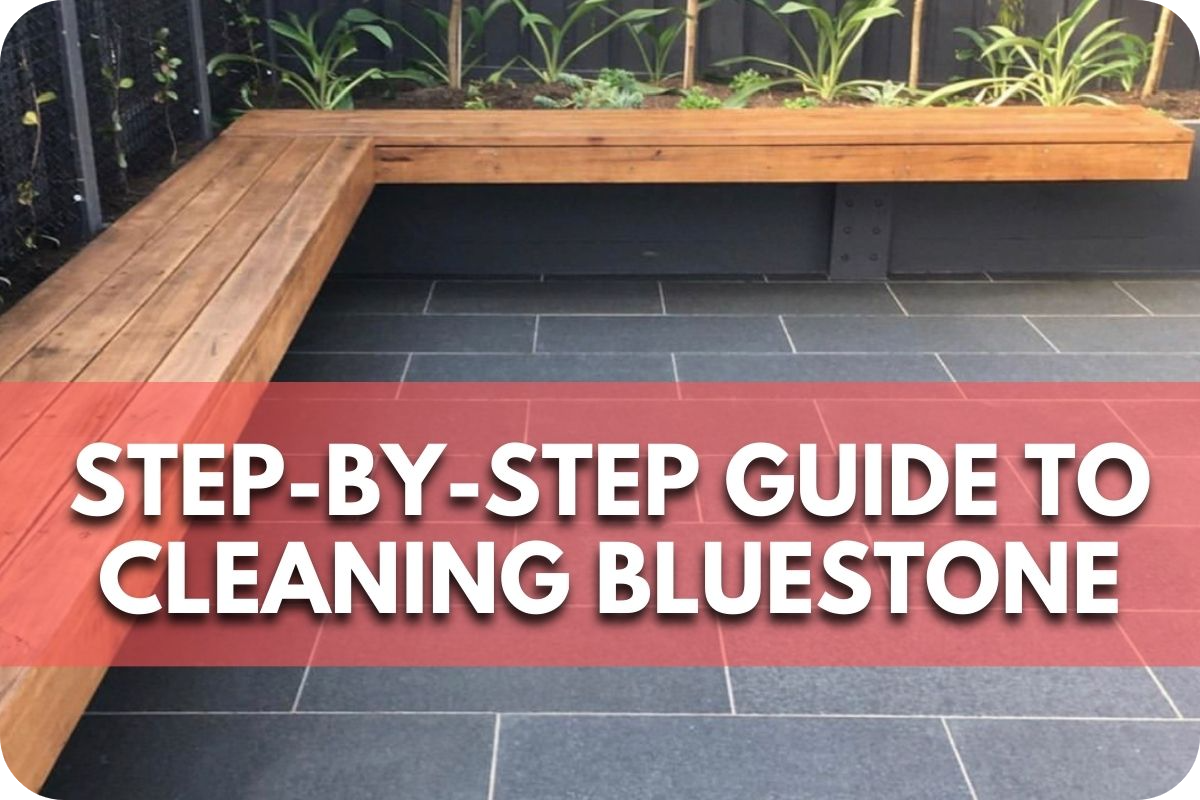
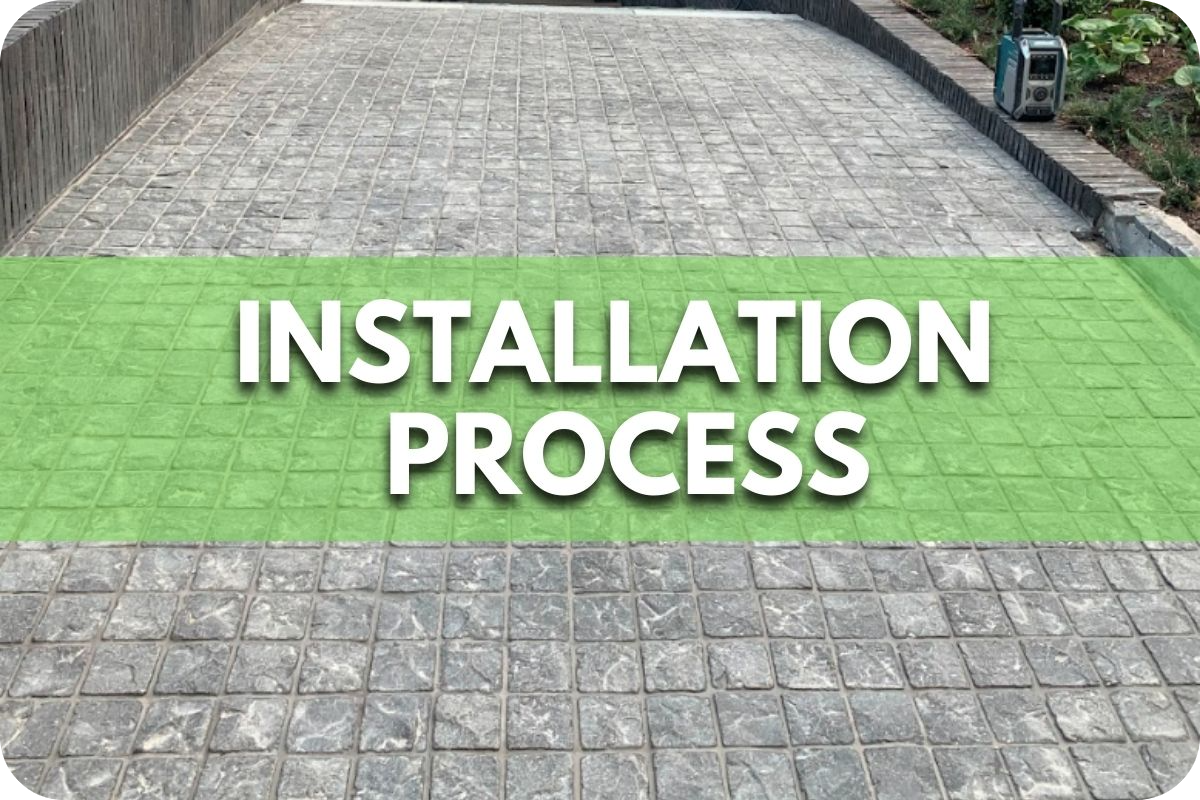
Step-by-Step Guide to Laying Bluestone on Sand
Laying bluestone on sand involves a precise process to ensure stability and aesthetics. Here’s a step-by-step guide to help you achieve a successful installation:
STEP 1. Site Preparation
Clear the designated area where the bluestone will be installed. Remove all vegetation, debris, and the topsoil layer to ensure a clean, stable base. This step is essential to prevent organic materials from decomposing, which could lead to unevenness in the future.
STEP 2. Create the Base
Excavate the cleared area to a depth of approximately 8 inches. This allows enough space for the sub-base, sand layer, and the thickness of the bluestone slabs. Ensure the excavation is level and accounts for any necessary slope for proper drainage.
STEP 3. Sub-Base Installation
Install a 4-6 inch layer of crushed stone or gravel as the sub-base. This layer is critical for ensuring proper drainage and creating a firm foundation. Use a plate compactor to compact the sub-base thoroughly, eliminating air gaps and enhancing stability.
STEP 4. Sand Layer
Spread a 1-2 inch layer of coarse, washed sand evenly over the compacted sub-base. Use a straight edge or screed board to level the sand, creating a uniform surface. This layer provides a cushioning effect and allows for minor adjustments during the stone-laying process.
STEP 5. Laying Bluestone
Start placing the bluestone slabs on the prepared sand bed. Work systematically from one corner and move outward. Use a rubber mallet to gently tap each slab into place, ensuring it is level with adjacent stones. Maintain consistent spacing between the stones for a uniform and professional appearance.
STEP 6. Filling Joints
After laying all the bluestone slabs, sweep fine sand over the surface to fill the joints. Work the sand into the gaps using a broom to lock the stones in place, which prevents shifting and minimises weed growth. Refill joints periodically as needed for long-term stability.
STEP 7. Final Compaction
Run a plate compactor gently over the laid bluestone to settle it into the sand layer. This step ensures the surface is even, secure, and ready for use. Be cautious to avoid damaging the stones during this process.
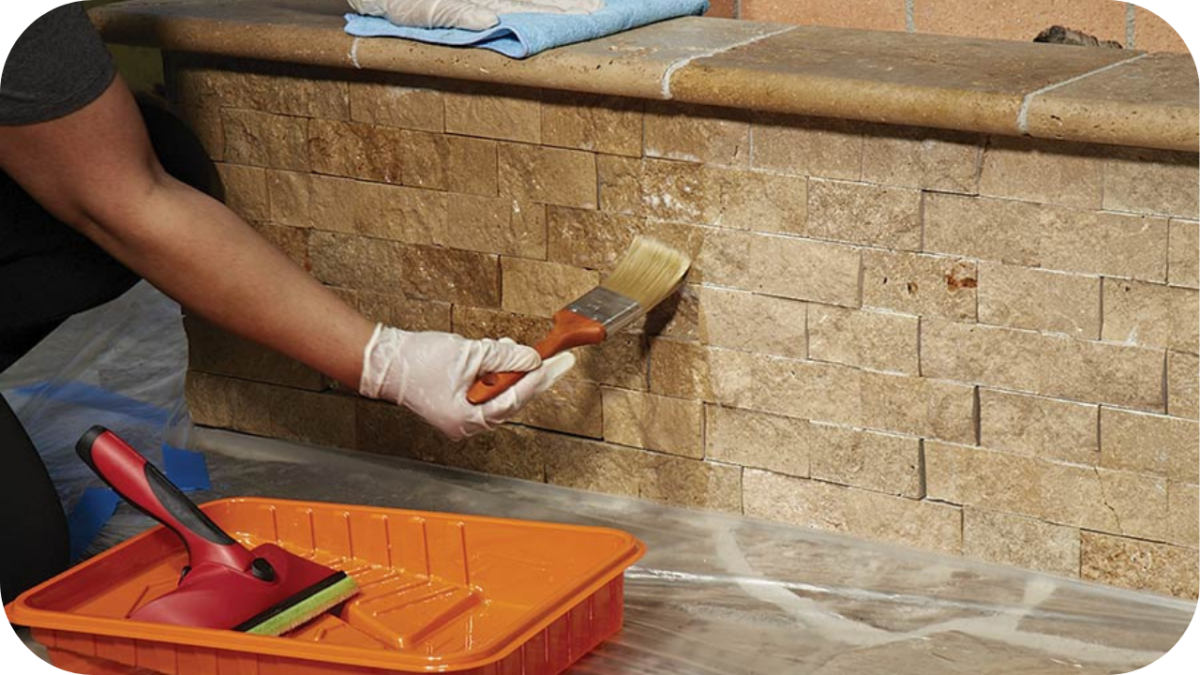
STEP 8. Clean and Seal (Optional)
Clean the bluestone surface to remove any remaining debris or loose sand. Consider applying a sealer to protect the stones from stains, enhance their natural colour, and increase longevity. Sealing is especially beneficial for outdoor installations exposed to the elements.
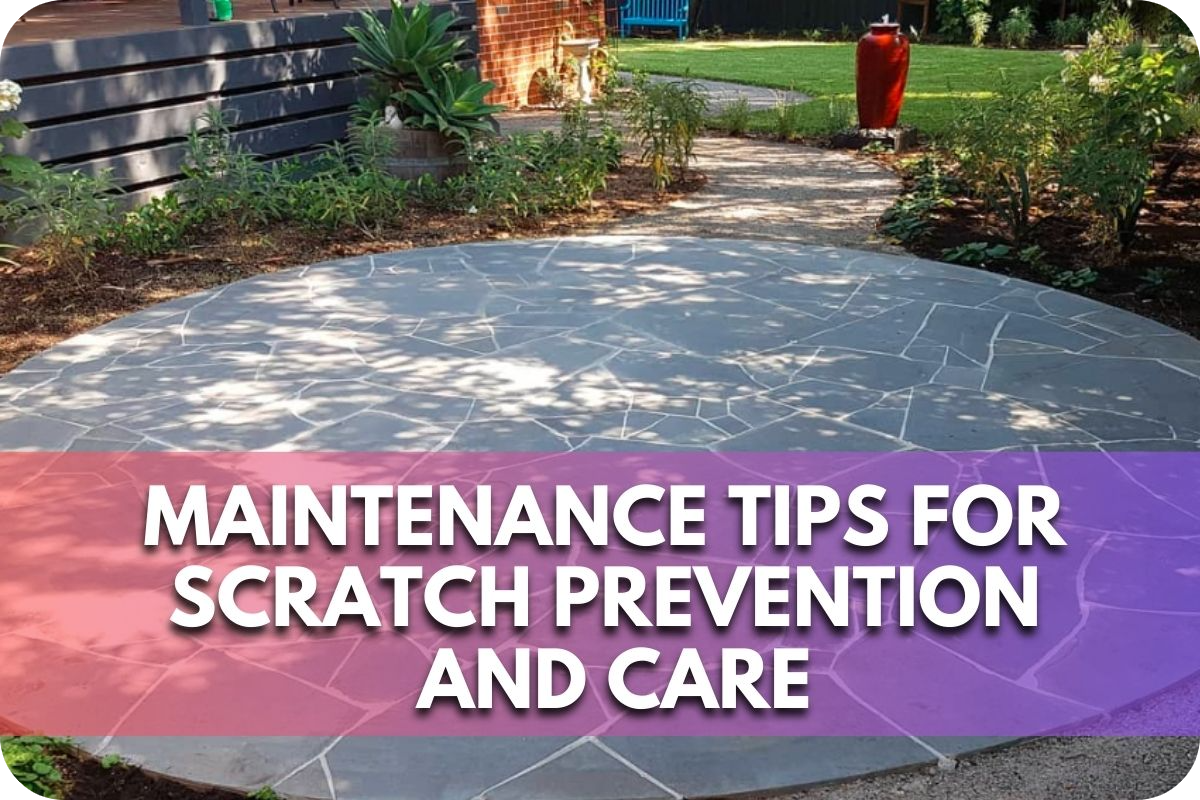
Maintenance Considerations

Bluestone laid on sand is crucial to preserve its aesthetic appeal and structural integrity. Here are specific maintenance considerations to keep in mind:
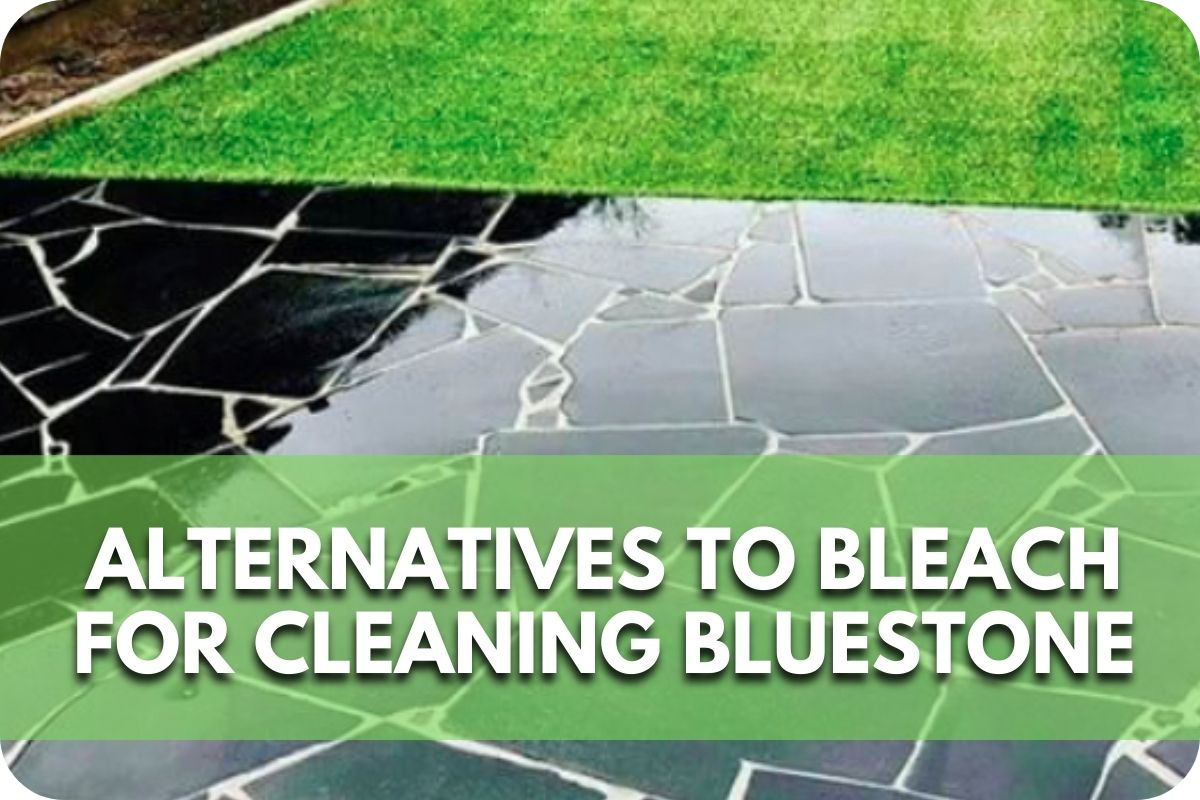
- Regular Cleaning: Bluestones should be cleaned regularly to prevent the buildup of dirt and debris. Using a broom or hose with a gentle spray setting removes loose particles. For deeper cleaning, a mild detergent mixed with water can be used with a soft brush to avoid scratching the stone.
- Weed Control: Over time, weeds can sprout between the joints. Regularly sweep sand over the pavers to fill any gaps that may have developed, which helps prevent weed growth. For weeds that do appear, use a weed killer or pull them out by hand to prevent them from spreading.
- Joint Sand Replenishment: The sand between the bluestone pavers can wash away over time, particularly in rainy climates or with frequent cleaning. Periodically, you will need to replenish the sand in the joints. This involves pouring additional sand over the surface and sweeping it into the joints until they are filled.
- Sealing: Though optional, sealing bluestone can enhance its colour and protect against stains. Sealers can also reduce the amount of water penetrating the stone and sand base, extending the life of both. It’s recommended to apply a sealer every two to three years, depending on exposure to weather and traffic.
- Check for Movement: Periodically check the pavers for movement or settling, especially after extreme weather conditions. If you notice movement, lifting the affected stones may be necessary, adding or removing sand to level the base, and then relaying the rocks.
Expert Advice

When considering laying bluestone on the sand, seeking expert advice is crucial.
Bluestone installation requires specific knowledge to ensure longevity and structural integrity. Consulting with a landscaping or masonry professional is recommended to assess the site’s conditions, such as soil type, drainage, and climate.
Experts can advise on the appropriate type and depth of sand base needed for the specific bluestone application, ensuring proper support and stability. They can also guide necessary excavation and grading preparations to create a level surface and prevent future issues like settling or shifting.
Moreover, professionals can recommend suitable techniques for laying bluestone on the sand, such as proper spacing, edge restraint systems, and jointing materials.
Expert advice enhances the aesthetic appeal of the bluestone installation and minimises the risk of costly repairs or replacements in the future. Therefore, consulting with knowledgeable professionals is essential for a successful bluestone project laid on sand.
Conclusion
While laying Bluestone on sand is feasible for specific projects, evaluating its long-term durability and maintenance needs is crucial. For expert advice and premium materials, contact Splendour In Stone. Elevate your outdoor spaces with the timeless elegance of Bluestone.