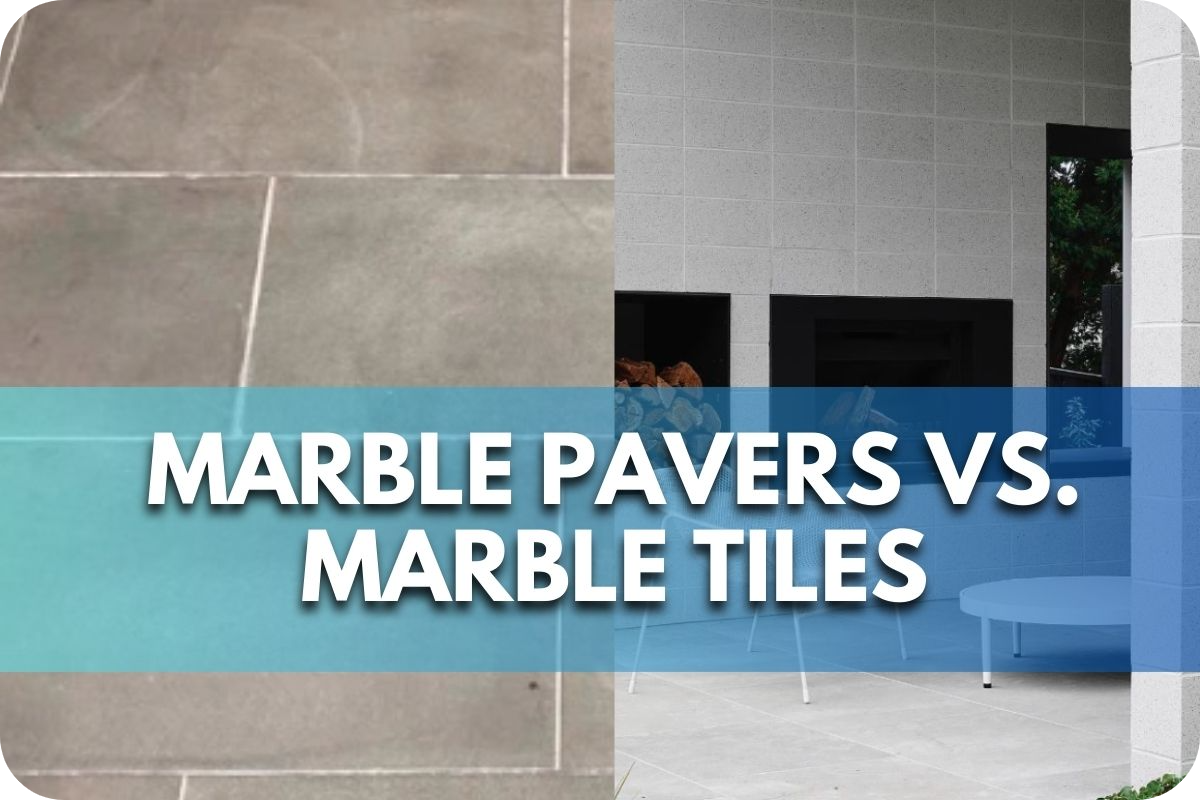
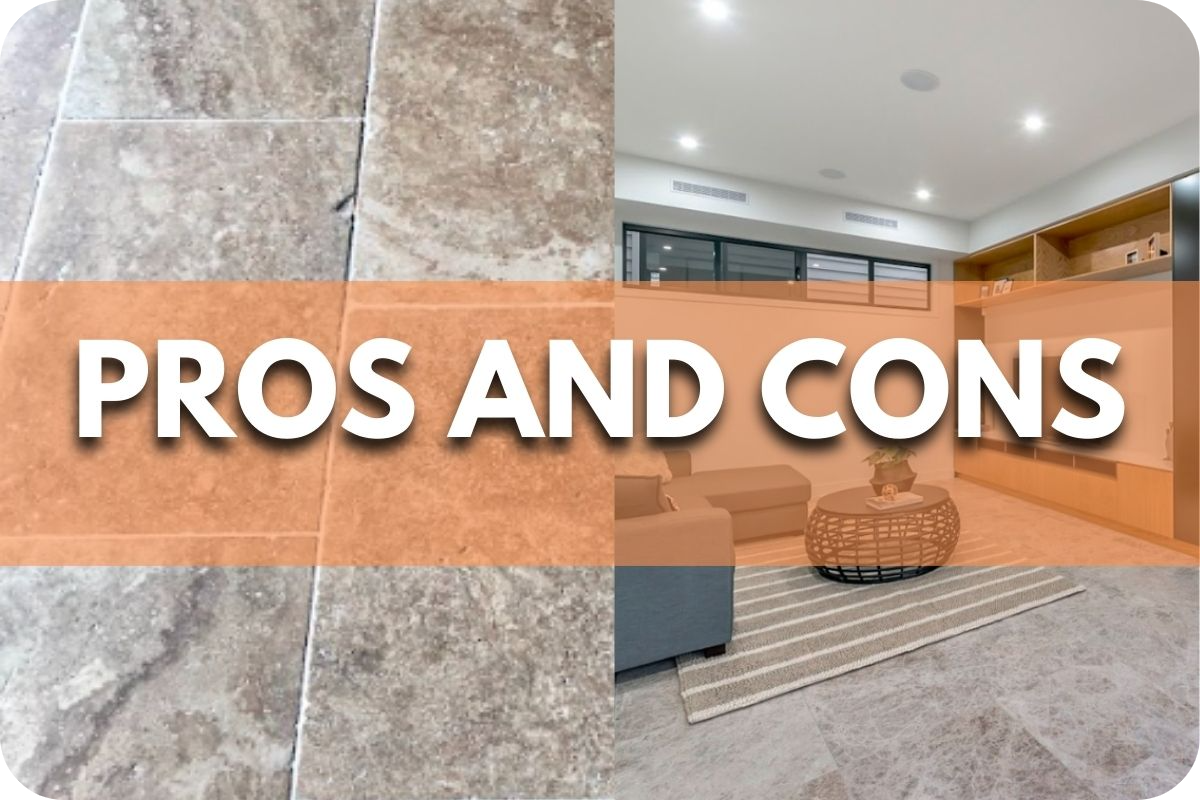
The Cost-Effective Solution: Driveway Pavers vs Traditional Concrete
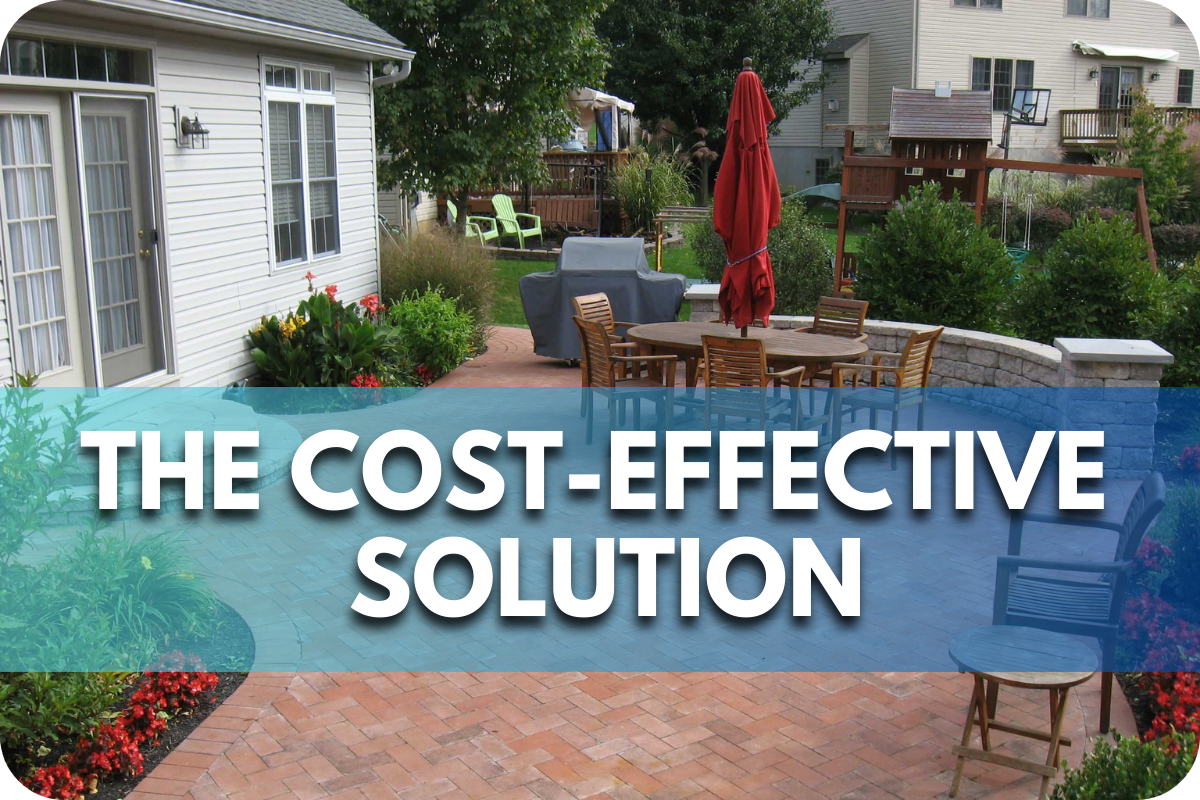
Choosing the right material for your driveway can be challenging, with cost and durability being major concerns.
Traditional concrete, while popular, often cracks over time and can be expensive to repair. This can lead to ongoing maintenance issues and unexpected expenses, eroding the initial savings.
Driveway pavers offer a cost-effective and durable alternative. They are designed to withstand heavy loads and shifting soils without cracking, making repairs simpler and cheaper. Explore the benefits of choosing pavers over concrete to find the best solution for your driveway needs.
Cost Considerations for Driveway Pavers
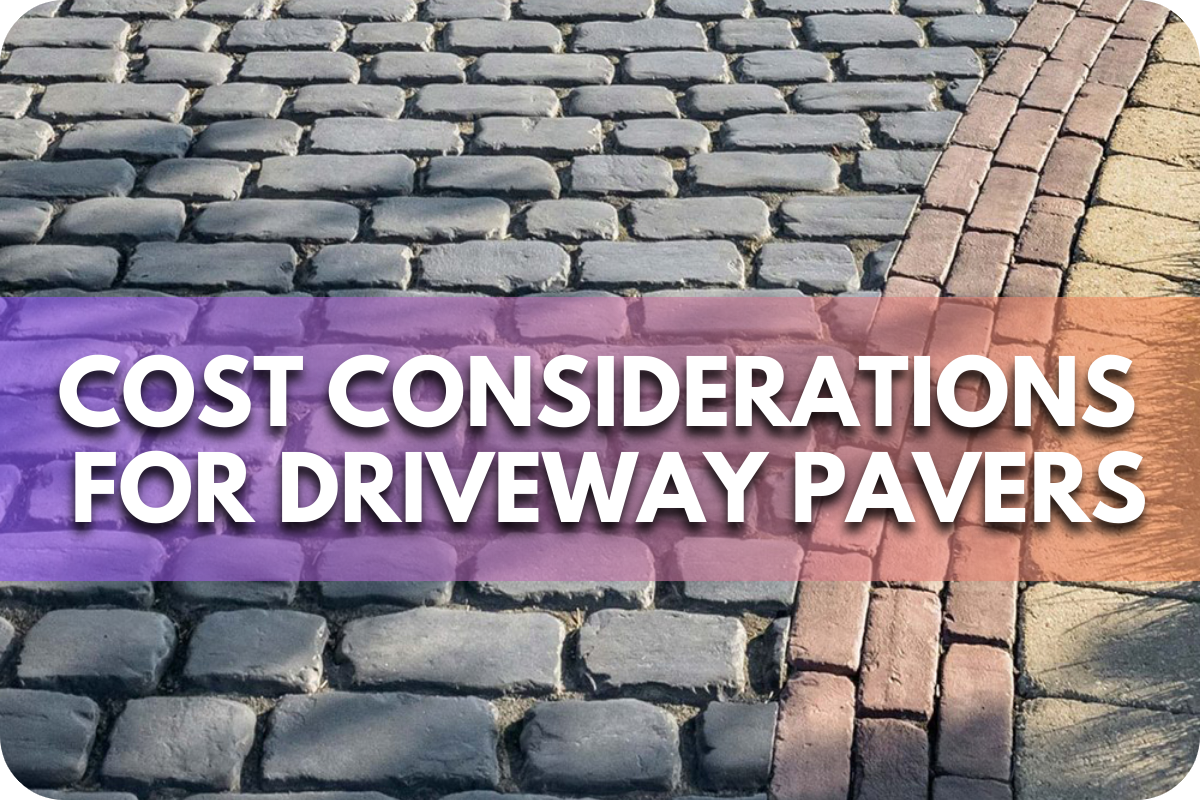
When evaluating the cost considerations of driveway pavers versus traditional concrete, it’s essential to look beyond the initial installation costs to understand the complete financial picture:
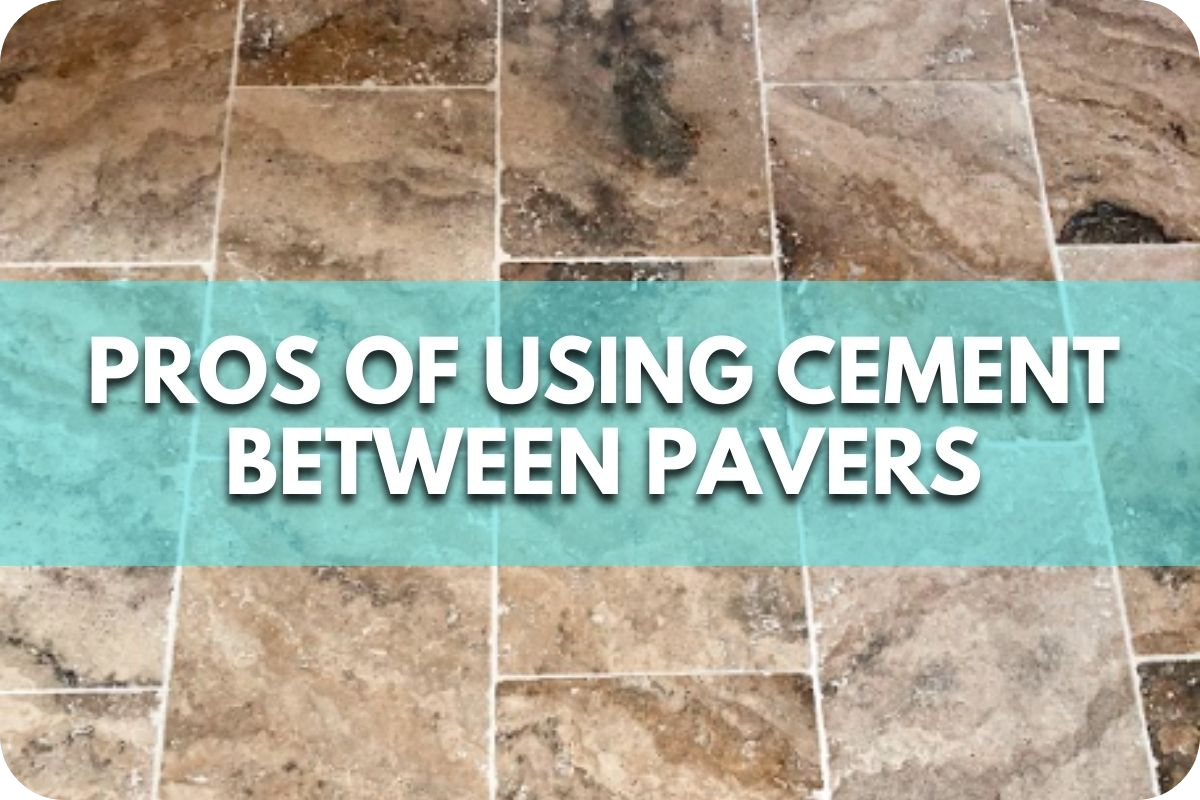
- Initial Cost: Driveway pavers generally have a higher initial cost than traditional concrete. This is due to the materials and labour involved in laying each paver individually. However, the variety of styles, colours, and materials available with pavers can cater to a broader range of budgets and design preferences.
- Longevity and Durability: With higher upfront costs, pavers offer superior durability and longevity. Pavers are designed to withstand freezing and thawing cycles without cracking, a common issue with concrete driveways. This makes them particularly suitable for climates with severe winters.
- Maintenance and Repair Costs: Pavers offer a significant advantage in maintenance and repair. If damage occurs, individual pavers can be replaced without affecting the entire driveway, making repairs less intrusive and expensive. In contrast, repairing a concrete driveway can be costlier and might require large sections to be poured again, leading to colour and texture mismatches.
- Aesthetic and Resale Value: Pavers enhance the curb appeal of a property significantly more than standard concrete, potentially increasing home value. The aesthetic appeal of a well-designed paver driveway is often seen as a worthwhile investment by homeowners looking to enhance their property’s marketability.
Cost Considerations for Traditional Concrete Driveways
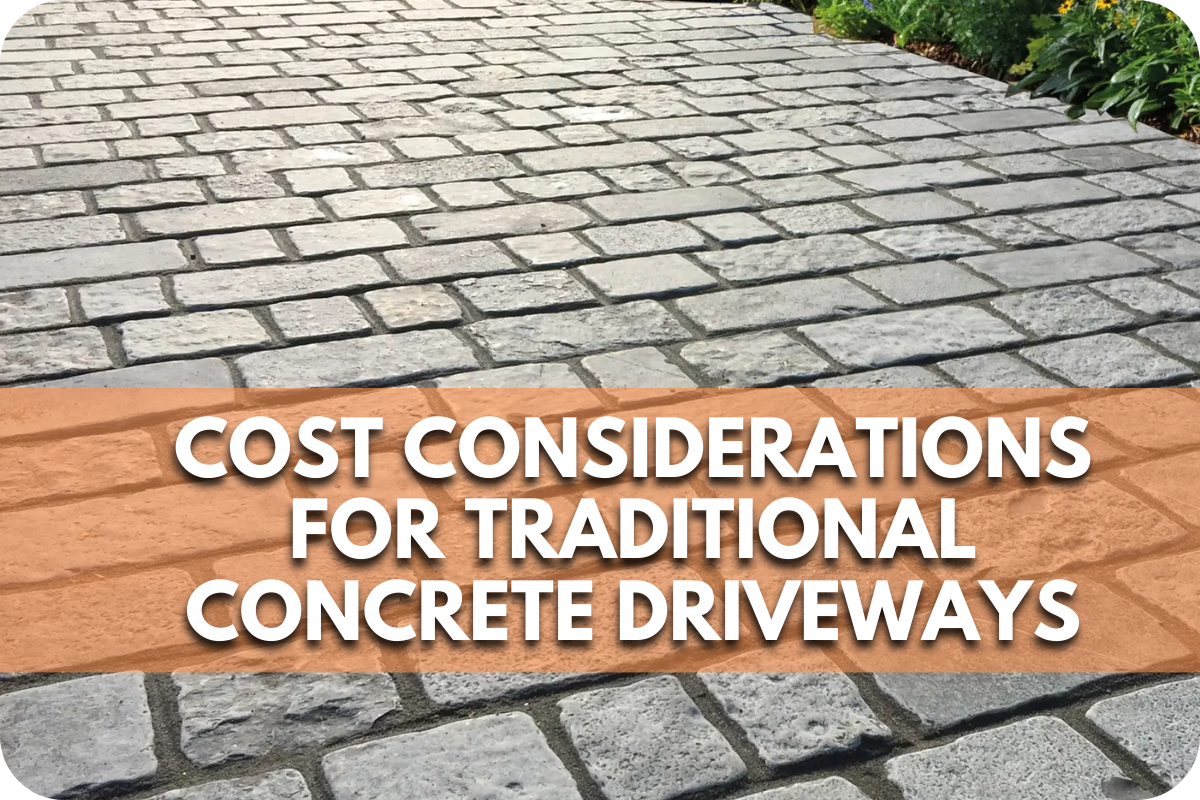
When considering traditional concrete for driveway installations, the cost considerations can be quite attractive, but there are several factors to take into account:
- Initial Cost: Traditional concrete driveways generally offer a lower initial cost than paver driveways. The materials and installation are less expensive because the process involves pouring concrete into moulds rather than laying individual pavers. This makes it a popular choice for homeowners seeking a more budget-friendly option.
- Longevity and Durability: While concrete is durable and can last many years, it is susceptible to cracking due to weather extremes, such as freeze-thaw cycles. These cracks can be unsightly and may require costly repairs.
- Maintenance and Repair Costs: Maintenance for concrete driveways is relatively low; however, repairing these areas can be expensive if cracks or other damage occur. Unlike pavers, damaged concrete often requires patching or complete re-pouring of large sections to maintain aesthetic consistency, which can be visibly unappealing and costly.
- Aesthetic and Resale Value: Concrete offers less aesthetic flexibility and may not significantly enhance property value compared to pavers. The standard grey colour and plain surface may not appeal to potential buyers looking for a more customised or upscale property feature.
Upfront Costs: Concrete’s Initial Advantage

Traditional concrete often holds an initial cost advantage when evaluating the upfront costs of driveway materials over pavers. This affordability is primarily due to the materials and installation processes involved:
- Material Costs: Concrete is generally less expensive than most paver options. The raw materials—cement, sand, and aggregate—are widely available and cheap to produce, contributing to the lower cost.
- Installation Costs: Pouring a concrete driveway is a relatively straightforward process that requires less labour than laying pavers. Concrete is poured into prepared moulds or frames, then levelled and treated to prevent cracks as it cures. This process allows for quicker and, consequently, less labour-intensive installation, which can significantly reduce the overall cost.
- Scale of Work: Concrete’s cost-effectiveness becomes even more apparent for larger driveway areas. Pouring large areas quickly and with fewer labour hours per square foot reduces costs exponentially compared to the meticulous and labour-intensive process of laying individual pavers.
- Equipment and Technology: Advances in concrete mixing and pouring technology have also streamlined the installation process, further reducing labour costs and time.
Long-Term Costs: Where Pavers Shine
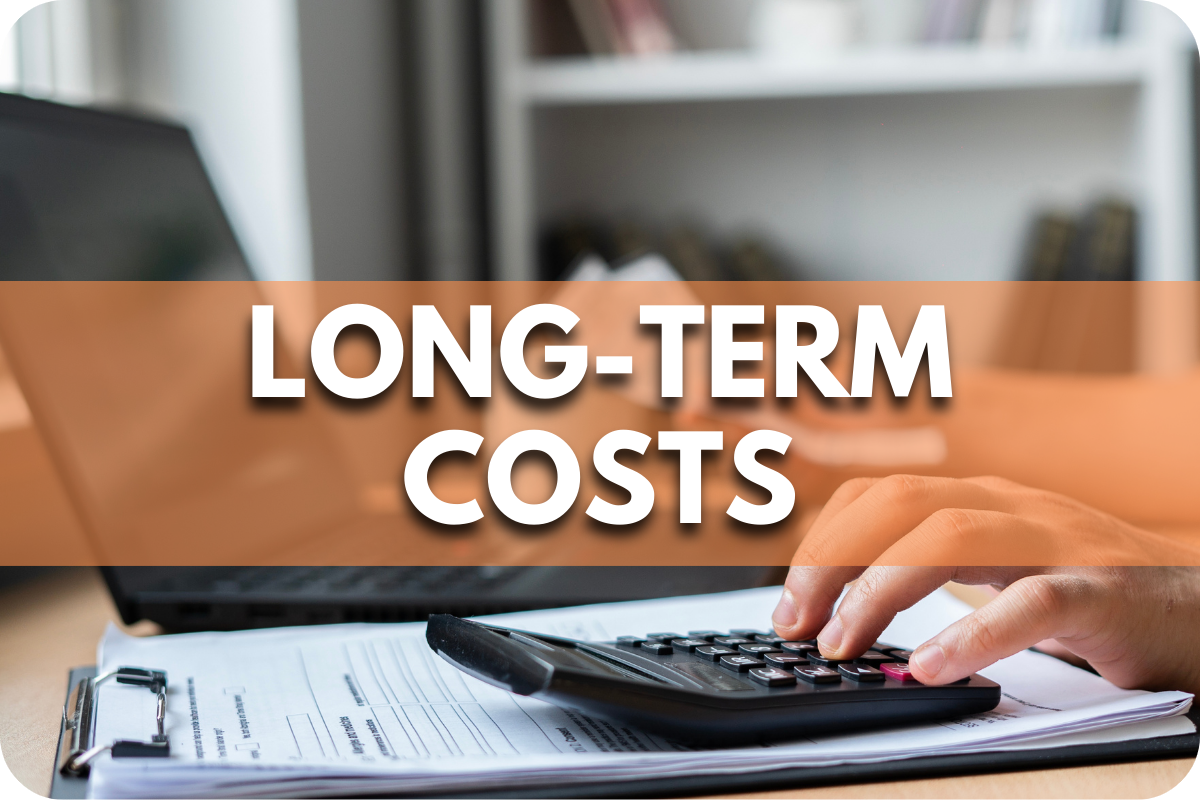
When considering long-term costs, driveway pavers significantly outshine traditional concrete in several key aspects:
- Durability and Maintenance: Pavers are remarkably durable and require less maintenance than concrete, which is prone to cracking. The modular nature of pavers allows for easy replacement of individual pieces, drastically reducing the need for costly repairs and extending the overall lifespan of the driveway.
- Adaptability to Weather: Pavers excel in various climates, especially in regions experiencing freeze-thaw cycles. Unlike concrete, pavers are set over a compacted base of sand and gravel, allowing them to shift slightly without cracking. This flexibility minimises weather-related damage.
- Aesthetics and Property Value: Pavers maintain their colour and texture for years, contributing to sustained curb appeal and potentially increasing property value. Concrete, however, can stain and fade, diminishing its aesthetic appeal over time.
- Enhanced Drainage: The interlocking design of pavers offers superior drainage compared to concrete slabs. This design drains water through the joints, reducing surface water accumulation and preventing structural water damage.
Additional Benefits of Pavers
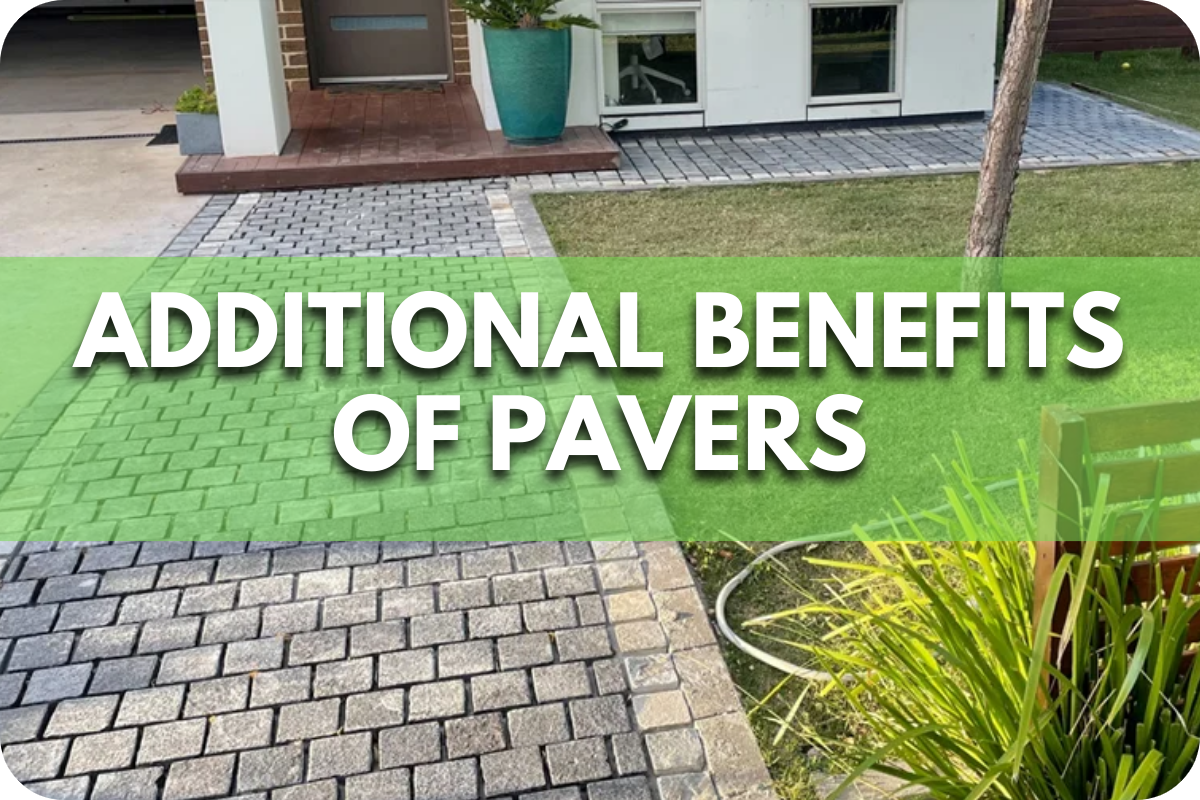
Beyond the long-term cost advantages, driveway pavers offer several additional benefits that enhance both functionality and aesthetics:
- Versatility in Design: Pavers come in various shapes, colours, and textures, allowing homeowners to create unique, customisable patterns that can complement the exterior of their homes. This versatility makes pavers ideal for those seeking to enhance architectural harmony.
- Environmental Friendliness: Many paver systems are designed to be permeable, facilitating groundwater replenishment. This feature reduces runoff, decreases the burden on municipal stormwater systems, and can help in meeting zoning and environmental regulations regarding permeable surfaces.
- Safety Features: The textured surface of pavers provides better traction underfoot than traditional concrete, which can be slippery when wet. This makes pavers a safer option for areas that experience frequent rain or freezing conditions.
- Ease of Installation: Despite the perception that pavers are difficult to install, they can be laid down relatively quickly once the ground preparation is complete. Additionally, they do not require the curing time that concrete does, meaning a paver driveway can be used almost immediately after installation.
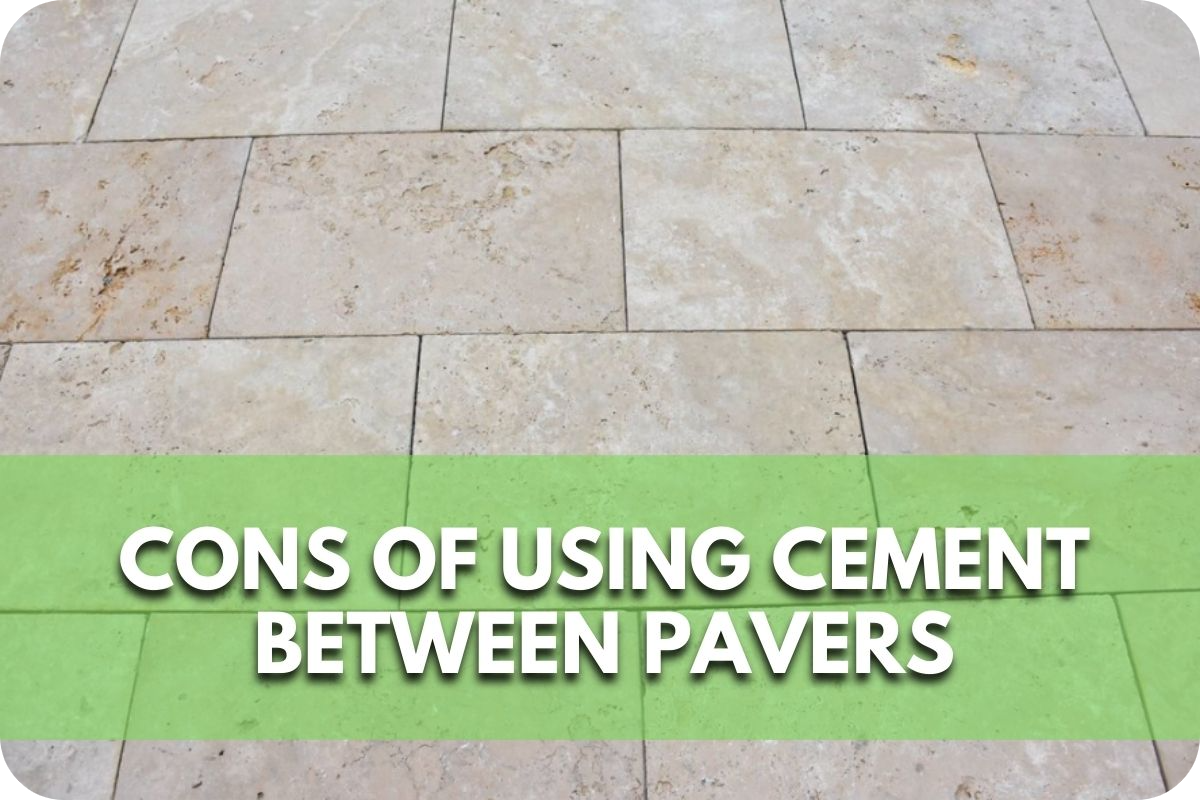
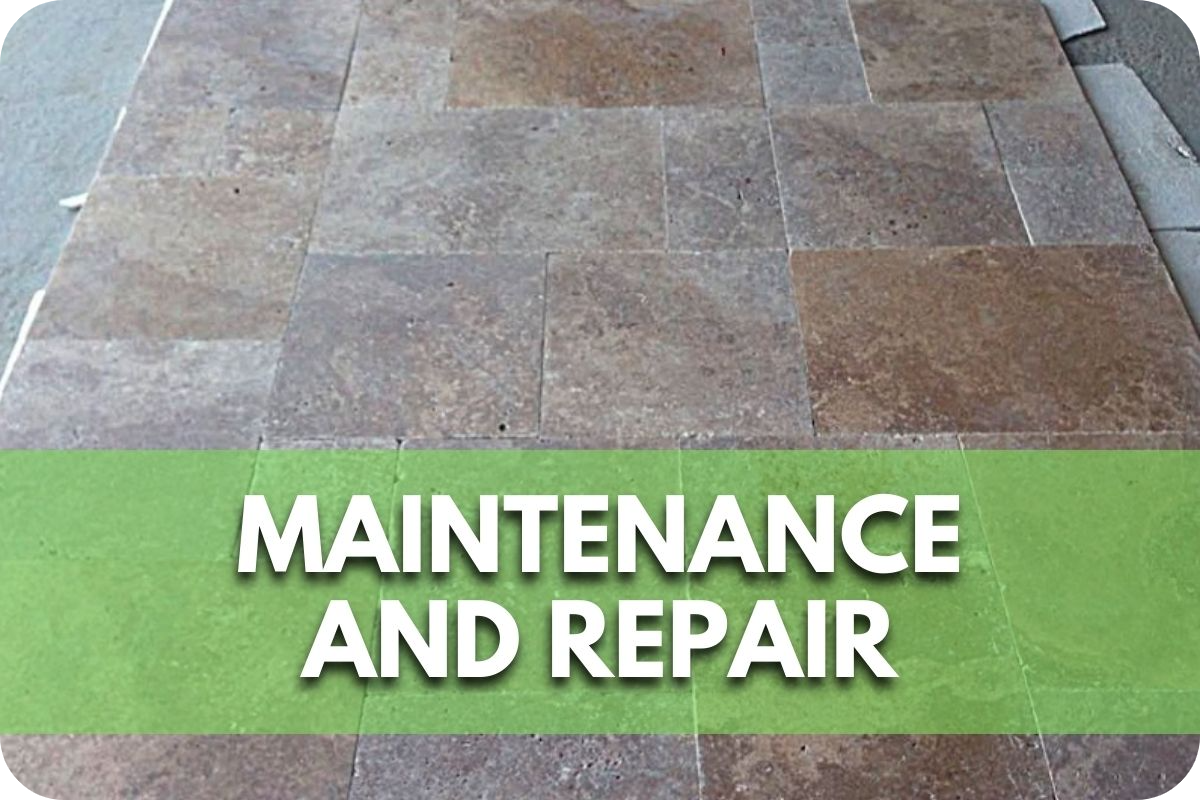
Maintenance and Repair Costs
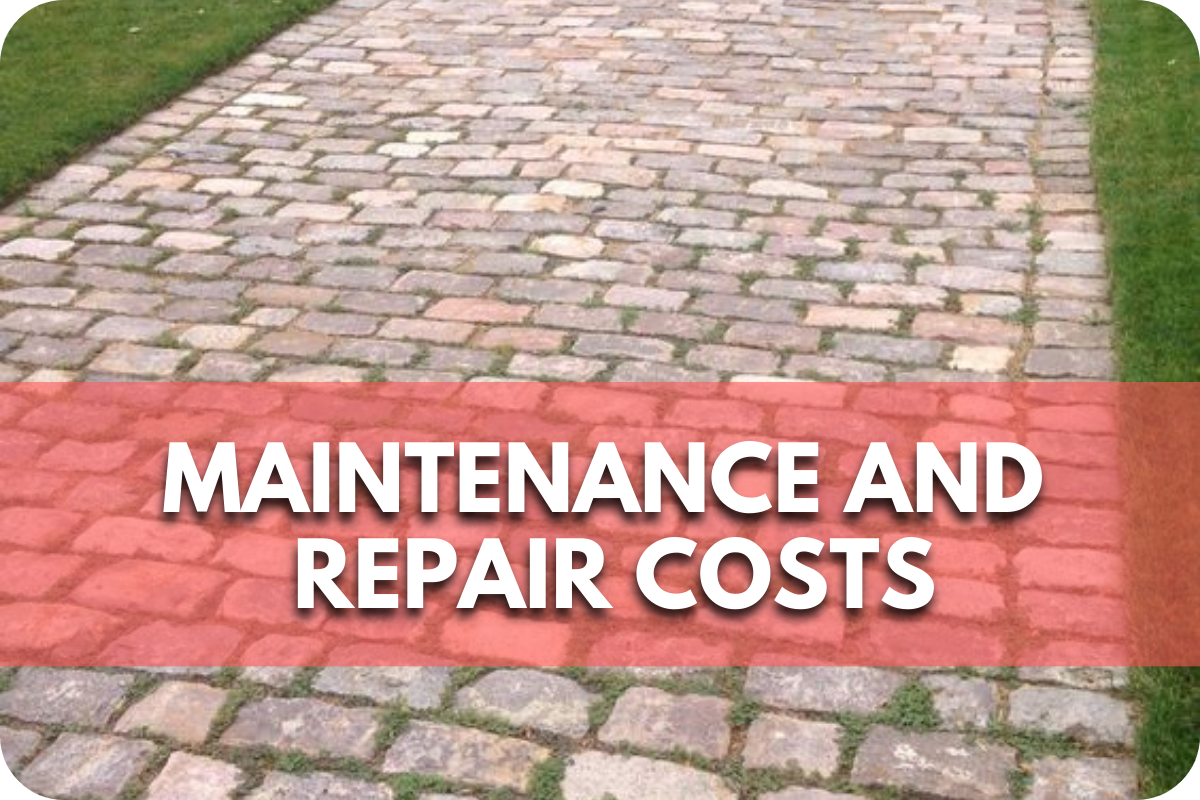
Maintenance and repair costs are crucial in deciding between driveway pavers and traditional concrete. Pavers offer distinct advantages in both respects:
- Low Maintenance: Driveway pavers generally require minimal maintenance. Regular tasks include sweeping to remove debris and occasional rinsing with a hose. To maintain their pristine appearance, pavers can be sealed, which protects them from stains and enhances their colour, though this is optional and based on aesthetic preference.
- Cost-Effective Repairs: One of the standout advantages of pavers is their ease of repair. Unlike concrete, which often requires patching or complete replacement when damaged, individual pavers can be removed and replaced if they become cracked or stained. This spot treatment significantly reduces repair costs and the hassle of more extensive concrete repairs.
- Durability: Pavers are designed to withstand heavy loads and traffic without cracking, a common issue with concrete driveways. Their interlocking design distributes weight more evenly, helping preserve the surface’s integrity over time.
Lifespan and Durability
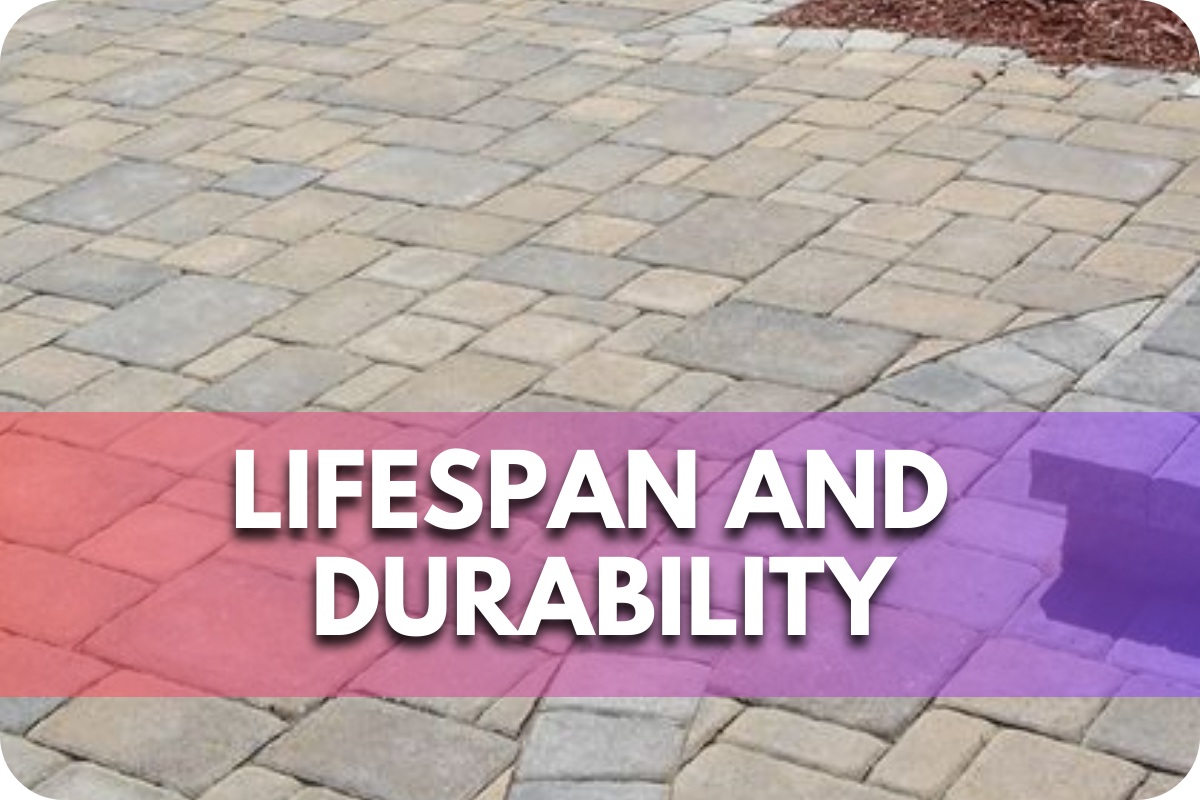
The lifespan and durability of driveway pavers surpass traditional concrete, making them a more sustainable and economical option over time. Here’s a detailed breakdown of their advantages:
- Extended Lifespan: Driveway pavers typically offer a longer lifespan than concrete. Pavers can last 30 years or more with proper installation and minimal maintenance. In contrast, due to cracking and wear, traditional concrete driveways may require replacement or significant repair within 20 to 25 years.
- Superior Durability: Pavers are highly durable due to their ability to flex with pressure and environmental changes. This flexibility helps prevent the formation of large, unsightly cracks commonly seen in concrete driveways. Pavers are especially advantageous in climates that experience frequent freeze-thaw cycles, where the ability to expand and contract without cracking is critical.
- Resistance to Weathering and Stains: Pavers are less susceptible to weathering and staining. Many are manufactured with a sealant that repels moisture and stains, maintaining their aesthetic appeal for years. In cases where staining occurs, the affected paver can be easily replaced without disturbing the surrounding structure.
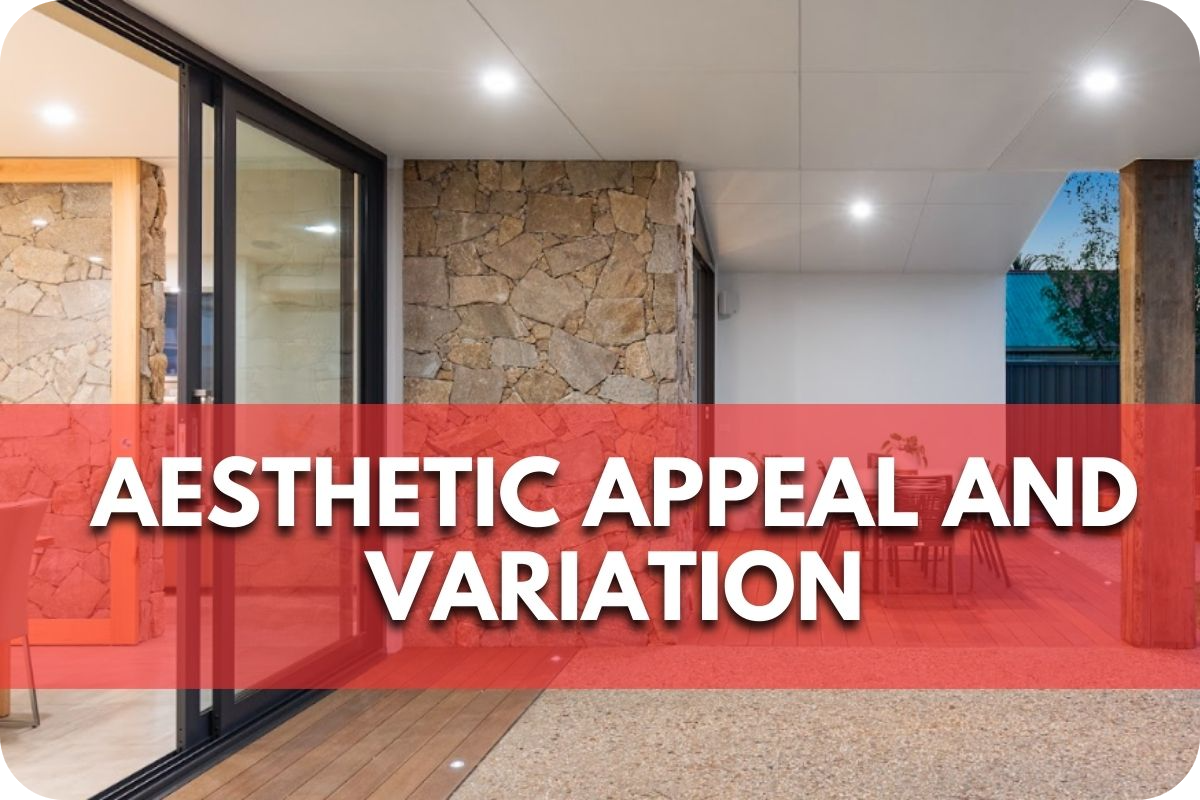
Aesthetic Appeal and Value
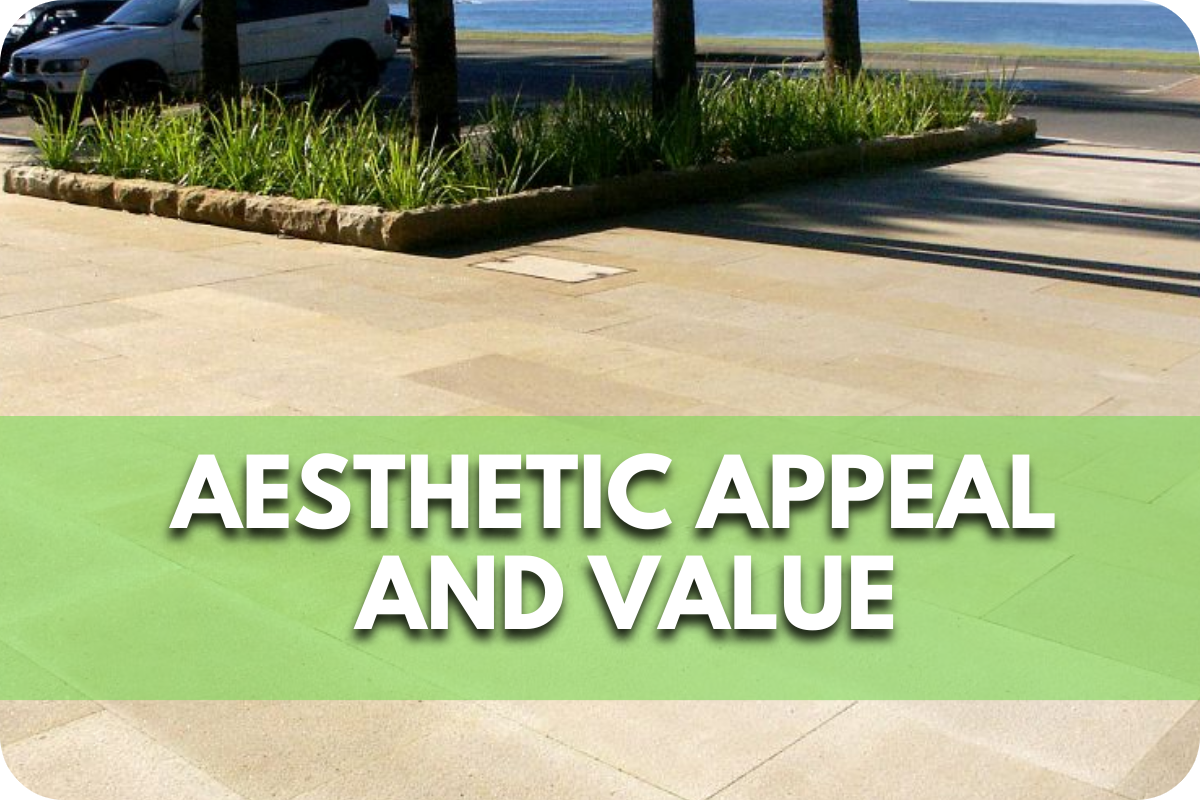
The aesthetic appeal and added value of driveway pavers are significant factors when comparing them to traditional concrete. Here’s a focused look at these benefits:
- Customisable Designs: Driveway pavers offer extensive customisation options. They are available in various colours, shapes, and textures, allowing homeowners to tailor the design to complement their home’s architecture and personal style. This versatility far exceeds the aesthetic options of standard concrete.
- Enhanced Curb Appeal: A paver driveway’s distinctive look can significantly improve a property’s curb appeal. The refined appearance of pavers, whether in intricate patterns or simple, elegant designs, presents a visually appealing entryway that stands out in any neighbourhood.
- Increased Property Value: A well-installed paver driveway can increase a home’s resale value. Potential buyers often perceive the pavers’ upscale look and proven durability as desirable features, translating into a higher market value.
- Long-Lasting Colour and Texture: Pavers maintain their colour and texture for years, unlike concrete, which can fade and wear over time. This enduring quality ensures that the driveway contributes positively to the home’s aesthetics without looking worn or dated.
Environmental Considerations
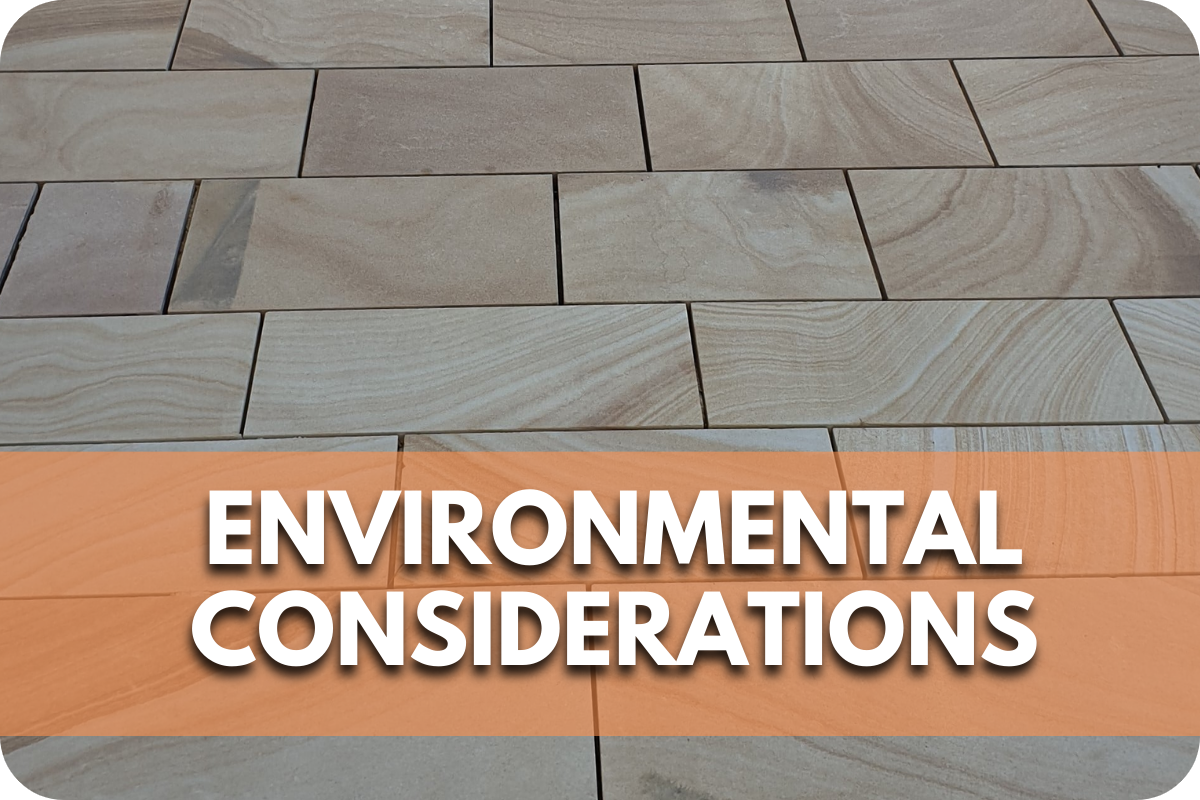
Environmental considerations play a pivotal role in the decision between driveway pavers and traditional concrete, with pavers offering several eco-friendly benefits:
- Permeability: Many paver systems are designed to be permeable, allowing water to seep through the gaps between them and into the ground beneath. This reduces runoff, prevents erosion, and aids in replenishing groundwater, which is especially beneficial in urban areas where natural soil absorption is limited.
- Heat Reduction: Pavers can help reduce the heat island effect commonly seen with concrete and asphalt surfaces. Their ability to absorb less heat due to their colour and material composition contributes to a cooler surrounding environment.
- Sustainability: Pavers are often made from natural or recycled materials, enhancing their sustainability. Replacing only damaged pavers rather than an entire driveway reduces waste and resource consumption.
- Durability and Longevity: Pavers’ extended lifespan means fewer resources are needed for repairs and replacements over time. This longevity ensures the environmental impact is minimised throughout the driveway’s life.
Conclusion
Driveway pavers offer superior durability and aesthetic versatility compared to traditional concrete, proving more cost-effective in the long run.
Choose pavers for a sustainable, stylish driveway solution that enhances your property’s value. Consider making the switch today to invest wisely in your home’s future.