Stone Secrets: How to Create a Hotel Lobby That Wows Every Guest Stone Secrets for Hotel Lobby Design
Stepping into a hotel lobby, there’s an immediate sense of anticipation. I recall entering a grand space where polished stone surfaces reflected soft lighting, making every corner feel like a glimpse into luxury.
The ambience was captivating, and each stone feature told a story of elegance and warmth. Guests seemed to slow down, savouring the atmosphere.
I couldn’t help but wonder—how does stone transform a lobby into more than just an entryway? As I lingered, I realised the secret was in every carefully chosen stone. Curious? Let’s explore.
The Unique Appeal of Natural Materials: Crafting First Impressions
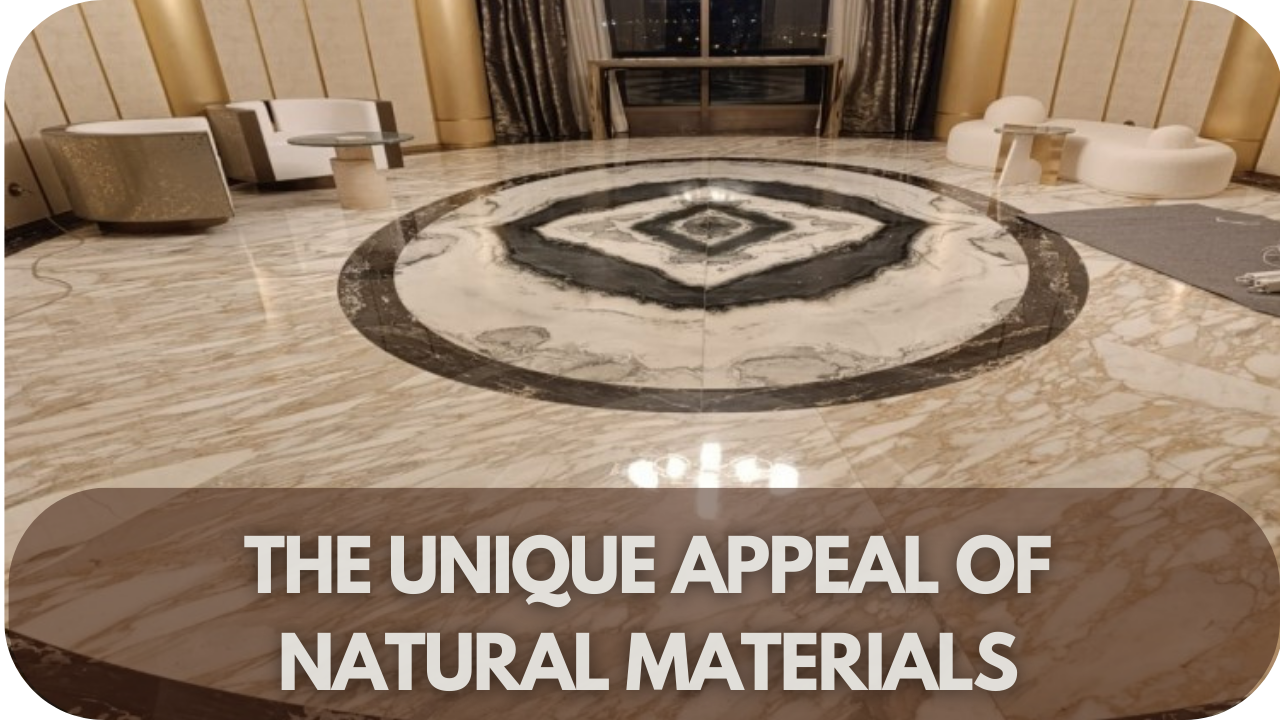
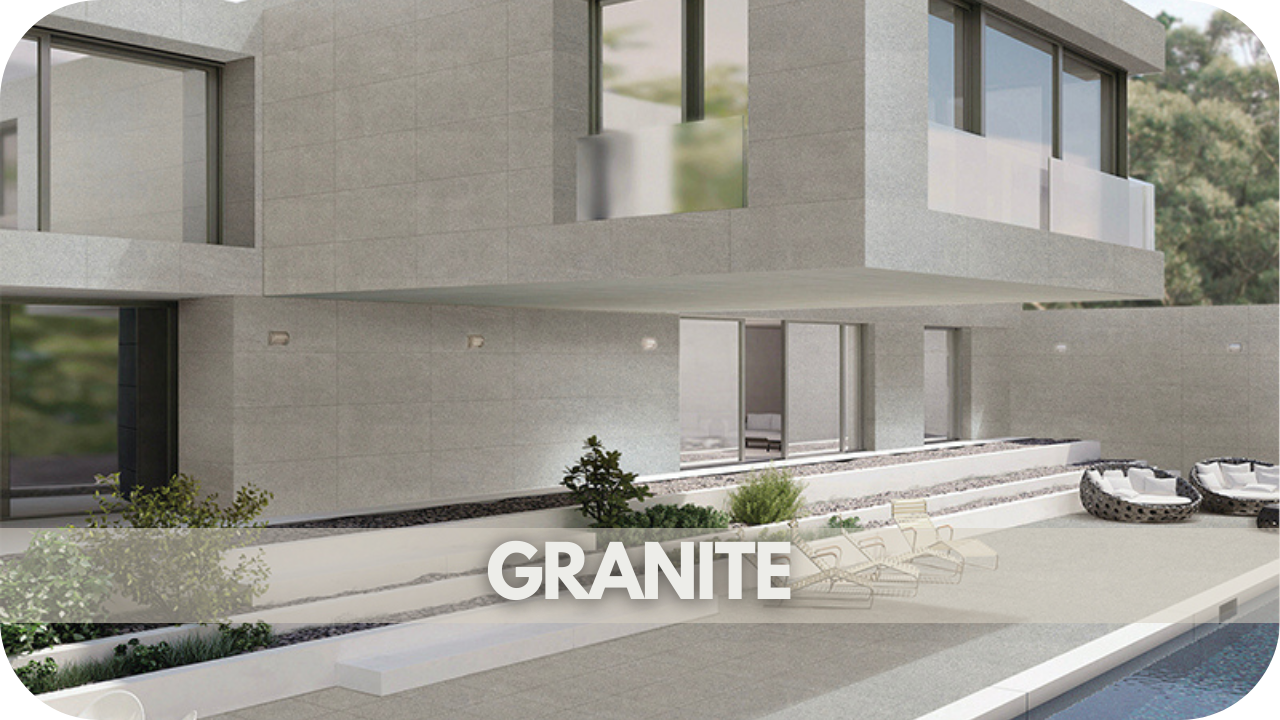
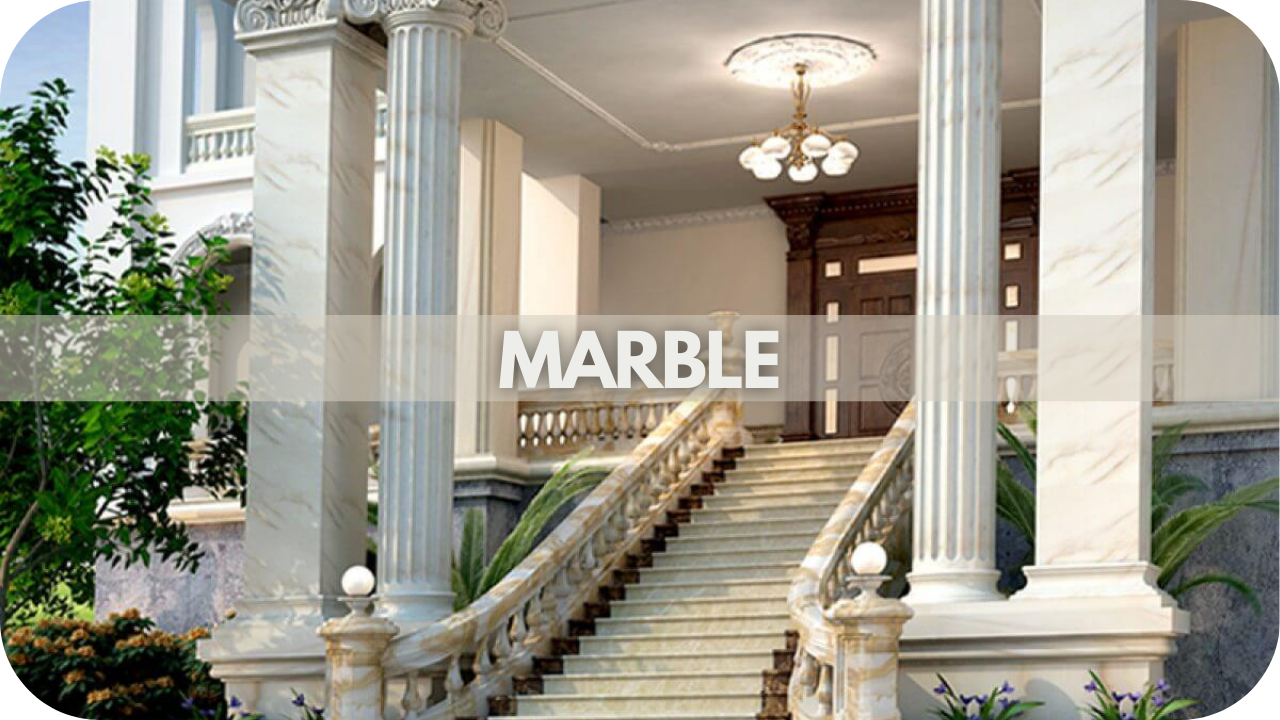
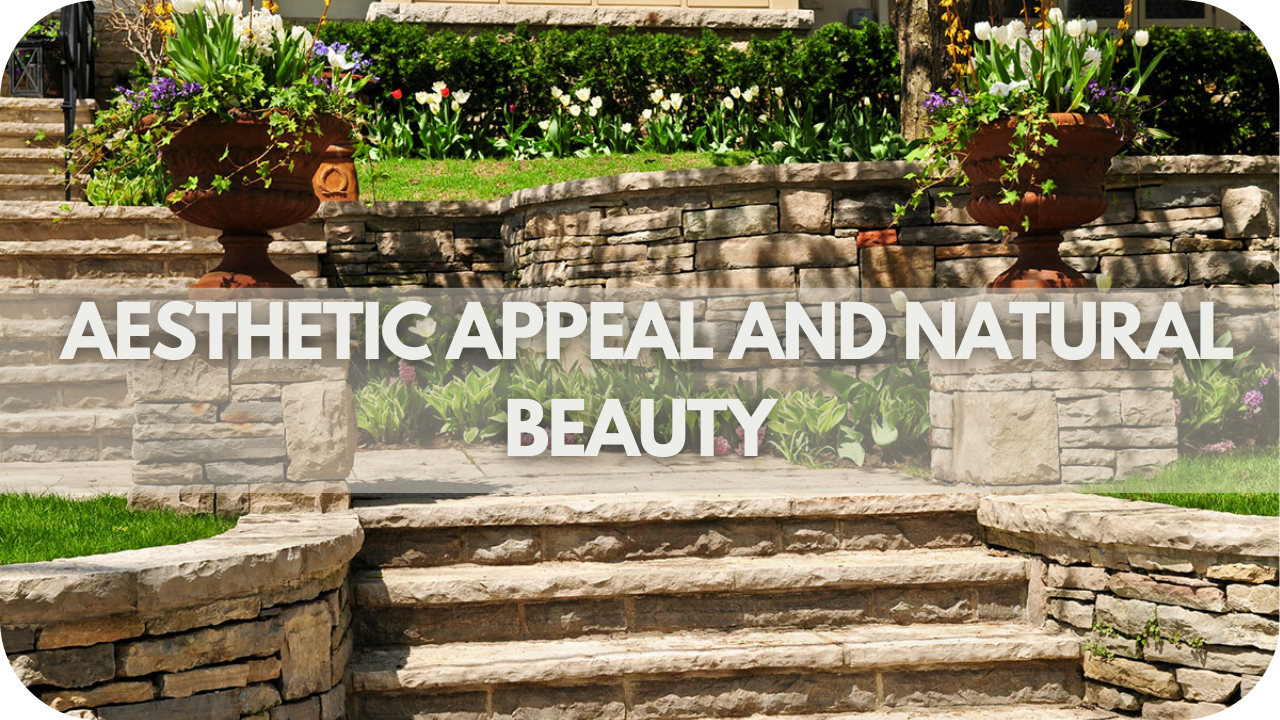
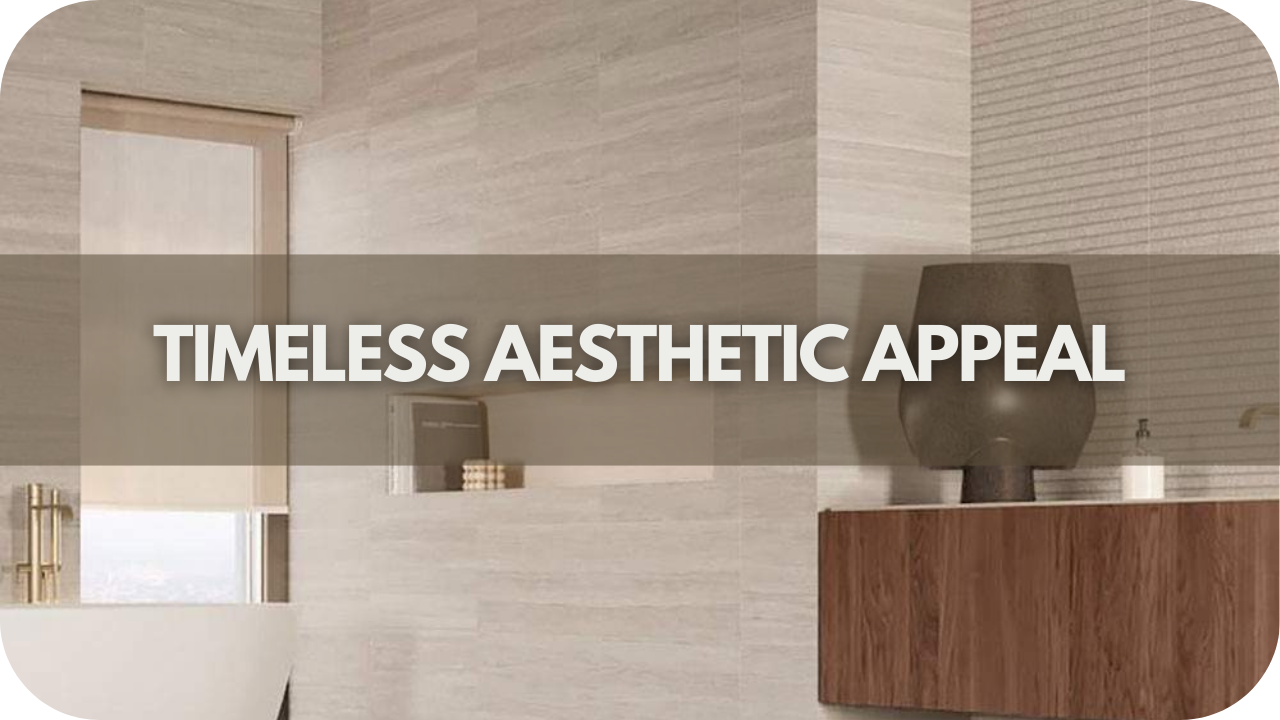
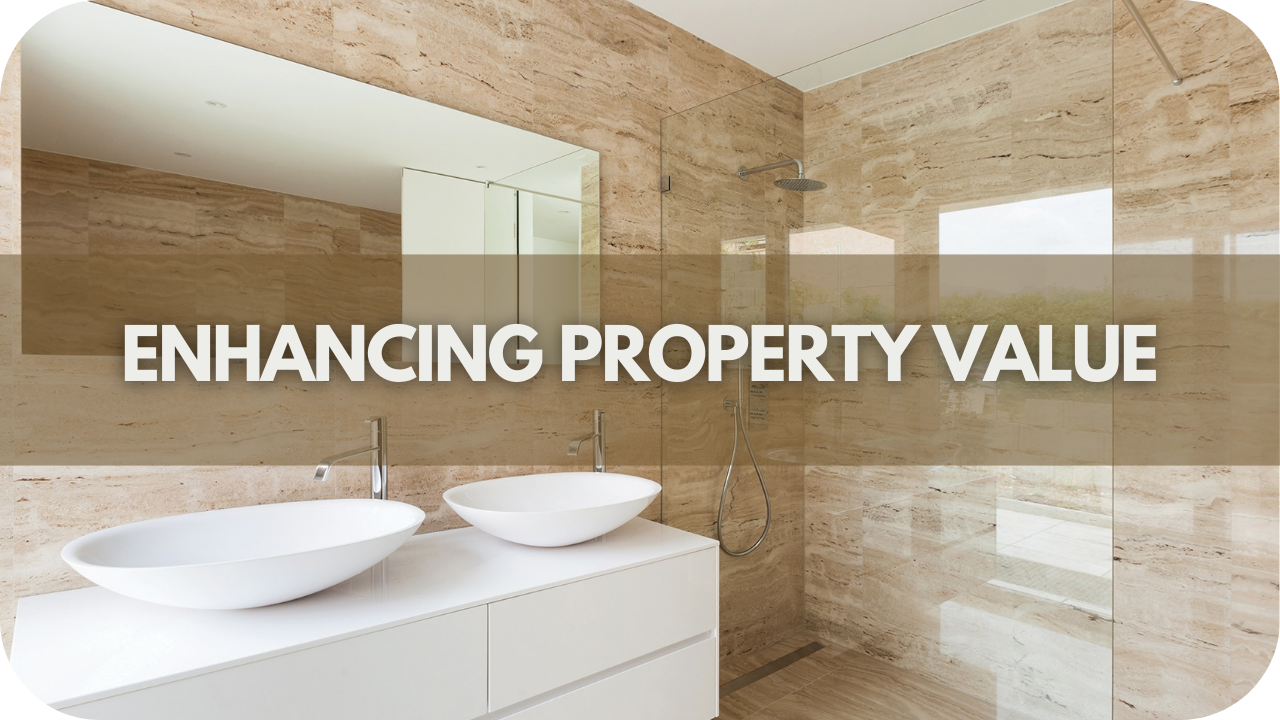
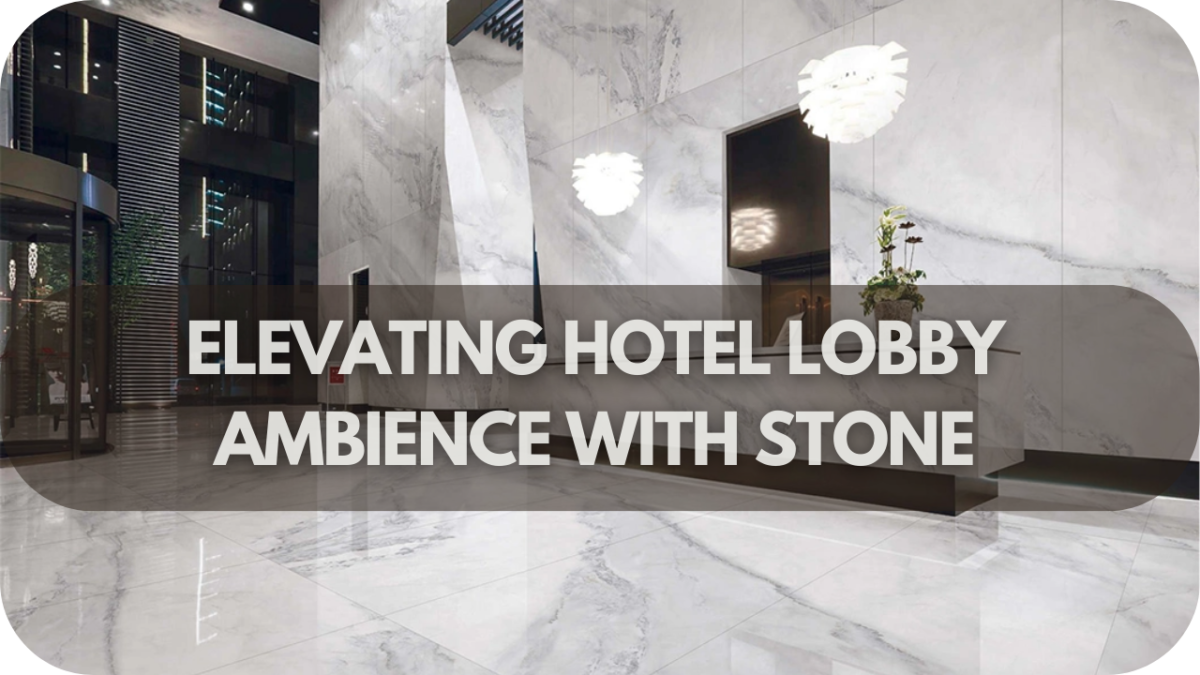
Natural materials like stone do more than decorate; they create a powerful first impression that speaks of quality and elegance. Entering a lobby adorned with polished marble or granite instantly evokes luxury, signalling to guests that they are in a refined space.
The choice of natural materials in a hotel lobby isn’t merely aesthetic; it’s a powerful tool for shaping first impressions. Stone, in particular, conveys authenticity, elegance, and permanence, resonating with guests who seek an environment that feels both luxurious and welcoming.
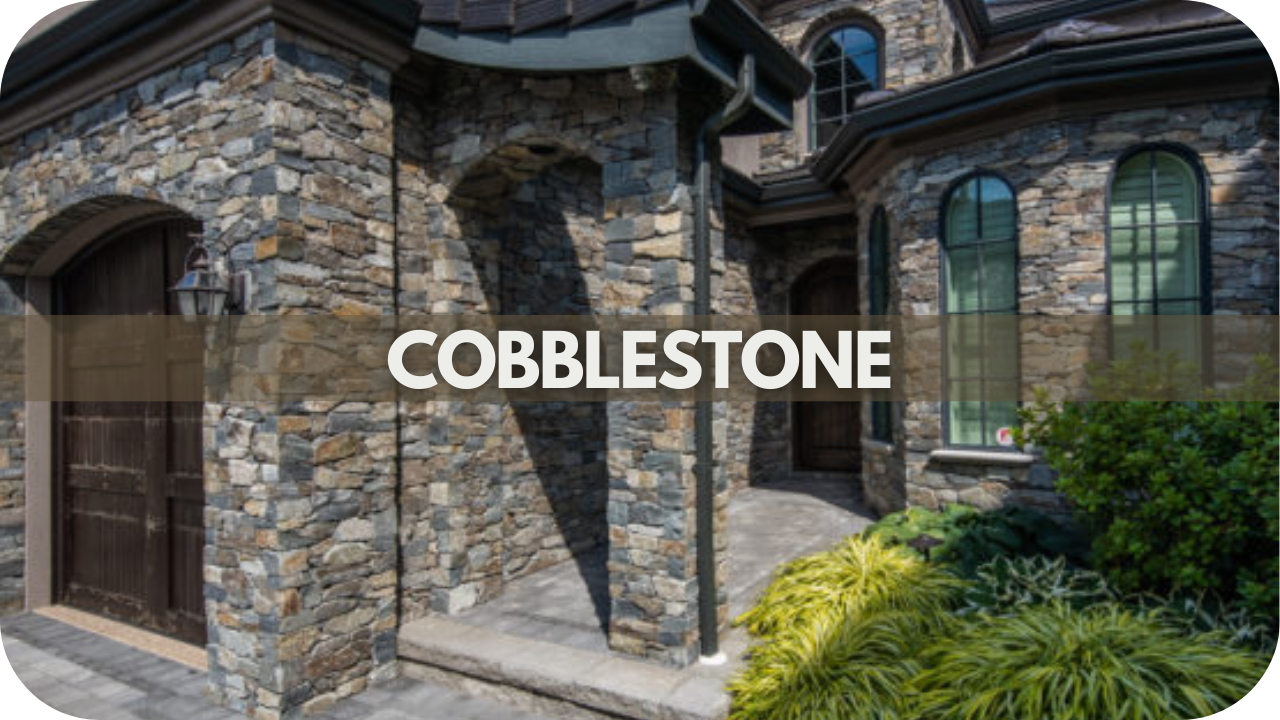
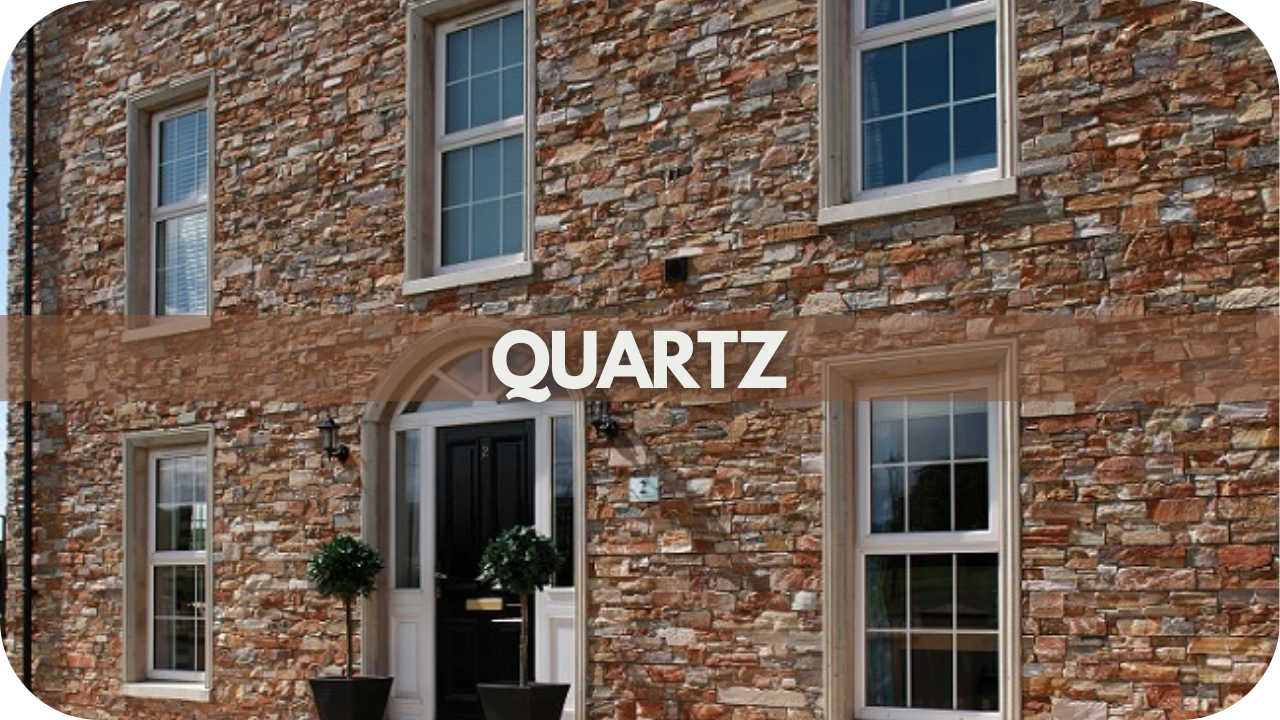
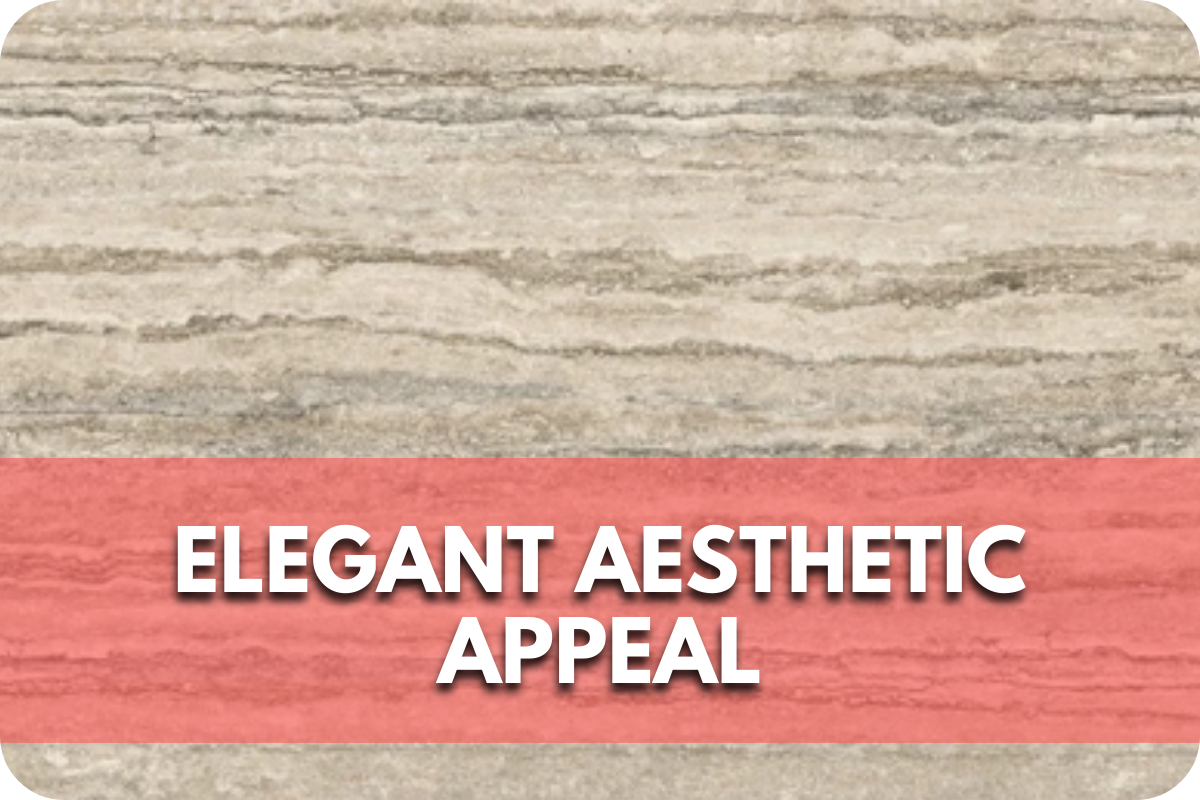
The variety in texture, colour, and finish allows designers to create bespoke spaces that subtly reflect the hotel’s brand identity. Each stone type sets a unique tone, from polished marble that exudes sophistication to rugged granite that suggests strength.
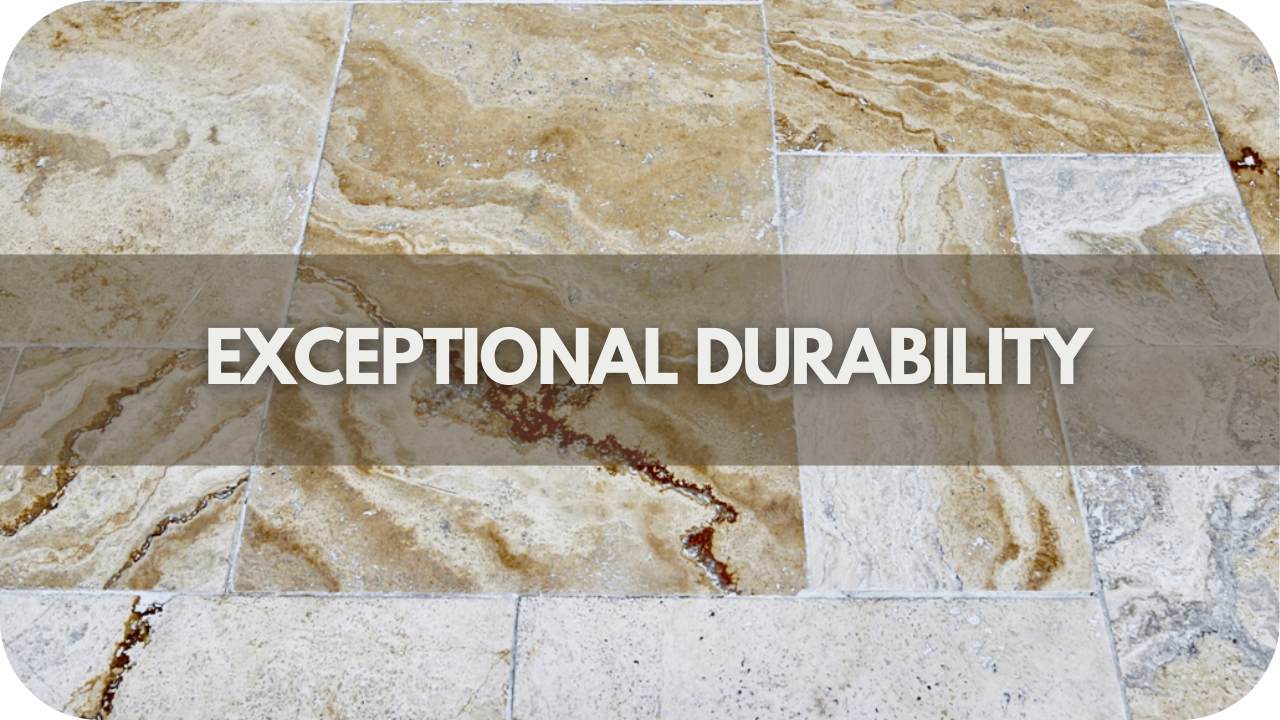
Beyond its appearance, the stone’s durability adds practicality to its appeal. It stands up well to high foot traffic while maintaining its beauty. With stone as a primary material, hotels signal their commitment to quality, reinforcing an upscale guest experience right from the lobby’s entrance.
Creating an Atmosphere of Luxury and Calm with Stone
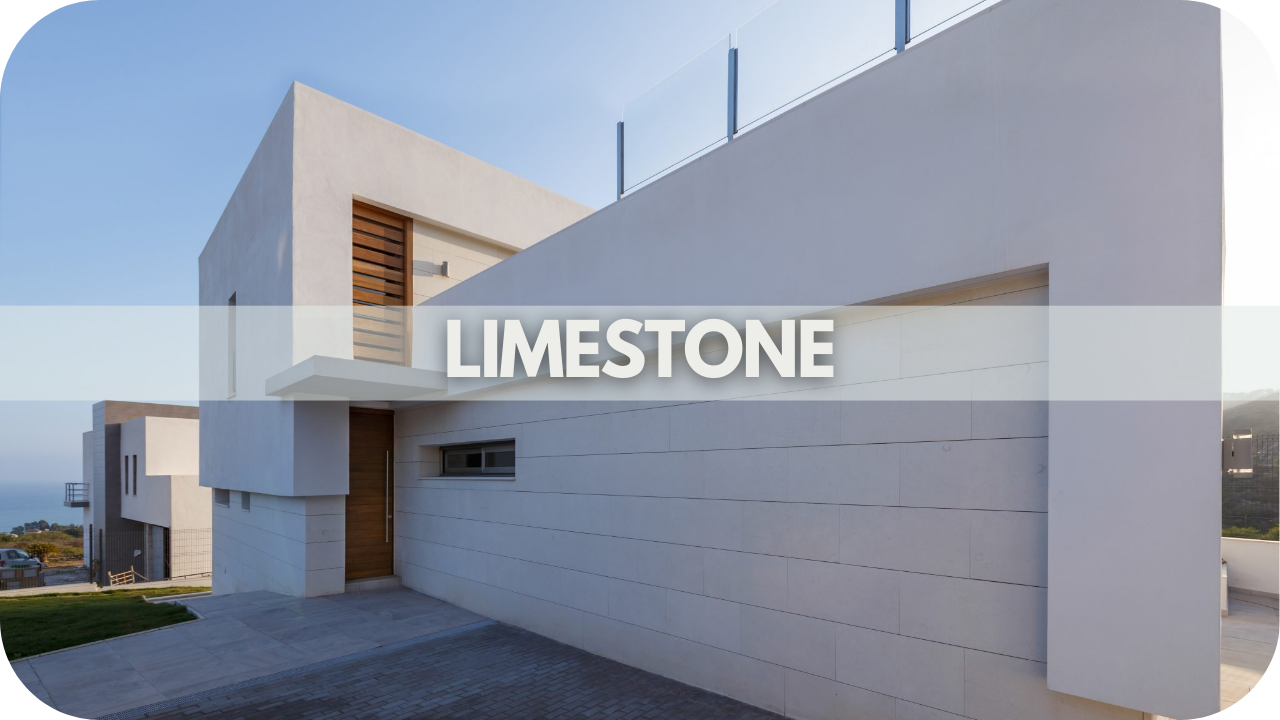
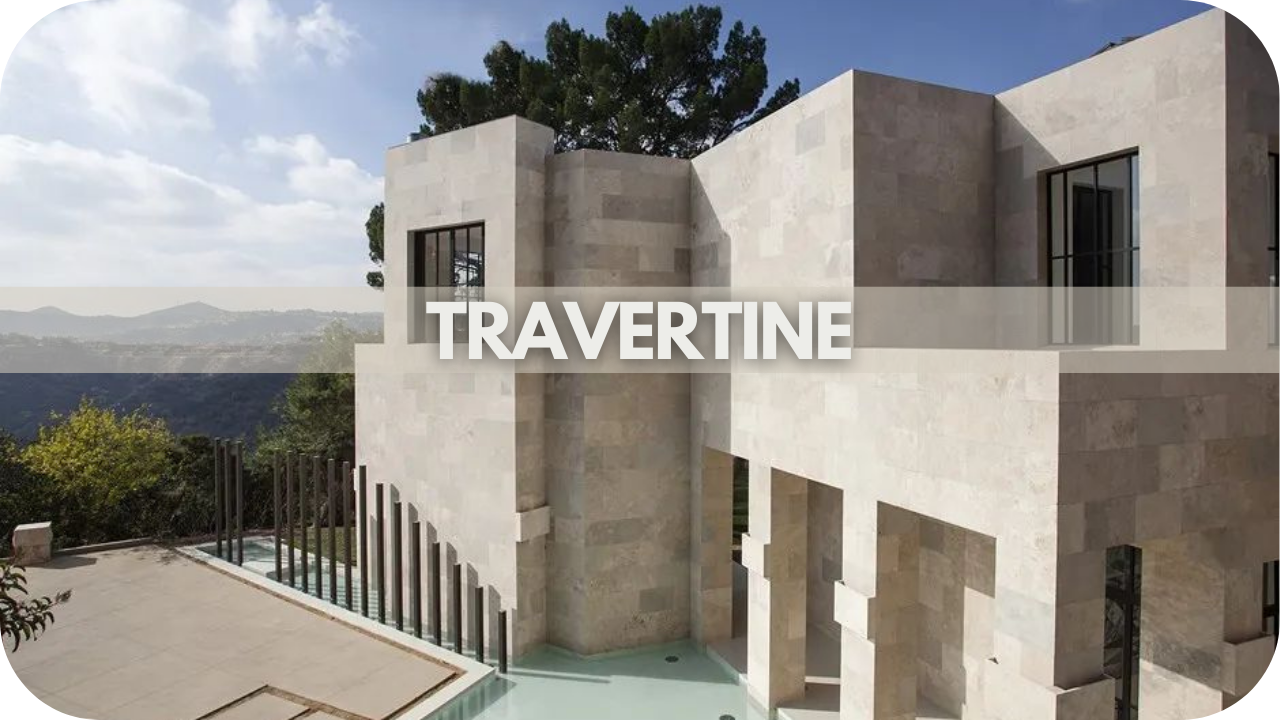
Stone’s natural elegance and neutral tones can transform a lobby into a serene sanctuary, an oasis away from the bustling outside world. Materials like limestone, sandstone, and travertine offer subtle hues and textures that can soften the space, lending a calming effect.
When thoughtfully combined with gentle lighting, these stones can make the lobby feel like a warm, inviting escape. Smooth, uninterrupted stone surfaces also add a seamless quality, enhancing the space’s sense of openness and tranquillity.
Using stone strategically around reception desks, seating areas, and walkways, hotels can elevate the lobby experience, inviting guests to relax and unwind. Such thoughtful stone choices ensure guests feel pampered and at ease inside.
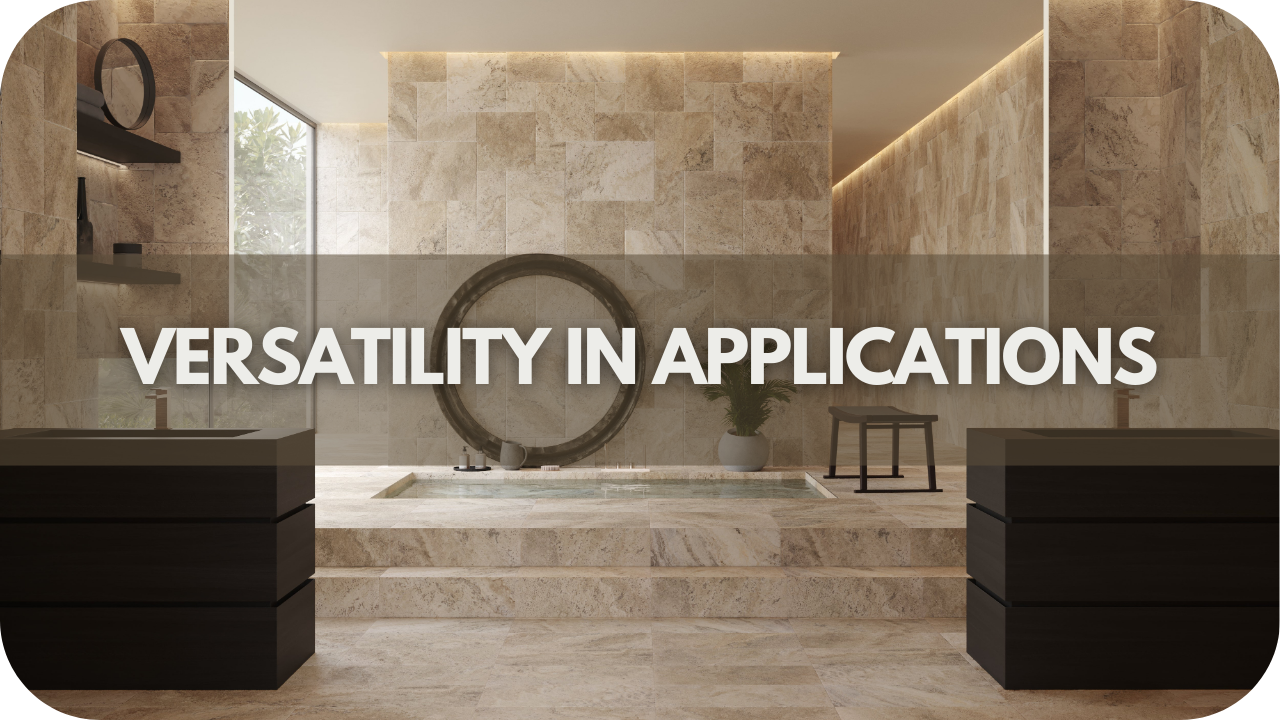
Zoning and Multi-Functional Spaces in the Lobby
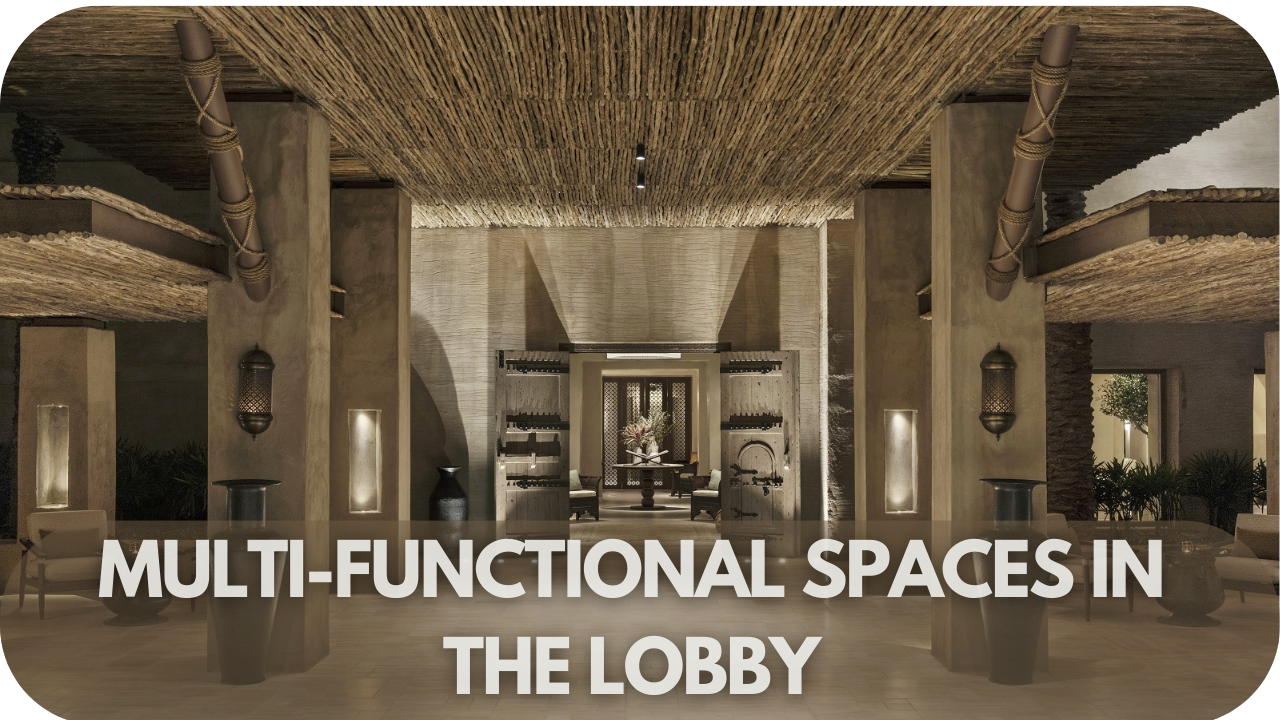
Today’s hotel lobbies are more than waiting areas; they’re dynamic, multi-functional spaces where guests can work, relax, and socialise. Stone is crucial in defining these zones, creating distinct yet harmonious areas within the same lobby.
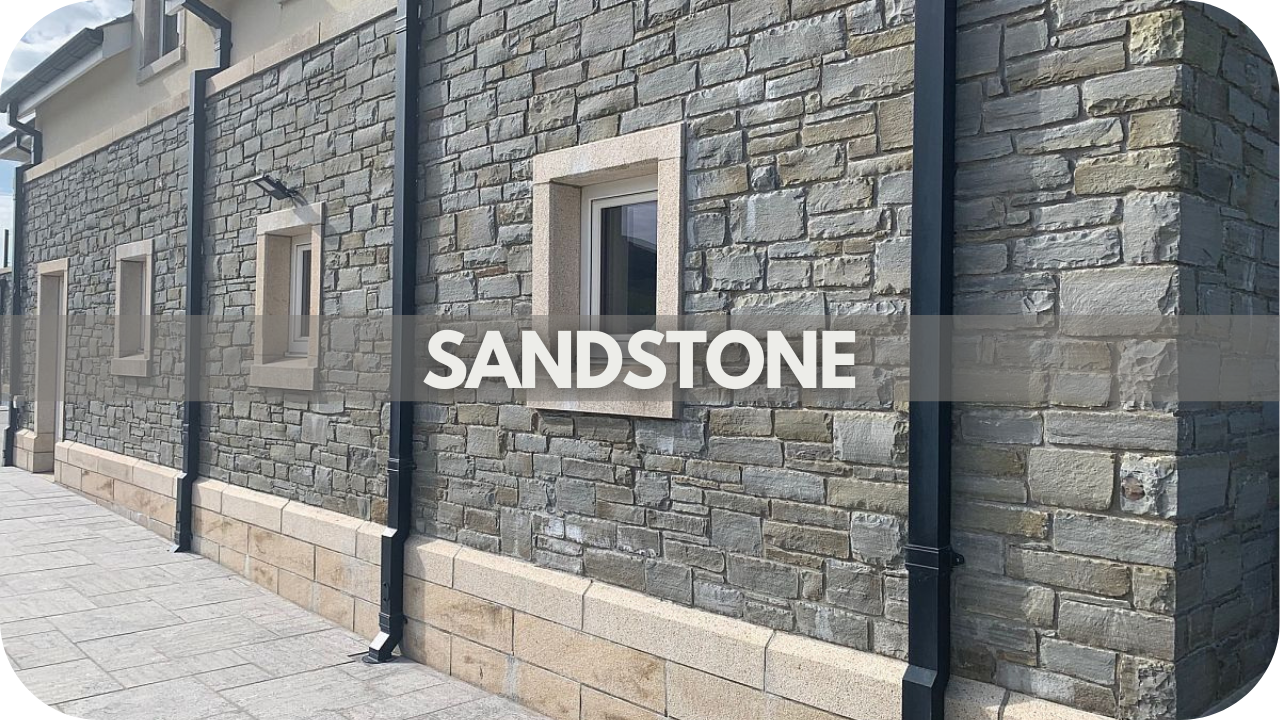
For instance, sleek marble can set an elegant reception zone apart, while warmer stone materials like sandstone signal a casual lounge space. Stone partitions, flooring variations, and feature walls contribute to a fluid yet structured layout, accommodating different guest needs without compromising design.
By investing in stone, hotels can ensure each area retains a unique character, enhancing the guest experience and supporting versatile functionality in a high-traffic environment.
Designing with Biophilic Elements: Merging Nature with Elegance
Incorporating biophilic design in hotel lobbies is increasingly popular, and the stone is a natural choice for elegant outdoor spaces. Stone textures and organic forms offer a tactile experience that resonates with nature, promoting relaxation and well-being.
When paired with greenery, water features, or natural light, stone can reinforce this sense of harmony, creating an immersive environment close to nature. Stone flooring, walls, tabletops, plants, and natural light introduce balance and beauty, elevating the lobby’s ambience.
Hotels that use biophilic elements are committed to sustainable, guest-centred design. They provide a refreshing atmosphere that enhances the overall guest experience.
Statement Pieces: Stone Art and Feature Walls
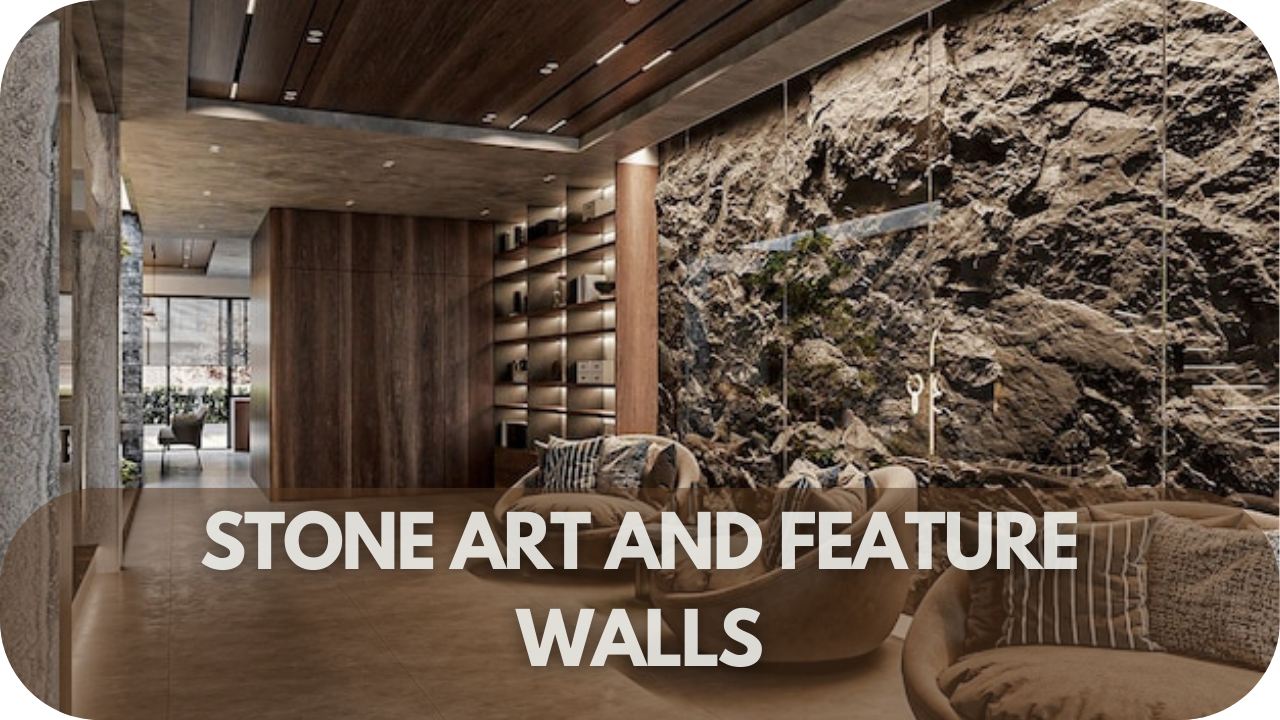
A well-designed hotel lobby needs a memorable centrepiece, and stone statement pieces deliver elegance and intrigue. Feature walls crafted from unique stone slabs or intricate stone art installations become natural focal points that capture guests’ attention upon arrival.
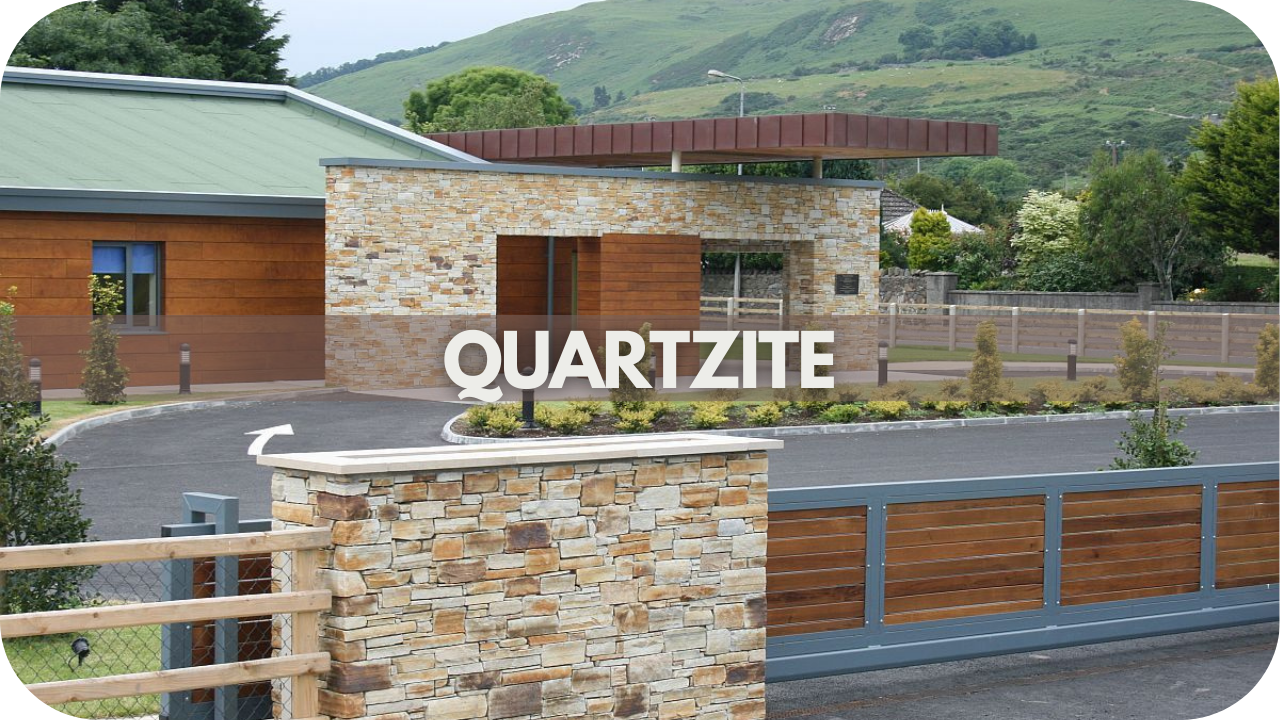
Stones like onyx, quartzite, or marble add character and depth, with each piece’s natural veining and colour making it a one-of-a-kind addition. Whether it’s a grand, floor-to-ceiling feature wall or a carefully curated stone sculpture, these statement pieces enhance the sense of luxury and sophistication in the lobby.
The visual impact of stone art elevates the space and leaves a lasting impression, setting the hotel apart as a place of true elegance and artistry.
Sustainability and Longevity: Investing in Quality Materials
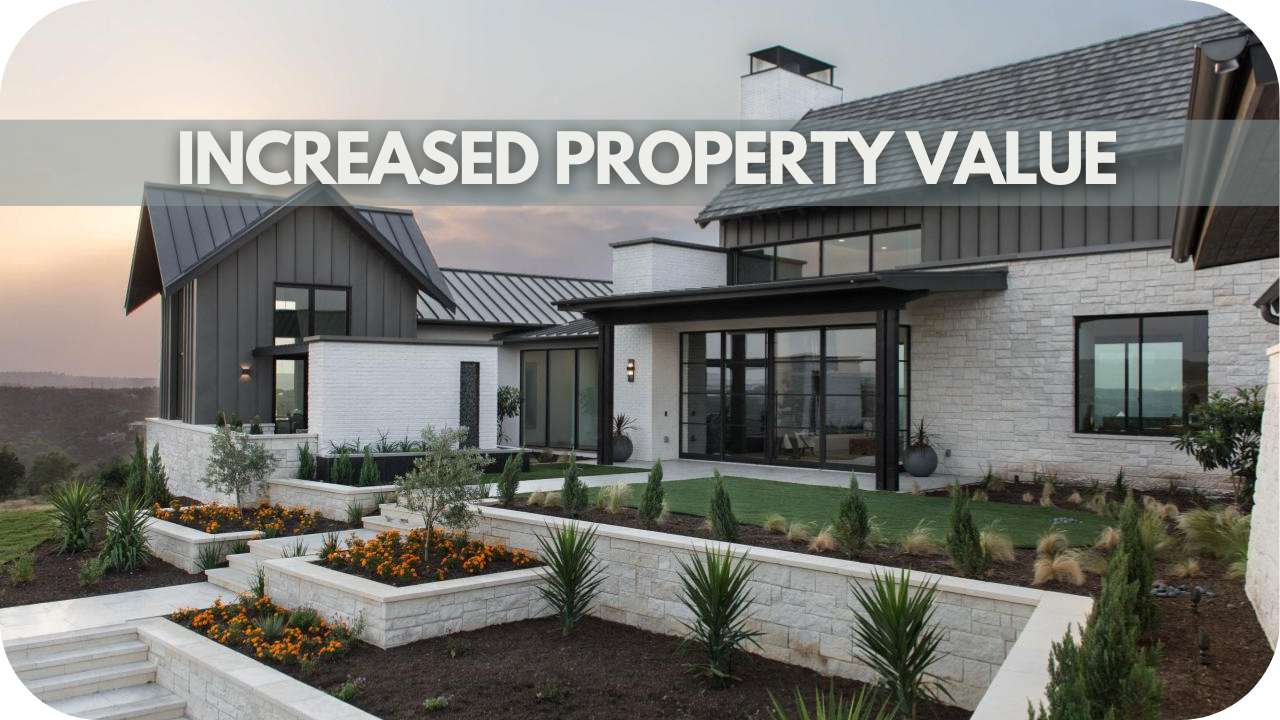
Opting for stone in hotel lobby design isn’t just about style; it’s an investment in sustainability and longevity. Natural stone, with many benefits, is incredibly durable and can withstand decades of use, reducing the need for replacements and repairs.
This endurance makes stone an environmentally responsible choice, mainly when sourced ethically and used mindfully. Stone also ages gracefully, developing a patina over time that can add to its appeal rather than detract from it.
By investing in quality stone materials, hotels contribute to a more sustainable design approach that aligns with modern, eco-conscious values. Stone’s timeless nature ensures it remains stylish and resilient, reinforcing the hotel’s commitment to quality and responsibility for years.
Conclusion
Elevate your hotel lobby with stone’s timeless allure, creating an atmosphere guests will remember. Whether through statement walls or serene zones, stone’s elegance speaks volumes.
Ready to make a lasting impression? Contact Splendour in Stone and let us help you transform your lobby into a masterpiece of luxury and refinement.