Nearly half of Aussies planning outdoor upgrades say paving feels too technical to attempt alone, even though most projects only need a few simple skills.
It is easy to feel overwhelmed. Measuring, digging, levelling, choosing stone, it can seem like a lot. One wrong step and the whole area can shift or sink. No one wants that headache.
With the right guidance, DIY paving becomes surprisingly straightforward. This beginner-friendly guide walks you through each step with clear instructions, practical tips and Aussie-friendly advice to help you create a strong, good-looking paved space.
Why DIY Paving Is Easier Than You Think
DIY paving is far more achievable than most beginners imagine, especially when you break the process into clear steps. Many people assume paving requires advanced skills, yet the fundamentals are simple. You need good planning, the right tools and a solid base.
Once those are in place, laying the stones becomes a smooth, repetitive task that builds confidence as you go. Most natural stone pavers are beginner-friendly because they come in consistent sizes that make alignment easy.
You also control the pace, working in small sections without pressure. Even tasks like levelling and compacting become manageable with basic equipment and a bit of patience.
The real advantage is flexibility, since you can design the layout you want and learn as you go. With proper guidance, DIY paving becomes an accessible project that delivers lasting results and a sense of accomplishment.
Tools and Materials You Will Need
Here are the essential tools and materials that every beginner needs to plan, prepare, and complete a successful DIY paving project.
- Shovel: Used for digging out the area, shaping the edges and moving soil or crushed rock during preparation.
- Rake: Helps level the ground and spread materials evenly across the site before compacting.
- Wheelbarrow: Makes it easier to transport soil, crushed rock, sand and pavers around the work area.
- Rubber mallet: Gently taps pavers into place without damaging the stone surface.
- Spirit level: Ensures each paver sits flat and the entire surface follows the correct fall for drainage.
- Tape measure: Helps mark accurate dimensions and confirm that the layout fits perfectly within your planned space.
- Hand tamper or plate compactor: Compresses the base material and bedding layer to create a solid, long-lasting foundation.
- Stiff broom: Sweeps jointing sand into gaps and cleans the surface once the paving is complete.
- Natural Stone: The main material that defines the final appearance. Choose stone suited to your pattern, weather exposure, and overall design goals for consistent long-term performance.
- Jointing Sand: Jointing sand locks the pavers together by filling the gaps between them. This improves stability, reduces movement, and helps protect the surface from weeds and erosion.
- Sealer: A quality sealer protects the surface from stains, weather, and wear. Applying the right sealer enhances colour, strengthens durability, and maintains your paved area’s appearance over time.
- Safety Gear: Gloves, knee pads, goggles, and sturdy boots keep you protected while working. Safety gear helps prevent injuries, especially during cutting, digging, or compacting tasks.
Recommended Stones for Beginner-Friendly DIY Paving
Here are the beginner-friendly stone options that offer simple installation, strong durability, and a polished finish for your first paving project.
1. Granite Pavers
Granite is the top choice for beginners because it provides strength, weather resistance and a clean, uniform finish that is easy to work with. Its consistent thickness helps with faster installation, and it handles high foot traffic without chipping or shifting.
Beginners appreciate varieties such as Charcoal Granite or Grey Granite, as they stay stable once placed, making it ideal for patios, pathways and outdoor entertaining areas with long-term durability.
2. Bluestone
Bluestone is one of the easiest stones for beginners to work with due to its consistent thickness and strong durability. Its smooth texture helps create clean patterns, while its natural grip improves safety.
Bluestone examples like Honed Bluestone or Flamed Bluestone suit patios, paths, and modern outdoor areas, offering a reliable balance between strength, style, and straightforward installation.
3. Limestone
Limestone provides a refined, bright finish and is simple for beginners to install because of its uniform sizing. It works well in structured patterns like stretcher bond or stack bond.
Choose options such as Loch Limestone or Brooklyn Limestone. Its smooth surface is comfortable underfoot, and with proper sealing, limestone maintains its colour and performance across everyday outdoor use.
4. Travertine
Travertine is ideal for beginners thanks to its lightweight feel and easy handling. Its natural tones create a warm, inviting look, especially in entertaining areas and around pools.
Choose examples like Silver Travertine or Ivory Travertine. When installed in an ashlar layout, travertine delivers a premium finish without complex cutting. Sealing protects it and supports long-term outdoor performance.
5. Quartzite
Quartzite is a strong, beginner-friendly paving stone thanks to its high density, slip resistance, and consistent slab quality. Its natural shimmer and durable surface make installation straightforward while delivering a premium, modern look.
Choose Andorra Quartzite for a stable, long-lasting option that suits patios, garden paths, and outdoor entertaining areas. Its cool grey tones stay consistent over time and provide a clean finish that beginners can install with confidence.
Step-by-Step DIY Paving Guide for Beginners
Here is a simple step-by-step guide that helps beginners create neat, durable, and long-lasting paving results with confidence.
Step 1: Plan and Measure Your Space
Start by measuring the exact size of your paving area and marking it out with a string line. Planning helps you understand how many pavers you need, what pattern works best, and whether any cuts will be required.
It also allows you to check site conditions such as slope, soil type, and water flow, so you can prepare for proper drainage.
Step 2: Clear and Excavate the Ground
Remove grass, old materials, and any loose soil within the marked space. Excavate to the required depth, allowing room for crushed rock, bedding sand, and the final paver thickness.
A deeper excavation is needed for driveways or heavy-load areas. Keep the ground as even as possible during this stage to make the next layers easier to prepare and shape.
Step 3: Create a Strong Crushed Rock Base
Spread crushed rock evenly across the excavated area, then compact it in layers to create a firm foundation. This base prevents sinking and movement once the pavers are laid.
Creating the correct fall is important so water drains away instead of pooling. A well-prepared base layer is the most important part of any paving project and supports long-term performance.
Step 4: Add and Level the Bedding Sand
Spread a layer of bedding sand over the compacted base, then smooth it with a straight board or screed. The sand should be maintained at a consistent thickness to support the pavers evenly.
Avoid walking on the sand after levelling it, as footprints or dips can affect the final surface. Take your time here because the quality of this layer shapes the entire finish.
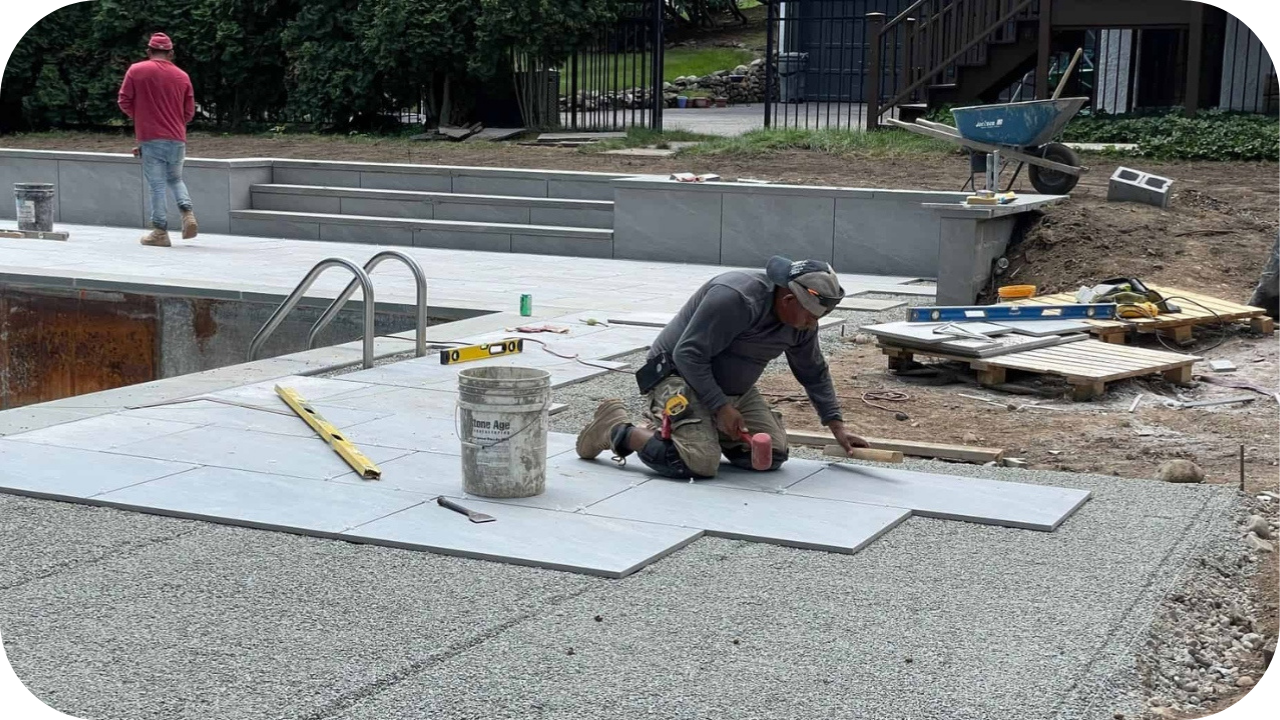
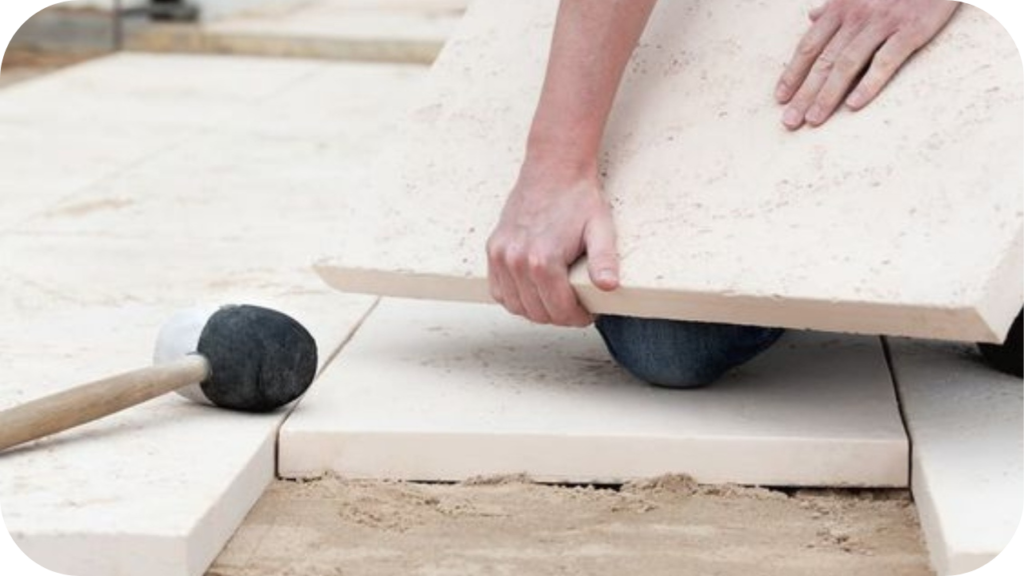
Step 5: Lay Your Pavers Carefully
Begin laying pavers from a straight edge or reference line to keep the pattern aligned. Place each paver gently onto the bedding sand without dragging it. Maintain consistent joint gaps and check levels as you go.
Use a rubber mallet to tap pavers into place and keep the surface even. Make cuts with the correct tools to maintain clean edges and pattern flow.
Step 6: Lock the Pavers in Place
Once all pavers are laid, spread jointing sand across the surface and sweep it into the gaps. This sand locks the pavers together, improving stability. Use a compactor with a protective mat to vibrate the surface and help the sand settle.
Add more sand if required and repeat the process. This step prevents movement and prepares the paving for everyday use.
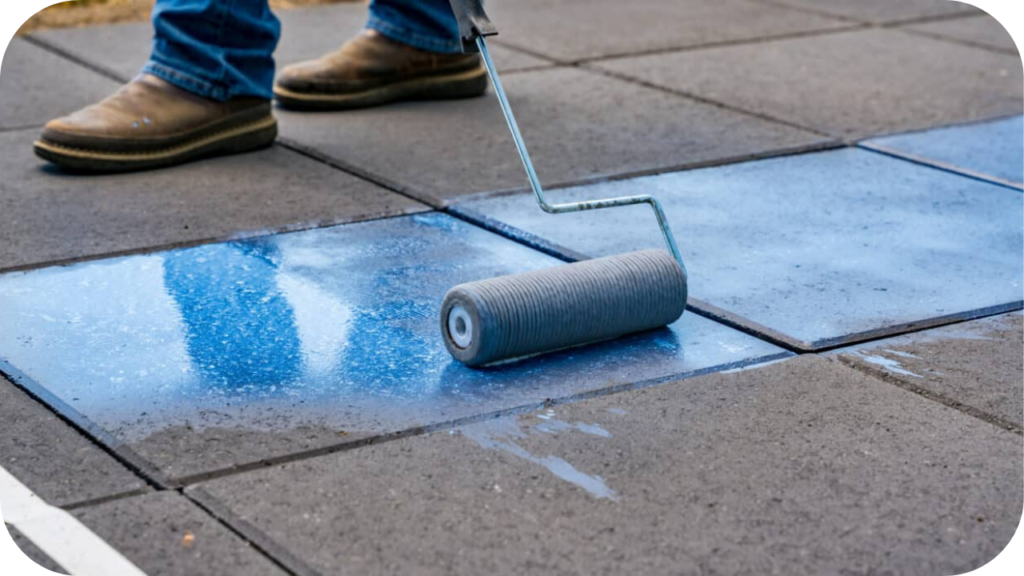
Step 7: Seal and Protect the Surface
After the paving is complete and settled, apply a sealer suitable for your chosen stone or paver. Sealing enhances colour, protects against stains, and reduces moisture absorption. It also makes cleaning easier in the long run.
Follow the sealer’s instructions carefully and avoid foot traffic until it dries. Regular resealing helps maintain the appearance and durability of the paved area.
Common Mistakes Beginners Should Avoid
Here are the common paving mistakes beginners often make, along with simple ways to avoid them for a longer-lasting finish.
- Insufficient Excavation Depth: Shallow excavation weakens the entire structure. Without sufficient depth for crushed rock and bedding sand, the paving shifts, sinks, or cracks under everyday foot traffic and weather.
- Poor Base Compaction: A weak base leads to movement and uneven surfaces. Proper compaction strengthens the foundation and ensures the pavers stay level, stable, and supported once the project is complete.
- Ignoring Drainage Needs: Incorrect falls cause water pooling and erosion. Designing the right slope helps water move away safely, protecting the base layers and increasing the lifespan of the paved area.
- Uneven Bedding Sand: Uneven sand creates dips and raised spots that affect the final look. Consistent levelling ensures each paver sits firmly and maintains the intended pattern and surface finish.
- Inconsistent Joint Gaps: Uneven spacing disrupts the pattern, creating weak points. Keeping joints consistent makes the paving stable, improves sand locking, and delivers a more professional finish.
- Mixing Batches of Pavers: Using different batches can create colour inconsistency. Keeping materials from the same batch ensures a uniform appearance and avoids patchy areas that stand out in natural light.
- Rushing the Installation: Working too quickly increases mistakes and alignment issues. Paving requires patience, regular checks, and careful placement to achieve a smooth, durable result that lasts for years.
Maintenance Tips to Keep Your Paving Looking New
Here are the simple maintenance habits that keep your paving fresh, vibrant, and performing well through changing seasons and everyday outdoor use.
- Regular Sweeping: Frequent sweeping removes dirt, leaves, and debris that can stain or scratch the surface. Keeping the area clean helps preserve the original colour and finish of your paving.
- Gentle Washing: Washing with mild soap and water lifts grime without damaging the surface. Regular rinsing prevents buildup and keeps the paving fresh, especially in areas exposed to weather or garden debris.
- Treat Stains Quickly: Address spills promptly to prevent deep staining. Using suitable cleaners for your stone type prevents discolouration and helps maintain the natural tones and clarity of each paver.
- Top Up Jointing Sand: Over time, sand can wash away. Topping it up helps secure pavers, reduces gaps, and prevents movement or weed growth that can spoil the paved surface.
- Apply Resealer When Needed: Resealing protects the stone from weather, stains, and fading. Following the recommended timing for your stone type helps keep the colour vibrant and the surface resilient.
- Remove Weeds Promptly: Weeds can push between pavers, causing movement. Removing them early prevents root growth and helps preserve the clean, uniform look of your paved area.
- Inspect Edges Regularly: Checking edge restraints prevents shifting and keeps the pattern aligned. Strong edges support long-term stability and ensure the paved space maintains its intended shape.
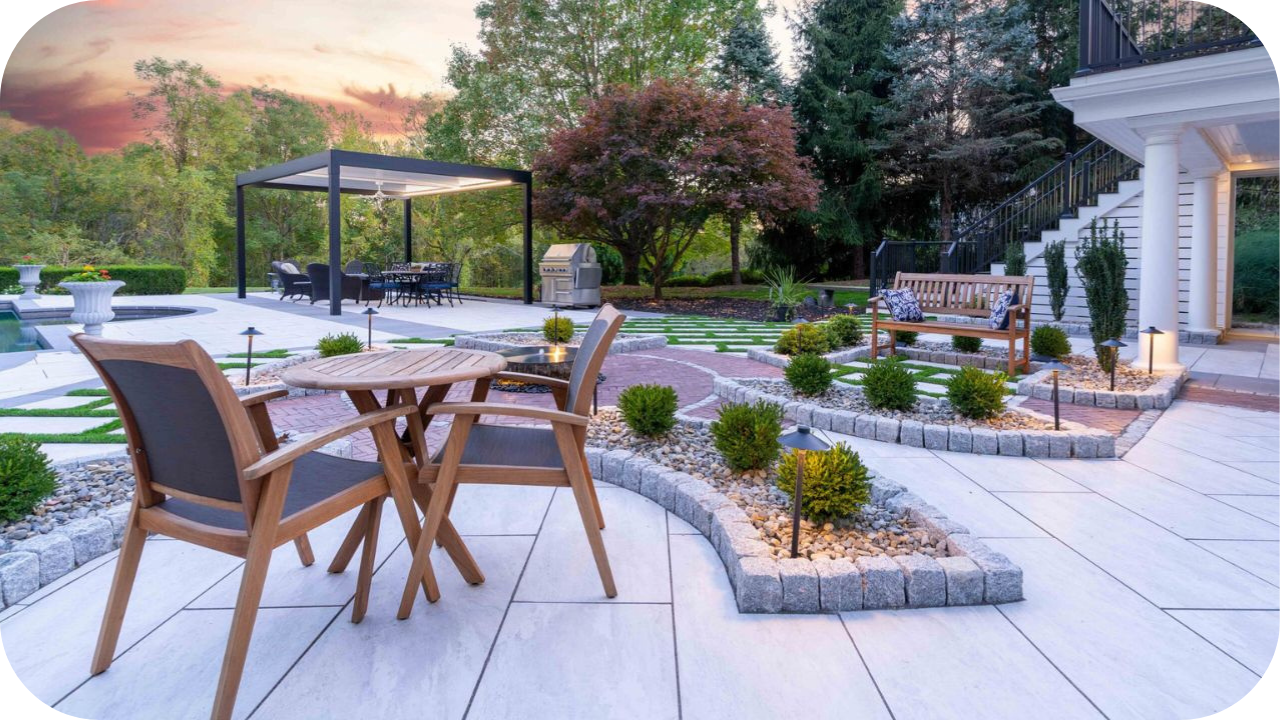
Final Thoughts
Creating your own paved area is a rewarding DIY project that transforms your outdoor space when each step is followed with care. With the right tools, a solid base, and a little patience, even beginners can achieve results that look polished and last for years.
If you are ready to begin your project, explore the quality stone options at Splendour in Stone. Their range helps you choose materials that elevate your design and support long-term durability.
Natural Stone Materials: Types, Benefits, and Choosing the Right Stone for Your Project
Natural stone is widely used in Australian homes because it offers lasting beauty, strength, and natural character in both indoor and outdoor spaces. Its variation
How to Maintain Limestone Pavers for Long Term Surface Quality
Limestone is a favourite choice for Australian outdoor spaces because its soft texture and natural warmth bring a relaxed, timeless feel to patios, pathways, and
