Register your Information for Free Stone Samples Sent Express to You!

How to Install Hotham Granite Like a Pro

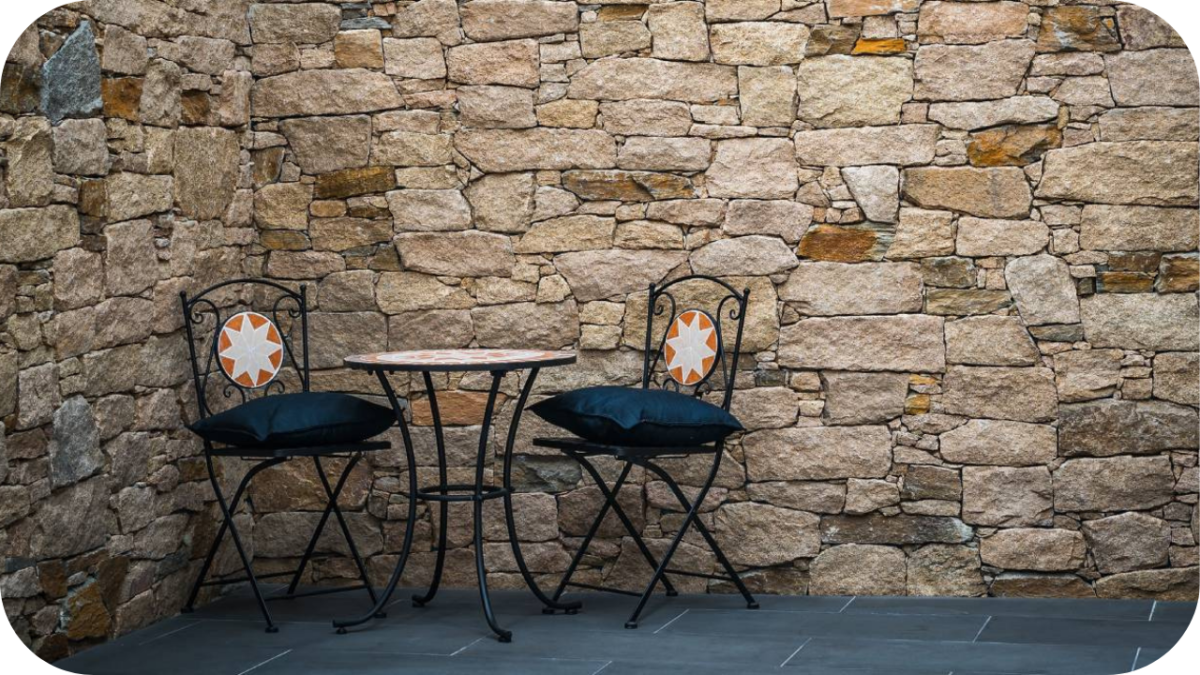
Hotham Granite delivers a refined, earthy finish with the strength to last decades. Its golden-grey tones work beautifully across outdoor feature walls, retaining structures, and architectural facades. 

But the difference between average and professional results lies in the details. From preparation to sealing, each phase of installation plays a role in the wall’s stability, look, and longevity. 

This guide walks you through each step of the process, offering practical advice to help you achieve a clean, well-balanced finish that adds both value and elegance to your space.

Step 1: Define the Wall Type and Project Scope

Before lifting a single stone, determine whether your Hotham Granite wall is structural or purely decorative, as this will influence the construction method and materials required. 

Assess the dimensions carefully, measuring the wall’s height, width, and depth to estimate the number of stone panels and the type of base support needed. 

Also, identify the surface context, such as whether the wall will be freestanding or built against a structure like concrete or blockwork. This information helps with planning drainage, reinforcement, and fixing systems. 

Clarifying these details early ensures efficient material use, prevents costly delays, and sets the foundation for a strong, long-lasting installation.

Step 2: Gather the Right Tools and Quality Materials

Gather the Right Tools and Quality Materials

Before you start laying stone, here are the must-have tools and materials to get the job done properly and efficiently:

  • Wet saw or angle grinder with diamond blade: For precise granite cutting and shaping edge pieces cleanly.
  • Masonry trowel and bucket: For mixing mortar evenly and applying it smoothly to both wall and stone backs.
  • Natural stone adhesive: Used when installing without mortar joints, offering strong, lasting grip on clean surfaces.
  • Spirit level and string line: Ensures every course stays level and plumb throughout the walling process.
  • Spacers: Keeps gaps consistent and clean, especially if planning to grout between joints.
  • Base support: Concrete, blockwork, or a timber frame forms the structural foundation for stone application.
  • Safety gear: Gloves, goggles, and a dust mask protect you from flying debris and dust exposure while cutting or mixing.

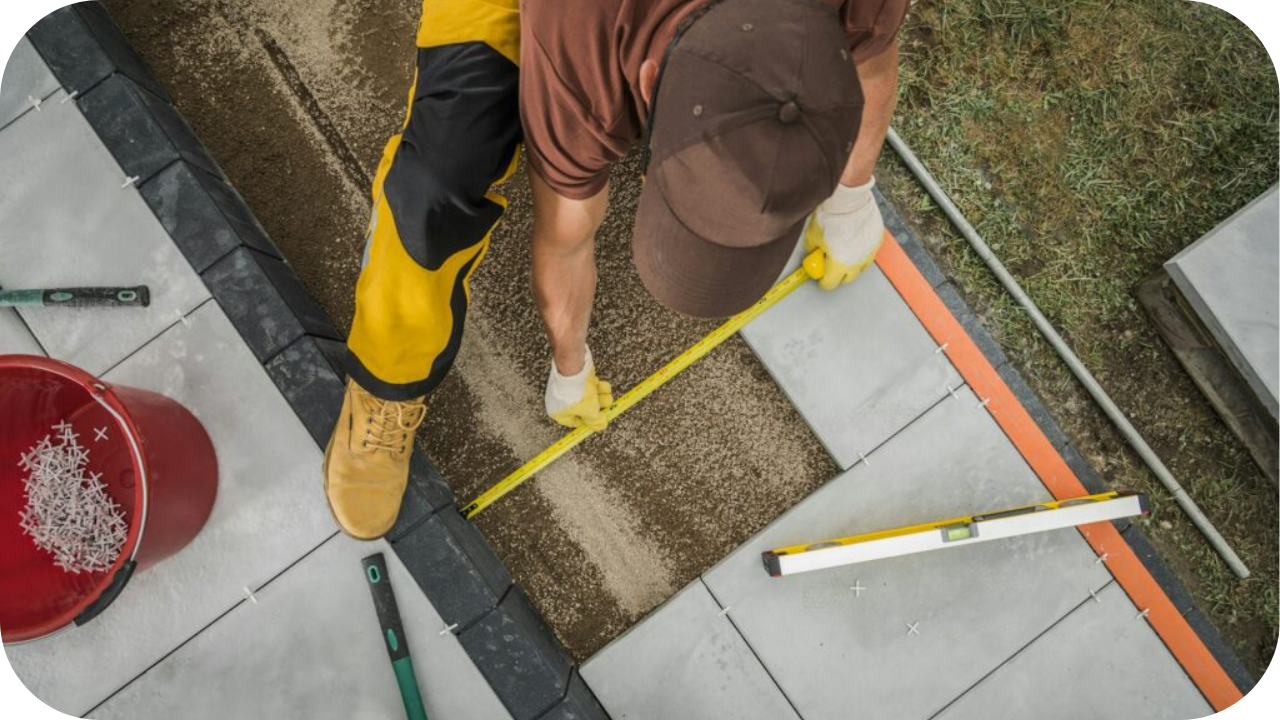
Step 3: Prepare a Stable and Level Base Wall

Before fixing any granite in place, ensure your base wall is clean, stable, and perfectly level. Remove dust, loose material, or paint from the surface using a stiff brush or water rinse. 

For mortar applications, a scratch coat improves adhesion by giving the first layer a better grip. Use a chalk line or tightly pulled string to mark level lines and keep your courses straight as you work. 

Whether the wall is freestanding or backed, the structural base must be load-bearing and weather-ready. A strong foundation makes all the difference to the performance and appearance of your finished granite wall.

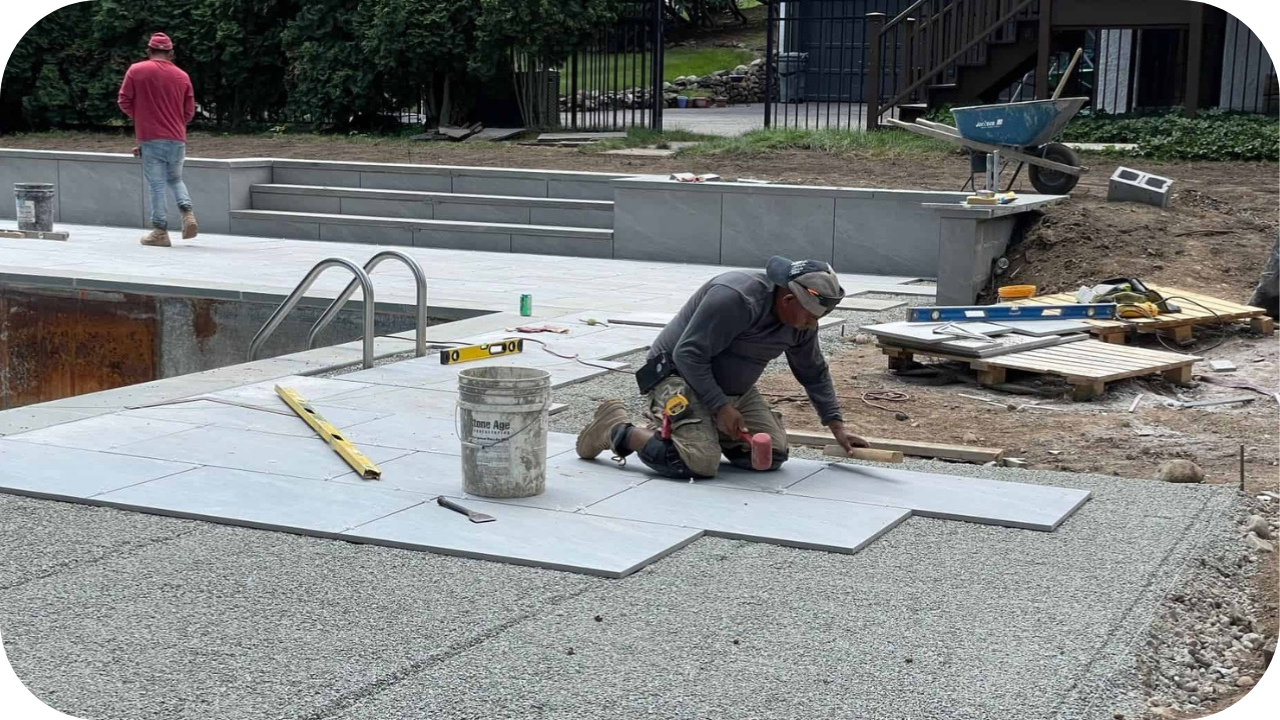
Step 4: Dry-Lay the Granite for Visual Balance

Dry-Lay the Granite for Visual Balance

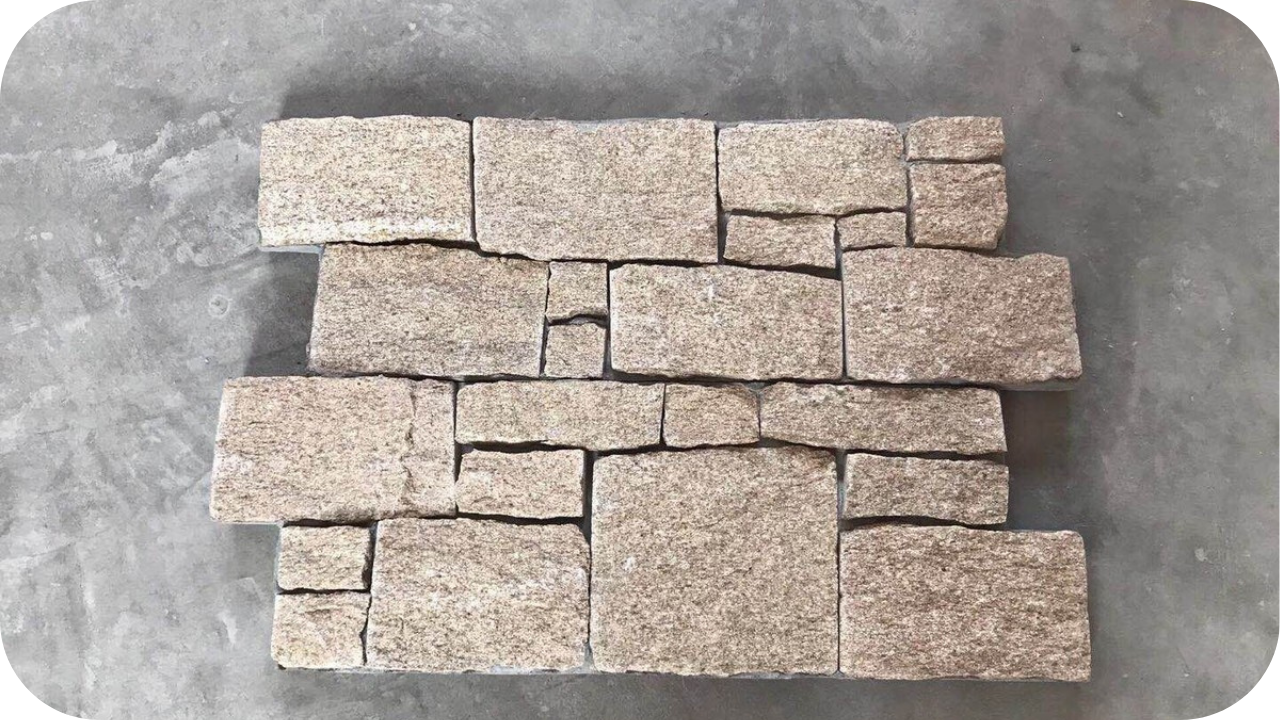
Laying out your Hotham Granite pieces before installation allows you to visualise the final look and make any design adjustments with ease. 

Arrange the stones on a flat surface nearby, mixing sizes, shades, and textures to create a natural and balanced composition. Pay attention to where corner stones and standout pieces will go, especially in visible areas. 

This dry run helps prevent last-minute reshuffling and reduces the risk of gaps or awkward joints. Planning your layout in advance ensures a cohesive result and gives you full creative control before any adhesive or mortar is applied to the wall.

Step 5: Cut and Shape Stones with Precision

Cutting and shaping Hotham Granite requires precision and the right tools to maintain clean lines and a professional finish. 

Use a wet saw fitted with a diamond blade to make straight, accurate cuts. For more detailed adjustments, an angle grinder works well, particularly on corners or irregular edges. Take your time with each piece, measuring twice before cutting to avoid waste. 

Smooth any sharp edges with a hand file or sanding stone for safety and a refined look. Always wear proper safety gear during cutting to protect from dust and debris. Careful shaping enhances both the fit and appearance of each stone.

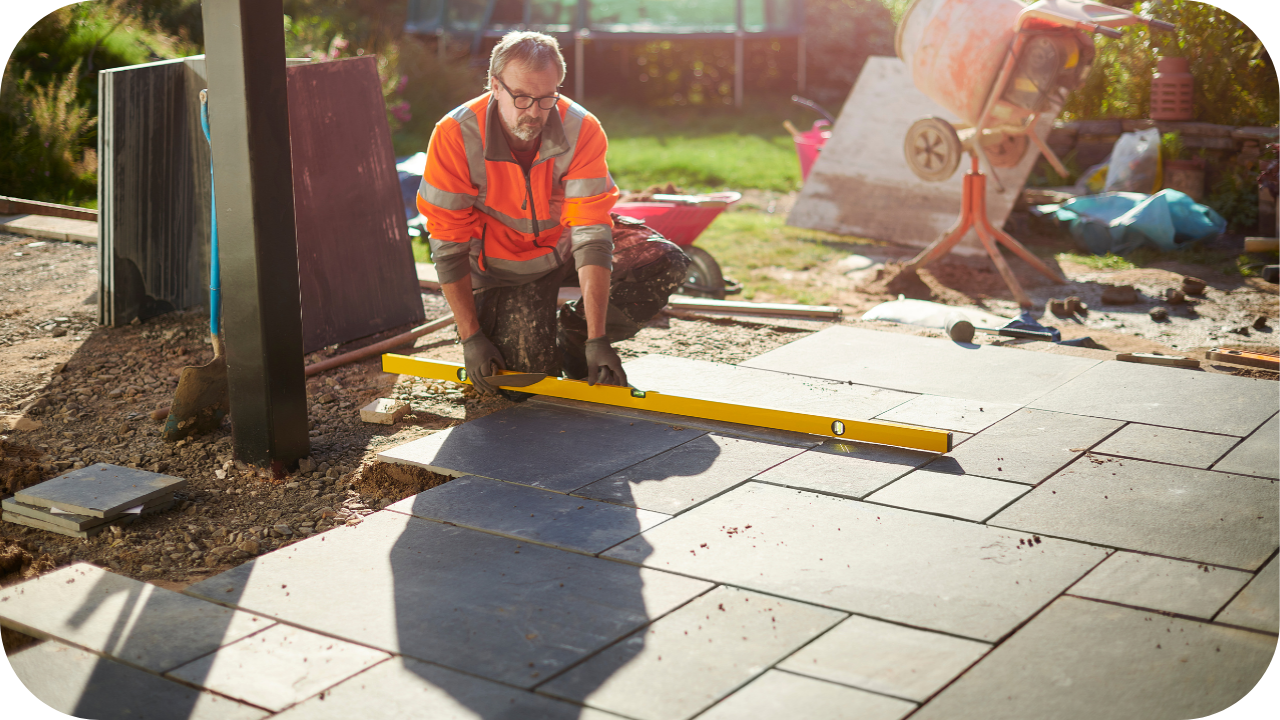
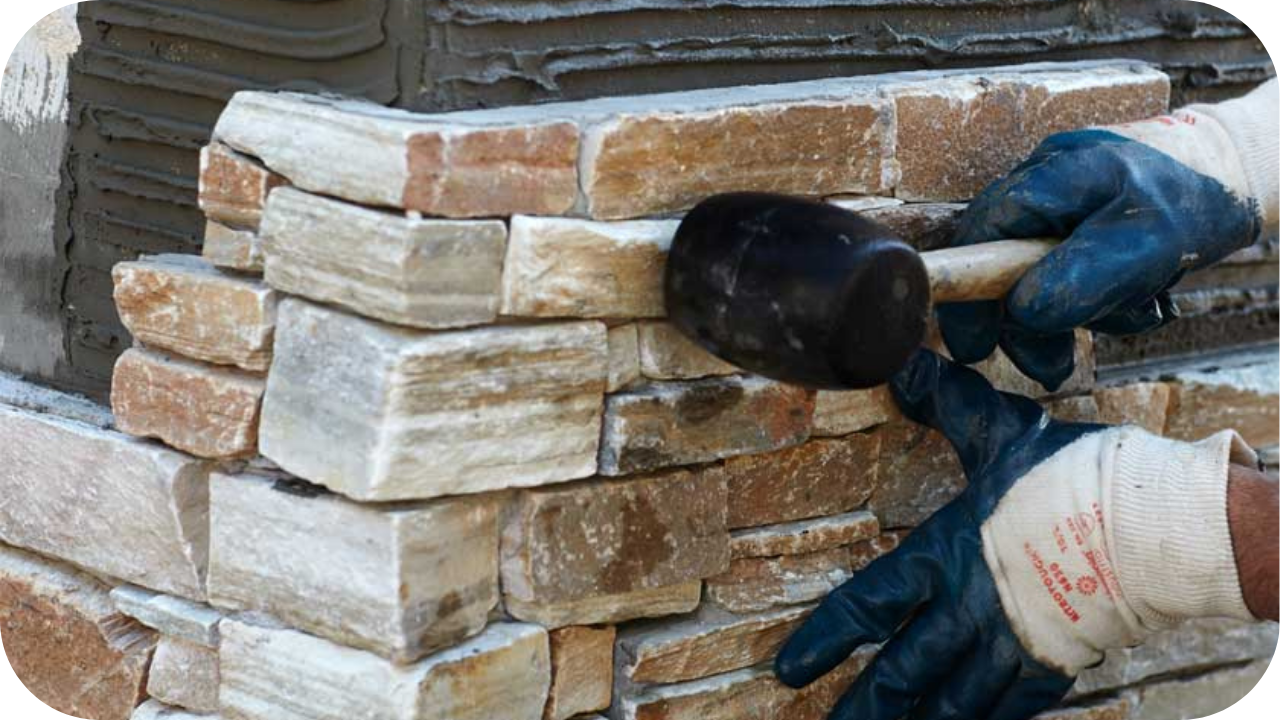
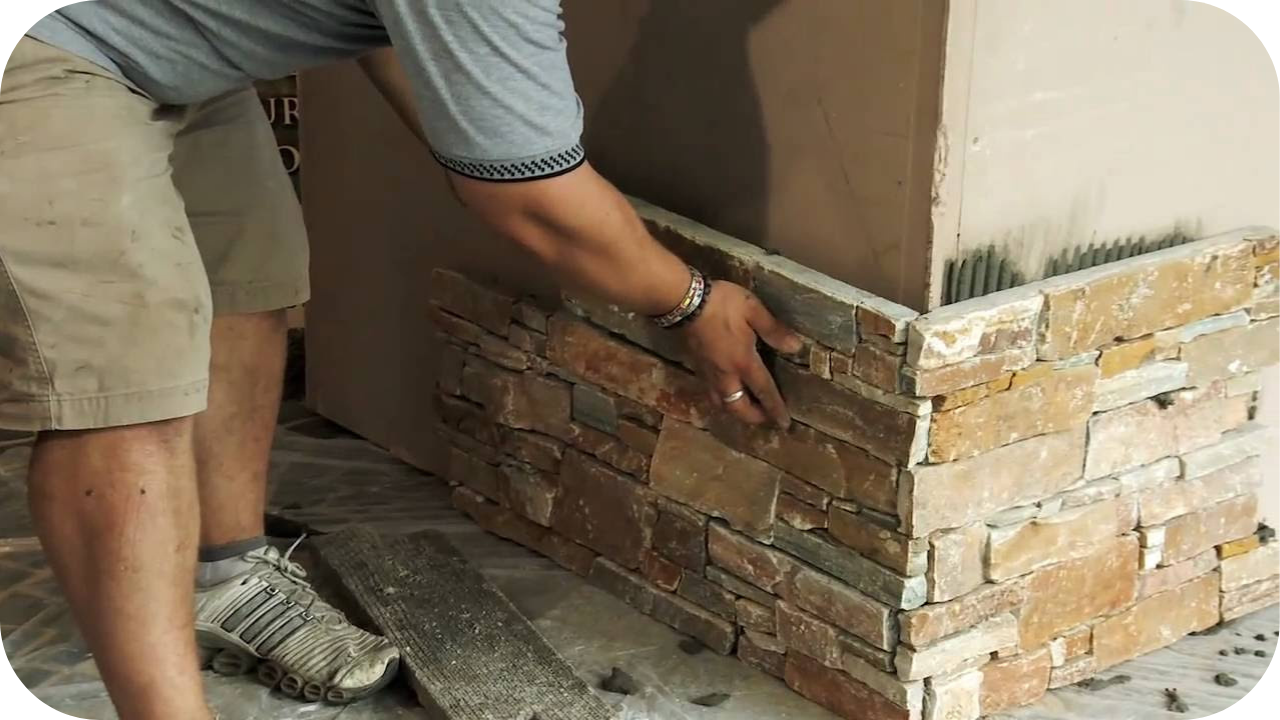
Step 6: Secure the Stones Using Adhesive or Mortar

Secure the Stones Using Adhesive or Mortar

Once your layout is complete and all granite pieces are trimmed to size, begin attaching them securely to the wall. For adhesive installations, spread a layer evenly on the prepared surface and apply a generous coat to the back of each stone. 

This double application helps achieve a solid bond and reduces movement. For mortar-based installs, apply the mix in small sections to maintain workability. Press each stone firmly into place, checking alignment with a spirit level. 

If using spacers, ensure they are set consistently. Continue across the surface, maintaining straight courses and solid contact for long-term strength.

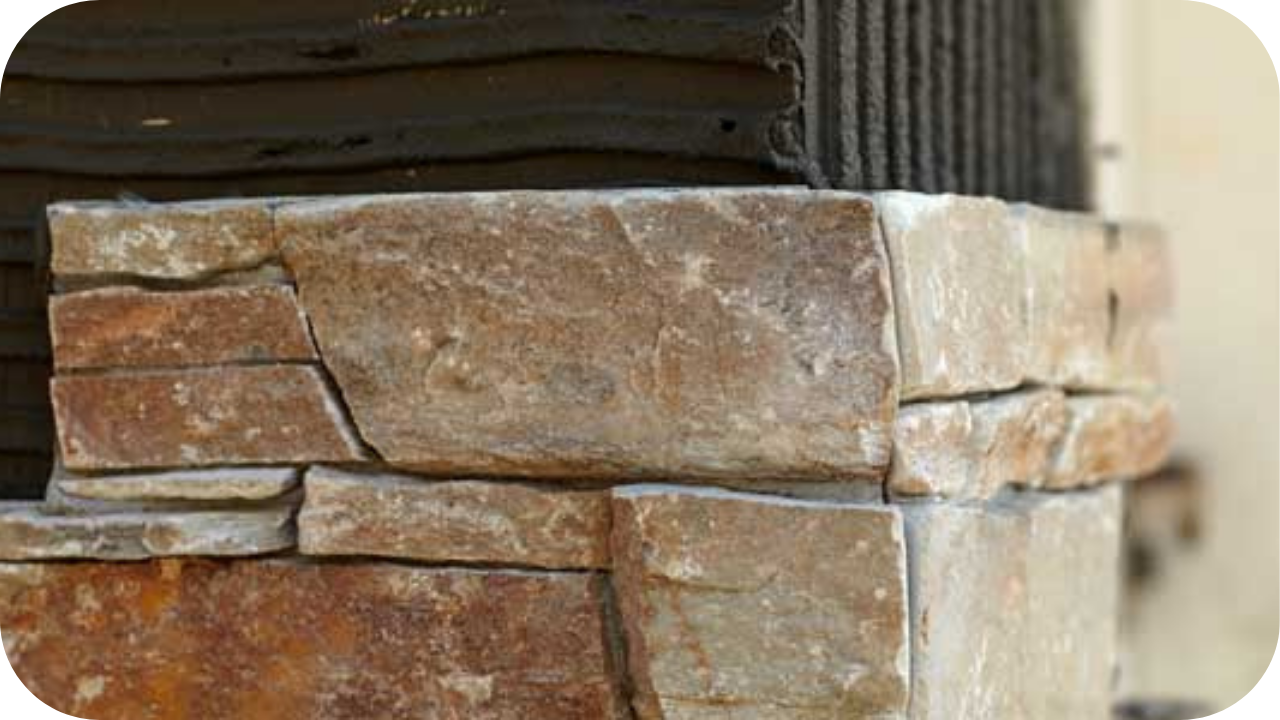
Step 7: Finish, Clean and Allow to Cure

After placing the final stone, inspect the entire wall for consistent joints and alignment. If using mortar, fill visible gaps with a pointing mix, smoothing them neatly with a trowel. 

Wipe off any excess mortar immediately using a damp sponge to avoid staining. Let the wall cure without disturbance for at least 24 to 48 hours, depending on weather conditions. Avoid applying pressure or hanging anything on the wall during this period. 

Proper curing ensures strong adhesion and prevents future cracking or shifting. Once fully set, your Hotham Granite wall will be ready for sealing and long-term use.

Step 8: Apply a Sealer for Longevity and Colour Depth

Apply a Sealer for Longevity and Colour Depth

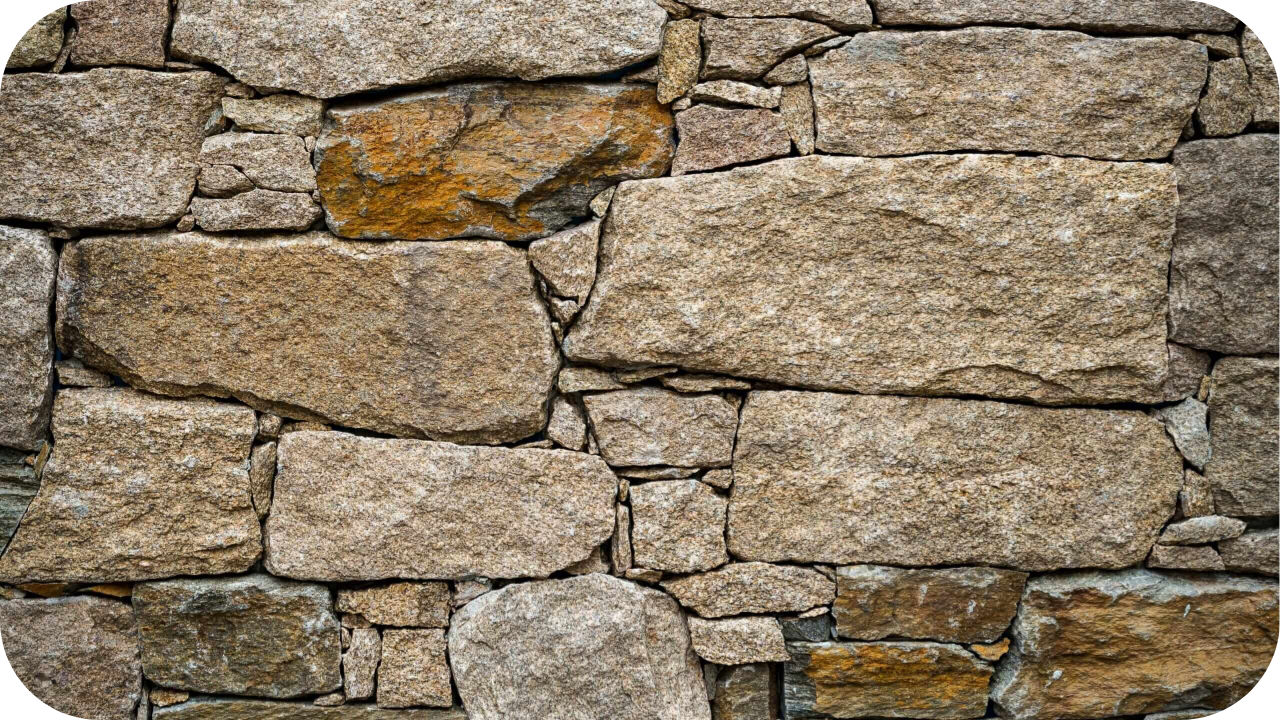
Once your wall is fully cured, apply a breathable, UV-stable sealer to protect the granite from moisture, stains, and weathering. 

Use a clean roller or sprayer for even coverage, following the manufacturer’s instructions carefully. This step enhances the natural colour of the stone, bringing out its golden-grey tones while helping maintain its appearance over time. 

Allow the sealer to dry thoroughly before exposing the surface to water or foot traffic. For best results, reapply the sealer every two to three years. Regular sealing preserves both the aesthetic value and structural integrity of your Hotham Granite installation.

Pitfalls to Avoid During Installation

Avoiding these common mistakes can save time, money, and frustration. Here are key missteps to steer clear of when installing Hotham Granite:

  • Skipping layout planning: Without a clear plan, stone placement becomes inconsistent, resulting in poor alignment and a patchy, unprofessional look.
  • Using incorrect mortar or adhesive: Low-quality or incompatible products reduce bonding strength and can compromise the integrity of the entire wall.
  • Neglecting to level each course: This leads to uneven rows, visible gaps, and long-term structural weaknesses in the finished wall.
  • Forgetting expansion joints: Failing to include them can result in cracks as the stone expands or contracts with temperature changes.
  • Overlooking drainage needs: Inadequate drainage behind the wall traps moisture, causing stains, discolouration, and potential long-term damage.
  • Improper stone cutting techniques: Rushing through cuts or using worn blades causes chipping and uneven joints that affect the finished appearance.
  • Ignoring weather conditions: Installing during heavy rain or extreme heat can impact adhesive performance and compromise the curing process.

When It’s Time to Hire a Professional Stonemason

When It’s Time to Hire a Professional Stonemason

While DIY installation is achievable for straightforward projects, certain walling applications call for a seasoned stonemason. If your design involves tiered structures, curved layouts, or retaining walls that require council approval, it’s best to bring in an expert. 

Professionals have the skills to manage structural reinforcements, advanced stone cutting, and accurate levelling across complex surfaces. They also ensure the right adhesives, sealants, and drainage techniques are used based on local climate and site conditions. 

Attempting these builds without experience can lead to costly mistakes, safety risks, or poor finishes that don’t hold up over time. Investing in a qualified stonemason guarantees lasting durability and a refined result that enhances your property’s value and visual appeal.

Essential Maintenance Tips for Hotham Granite Walls

Preserve the beauty and structural integrity of your granite wall by following these simple yet effective maintenance practices:

  • Clear leaf litter and dirt regularly: Prevent moisture retention and organic staining by sweeping or rinsing away leaves, dust, and debris at least once a week.
  • Wash down surfaces with clean water: Gently hose the stone after windy or dry conditions to remove grime without disturbing mortar joints or finishes.
  • Avoid harsh or acidic cleaners: Stick to pH-neutral stone cleaners to protect your granite’s natural surface from chemical damage and discolouration.
  • Never use high-pressure washers: Pressure washing can dislodge adhesive, widen joints, and damage the natural grain and texture of the granite.
  • Reapply breathable sealer every 2–3 years: Maintain moisture resistance and colour depth by sealing with a UV-stable, breathable product designed for natural stone.
  • Check for shifting or cracks: After heavy rain or ground movement, inspect for any displacement, minor cracks, or joint gaps to prevent larger structural issues.

Conclusion

Installing Hotham Granite like a pro takes planning, precision, and the right techniques. When done correctly, it delivers timeless beauty and structural reliability that lasts for years. 

Whether you’re a DIY enthusiast or working alongside professionals, following each step carefully ensures a finish that’s both functional and refined. 

For high-quality stone and expert guidance, trust Splendour in Stone to bring your vision to life confidently.

Cost-Effective Stone Pavers for Large-Scale Builds

Large-scale construction projects come with tight budgets, strict timelines, and the constant pressure to deliver without compromising on quality. 

Whether it is a public plaza, school campus, resort pathway, or commercial forecourt, paving these spaces requires smart material choices that balance cost, durability, and aesthetic value. Stone pavers can be both budget-friendly and built to last when selected with purpose. 

The right stone not only reduces upfront expenses but also cuts ongoing maintenance and installation time, making it a practical solution for high-volume construction demands.

Why Cost-Effectiveness Matters in Large-Scale Builds

When working on large-scale projects such as council developments, educational facilities, or commercial landscapes, every material choice carries financial and logistical weight. 

Paving extensive areas means sourcing high volumes of stone, which increases transport costs and labour demands. Choosing cost-effective pavers helps you stay within budget while still achieving a professional finish. 

Certain stone types and modular formats can significantly reduce installation time, freeing up teams for other areas of the build. More importantly, affordability should not mean a compromise in quality. 

Long-term durability and minimal maintenance are just as important as the initial price. Opting for practical, robust stone pavers ensures the project delivers lasting value without exceeding financial expectations.

Key Qualities of Cost-Effective Stone Pavers

Key Qualities of Cost-Effective Stone Pavers

Smart paving starts with smart selection. These key traits make certain stones more economical without sacrificing performance, beauty, or ease of installation on large-scale sites.

  • Locally or readily available: Stones sourced within the region help avoid long lead times and expensive freight, making them ideal for time-sensitive projects where material availability and delivery speed are critical.
  • Durable: High-strength stones with weather resistance reduce the need for frequent repairs or touch-ups, resulting in reliable surfaces that stay intact for years with minimal ongoing maintenance costs.
  • Modular sizes: Uniform, pre-cut pavers speed up installation and reduce cutting waste. They’re ideal for covering large areas efficiently and help contractors stick to deadlines without extra labour.
  • Simple surface finishes: Finishes like sawn or natural split need less processing and treatment, which lowers material costs. These surfaces also blend well with commercial and civic project aesthetics.
  • Ease of handling and transport: Pavers that are lighter or consistently shaped allow for safer, faster handling onsite and help reduce breakage during transit, leading to lower wastage overall.

Top Cost-Effective Stone Options for Large Builds

Top Cost-Effective Stone Options for Large Builds

To keep large-scale projects on budget, selecting the right paving stone is key. Here are the best value-driven options to streamline your build without sacrificing quality.

1. Granite Pavers

Granite is known for its strength and long-term performance, making it a reliable choice for cost-conscious projects. Options like Charcoal and Grey Granite feature flamed finishes that are low-maintenance and ideal for high-traffic areas.

2. Limestone Pavers

Limestone offers timeless beauty and durability at an accessible price point. Varieties such as Stamford, Selene, and Brooklyn Limestone come in smooth or lightly textured finishes, perfect for both modern and classic commercial designs.

3. Travertine Pavers

Travertine delivers a premium look with surprising affordability. Finishes like those found in Ivory, Classic, and Silver Travertine require minimal treatment and are well-suited to large patios, courtyards, and open public areas.

4. Quartzite Pavers

Quartzite is both tough and elegant, offering excellent value over time. Andorra Quartzite, with its natural split finish, is an ideal recommendation for those wanting a sophisticated appearance without exceeding budget limits.

5. Bluestone Pavers

Bluestone combines strength and visual consistency, making it a practical solution for extensive projects. Sawn, Flamed, and Cobbled Bluestone options provide flexible, slip-resistant surfaces for civic landscapes and commercial walkways.

6. Porphyry Pavers

Porphyry stands out for its resilience and textural richness. Affordable finishes like Crazy, Filetti, and Cobbled Porphyry suit high-traffic zones and create an aged, character-filled aesthetic with minimal processing.

Smart Planning Strategies to Reduce Paving Costs

Smart Planning Strategies to Reduce Paving Costs

To maximise both time and budget, careful planning is essential. Here are practical strategies that help reduce waste, cut labour hours, and increase value across large-scale stone paving projects.

1. Order in Bulk for Better Pricing

Buying large quantities at once helps secure volume discounts and ensures colour consistency across batches. This reduces per-square-metre costs and avoids delays due to limited stock availability mid-project.

2. Choose Locally Available Stone

Selecting stone that is quarried or stocked nearby reduces freight costs and lead times. This approach supports faster delivery and lowers environmental impact across expansive commercial builds.

3. Match Pavers to Installation Method

Use formats suited to sand-set or machine-laid installs. These systems speed up placement, reduce manual handling, and are ideal for projects with tight labour schedules and large surface areas.

4. Use Standard Sizes to Limit Waste

Work with pavers in modular, consistent dimensions to minimise cutting on site. This reduces offcuts, shortens installation time, and makes material estimation more accurate and efficient.

5. Take Advantage of Surplus or End-of-Line Stock

Purchase clearance or excess batches for secondary zones or service areas. These options offer substantial cost savings where visual uniformity is less critical, without compromising stone quality.

Installation & Maintenance Considerations

Installation & Maintenance Considerations

To keep long-term costs down, it’s important to choose stone and techniques that reduce labour, upkeep, and the need for future repairs. Here’s what to factor into your project.

  • Select low-maintenance finishes: Opt for sawn or natural split surfaces that require little to no sealing. These finishes resist wear and staining, making them ideal for high-use areas with limited maintenance budgets.
  • Use sand-set installation where suitable: Laying pavers over a compacted sand base shortens installation time and simplifies future repairs. This method is cost-effective and well-suited to patios, walkways, and shared spaces.
  • Prepare the sub-base properly: A strong foundation ensures stability and prevents shifting, cracking, or drainage issues. Taking time to prepare the base correctly avoids structural problems and expensive corrections later on.
  • Seal only where necessary: Apply sealants only in high-traffic or stain-prone zones. Limiting their use lowers material costs and maintenance needs while still protecting surfaces that are most exposed.
  • Plan for drainage early: Design the site with proper slope and water runoff in mind. Effective drainage protects the pavers from erosion, freeze-thaw cycles, and premature wear in all climates.
  • Choose weather-resistant materials: Select stone types and finishes that hold up under harsh conditions, including UV exposure and heavy rainfall. This reduces surface breakdown and keeps long-term maintenance predictable and manageable.

Why Partner with Splendour in Stone for Large Projects

Why Partner with Splendour in Stone for Large Projects

For large-scale builds, choosing the right stone supplier is critical to staying on time, on budget, and within specification. 

Splendour in Stone provides a broad range of commercial-grade pavers that deliver both strength and visual consistency, helping you achieve lasting results across expansive areas. Our large stock volumes allow for prompt dispatch, and our competitive volume pricing supports financial planning without reducing quality. 

From material selection to site delivery, our experienced team works closely with you to understand project requirements and ensure smooth coordination. Whether the goal is to pave a public forecourt, a schoolyard, or an outdoor hospitality venue, we offer tailored advice on stone type, finish, and format to suit each setting. 

With reliable logistics, compliance-ready documentation, and ongoing technical support, we make the procurement process straightforward. Partnering with Splendour in Stone gives you access to practical expertise, dependable materials, and solutions built for commercial performance.

Final Thoughts

Large-scale projects require more than durable paving. They need well-planned, cost-effective solutions that perform consistently in demanding environments. 

By choosing the right stone and working with an experienced supplier, you can stay on schedule and within budget. 

Contact Splendour in Stone to view our commercial paving range, request a customised quote, or speak with our team about your upcoming project requirements.

Stone Cladded Fireplace Request

At Splendour in Stone, we specialise in supplying and installing natural stone cladded fireplaces that bring warmth, beauty, and character to your home. Each piece is crafted with precision and presence, ensuring a timeless centrepiece built to last.

Planning a new fireplace or upgrading an existing one? Complete the form below and receive your personalised quote within 24 hours.
Share anything about your vision, home style, or needs
Important Installation Note
The fireplace unit must be installed prior to our stonework.
This ensures proper fitting and a seamless final result. If you need help coordinating this, we’re happy to assist. Just mention it in your message.
In SQM?

Please fill your details to download.


      Request Callback


        Enquiry Form


        Please fill your details to download.