Stone Cladding Suppliers Melbourne: How to Choose
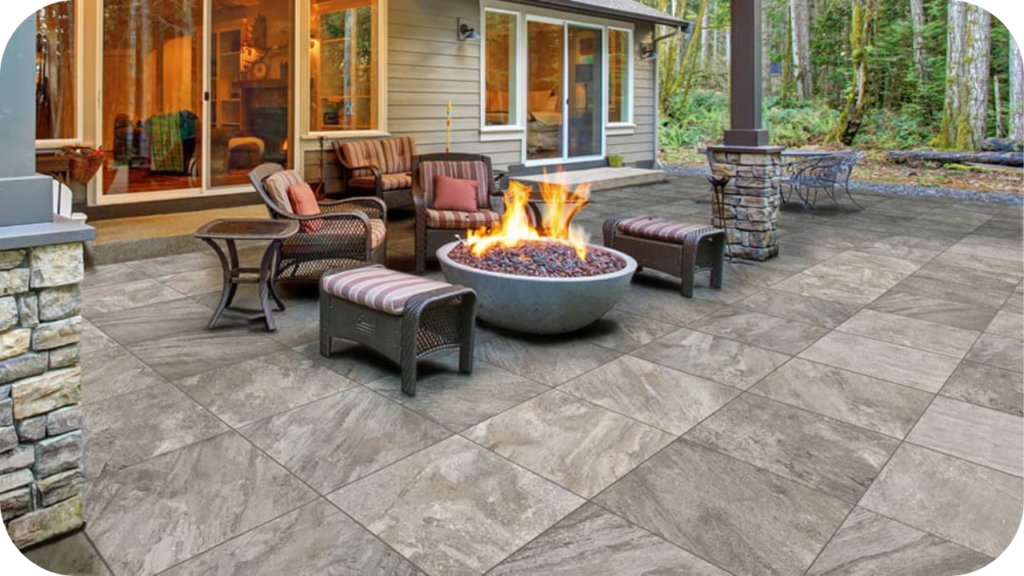
The demand for natural stone cladding in Melbourne continues to grow, with homeowners, designers, and builders choosing it for its durability, elegance, and ability to transform both interior and exterior spaces.
But choosing the right supplier is just as important as selecting the stone itself. A trusted partner ensures quality, consistency, and reliable service, while also providing guidance on which materials suit your project best.
This guide will explain why the supplier matters, outline key factors to consider, highlight essential questions to ask, and show the benefits of working with local Melbourne suppliers.
Why Choosing the Right Supplier Matters
Selecting the right stone cladding supplier directly influences the success of your project. A reliable supplier ensures access to high-quality materials, offering consistency in thickness, durability, and finish that stand up to Melbourne’s varied climate.
The right choice also opens the door to a wider range of stone types, from sandstone and limestone to granite and travertine, each suited to different design needs. Technical support, tailored advice, and the ability to view samples help match materials to your project’s vision.
Delivery timelines, clear pricing, and dependable after-sales support further ensure your investment runs smoothly, without unnecessary delays or unexpected costs.
Key Factors to Consider When Choosing a Stone Cladding Supplier
Finding the right supplier means balancing style, reliability, and long-term value. These factors will help you make a confident choice for your Melbourne project.
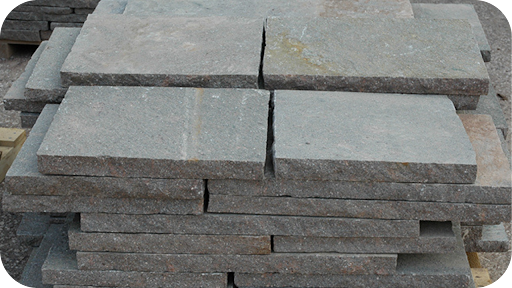
1. Assess Range of Stone Options
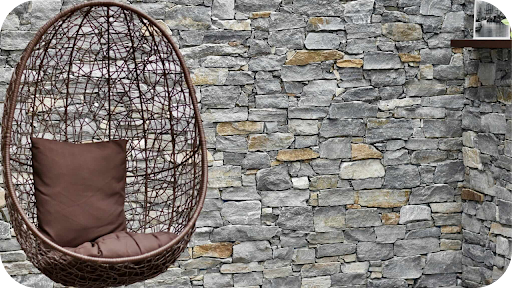
Look for suppliers offering sandstone, limestone, quartzite, granite and travertine in multiple formats and finishes. A wide selection provides flexibility, ensuring the stone matches both design vision and functional needs.
2. Check Quality Standards
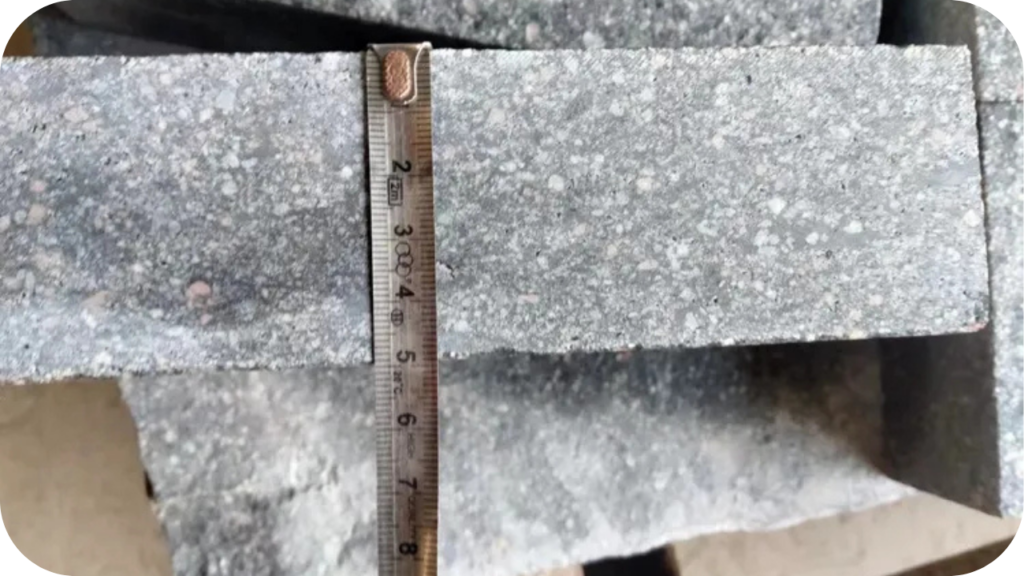
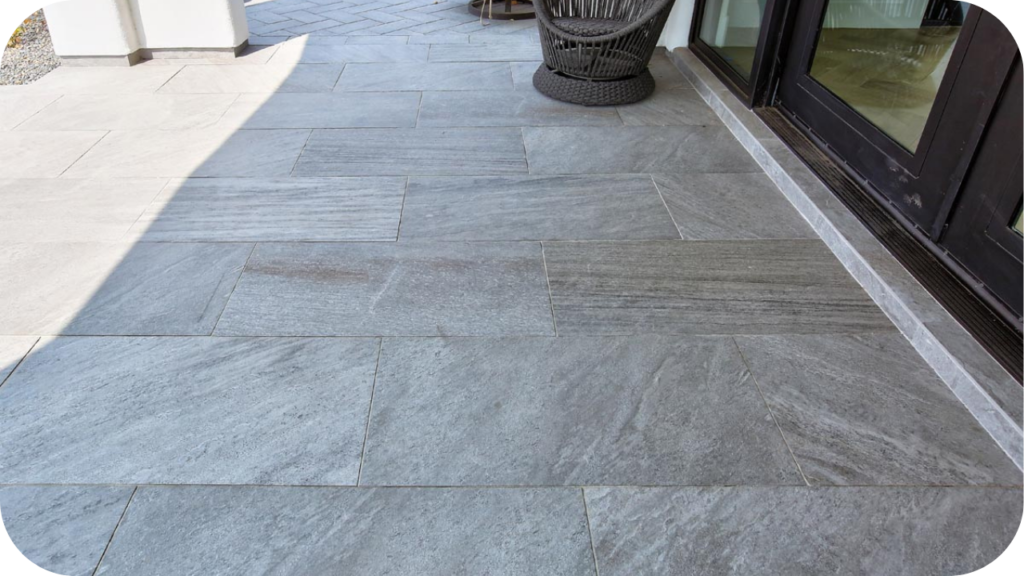
Examine whether the supplier maintains strict sourcing practices and consistent product quality. Stones should be durable, correctly cut, and suited to Melbourne’s climate, giving you confidence in both longevity and performance.
3. Value Expertise and Experience
Choose suppliers who understand architectural trends and construction requirements. Experienced teams offer guidance for homeowners, landscapers, and architects, helping ensure stone choices align with both technical needs and design expectations.
4. Review Transparency in Pricing
Request clear and detailed quotes that include supply, delivery, and any additional services. Transparent pricing builds trust and prevents hidden costs, making it easier to plan budgets without surprises.
5. Evaluate Delivery and Logistics
Consider the supplier’s ability to deliver reliably within Melbourne and nearby regions. Timely, efficient logistics reduce delays and keep projects on track, particularly for large-scale builds or tight schedules.
6. Measure Customer Support
Prioritise suppliers offering tailored advice, technical assistance, and the option to request samples. Strong customer support helps guide decisions, ensuring stone cladding not only looks good but performs well in its setting.
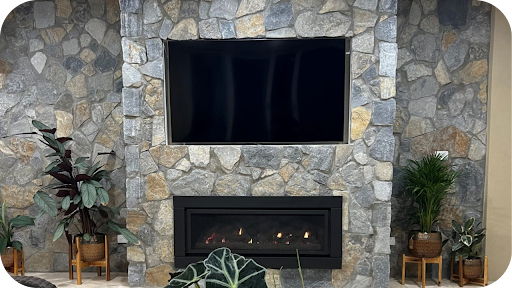
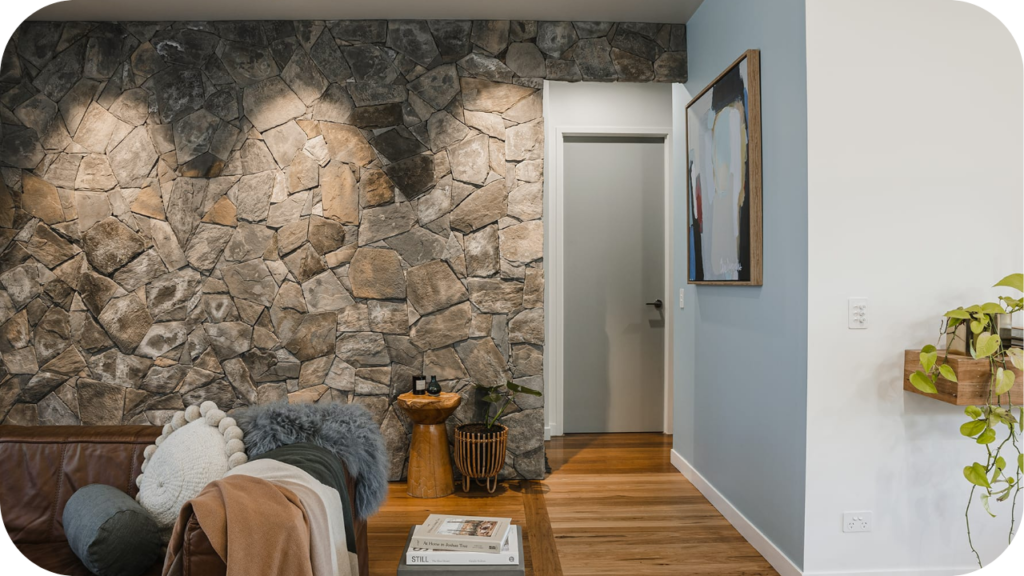
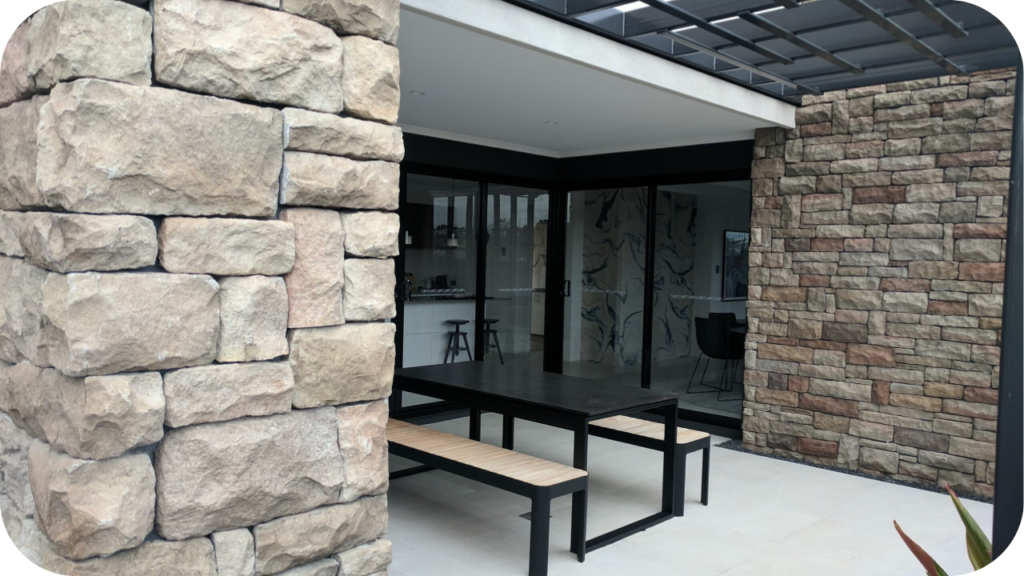
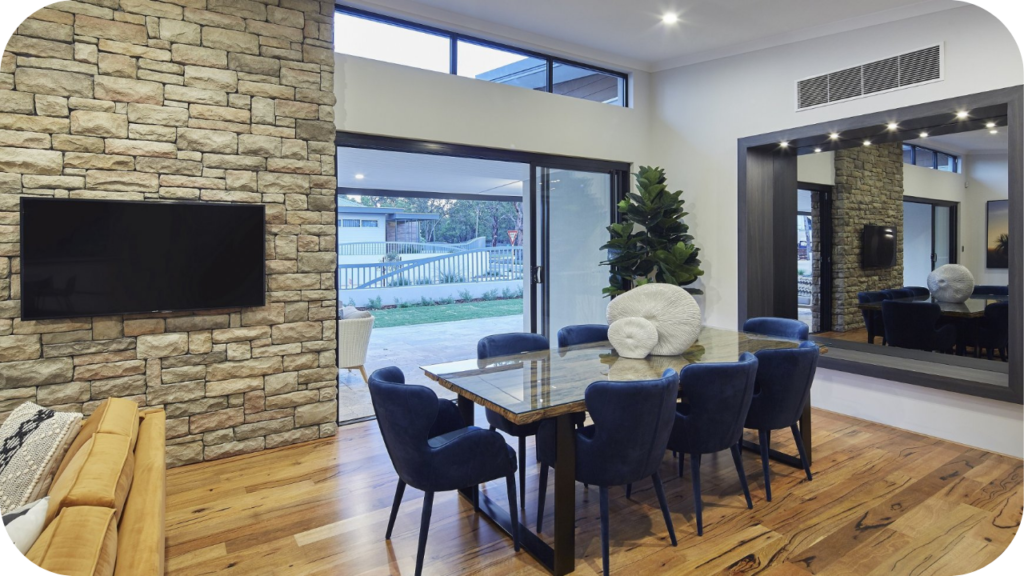
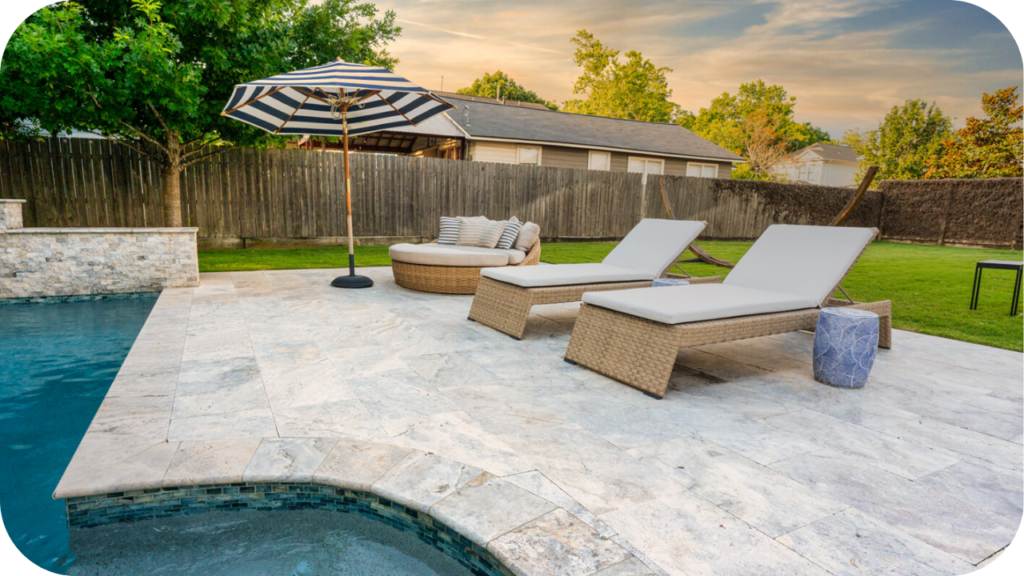
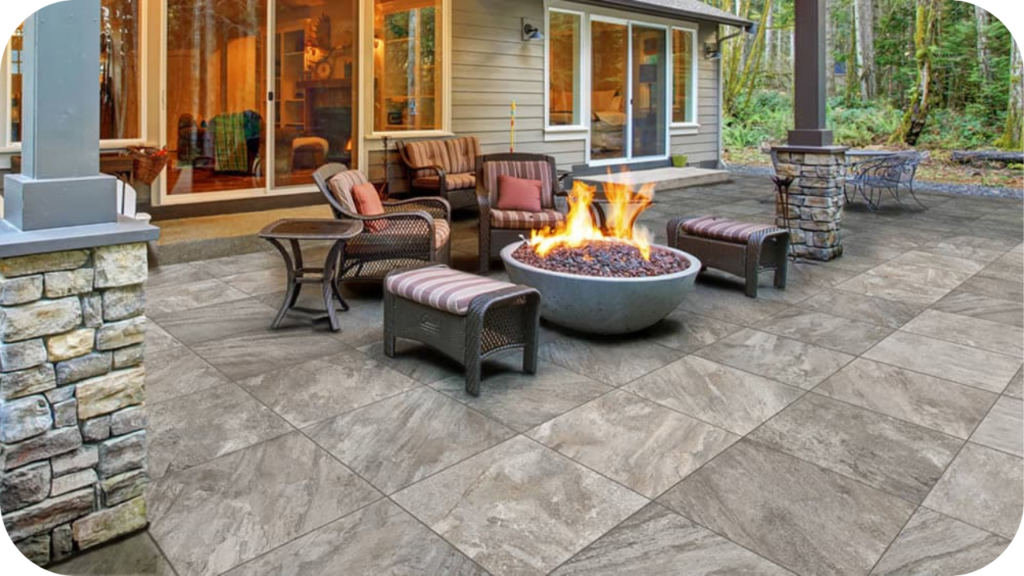
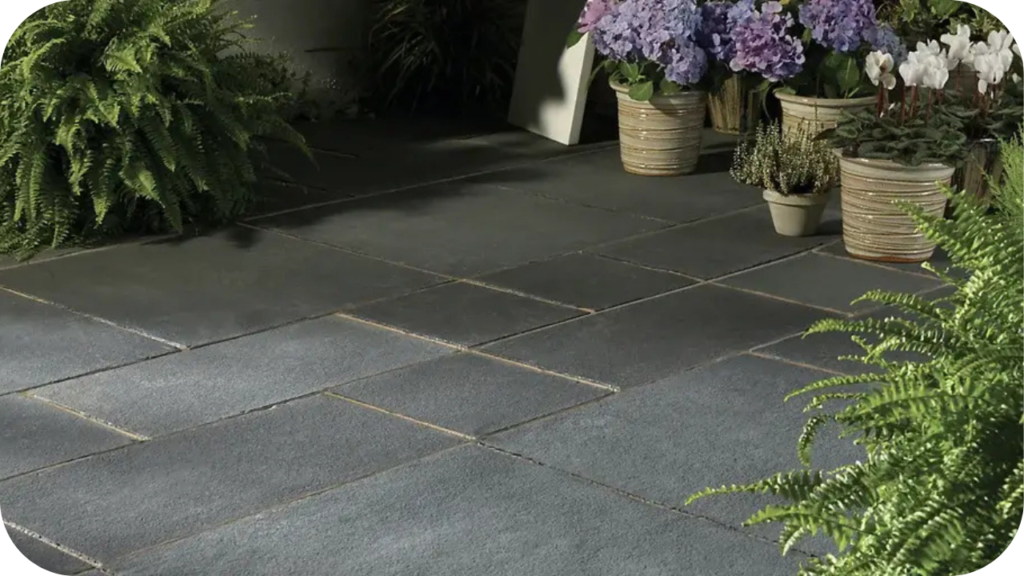
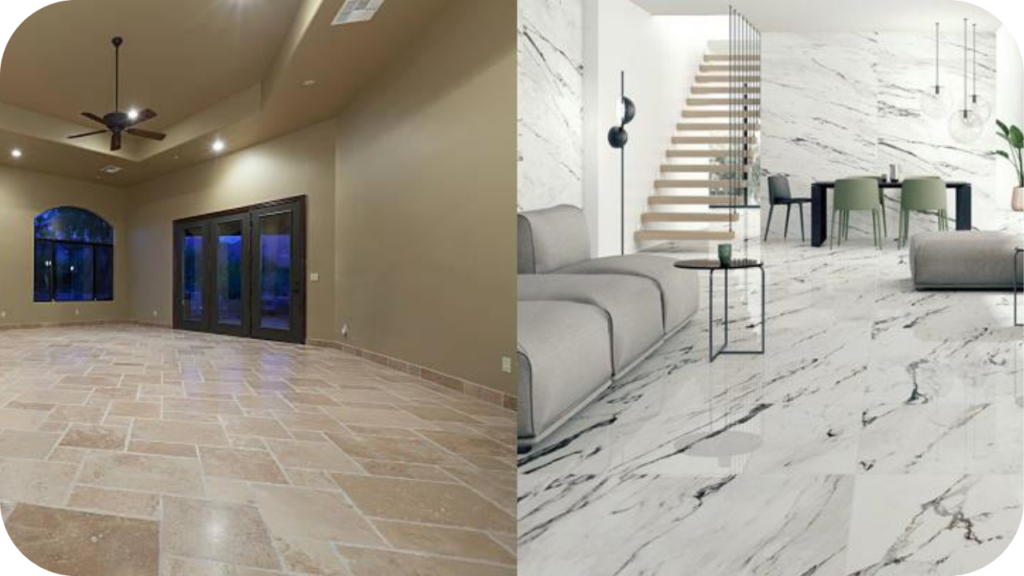
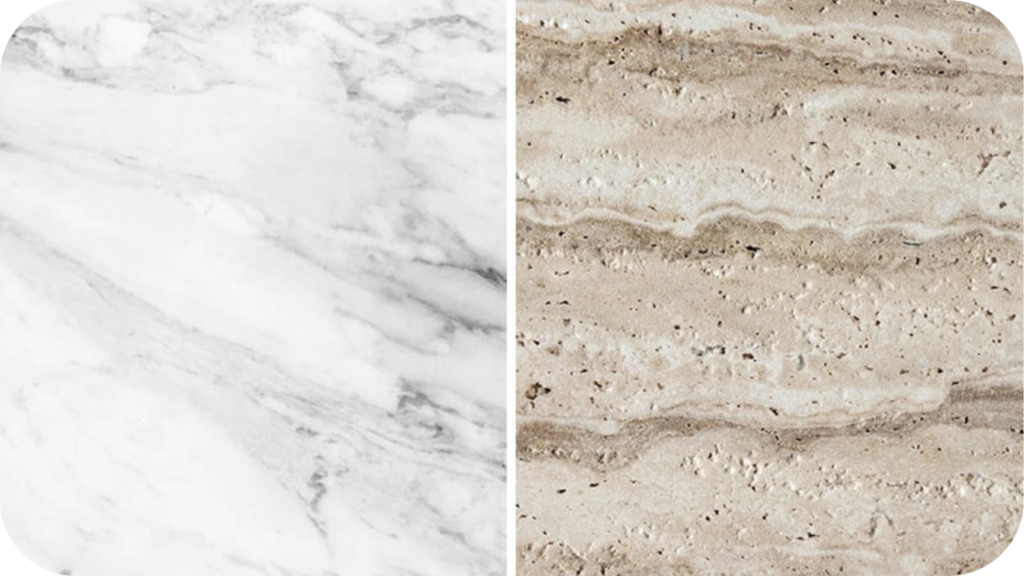
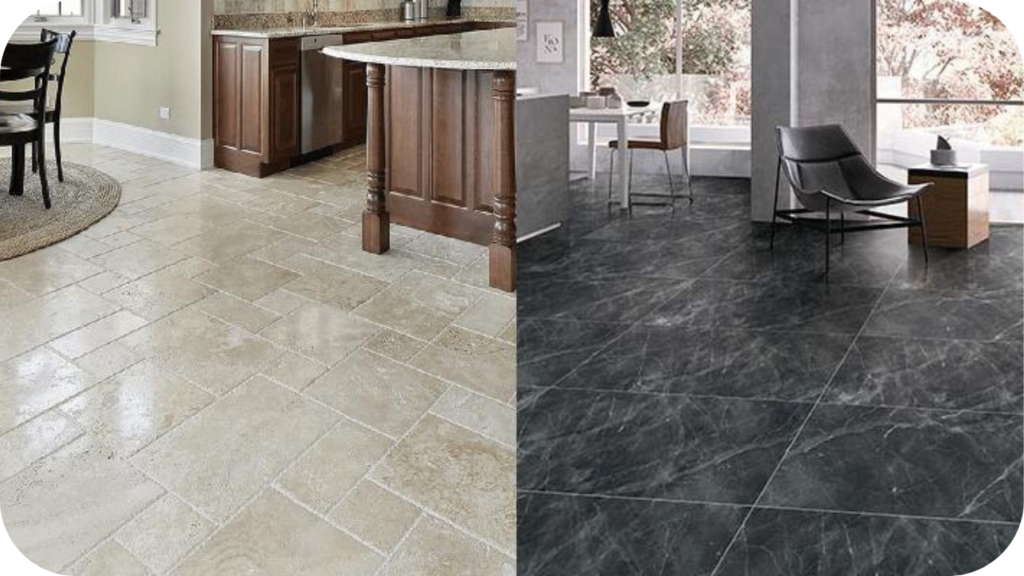
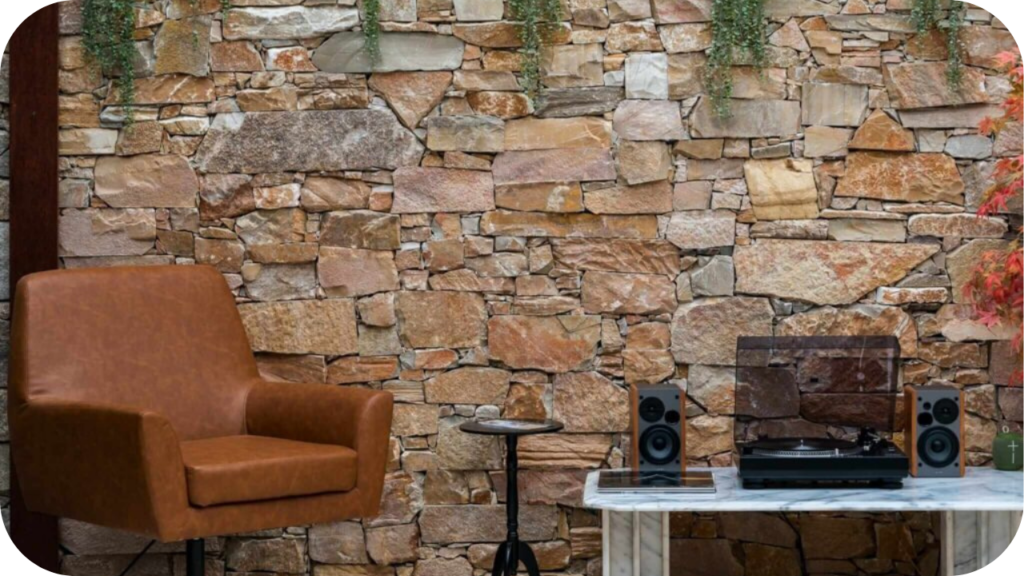
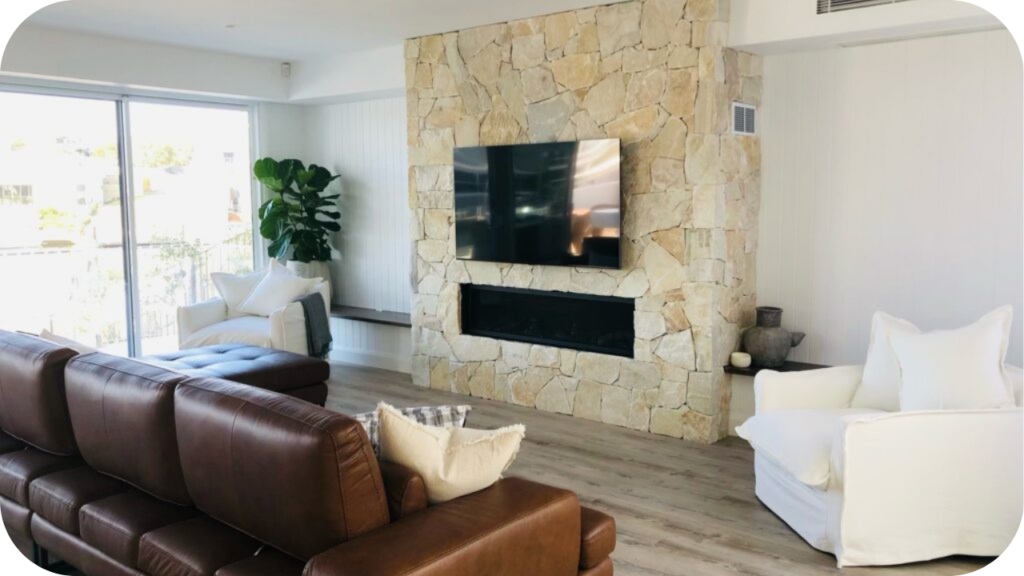
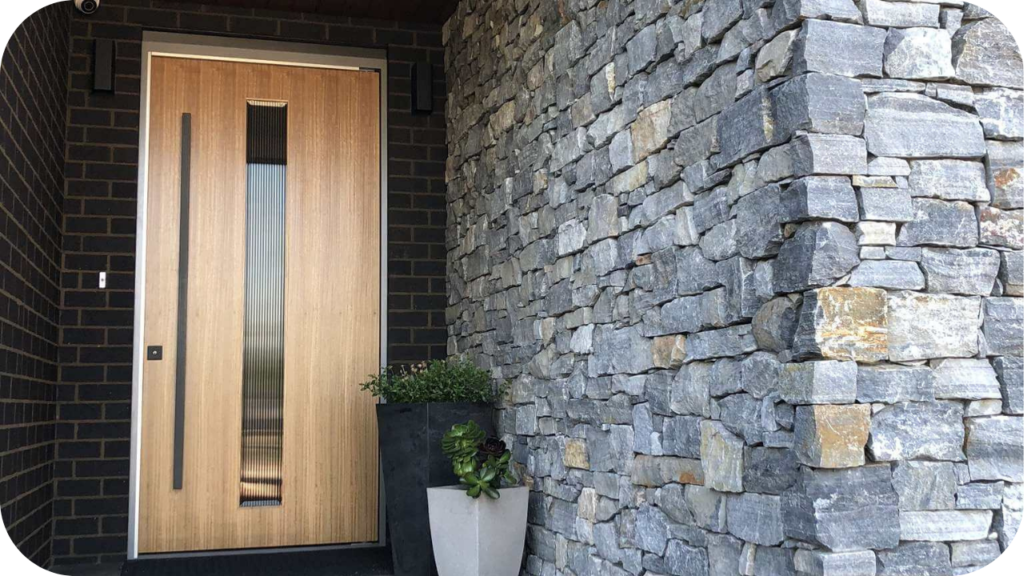
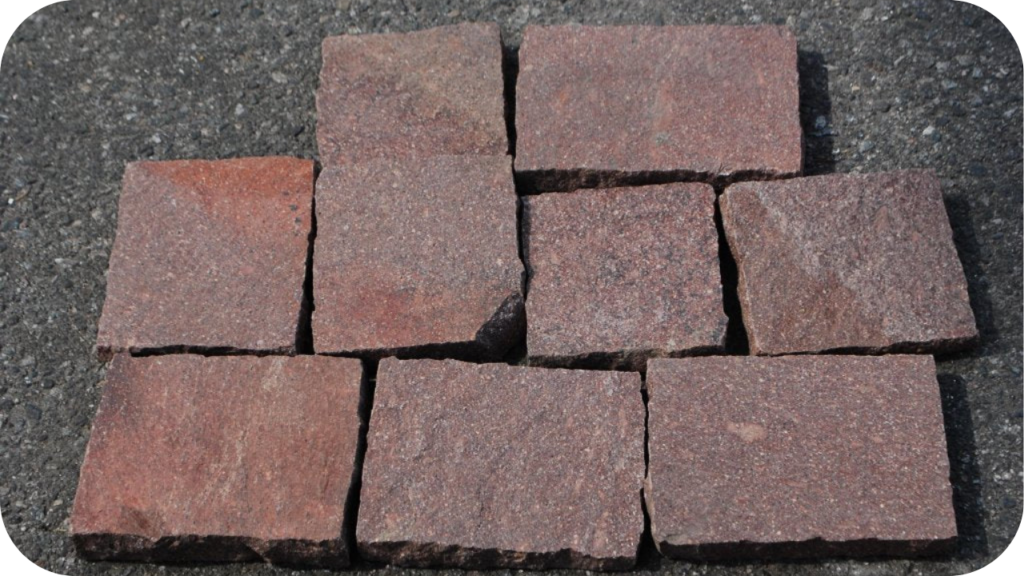
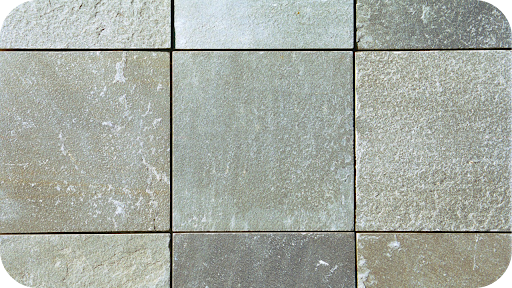
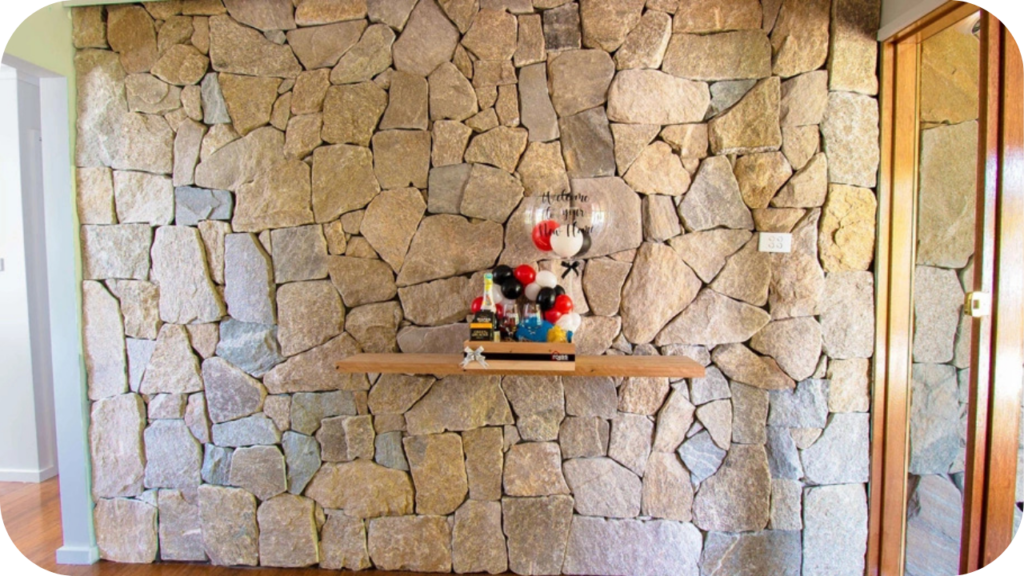
Popular Stone Cladding Options in Melbourne
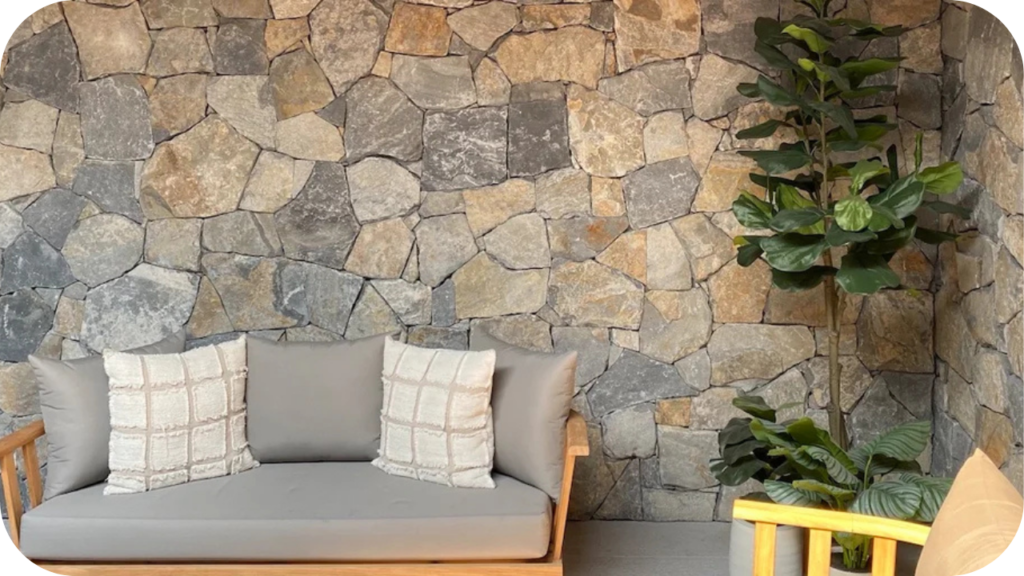
When evaluating stone cladding suppliers in Melbourne, it helps to know which materials are most commonly offered. These options showcase versatility and style, with listed varieties serving only as examples among many others available.
1. Granite Cladding
Granite is valued for its durability and sleek finish, making it ideal for premium facades and landscaping projects. Examples such as Buffalo Granite and Hotham Granite highlight its adaptability across both traditional and modern designs.
2. Limestone Cladding
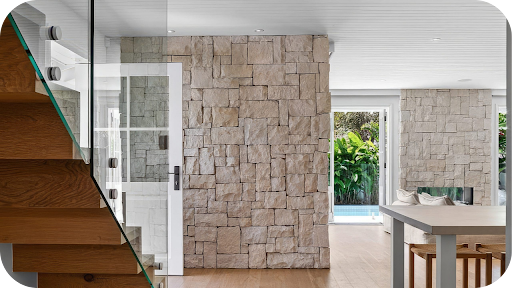
Limestone offers timeless elegance through its soft textures and natural shades, working well in both rustic and contemporary builds. Options like Jamieson Limestone, Beloka Limestone, and Marrakesh Limestone demonstrate its suitability for a wide range of applications.
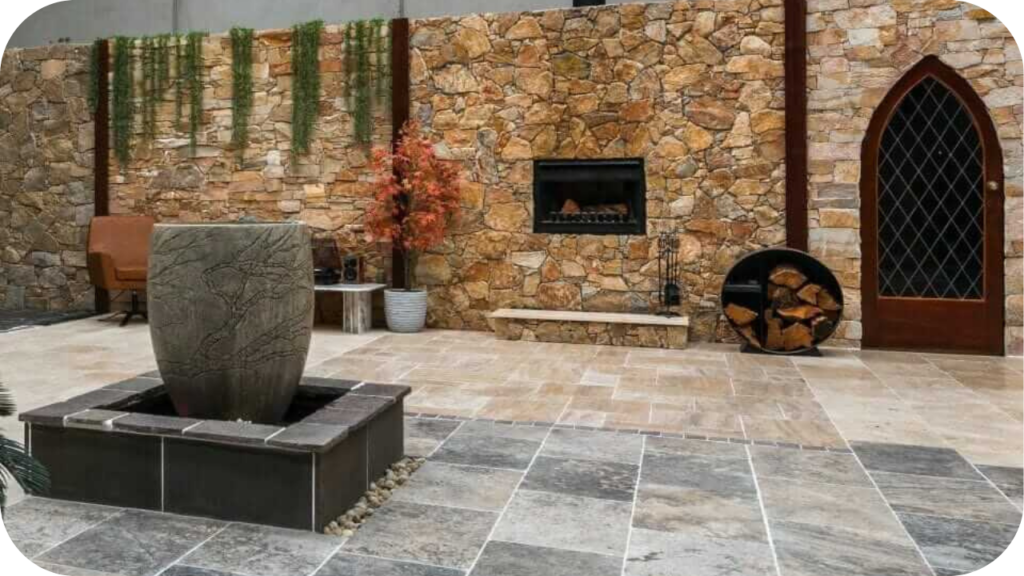
3. Sandstone Cladding
Sandstone provides warm, earthy tones that bring natural charm to homes and gardens. Varieties such as Charlotte Sandstone, Roman Sandstone, and Stirling Sandstone illustrate its appeal in courtyards, feature walls, and landscaping projects.
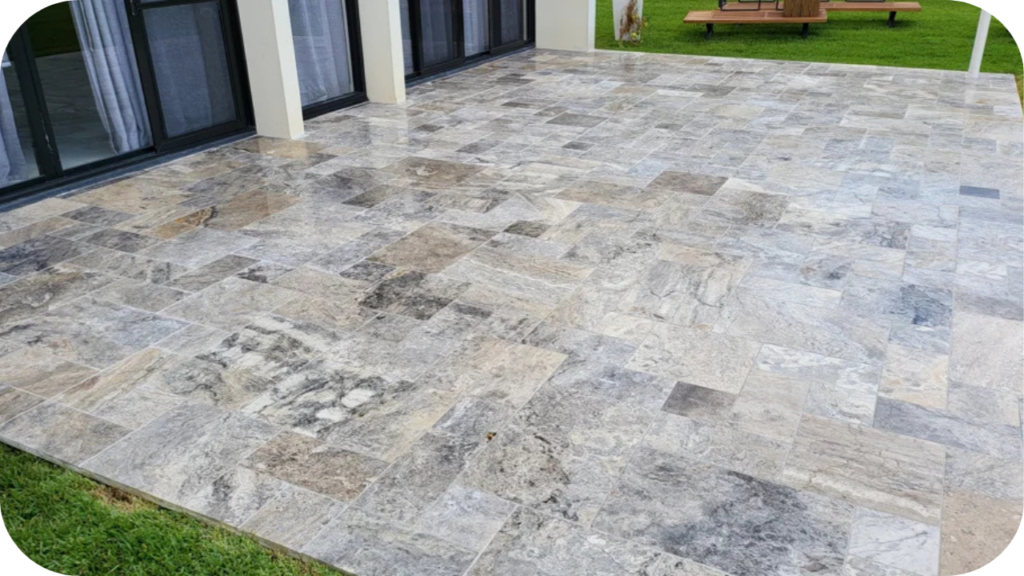
4. Quartz Cladding
Quartz is chosen for its striking textures and resilience, fitting both modern and rustic designs. Varieties like Shoreham Quartz, Blue Ridge Quartz, and Wyndham Quartz highlight its distinctive colours and layered finishes.
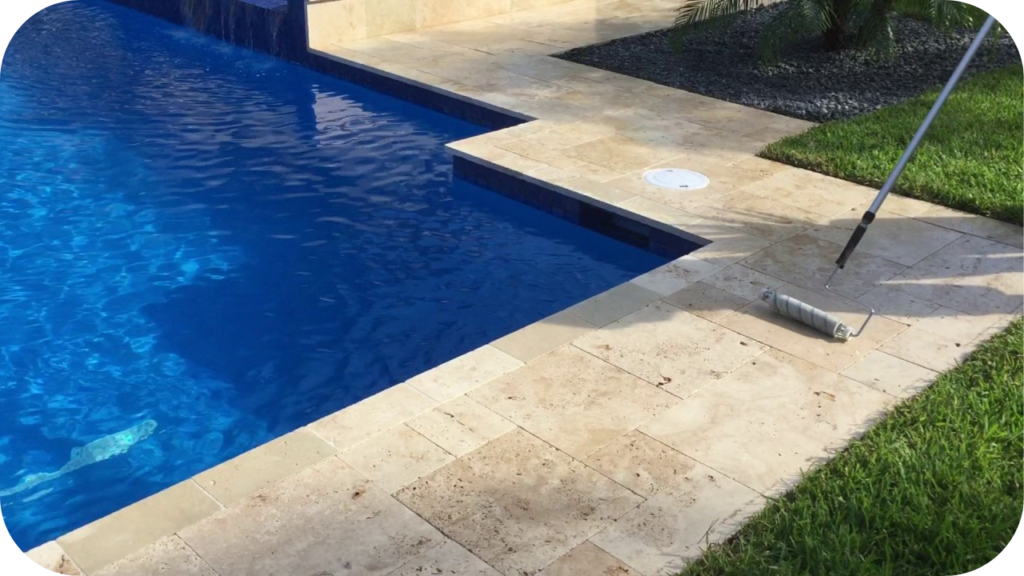
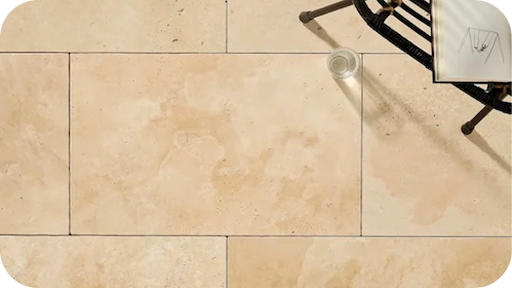
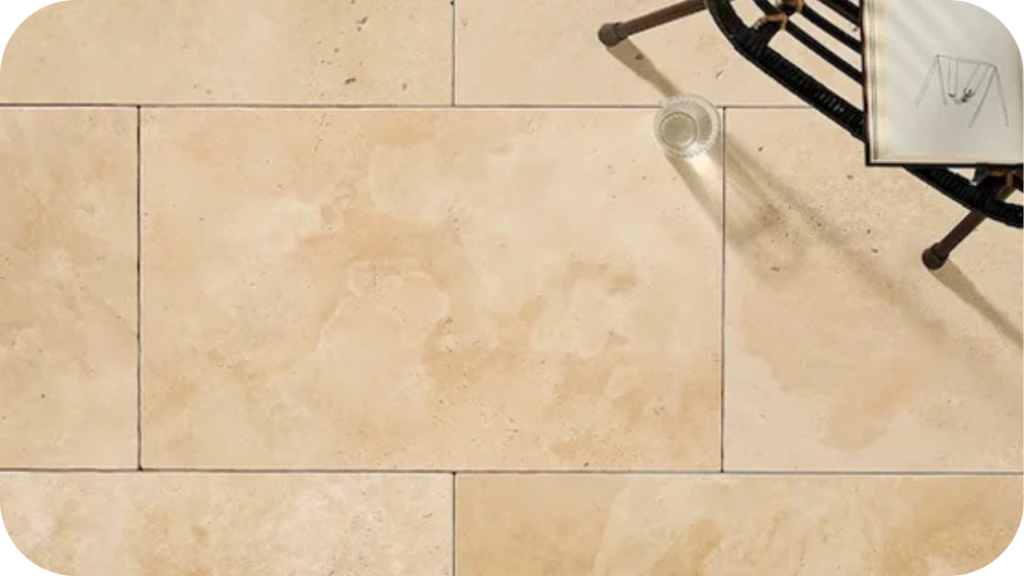
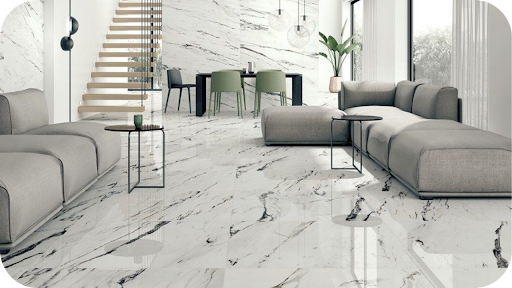
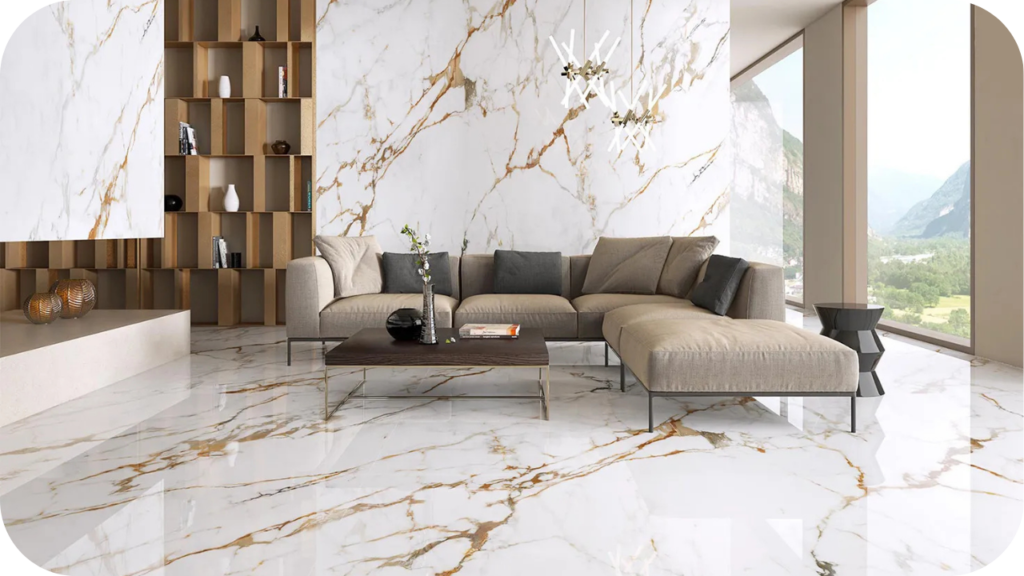
5. Travertine Cladding
Travertine blends elegance with versatility, making it a favourite for interiors and exteriors. Choices such as Sorrento Travertine, Classic Travertine, and Silver Travertine showcase its ability to suit a range of stylish applications.
Questions to Ask Your Stone Cladding Supplier

The right questions reveal whether a supplier can deliver quality, reliability, and support. Here are essential ones to ask before committing to a purchase.
1. What stone varieties and finishes are available?
This question ensures you can access the full range of materials, from limestone and sandstone to granite, quartz, and travertine. A broad selection of finishes allows you to align stone choice with both function and style.
2. Is the cladding suited for Melbourne’s weather and building regulations?
Asking this confirms the stone’s durability and compliance with local standards. Suppliers familiar with Melbourne’s conditions can recommend materials that withstand weather changes while meeting regulatory requirements for safe, lasting installations.
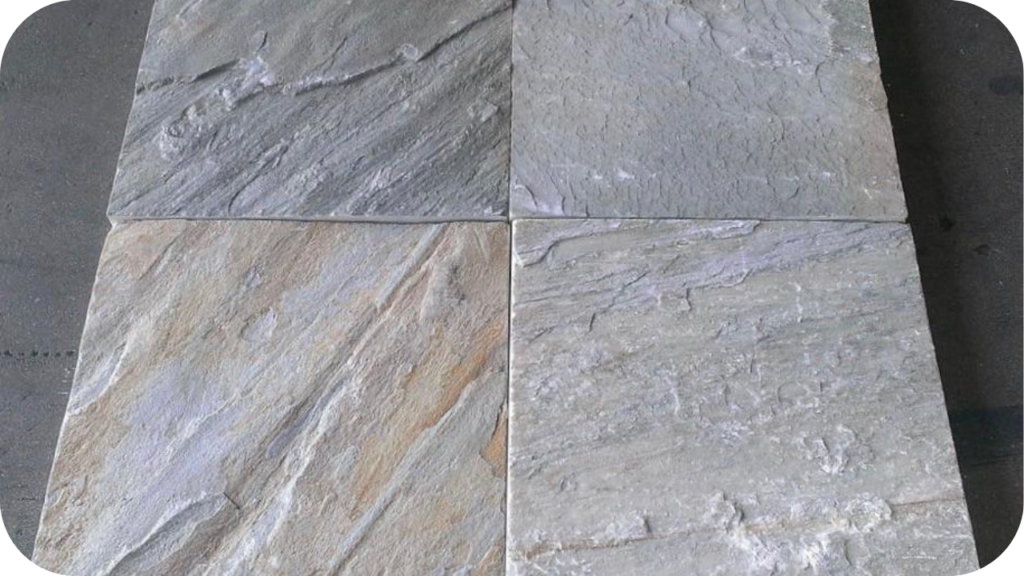
3. Can you provide samples before purchase?
Samples let you inspect colour, texture, and finish in person, reducing guesswork. Handling the stone ensures it matches your design vision, helping you make a confident, informed purchasing decision.
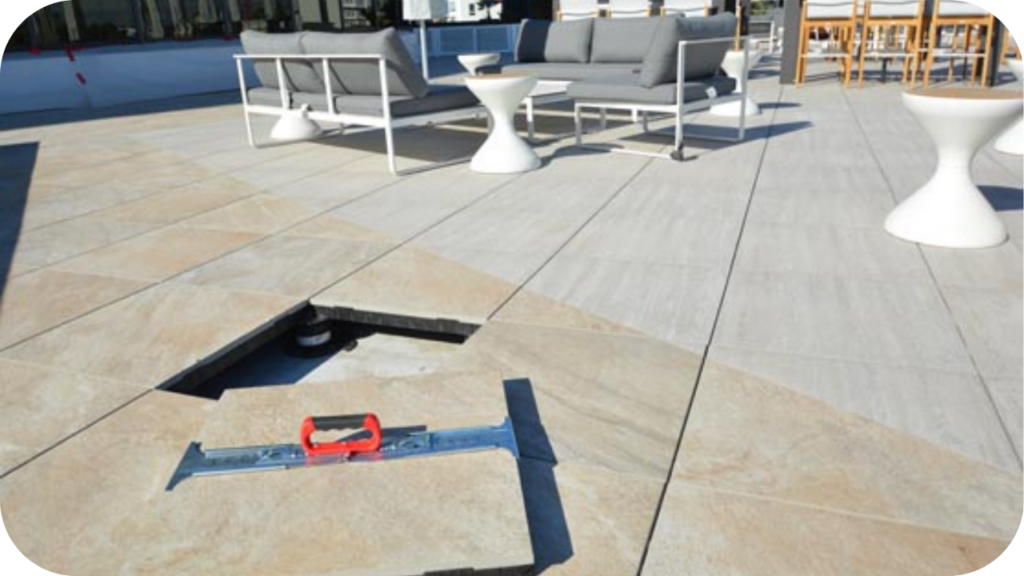
4. What are the lead times for delivery?
Delivery timelines are critical for managing schedules. Knowing stock availability and turnaround times avoids project delays, ensuring materials arrive when needed and helping keep construction or landscaping work on track.
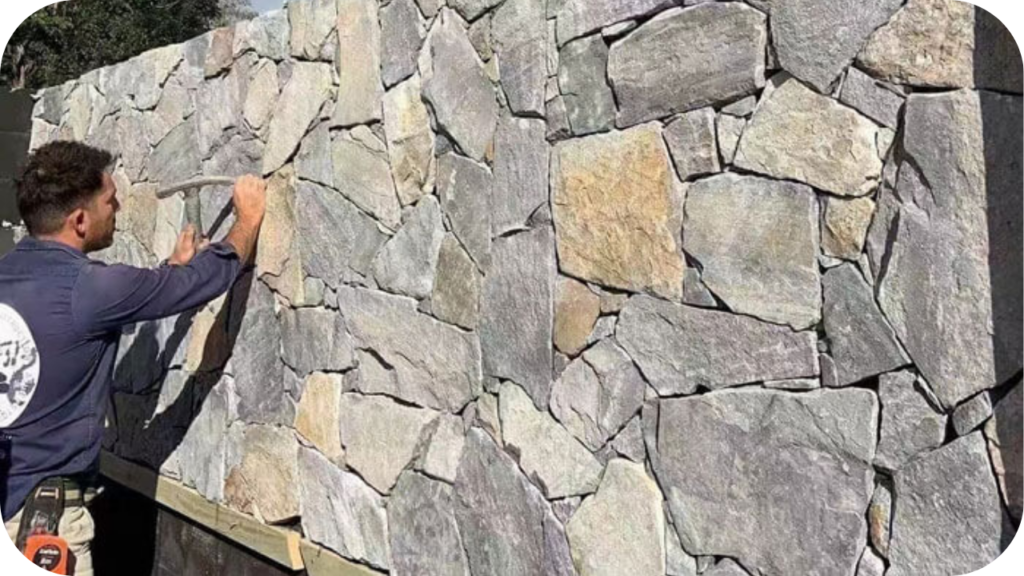
5. Do you offer installation guidance or contractor recommendations?
Installation is just as important as the stone itself. Suppliers offering guidance or trusted contractor contacts help ensure cladding is correctly fitted, improving performance, durability, and overall project satisfaction.
Benefits of Working with Local Melbourne Suppliers
Working with a local supplier brings advantages that go beyond convenience. These benefits make a real difference to project timelines, design outcomes, and overall peace of mind.
- Faster Turnaround Times: Local suppliers keep stock close, reducing waiting periods and avoiding costly delays. With stone available on demand, projects can start sooner and progress more smoothly from planning through to installation.
- Knowledge of Melbourne’s Styles and Climate: Local suppliers understand architectural trends and weather conditions unique to Melbourne. Their expertise ensures stone cladding matches the region’s design preferences while performing reliably in varied seasonal environments.
- Easier Communication and Support: Working with a nearby supplier simplifies communication and strengthens after-sales support. Quick access to advice and troubleshooting keeps projects moving efficiently without unnecessary stress or interruptions.
- Stronger Community and Industry Connections: Local suppliers often have trusted networks of architects, builders, and contractors. These relationships provide additional support and recommendations, helping ensure your project is managed smoothly from supply through to installation.
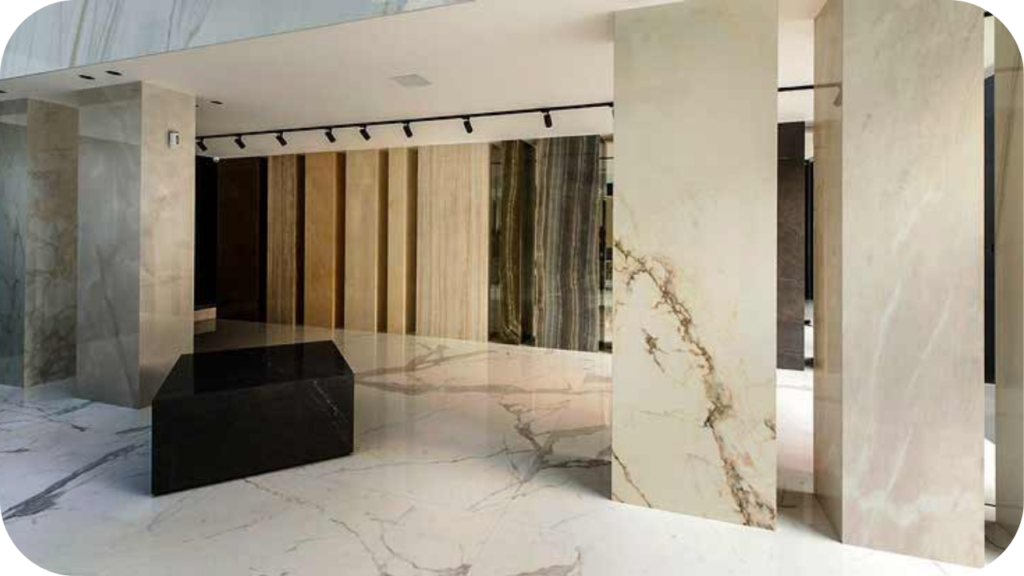
- Opportunity to View Products Locally: Showrooms allow you to see, touch, and compare stone before purchasing. This hands-on experience ensures the chosen material aligns with your aesthetic vision and meets your project’s practical requirements.
Why Splendour in Stone Is a Trusted Stone Cladding Supplier in Melbourne

Choosing the right supplier is just as important as choosing the stone itself. Here’s why Splendour in Stone is trusted by homeowners, builders, and architects across Melbourne.
- Wide Selection of Options: We offer sandstone, limestone, granite, travertine, marble, and quartz in various finishes. This broad range ensures projects achieve the right balance of durability, character, and style seamlessly.
- Premium Quality Assurance: Every stone is carefully sourced and quality-checked for strength, finish, and consistency. Our high standards guarantee cladding performs reliably in Melbourne’s conditions while delivering timeless visual appeal.
- Proven Track Record: We have supplied both residential and commercial projects with long-lasting cladding solutions. Our experience highlights our ability to deliver quality stone suited to diverse architectural and functional needs.
- Tailored Expert Guidance: Our knowledgeable team provides personalised advice, helping match stone options with design visions, project requirements, and budgets. This support ensures every client makes confident, well-informed decisions.
- Reliable Supply and Local Service: Based in Melbourne, we maintain dependable stock levels and efficient delivery schedules. Clients benefit from on-time supply that supports smooth project timelines and consistent outcomes.
Choose a Quality Stone Cladding Supplier in Melbourne
Selecting the right supplier is key to achieving lasting results with stone cladding. The right partner ensures quality, consistency, and clear guidance, giving you confidence from initial selection through delivery and installation.
Assess range, quality standards, expertise, pricing clarity, logistics, and customer support. Compare samples in person, confirm climate suitability, and ask about lead times. Working with local suppliers also brings faster turnaround and easier communication, which keeps projects on schedule.
At Splendour in Stone, we pair premium materials with practical advice and dependable service. Browse our stone cladding collection, request a sample, or contact us today. We are ready to help you specify the perfect stone for your project.