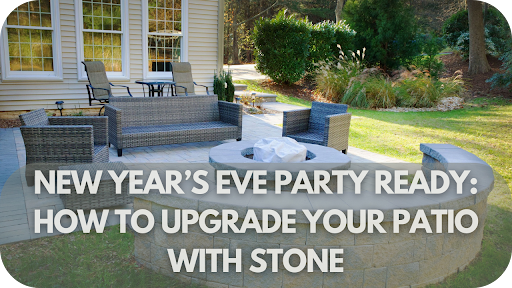
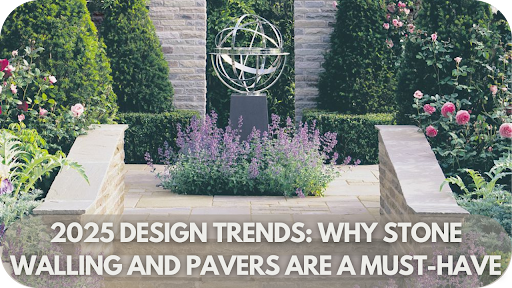
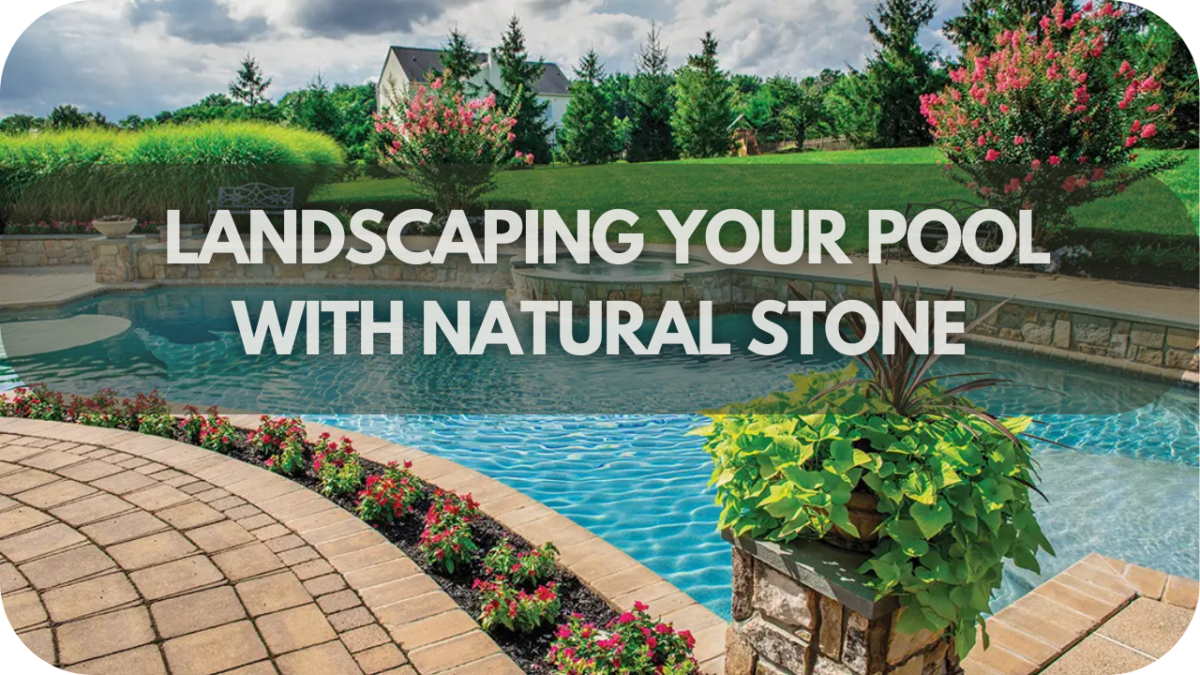
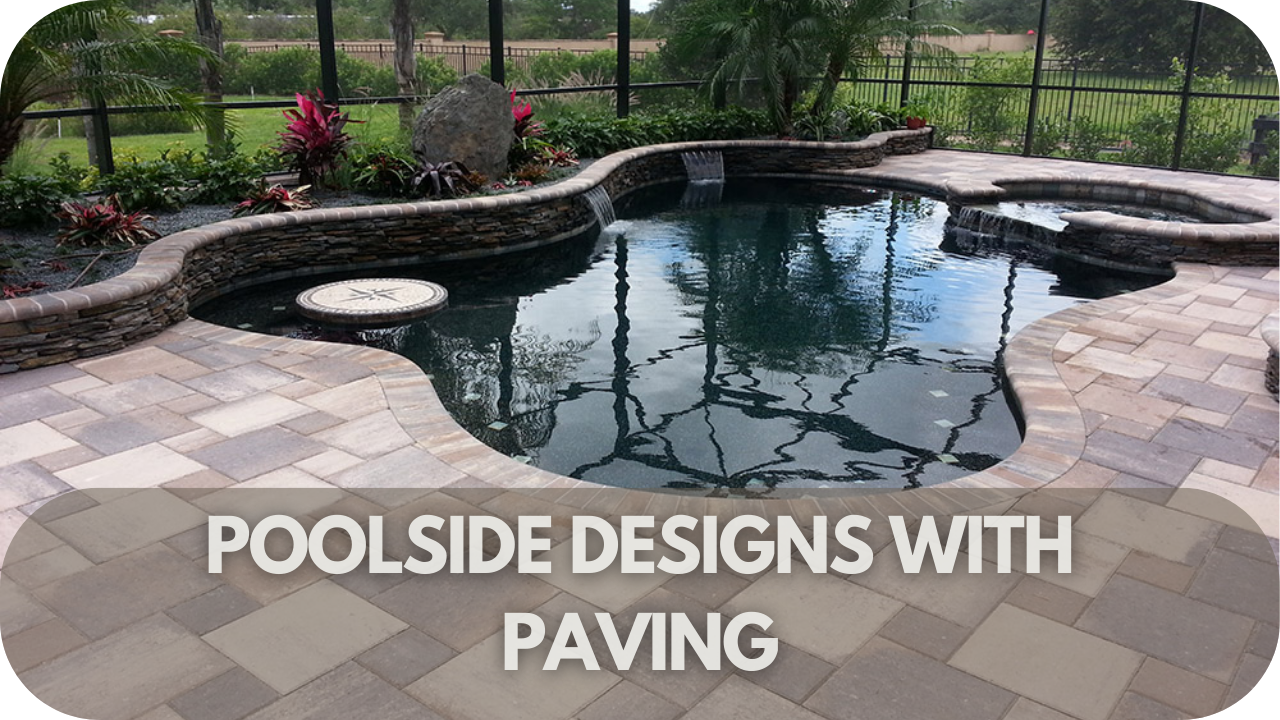
The Best Natural Stone Materials for a Jaw-Dropping New Year Paving
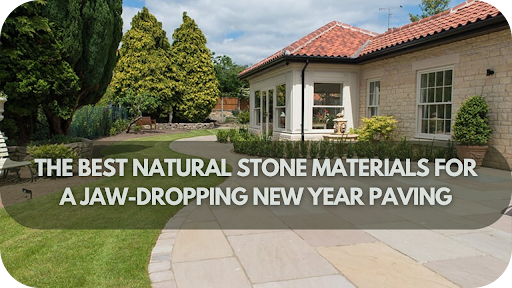
Start the New Year by transforming your outdoor spaces with the timeless beauty of natural stone!
Imagine the rustic charm of cobbles underfoot, the sleek elegance of granite, or the enduring strength of bluestone enhancing your pathways, patios, and driveways.
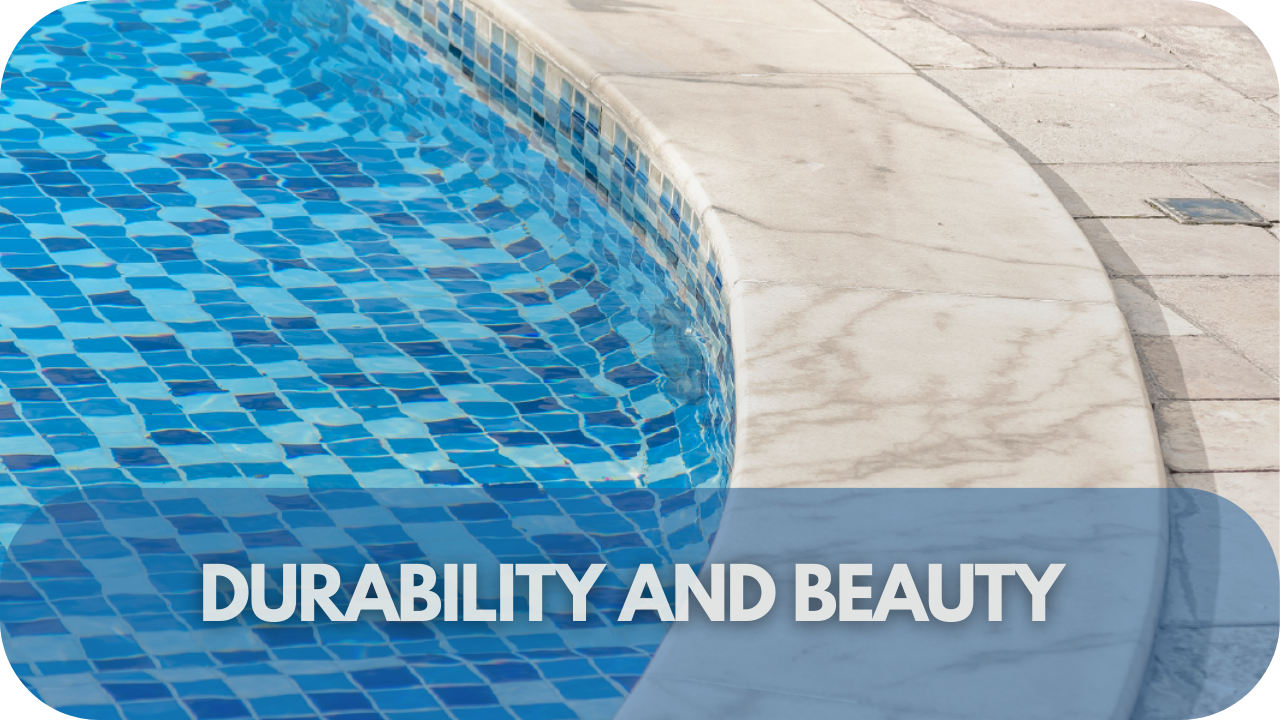
Natural stone brings both style and durability, creating spaces that are as functional as they are stunning.
Whether you’re after classic sophistication or a more contemporary edge, this guide explores the best stone materials to elevate your paving and make a lasting impression.
Let’s dive in!
Top Natural Stone Materials for Paving
Transform your pathways with the beauty and resilience of natural stone. Explore our top picks for paving materials that combine durability with timeless elegance, bringing sophistication to any outdoor space.
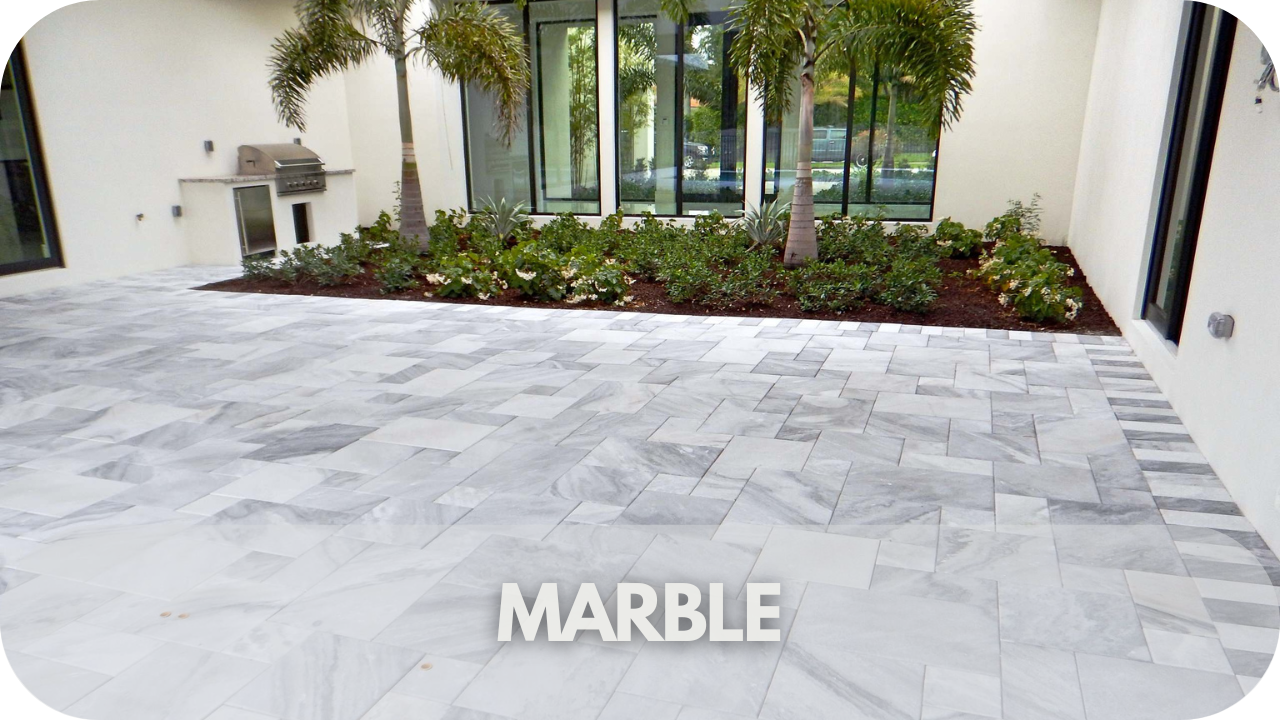
1. Marble
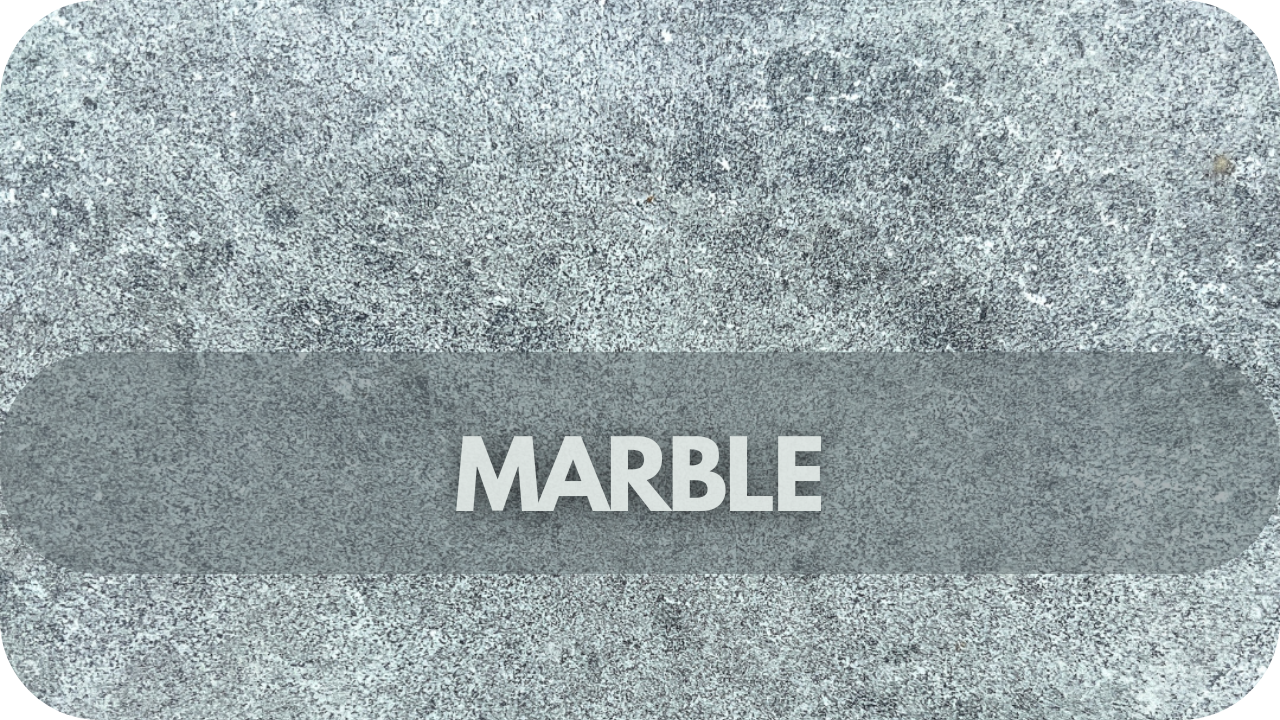
Marble stone is synonymous with luxury and timeless elegance, making it a popular choice for paving. Its smooth, polished surface and distinctive veining create a sophisticated look that elevates any space. Due to its durability and moisture resistance, marble is ideal for patios, walkways, and pool surrounds.
However, it’s important to note that marble requires regular sealing to protect it from staining and weathering. Despite this, its beauty and versatility make it a favourite for homeowners looking to add a touch of luxury to their paving.
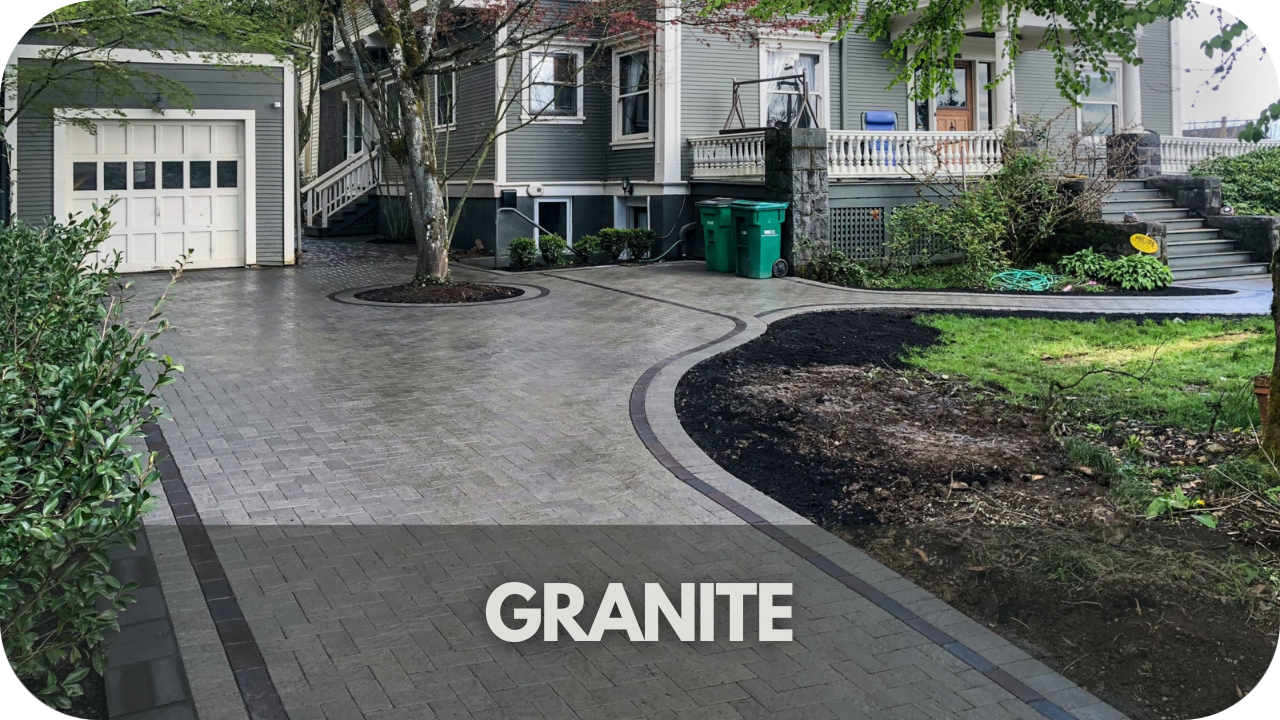
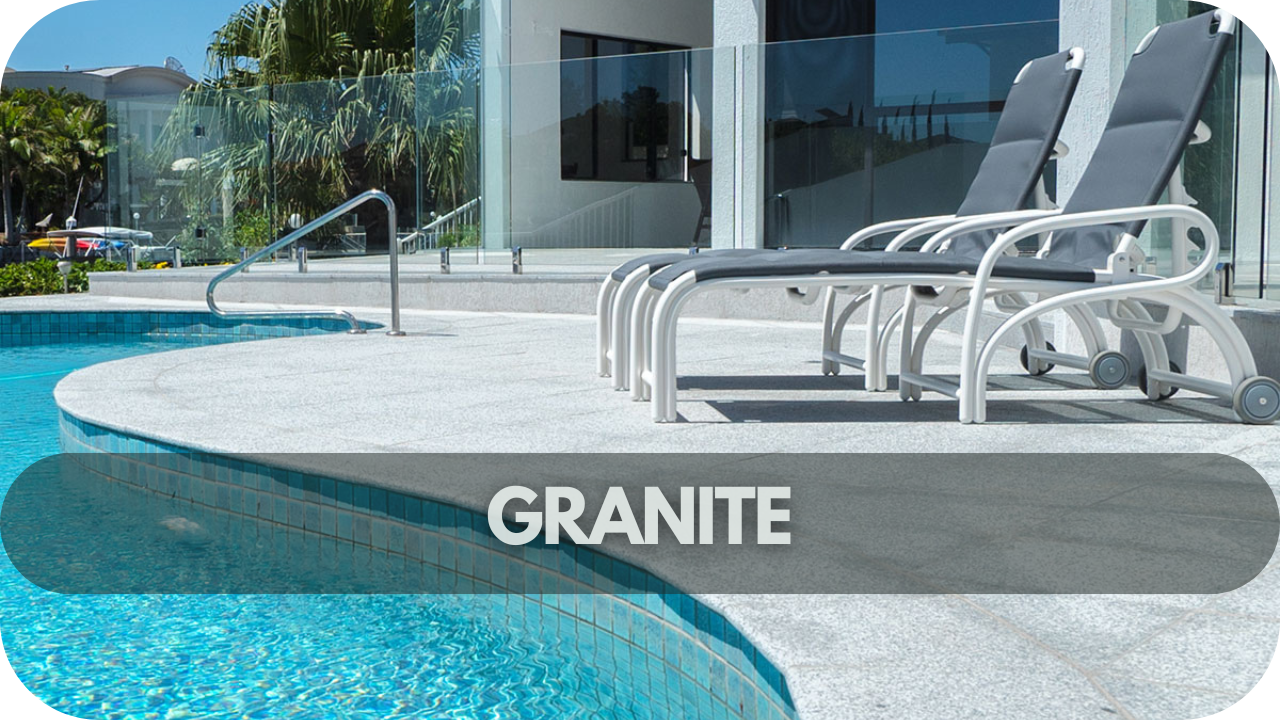
2. Granite
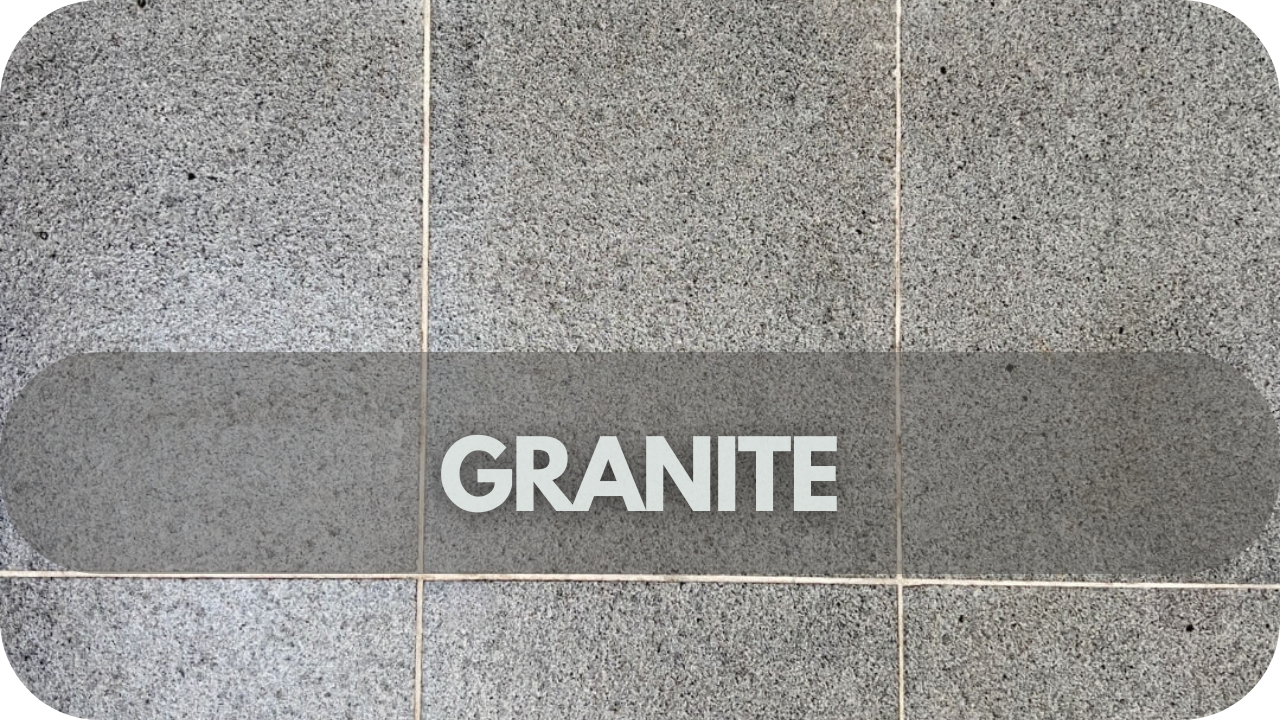
Granite stone is prized for its durability and strength, making it ideal for paving in high-traffic areas. Its resistance to scratches, heat, and moisture ensures long-lasting performance under various weather conditions.
With a wide range of colours and patterns, granite allows for a customised and polished look.
Though it requires periodic sealing to maintain its resilience, granite’s low-maintenance nature and longevity make it a top choice for outdoor spaces such as driveways, pathways, and patios.
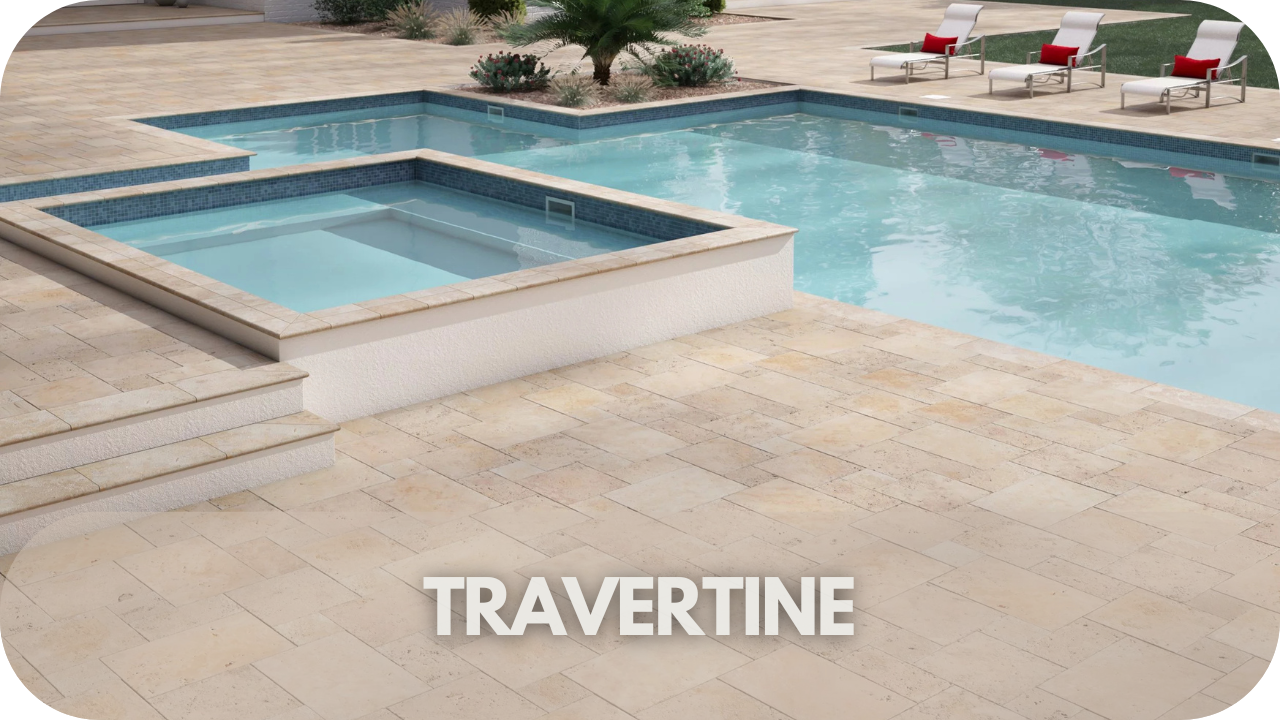
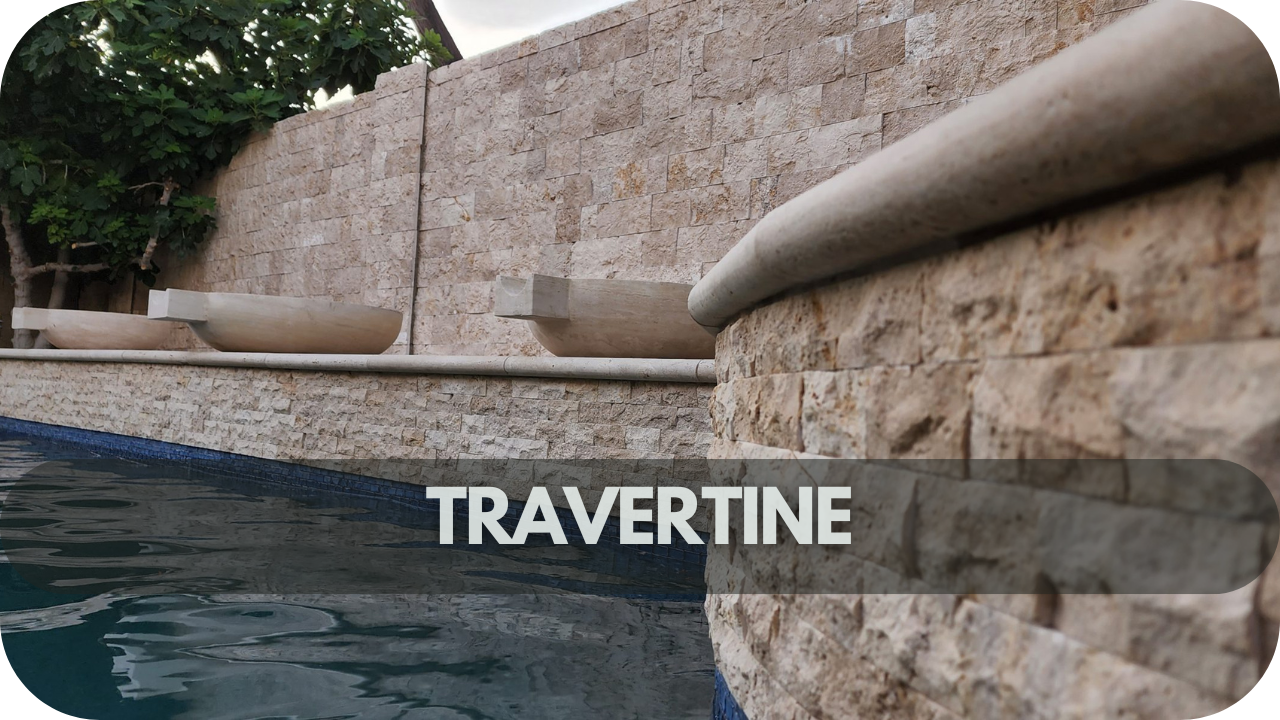
3. Travertine
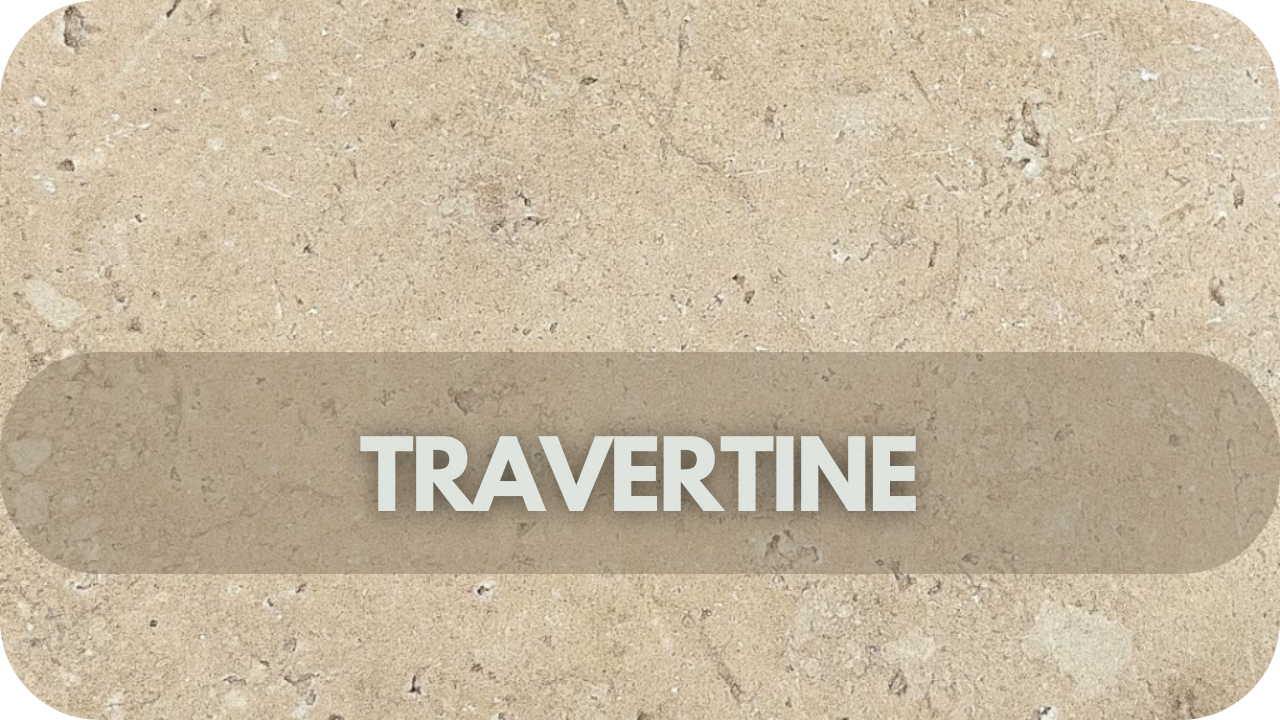
Travertine’s earthy tones and textured surface bring a warm, natural appeal to any paving project.
Its porous texture adds character, creating a rustic yet elegant look for courtyards, pathways, or pool decks.
Travertine comes in honed, tumbled, or polished finishes, offering versatility for different aesthetics.
Proper sealing is essential to prevent moisture absorption and staining, but travertine provides beauty and durability with regular care.
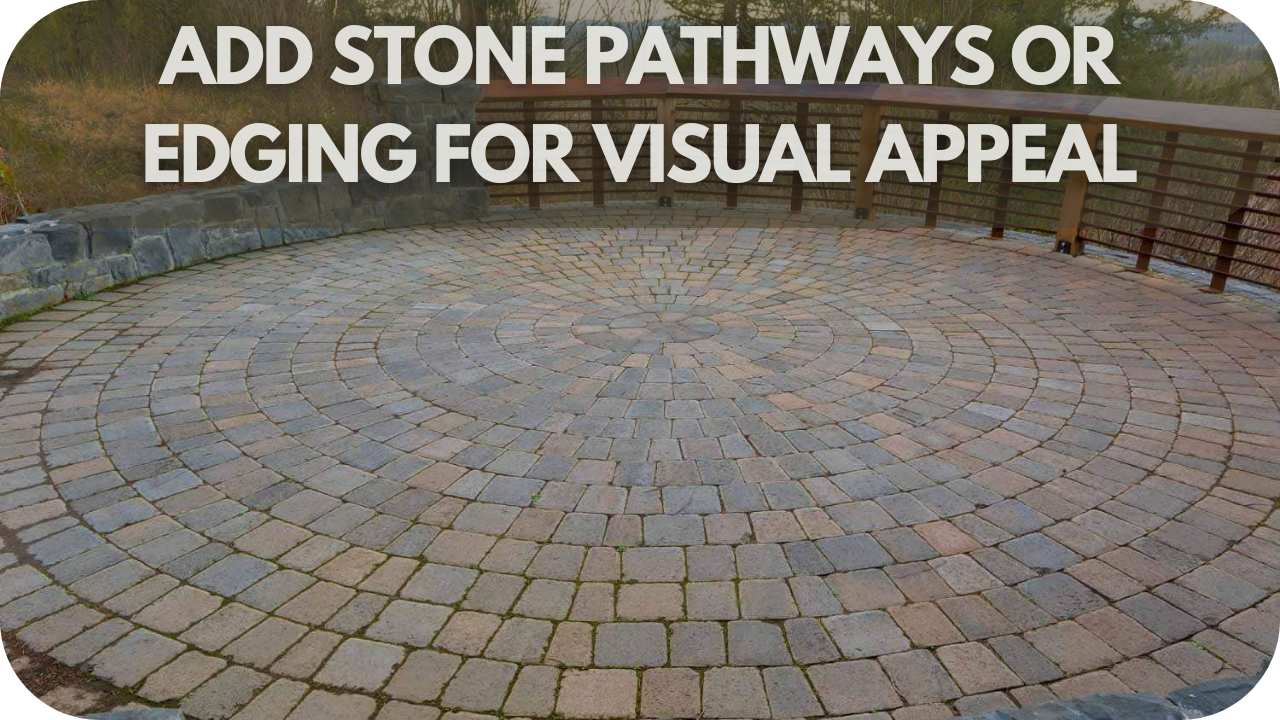
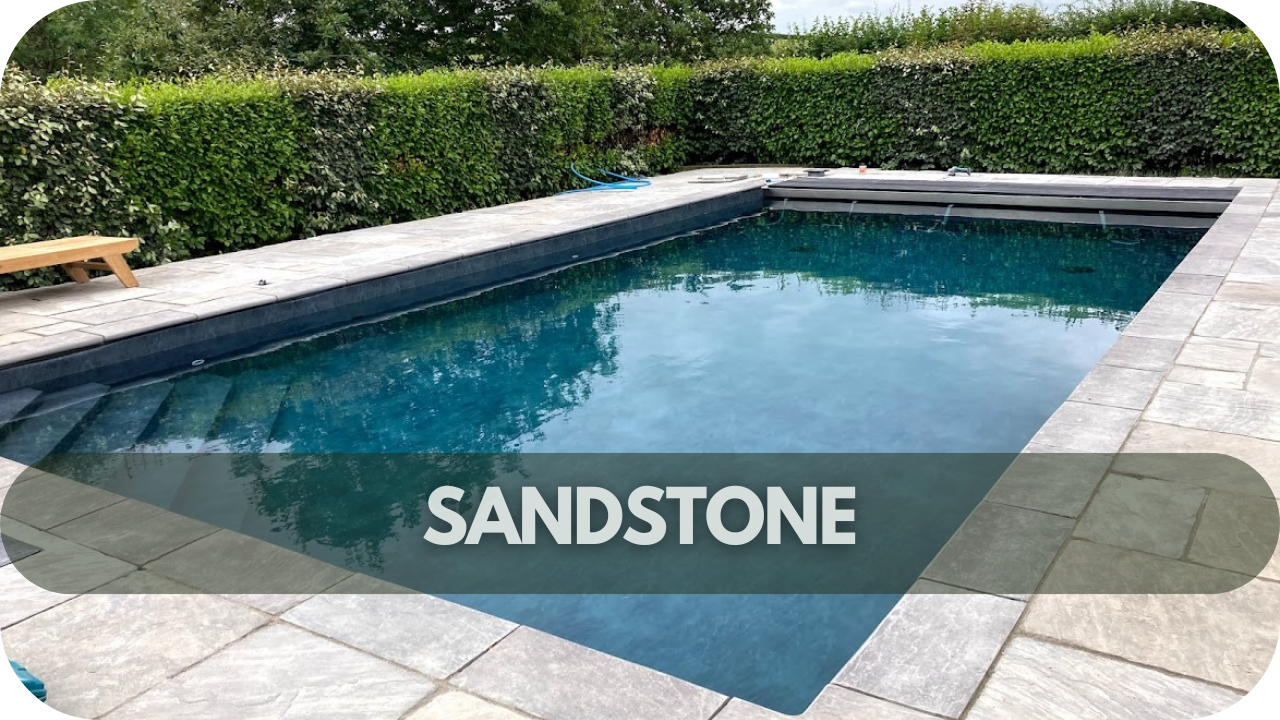
4. Cobbles

Cobbles are a classic paving choice, combining old-world charm with exceptional durability.
Made from natural stones like granite or sandstone, they’re perfect for driveways, pathways, and courtyards. Their textured surface offers excellent grip, and their robust nature resists wear and weathering.
Cobbles are easy to maintain with occasional sealing and add lasting character and elegance to any outdoor space.
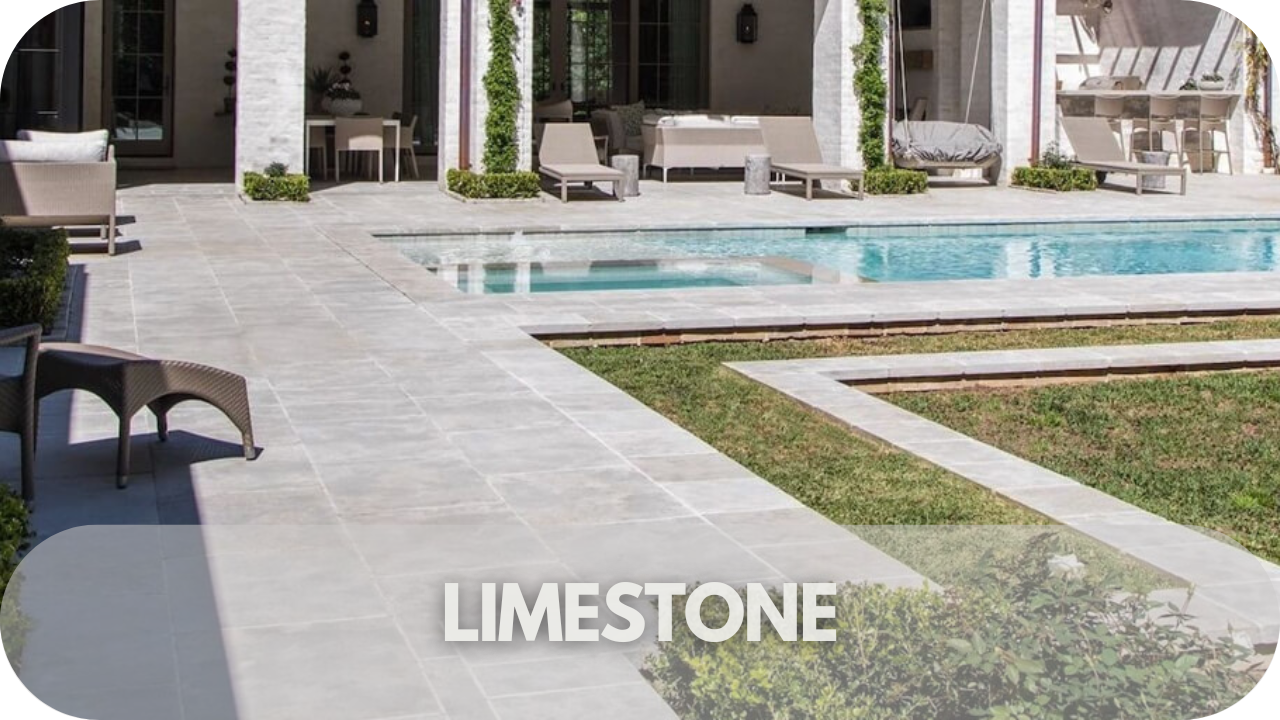
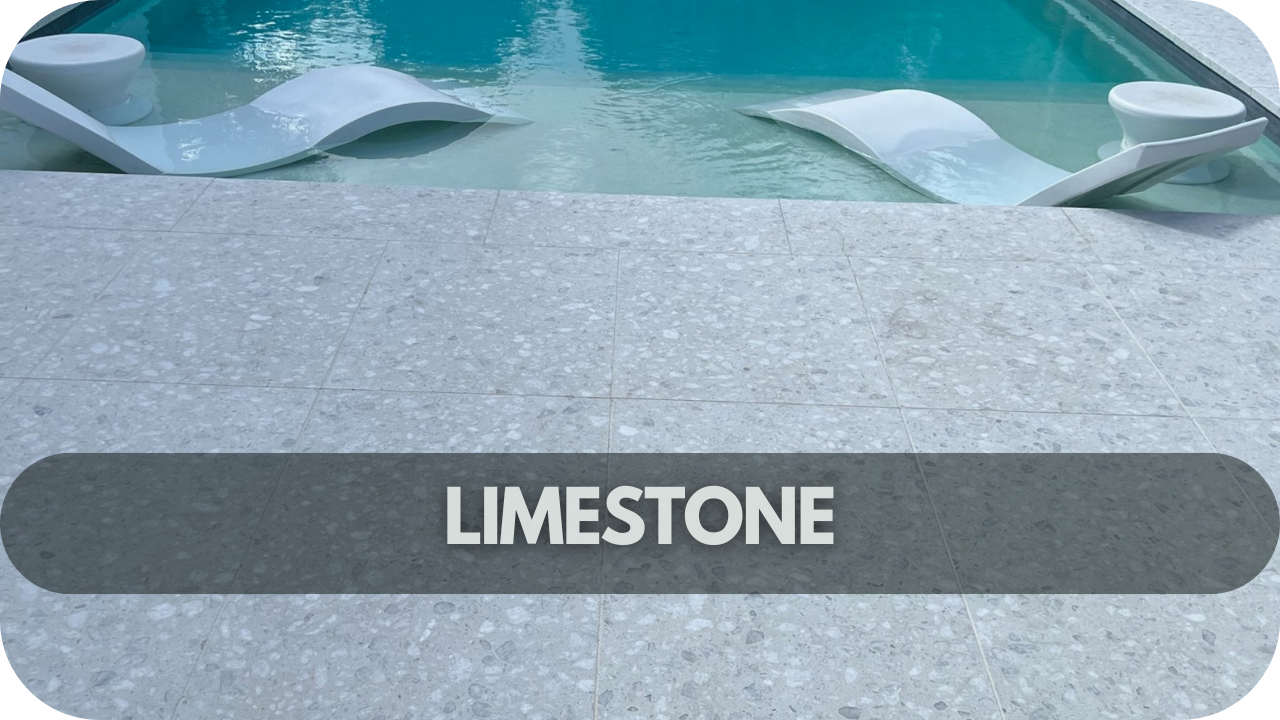
5. Limestone
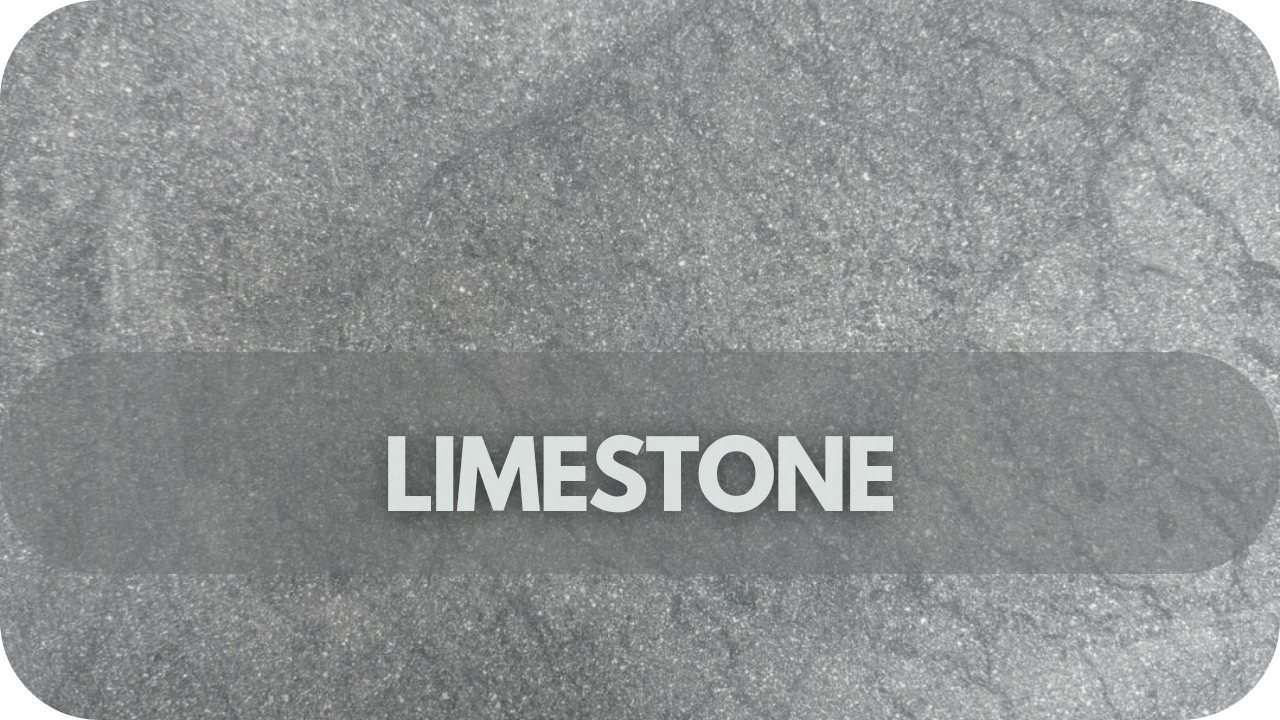
Limestone is a versatile natural stone that adds a timeless elegance to paved areas. Its soft, neutral tones blend seamlessly with various design styles, from contemporary to classic.
Limestone is highly durable and suitable for patios, pathways, and courtyards. However, being porous requires sealing to protect against moisture and stains.
With proper maintenance, limestone delivers longevity and enhances the aesthetic appeal of any paving project.
6. Slate
Known for its rich textures and rugged appearance, slate is an excellent choice for paving projects with a modern or rustic aesthetic.
Slate’s natural slip-resistant surface is ideal for walkways, driveways, and pool surrounds. Its range of colours, from deep greys to earthy greens, adds striking visual appeal to any design.
It requires minimal maintenance, offers durability and resistance to moisture, and is practical and stylish for outdoor use.
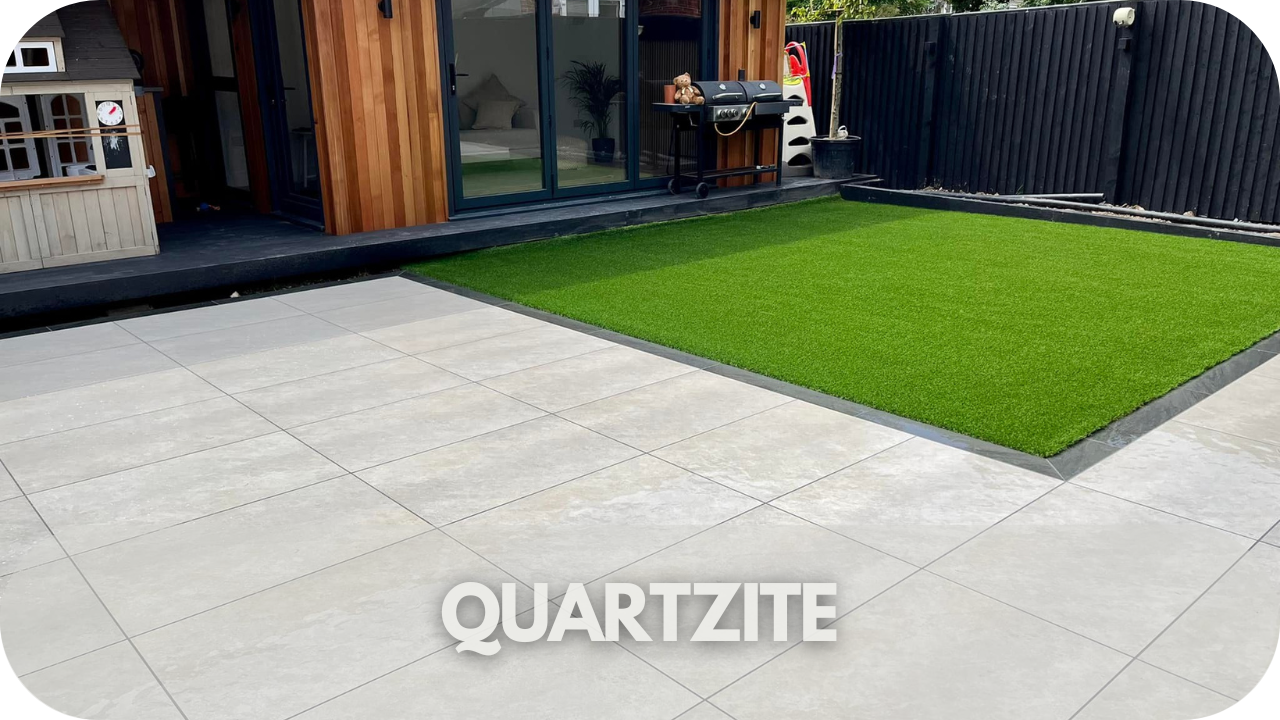
7. Quartzite
Quartzite is an excellent choice for paving due to its incredible strength and resistance to wear.
With its elegant veined appearance similar to marble but superior durability, quartzite is perfect for patios and high-traffic areas.
It is highly resistant to scratches, heat, and moisture, making it a practical choice. Although sealing is recommended to preserve its beauty, quartzite requires less maintenance than softer stones.
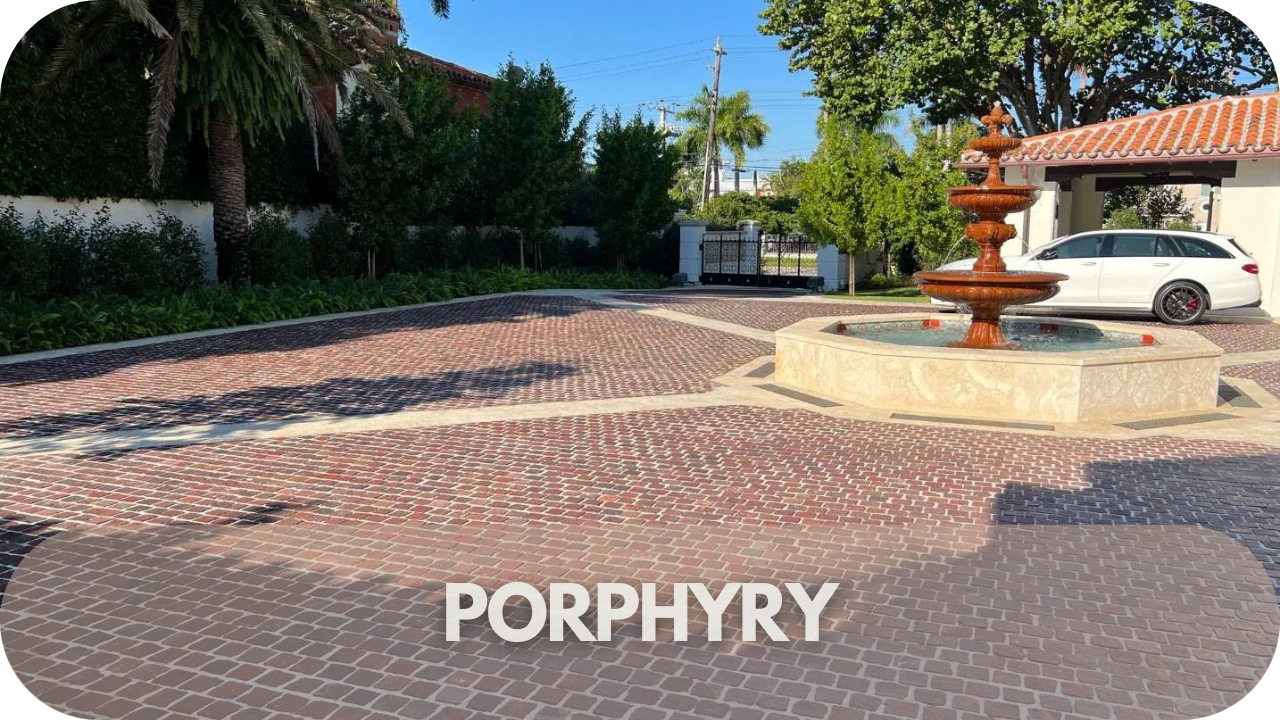
8. Porphyry
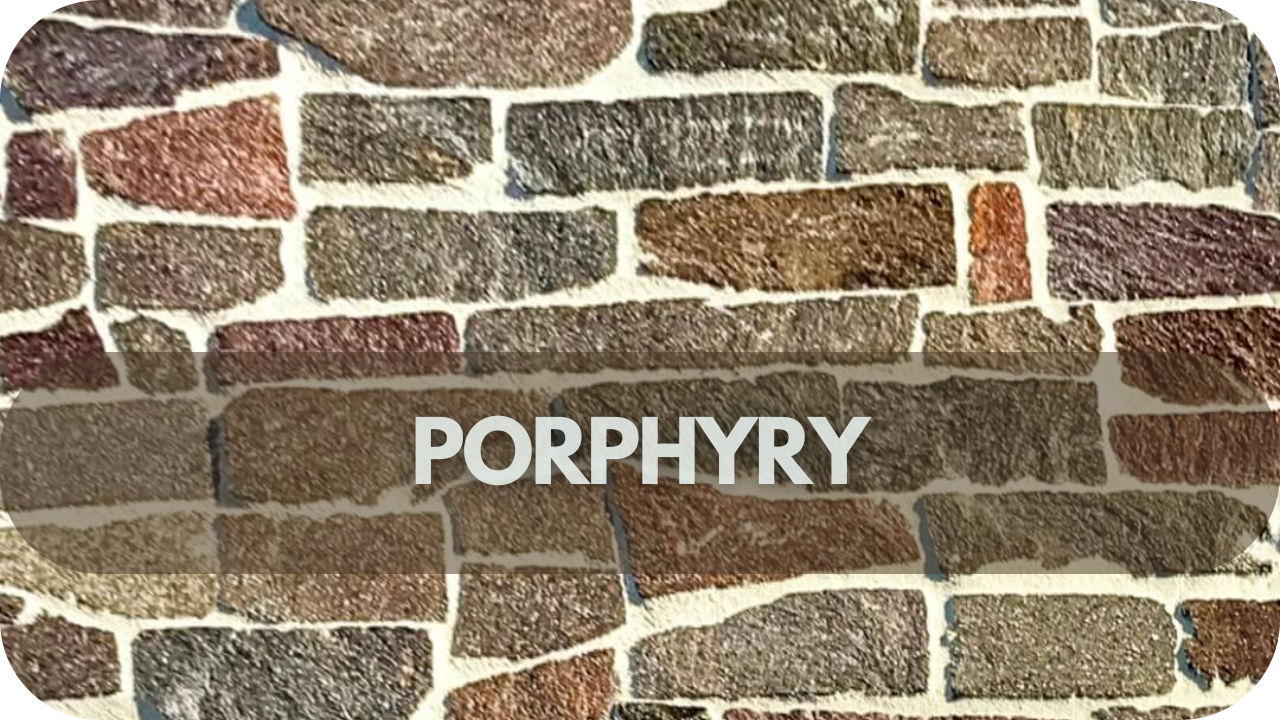
Porphyry is a natural stone celebrated for its durability and unique, speckled appearance, available in rich earthy tones such as red, grey, and brown.
Ideal for driveways, pathways, plazas, and patios, its natural split surface provides excellent grip, even in wet conditions, enhancing both safety and aesthetic appeal.
Highly resistant to heavy traffic, extreme weather, and temperature changes, porphyry is built to last, making it suitable for both residential and commercial paving projects.
Its versatility allows it to be cut into various shapes and sizes, offering design flexibility for uniform patterns or intricate layouts.
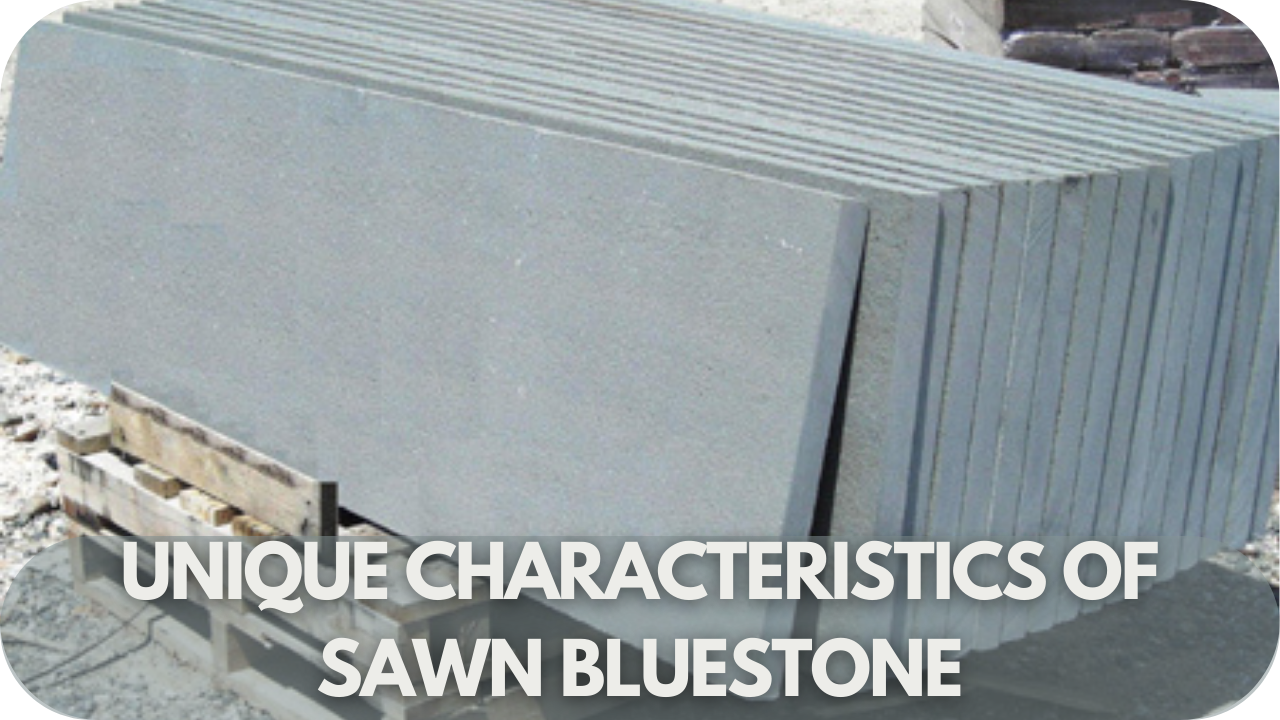
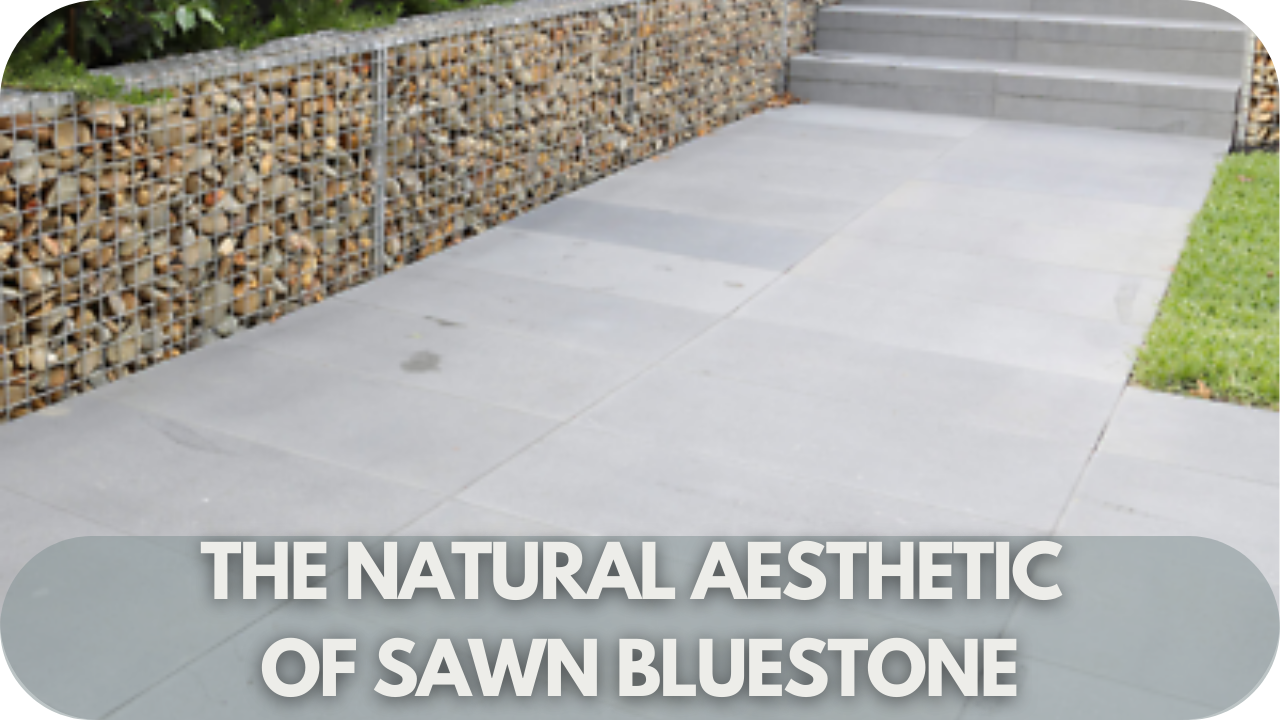
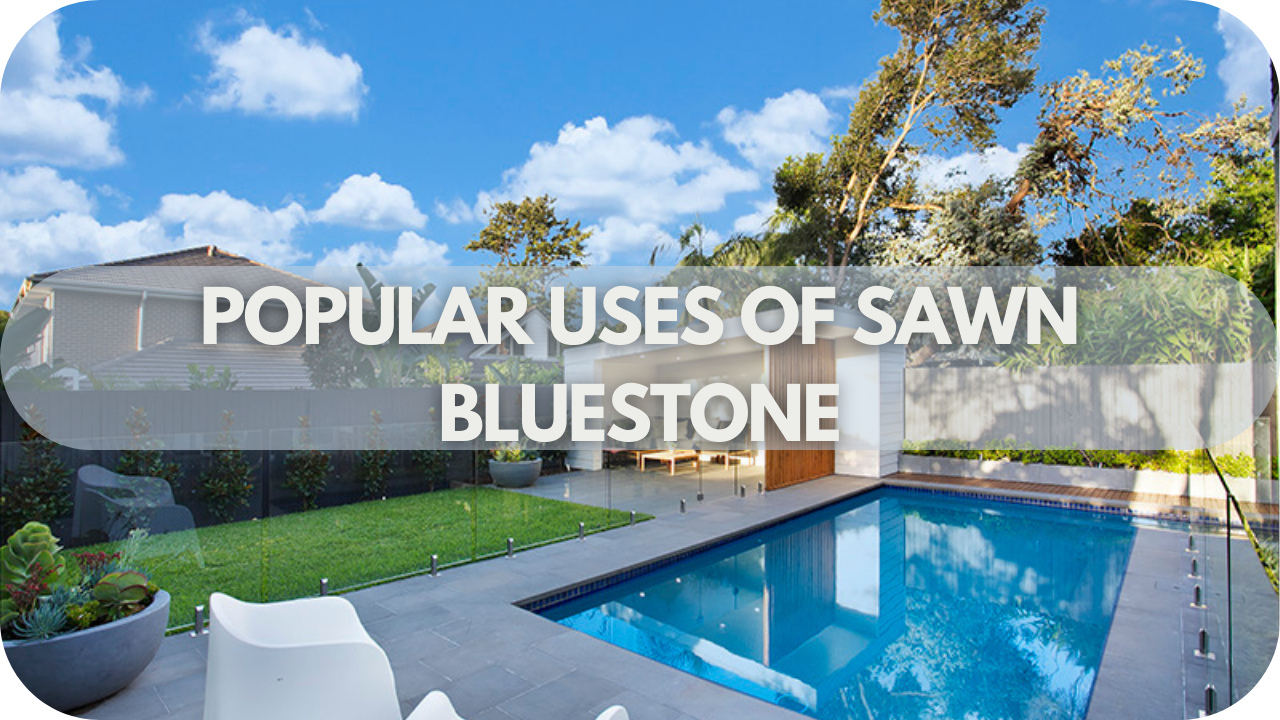
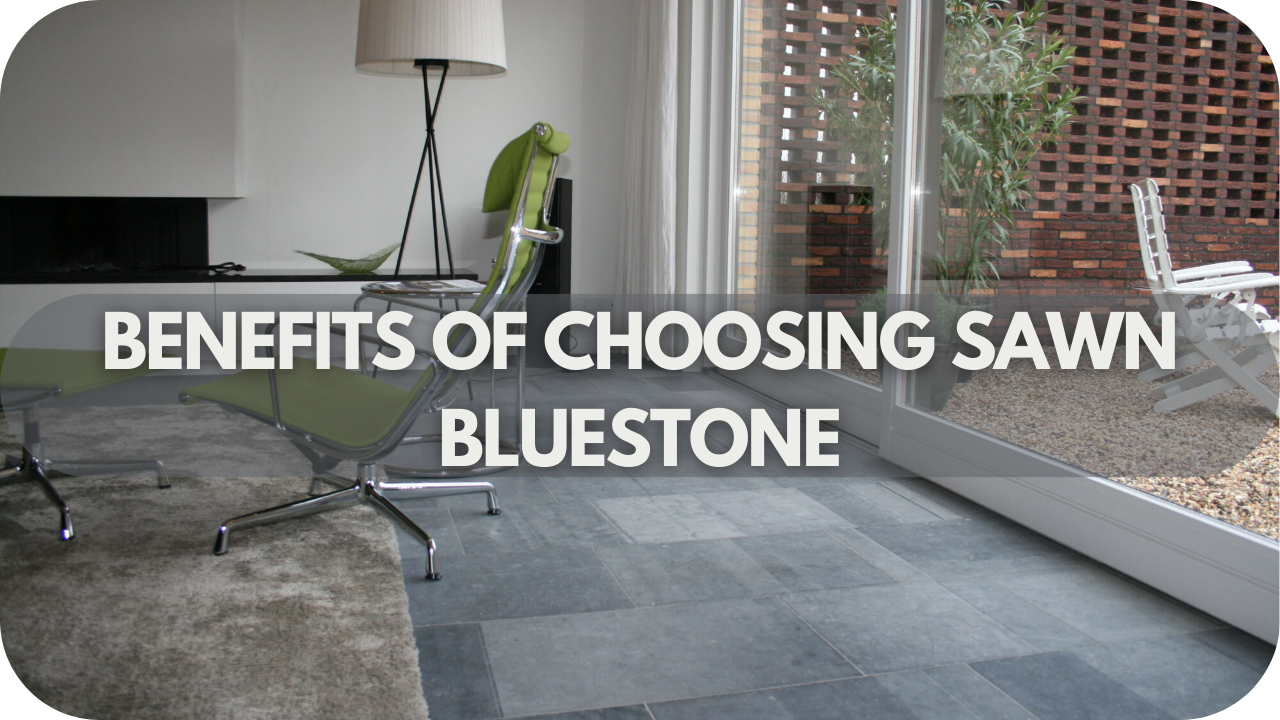
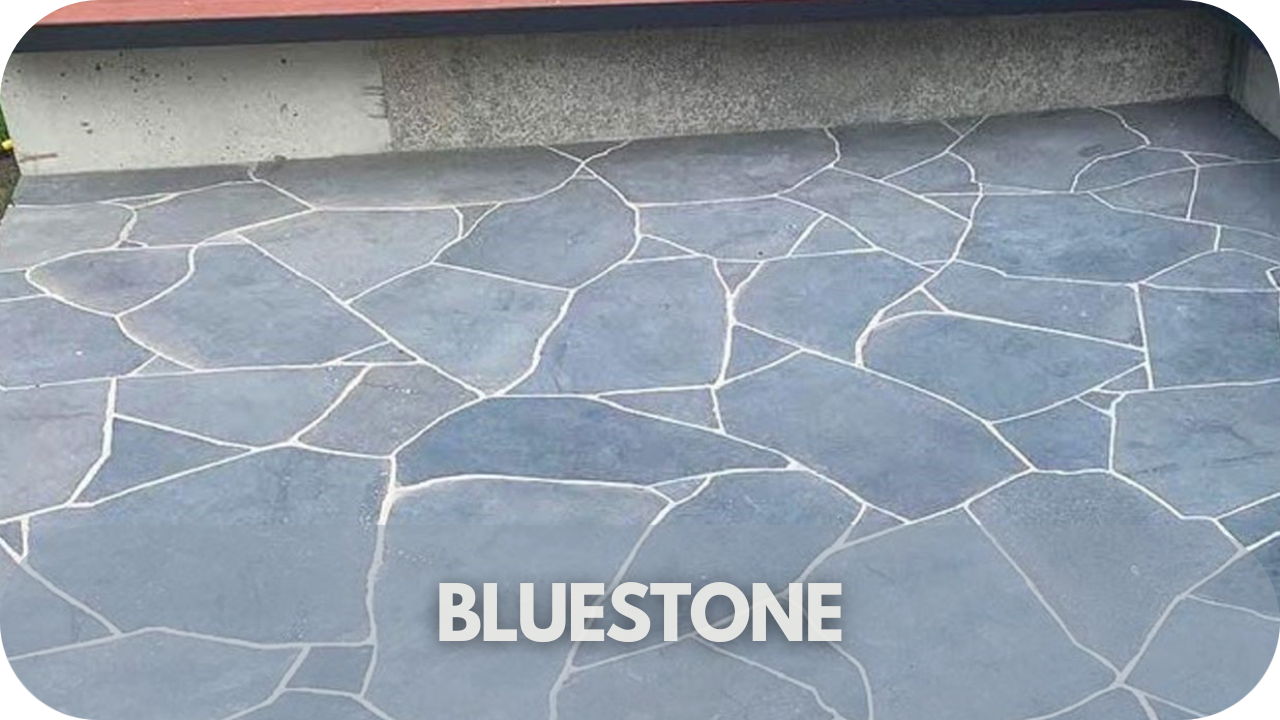
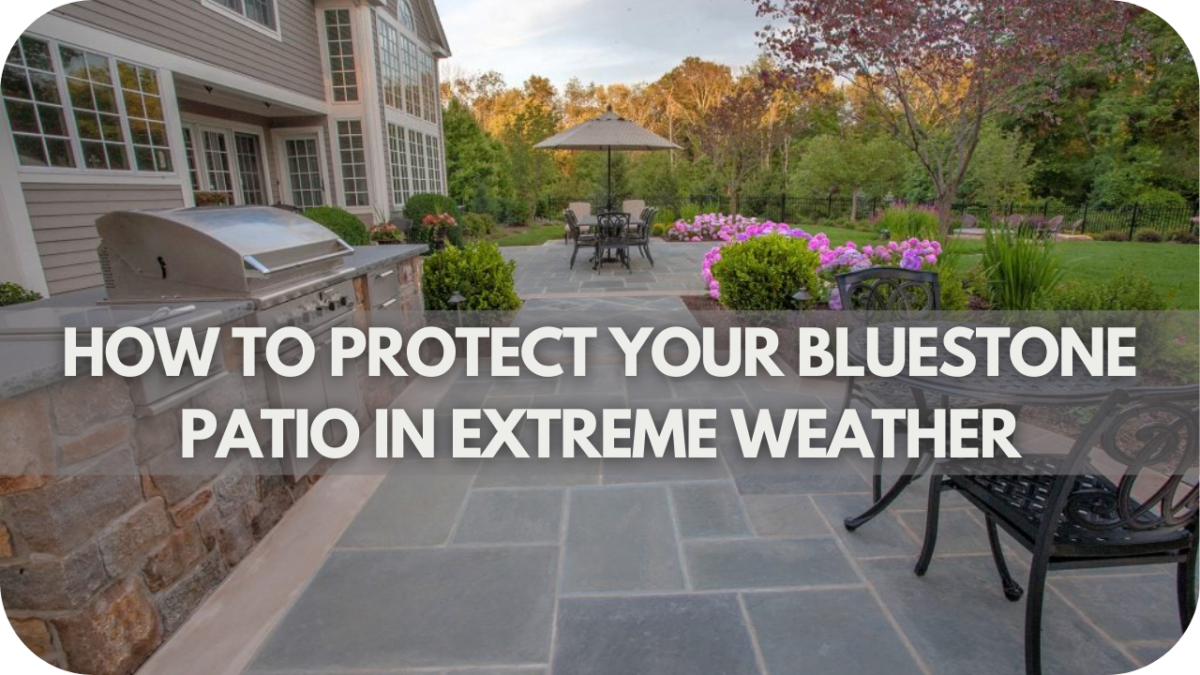
9. Bluestone
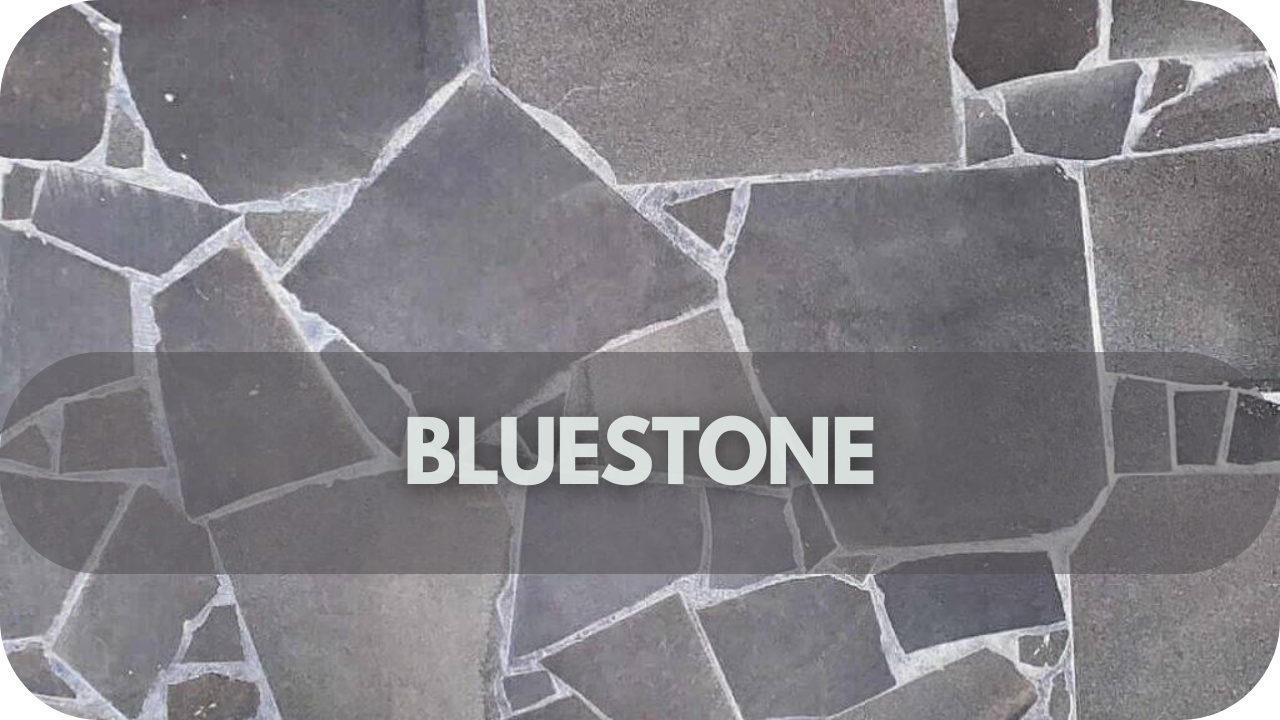
Bluestone’s blue-grey tones and fine texture make it a popular choice for pathways, patios, and pool surrounds.
Renowned for its durability, it withstands heavy traffic, weather extremes, and water exposure, making it ideal for residential and commercial projects.
Its slip-resistant surface ensures safety, while its variety of finishes and patterns suits diverse design styles.
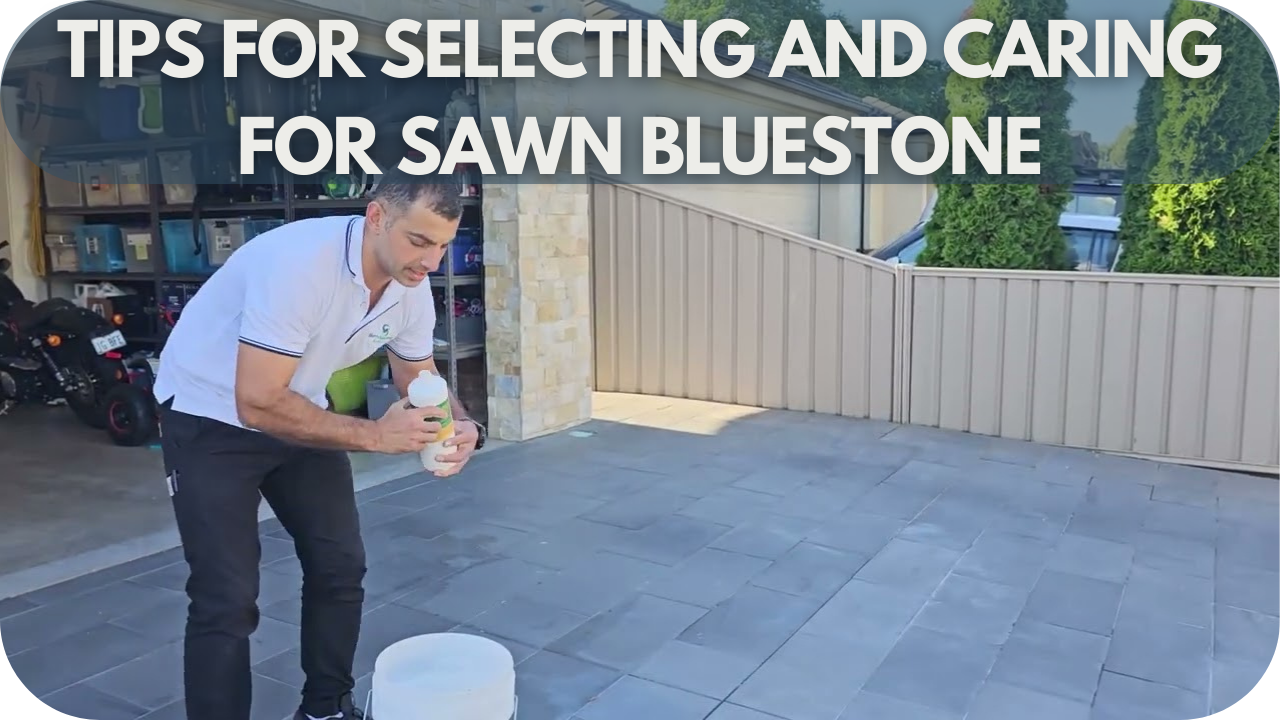
Easy to maintain with regular cleaning and sealing, bluestone combines strength and elegance for long-lasting, functional paving.
10. Onyx
Onyx brings a luxurious and dramatic touch to paving, making it ideal for feature areas or decorative accents.
Its translucent quality and vibrant colours create a striking visual impact, transforming spaces into statement areas.
However, due to its softer nature, onyx is best used in low-traffic areas like garden paths or focal points. Regular sealing and maintenance are necessary to protect its beauty, but its bold, unique appearance makes it worth the effort.
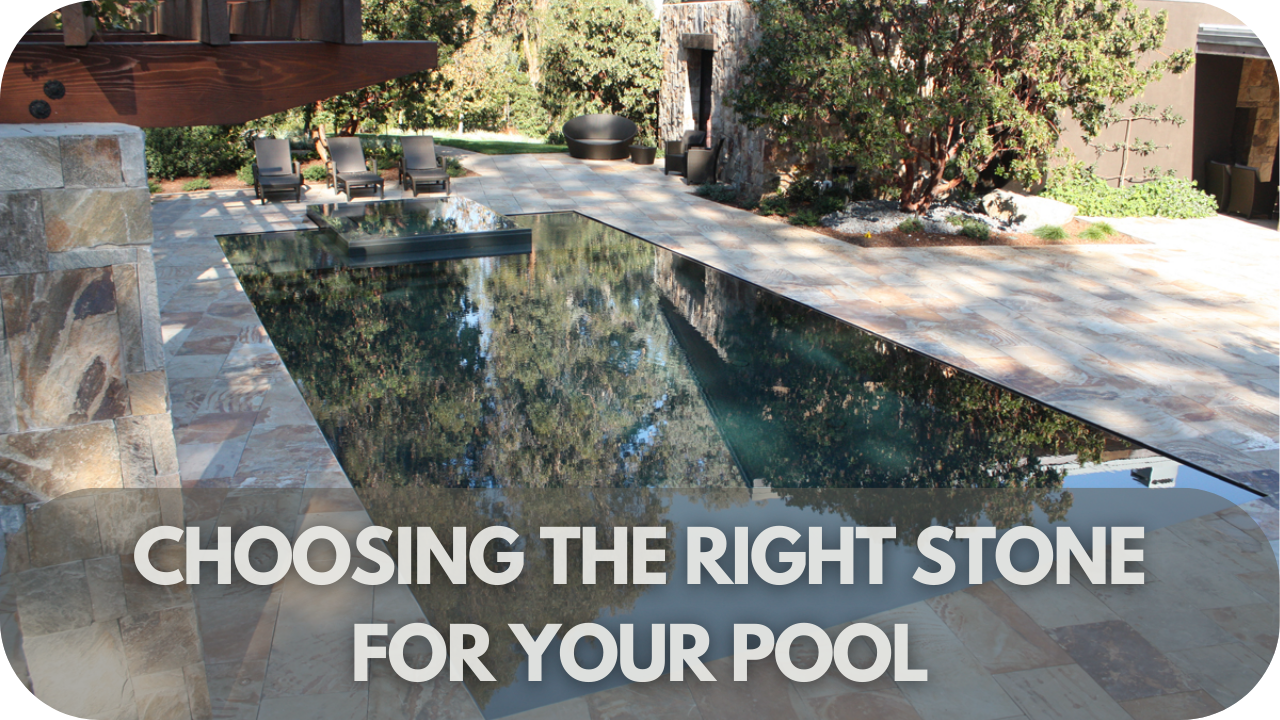
Considerations When Choosing Natural Stone for Paving
When selecting natural stone for your paving, consider the following:
- Durability and maintenance: Harder stones like quartzite and basalt are perfect for high-traffic areas. Softer stones like marble or onyx work better for decorative features.
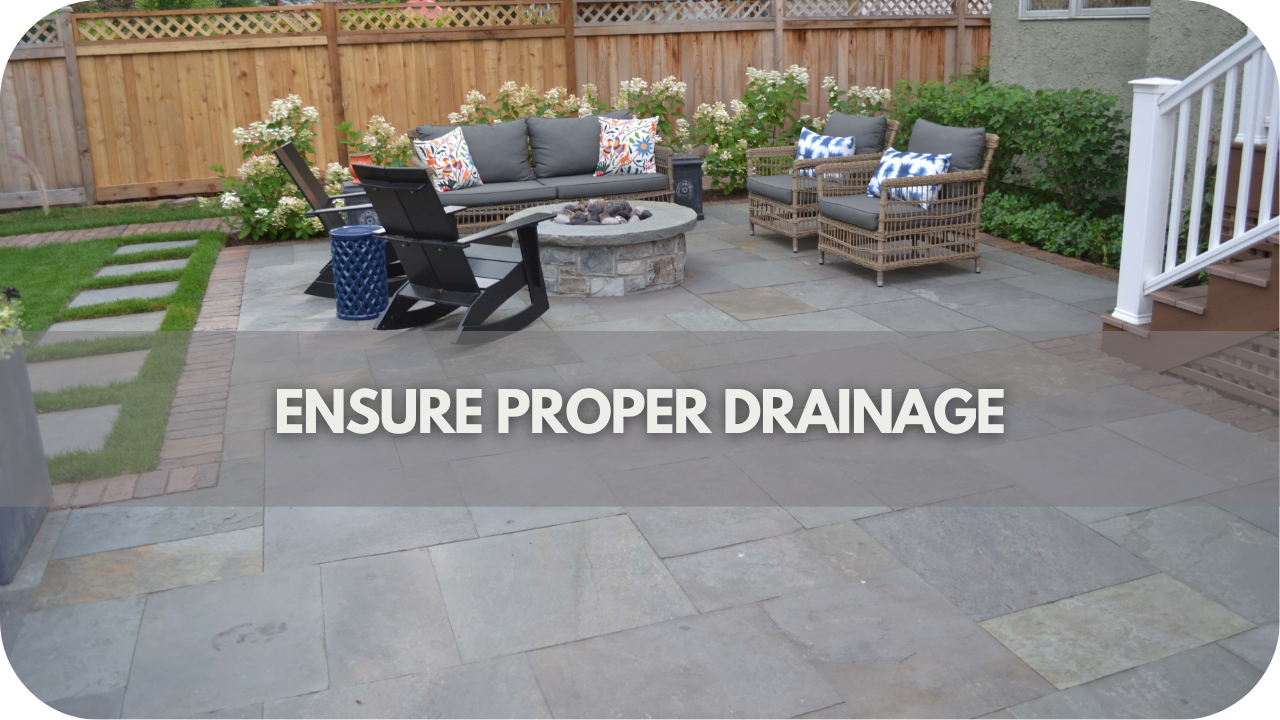
- Moisture resistance: Porous stones such as sandstone and limestone need regular sealing to prevent water absorption, while non-porous stones like soapstone naturally resist moisture.
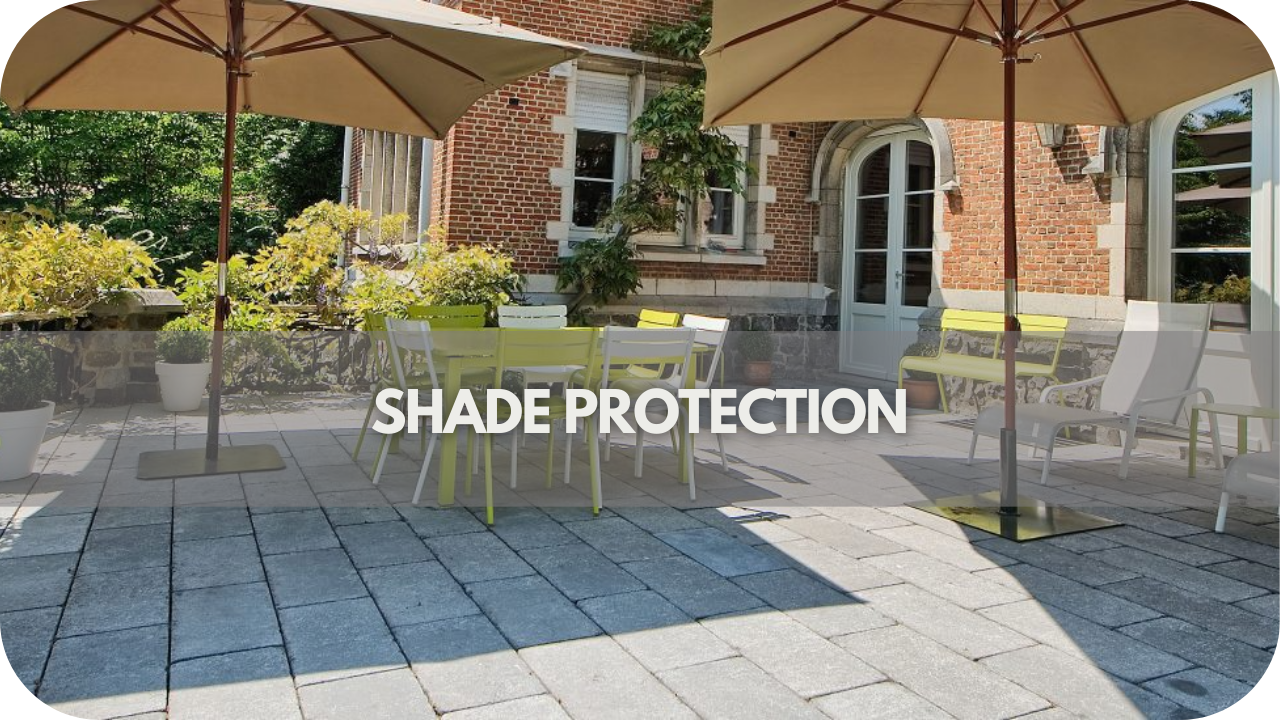
- Slip resistance: Polished stones can become slippery when wet, so opt for honed or textured finishes for flooring to enhance safety in moist areas.
- Stain resistance: Some stones, notably lighter ones like marble or limestone, are more prone to staining and may require extra protection and sealing, especially in high-use areas.
- Weather resistance: Stones like granite and basalt are excellent at withstanding heat, making them ideal for underfloor heating, near heated surfaces, and outdoor use.
- Cost and availability: Rarer stones such as onyx tend to be more expensive, while more common stones like limestone offer a good balance between affordability and aesthetics.
- Aesthetic appeal: Consider the stone’s natural pattern and colour. Some stones have bold veining, while others offer a subtler, more uniform look. Choose based on the design style you want to achieve.
Tips for Incorporating Natural Stone into Paving Projects
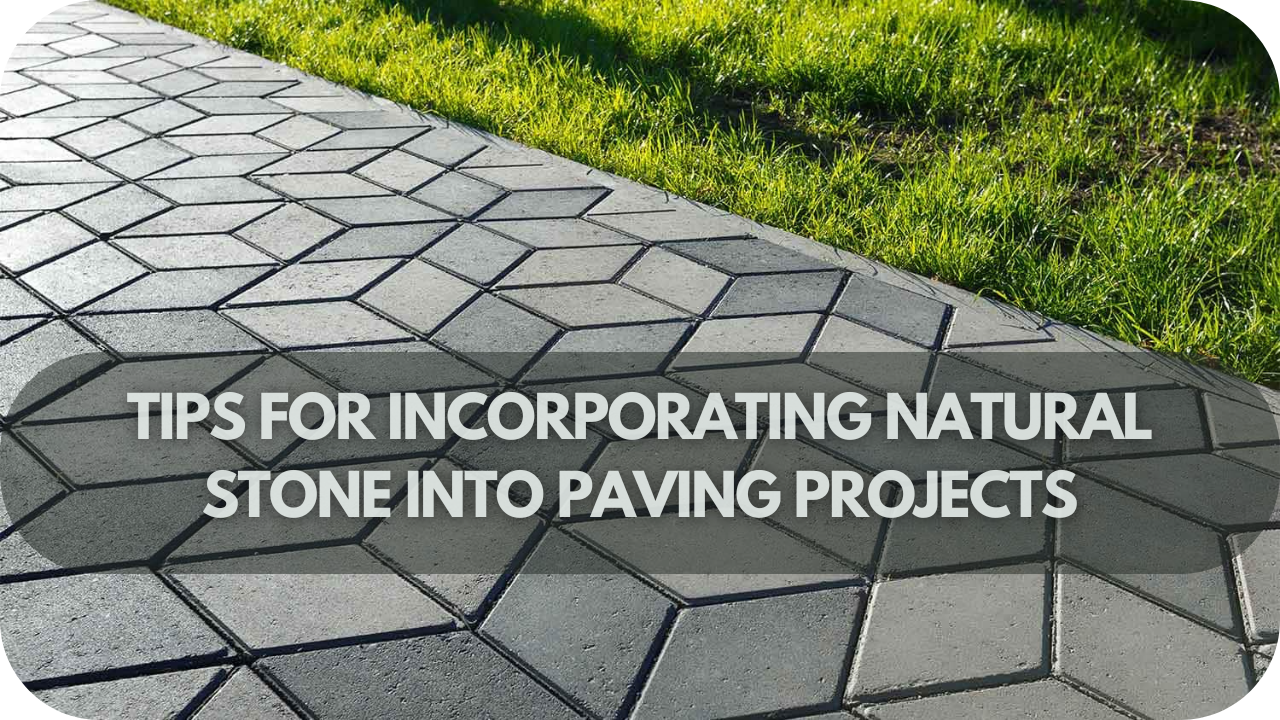
Here are some tips to help you incorporate natural stone effectively into your paving project:
- Choose the suitable stone for the right area: Durable stones like quartzite or basalt are perfect for high-use areas such as driveways.
- Mix textures and finishes: Use textured or honed finishes for walkways to enhance safety.
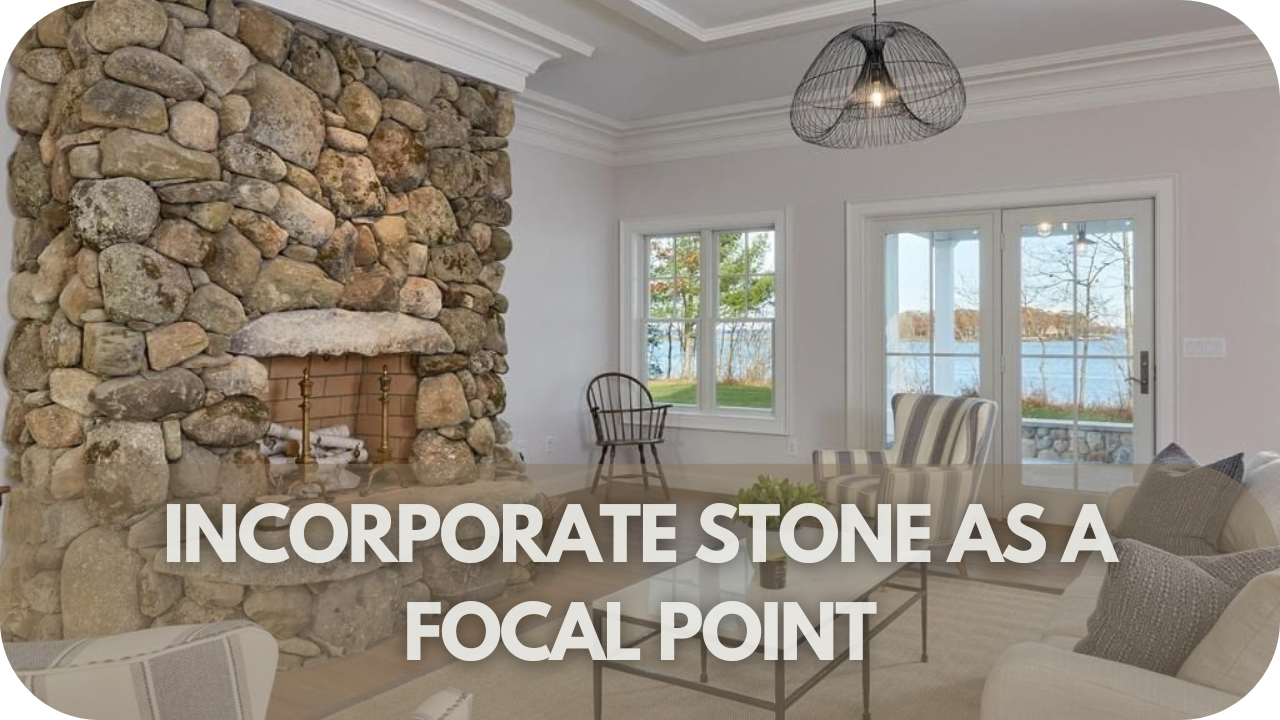
- Use stone as a focal point: Highlight decorative features with vibrant stones like onyx or unique textures like slate.
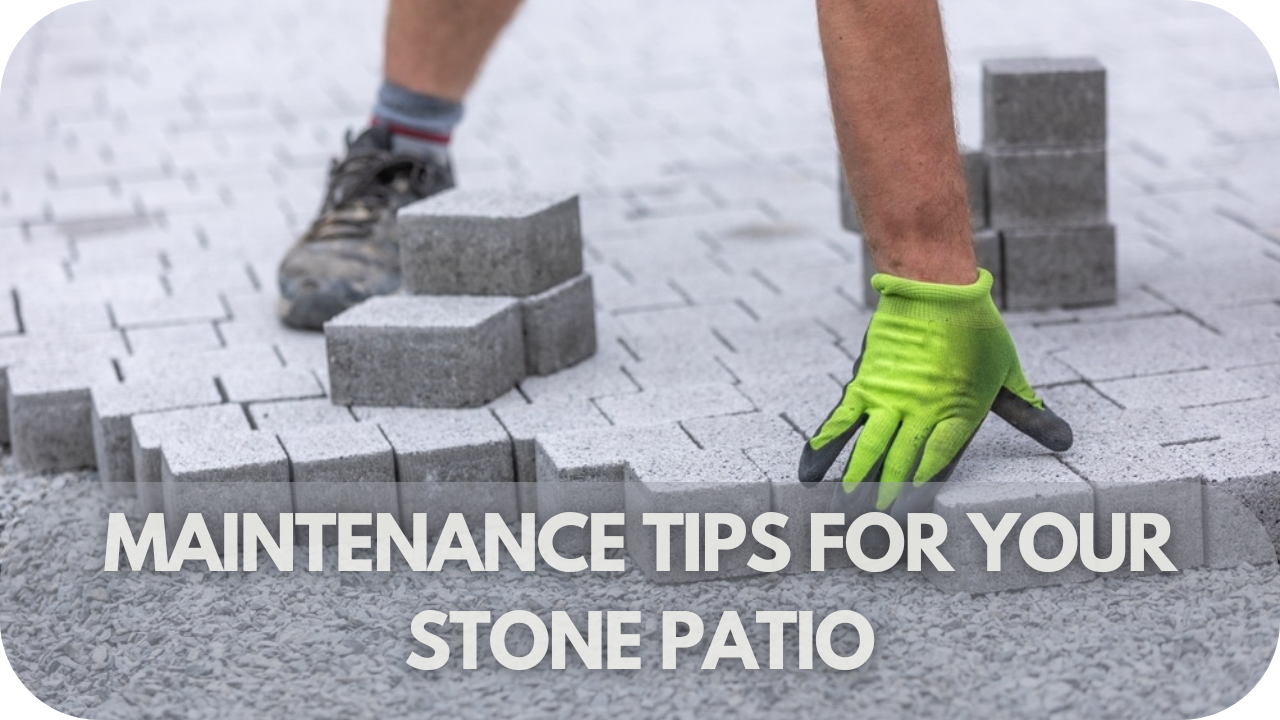
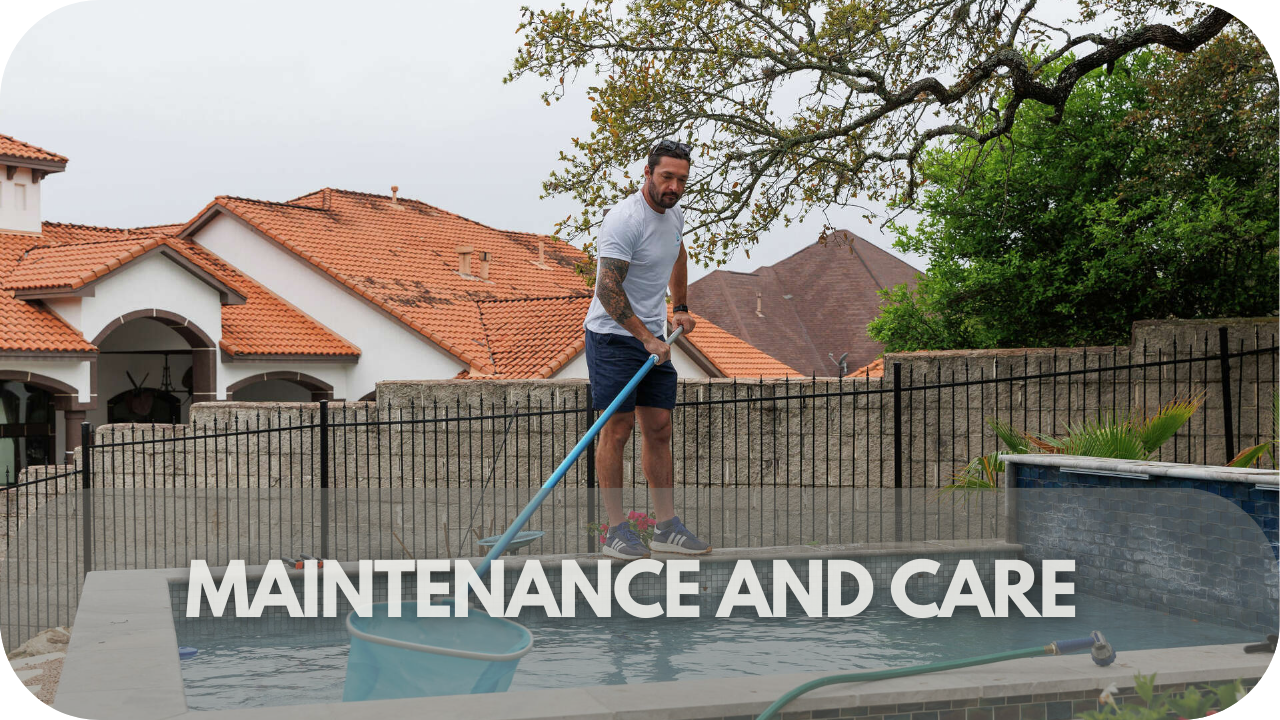
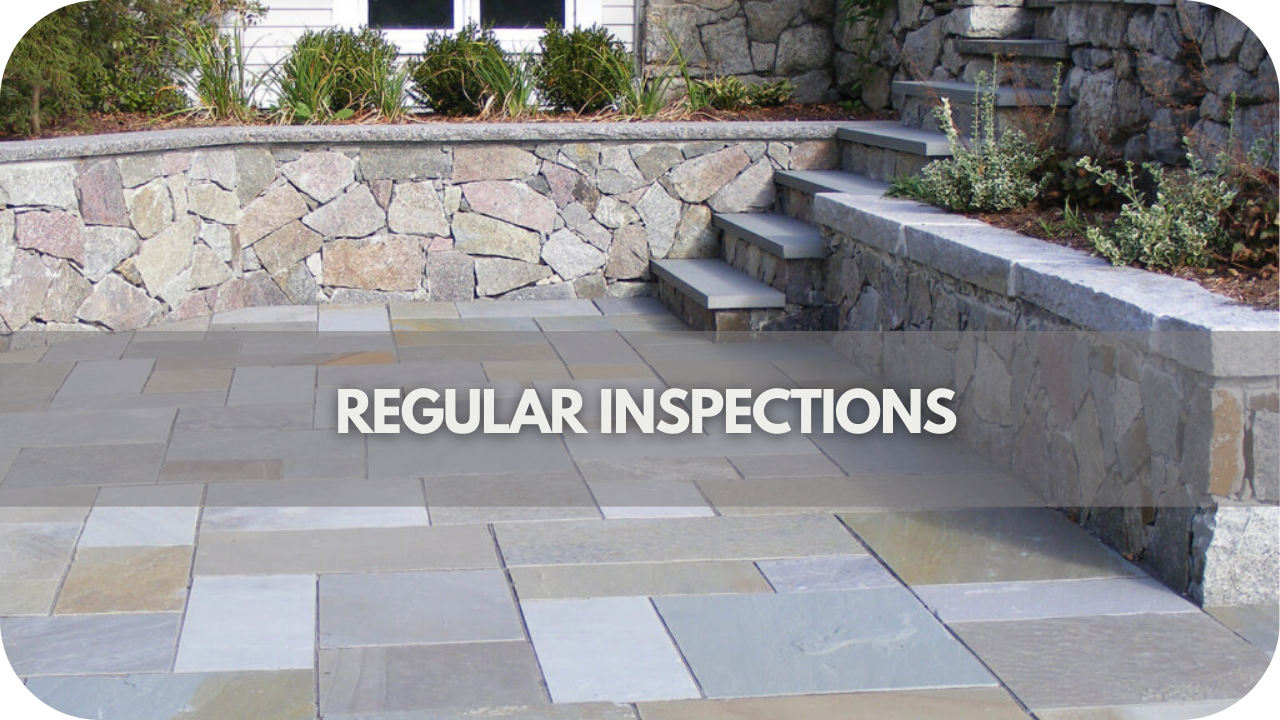
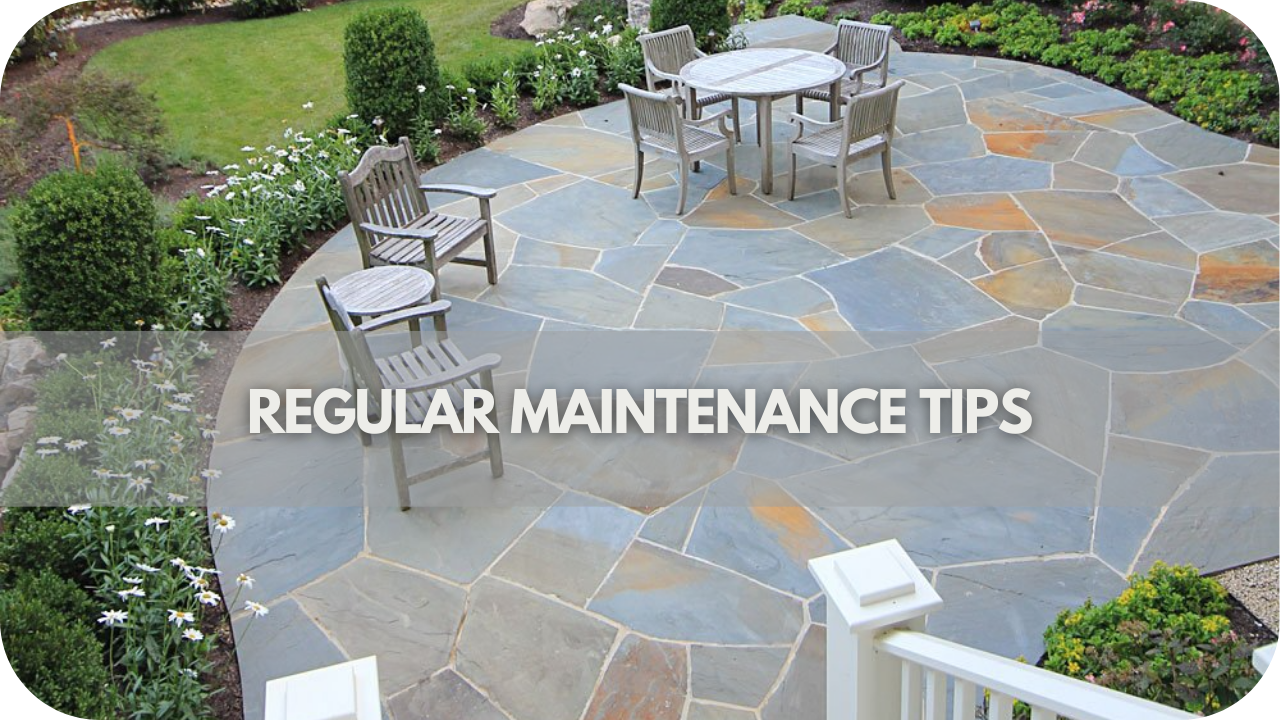
- Ensure proper sealing and maintenance: Sealing natural stone is crucial to protect it in wet areas. Regular maintenance will help maintain its beauty and durability.
- Match grout and stone: Choose complementary grout colours for a seamless finish, keeping the stone as the focal point.
Conclusion
Make your outdoor spaces shine with natural stone’s unmatched beauty and durability this New Year.
From the timeless elegance of granite to the rustic charm of sandstone, the suitable material can elevate your paving project.
Ready to create a stunning and lasting impression? Let natural stone lead the way to a remarkable transformation!