Streetscapes With Soul: How Cities Across Australia Build in Stone
Streets are more than pathways. They carry the character of communities, reflecting culture, heritage, and the way people connect. At the heart of these spaces lies the strength of stone.
From laneways lined in bluestone to sandstone precincts steeped in history, stone has always shaped Australia’s urban fabric. It continues to provide resilience while expressing beauty in every block and pavement.
This article highlights how stone built our past and how it continues to define modern streetscapes, offering durability, authenticity, and timeless appeal in cities across Australia.
Why Cities Still Choose Stone
Cities continue to choose stone because it offers unmatched performance in environments that demand strength and longevity. Streets and public spaces endure constant use, heavy traffic, and exposure to the elements, and stone consistently proves its ability to handle these pressures.
It provides surfaces that remain stable and reliable, reducing the need for constant maintenance while keeping costs manageable over time. Beyond its durability, stone contributes a timeless look that suits both heritage districts and modern developments, adding character that feels authentic rather than manufactured.
Its ability to age gracefully ensures that streetscapes retain charm even as design preferences shift. Stone also supports sustainability goals, with locally sourced options reducing transport emissions and supporting regional industries. These qualities make it the material of choice for Australian cities that want urban spaces to last, inspire, and reflect cultural identity.
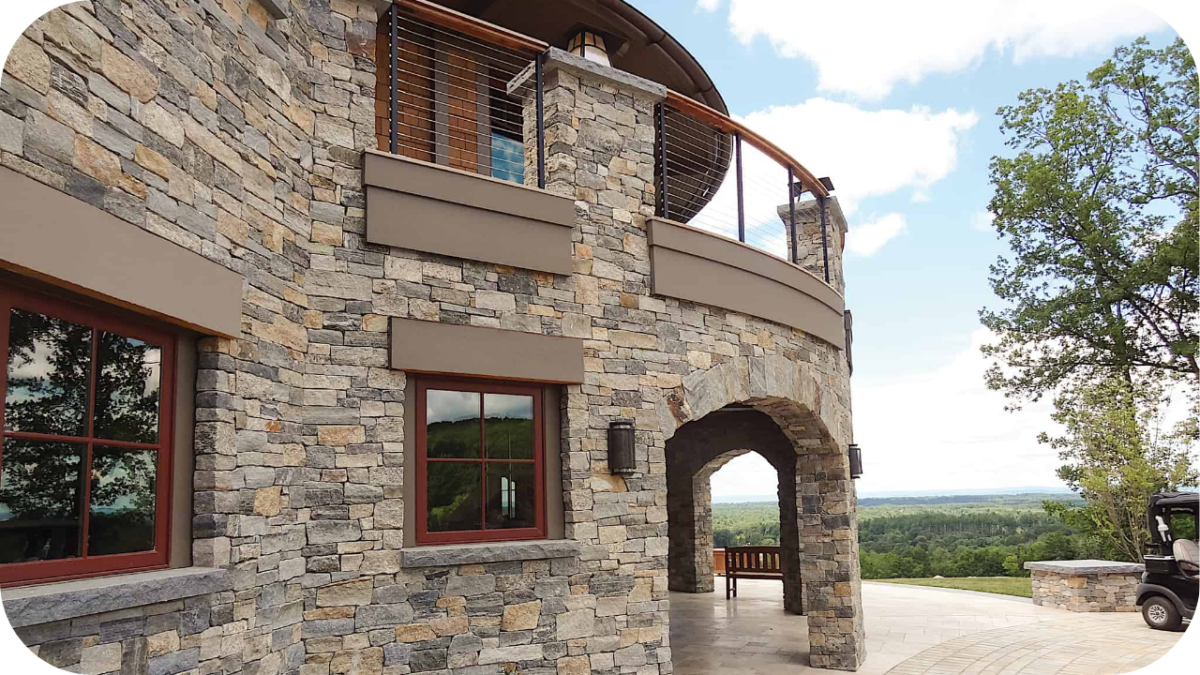
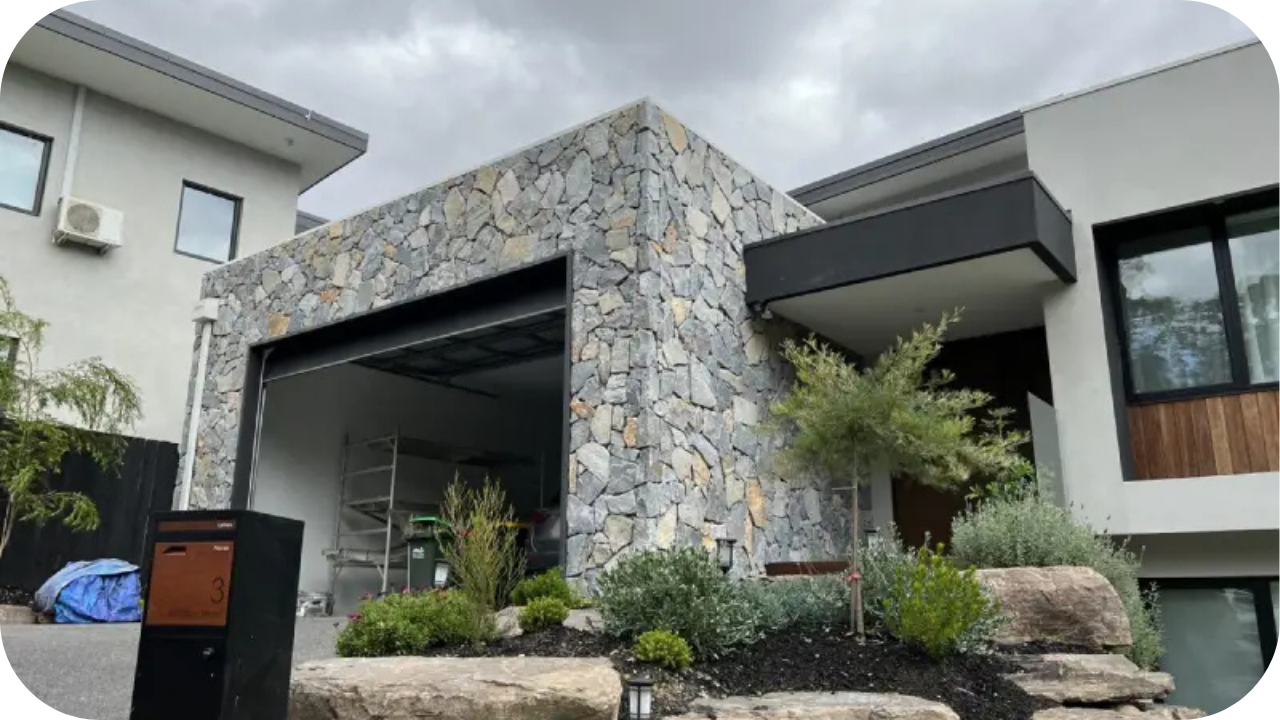
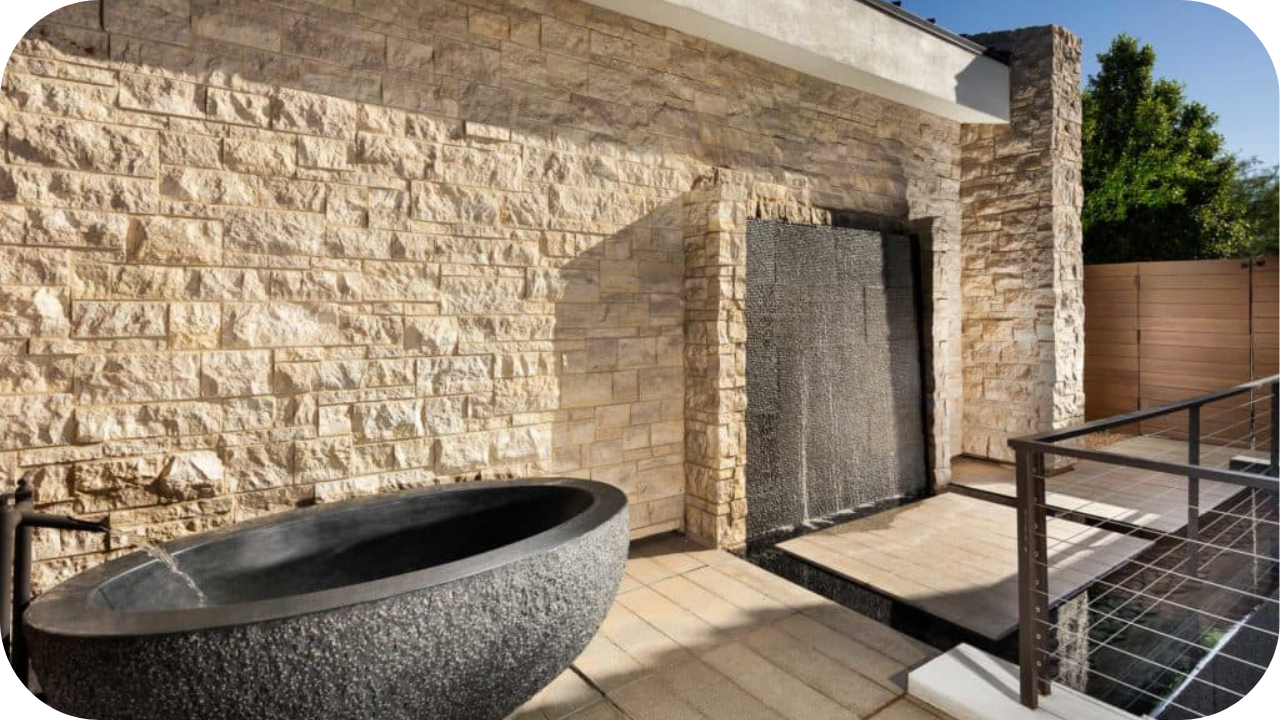
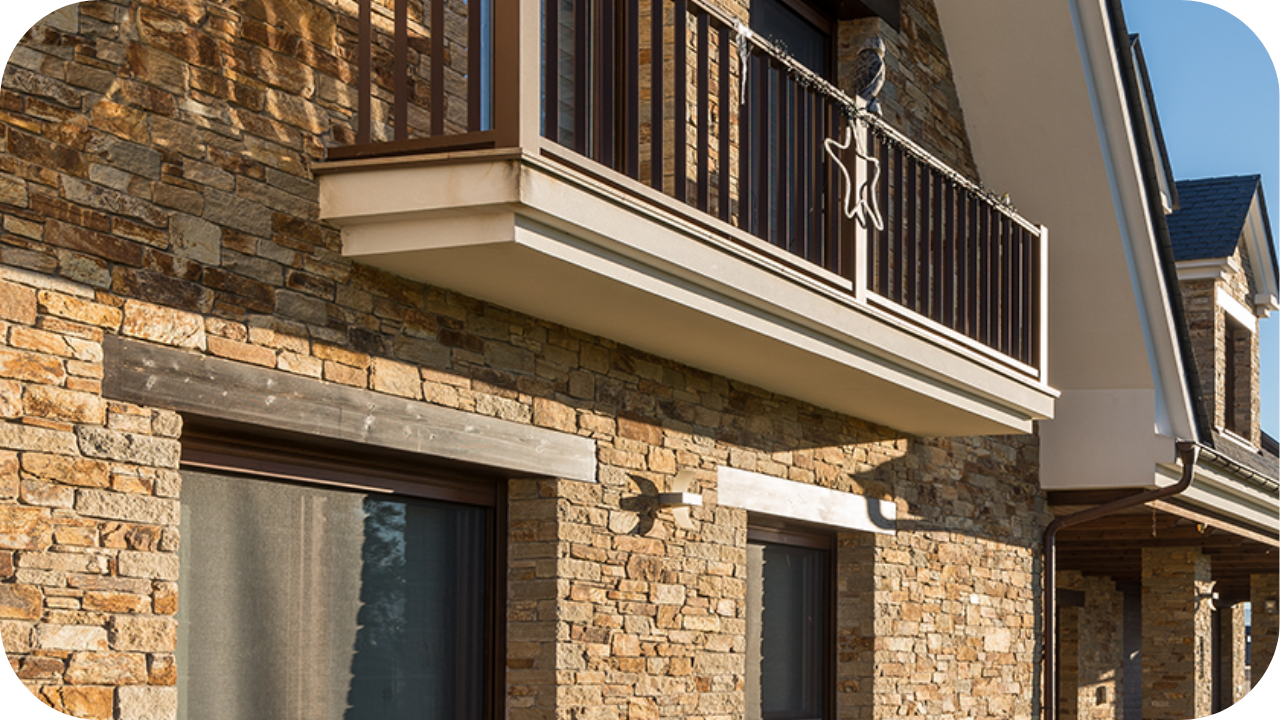
Stone in Modern Australian Streetscapes
Streets across Australia reveal how natural stone continues to define urban character. Here are the most widely used materials and how they bring both performance and beauty to modern streetscapes.
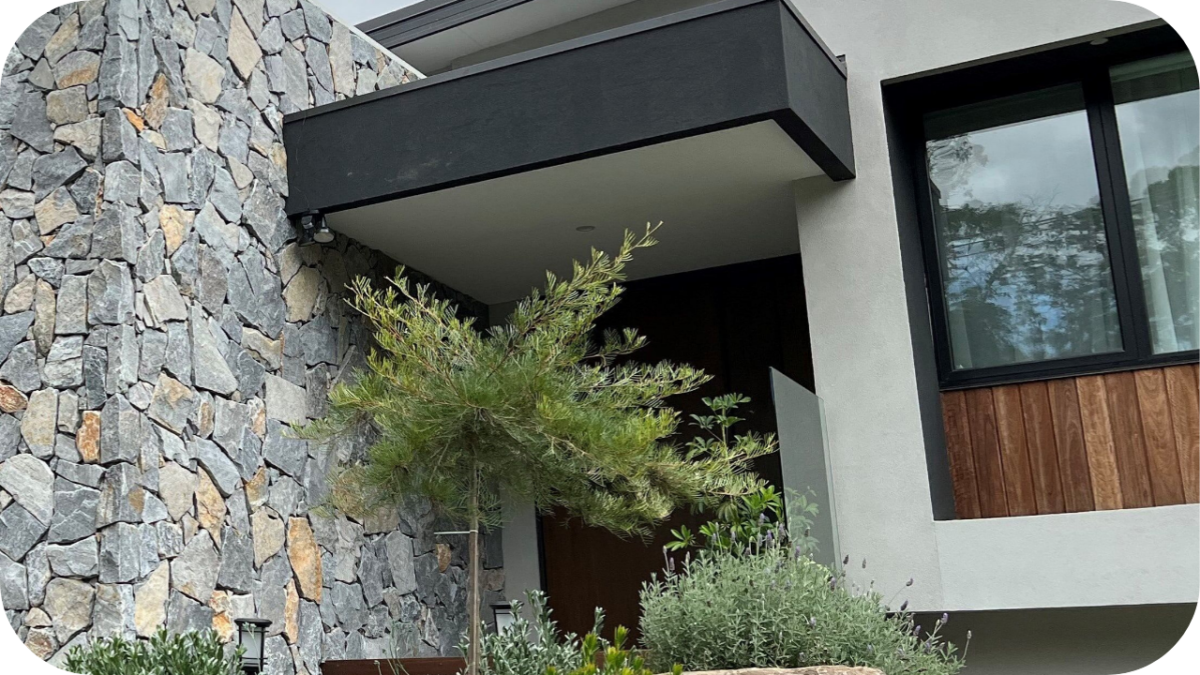
1. Granite
Granite is highly durable, making it one of the strongest materials for city paving in plazas, laneways, and courtyards. It also suits walling where resilience matters, providing dependable strength and timeless sophistication for busy urban spaces.
2. Quartzite
Quartzite is exceptionally dense, making it ideal for paving in plazas, civic walkways, and commercial spaces. It also works well in walling, where longevity and strength are essential for sustaining heavy use in urban environments.
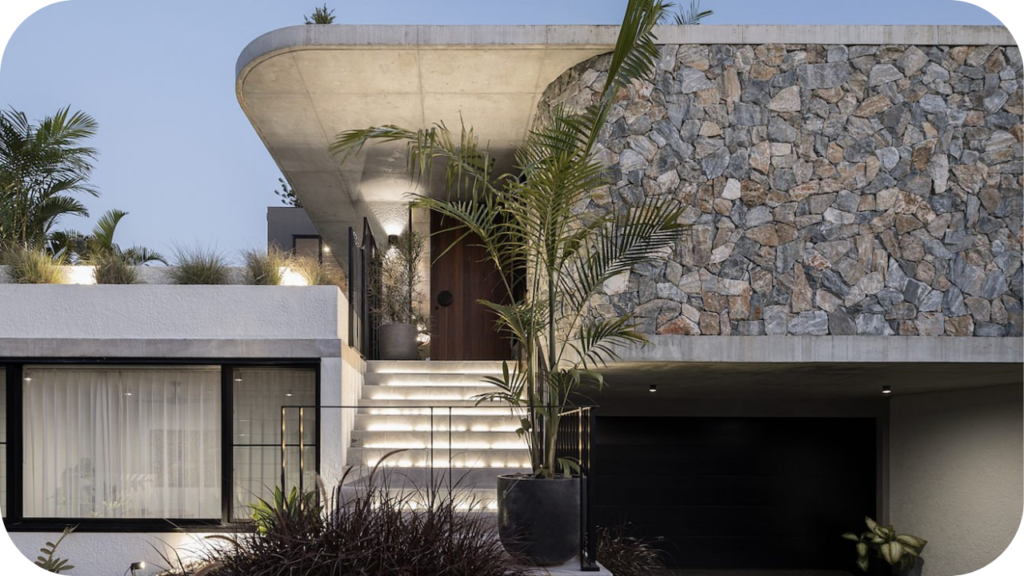
3. Bluestone
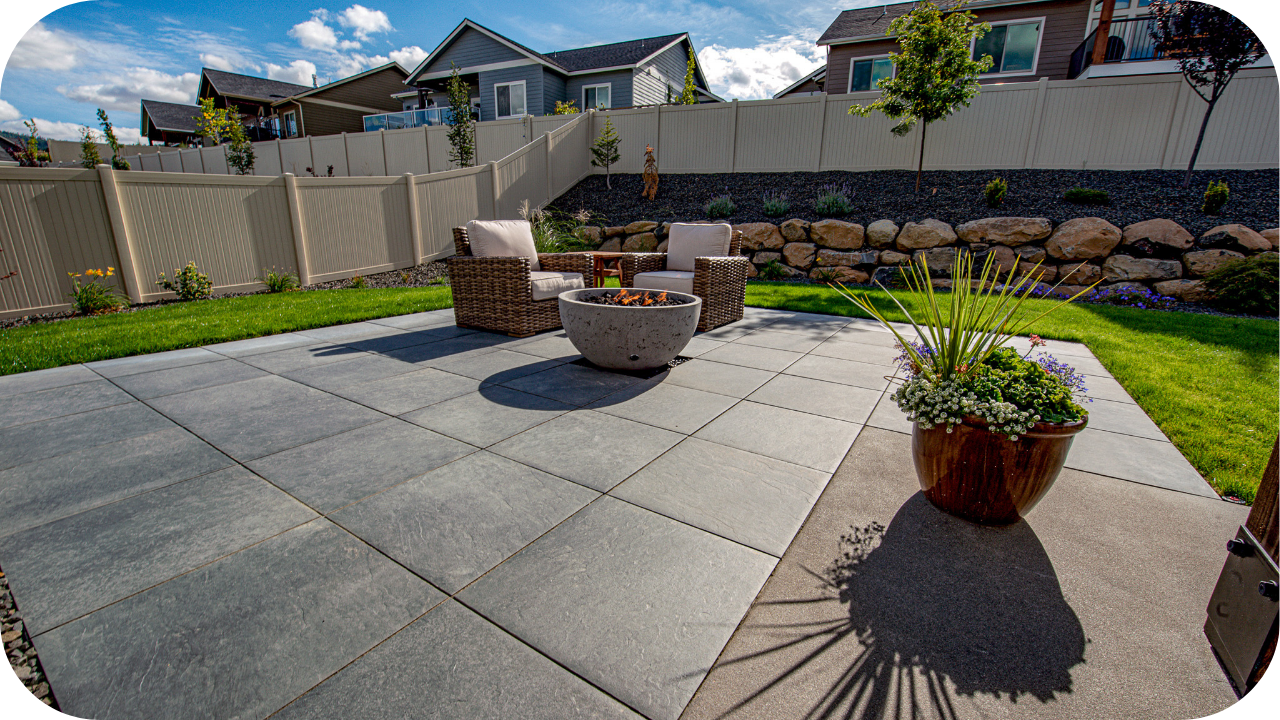
Bluestone defines Melbourne laneways, where cobbles have carried generations of footsteps. Its toughness makes it perfect for paving, while select walling applications highlight its adaptability in creating functional and culturally significant city landscapes.
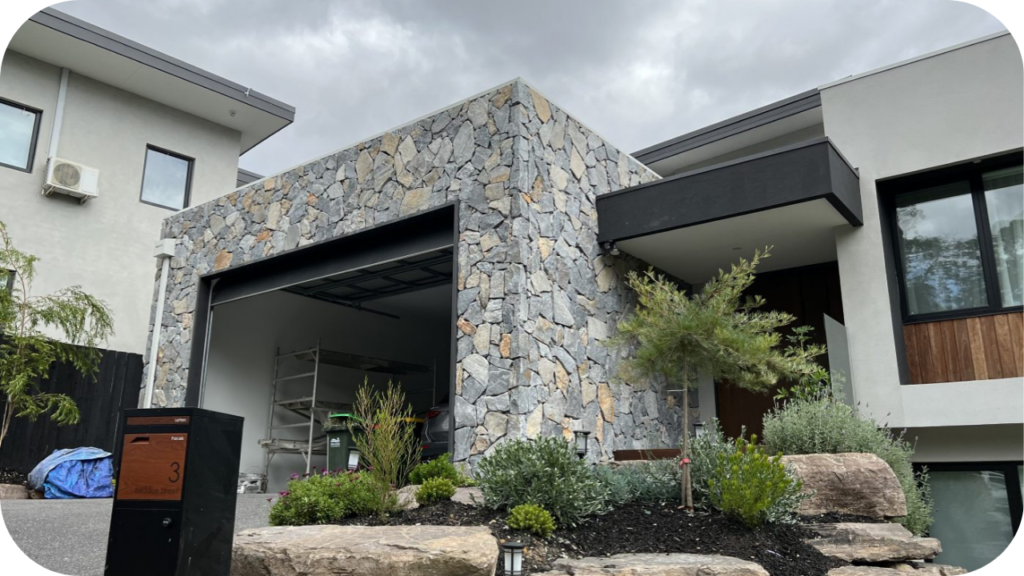
4. Porphyry
Porphyry provides rustic durability, commonly seen in cobblestone paving for laneways and plazas. Its earthy tones blend heritage charm with toughness, ensuring streetscapes remain character-filled while standing up to constant movement and urban demands.
5. Travertine
Travertine delivers timeless beauty, combining durability with refined aesthetics. Its layered textures disguise everyday wear in high-traffic zones, while creamy and silver tones make it adaptable for paving and walling in both heritage and contemporary public projects.
6. Limestone
Limestone offers natural versatility, performing well in both paving and walling applications. Its warmer tones suit coastal towns, while greys and creams complement civic projects, creating streetscapes that balance elegance, practicality, and cultural character across Australia’s cities.
7. Marble
Marble adds refined elegance, often used in paving for hotel entrances and civic squares. While softer than granite, it still provides prestige, making urban spaces feel luxurious without losing long-term performance and appeal.
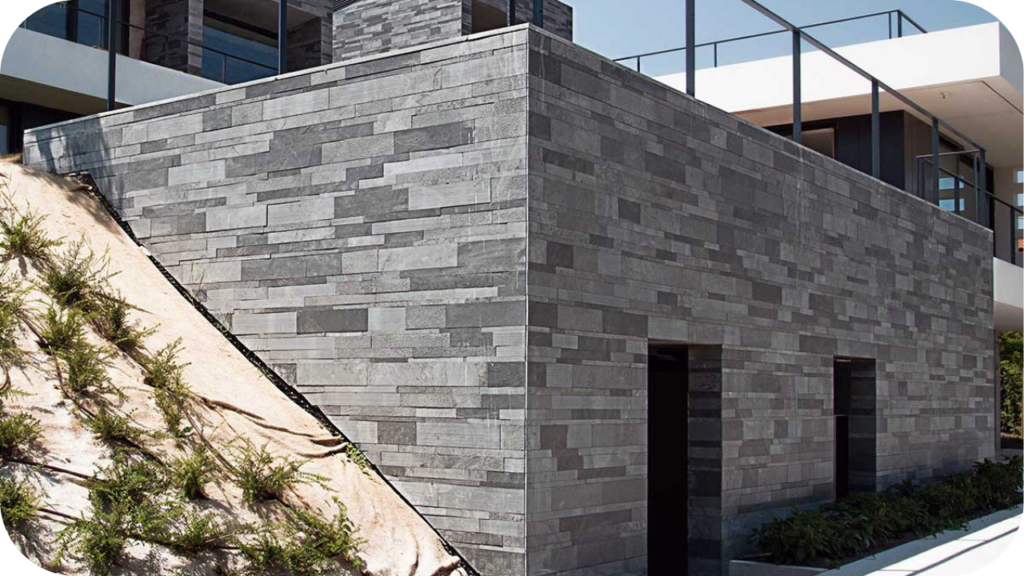
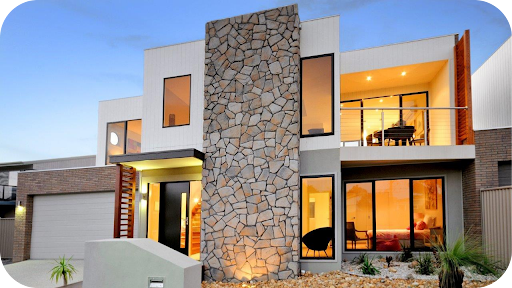
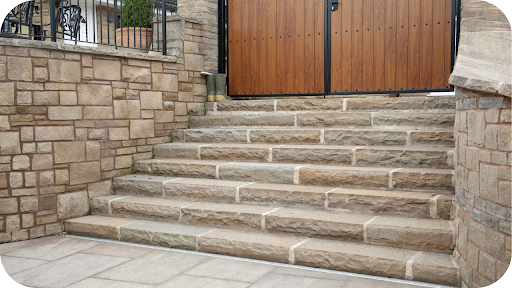
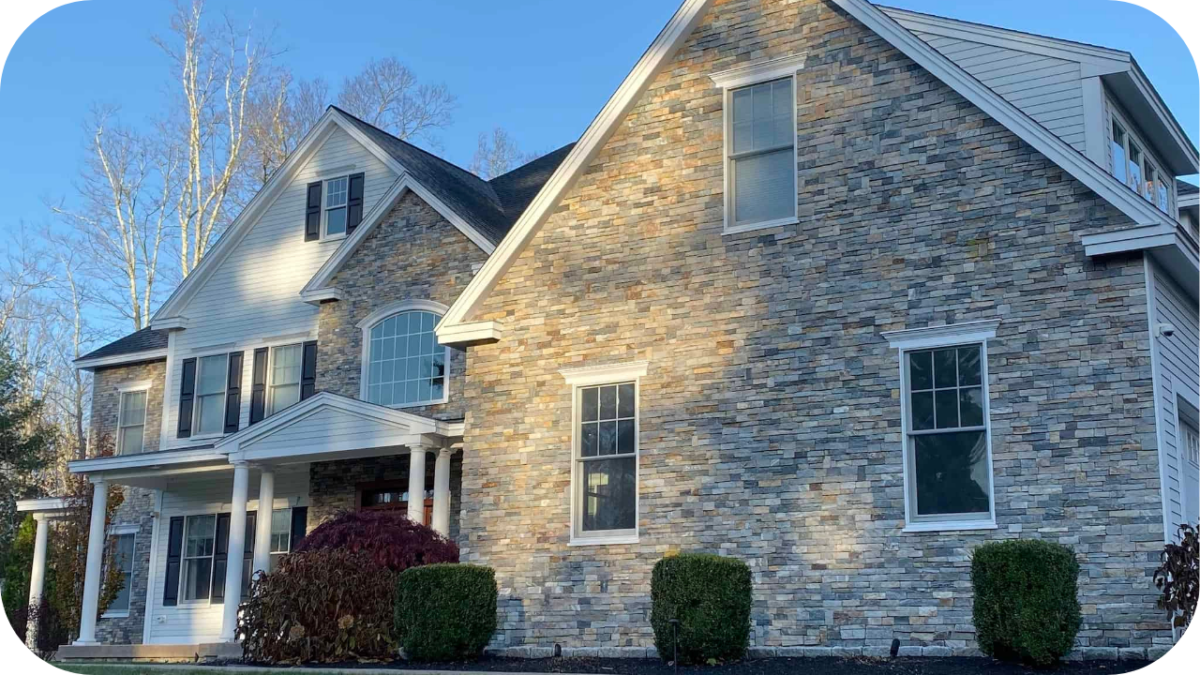
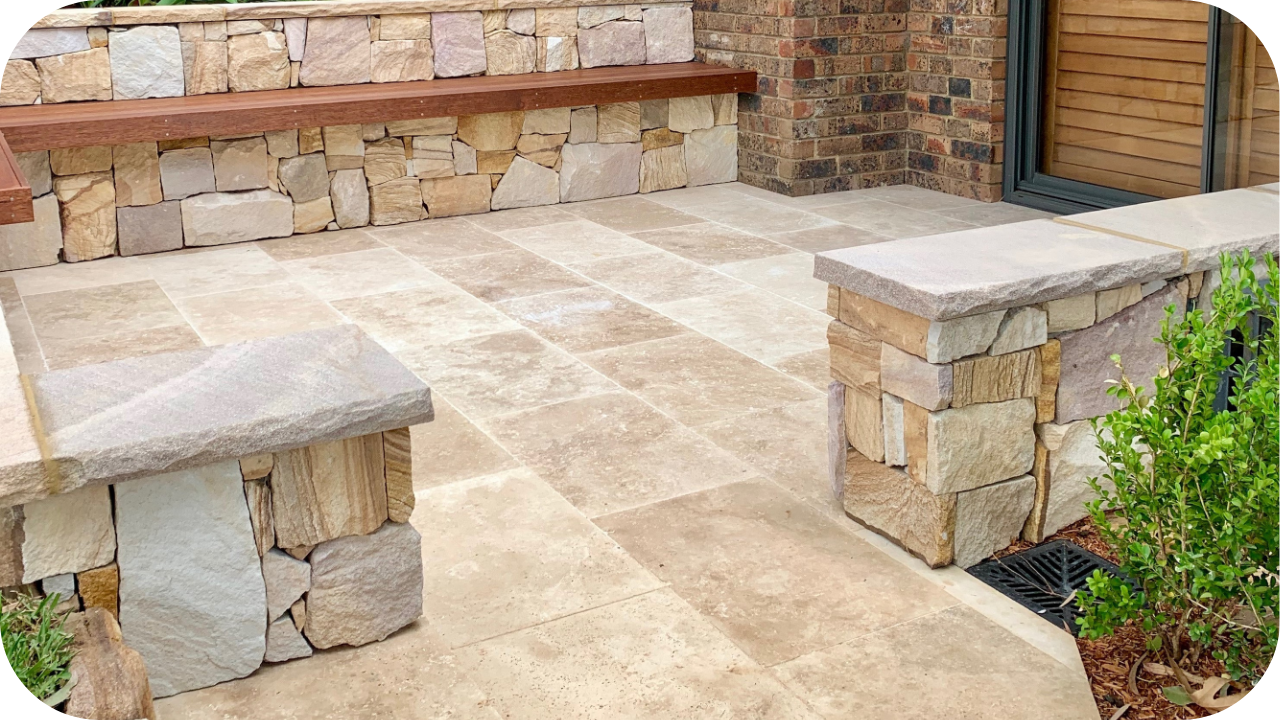
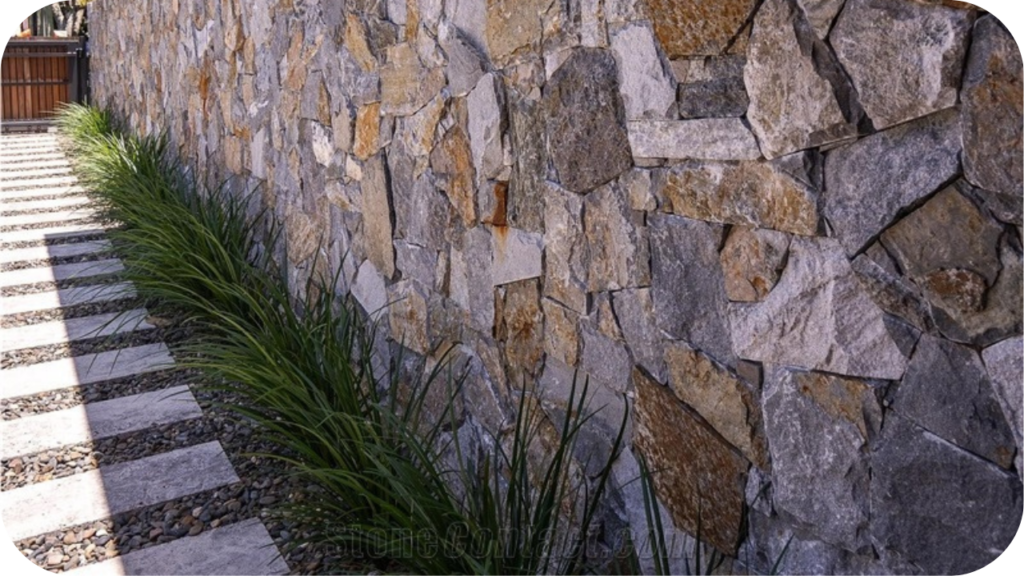
8. Sandstone
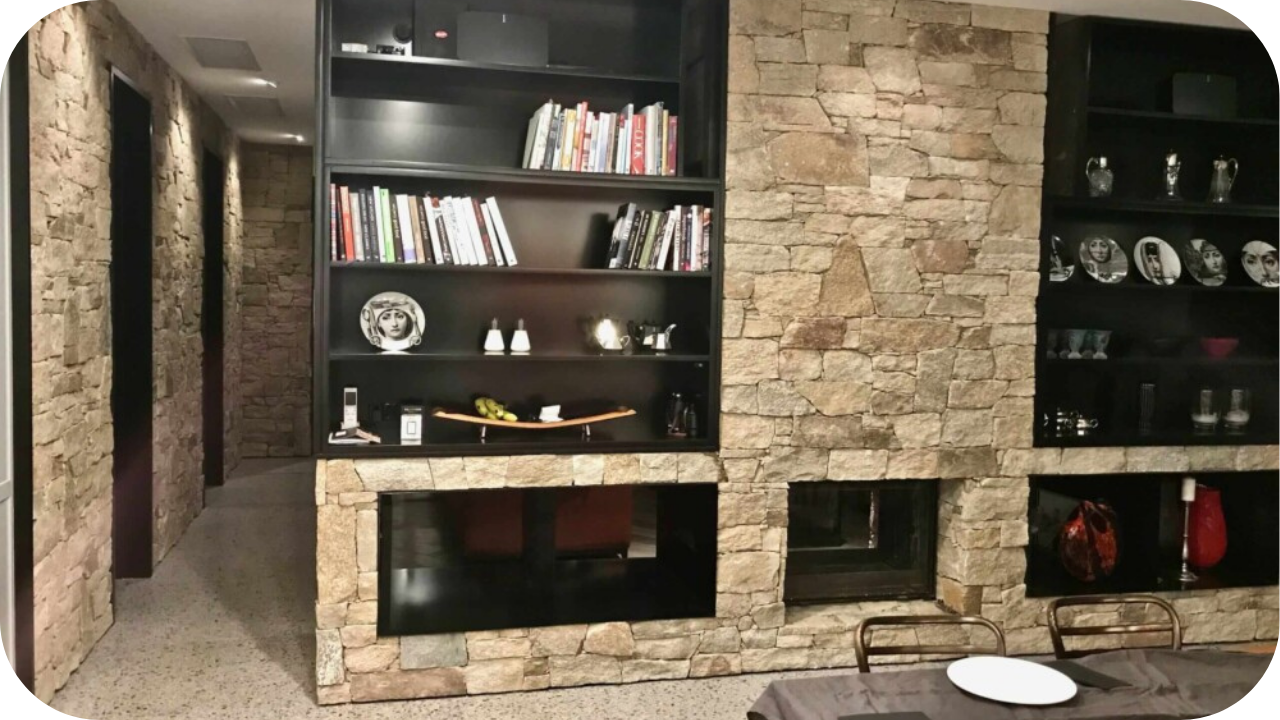
Sandstone reflects Australian heritage, appearing in walling for historic precincts, facades, and civic buildings. Its soft textures and tones continue to influence modern streetscapes, providing cultural connection while remaining durable enough for many urban environments.
7. Quartz
Quartz offers tonal variety, creating visually striking walling for civic spaces and modern streetscapes. It combines strength with versatility, ensuring urban environments retain a balance of durability, natural appeal, and contemporary style over time.
Benefits of Stone in Australian Streetscapes Beyond Beauty
Streetscapes require more than visual appeal. Stone delivers practical advantages that enhance performance, safety, and sustainability. Here are the benefits that make stone indispensable in Australia’s busiest urban spaces.
1. Provides Natural Cooling in Hot Climates
Stone regulates surface temperatures by absorbing and releasing heat gradually. This reduces heat buildup in public spaces, creating cooler, more liveable environments in Australian cities, especially during long summers.
2. Ensures Secure Underfoot in Public Spaces
Stone surfaces provide dependable grip underfoot, even in wet or crowded conditions. This makes plazas, laneways, and walkways safer, allowing people to move confidently without compromising style or functionality.
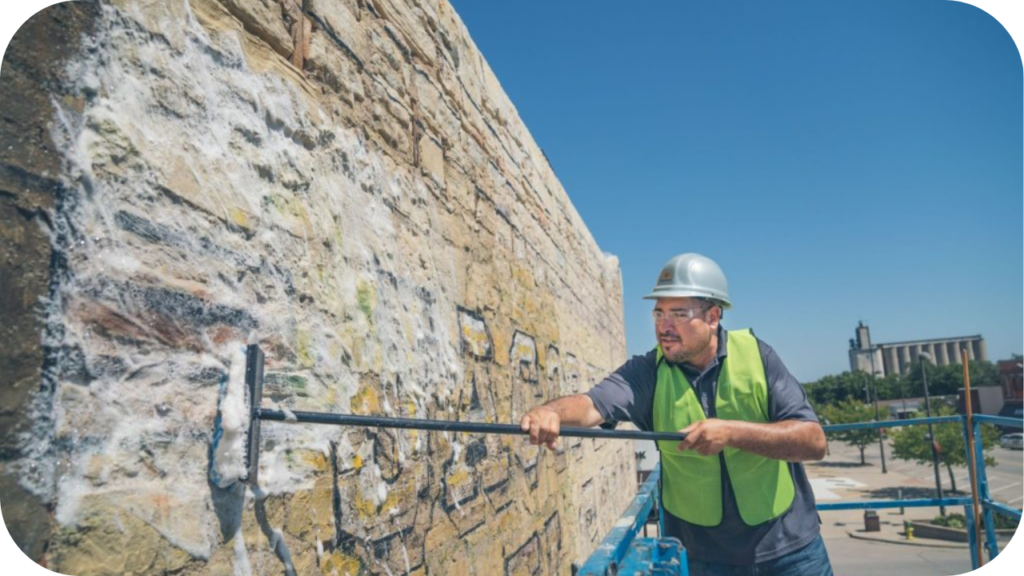
3. Offers Long-Term Value With Less Maintenance
Stone stands out for its resilience and minimal upkeep compared to timber or concrete. Reduced repairs and replacements make it cost-effective while preserving the quality of streetscapes for generations.
4. Enhances Cultural and Heritage Connection
Streetscapes built in stone reflect history and identity, linking modern cities with their cultural roots. This continuity fosters community pride, ensuring public spaces feel authentic, enduring, and deeply connected to place.
5. Supports Sustainability Through Local Sourcing
Many stones are quarried locally in Australia, reducing transport emissions and supporting regional industries. This makes stone not only a durable choice but also a responsible, environmentally conscious material for urban projects.
Styles and Applications Shaping Today’s Streets
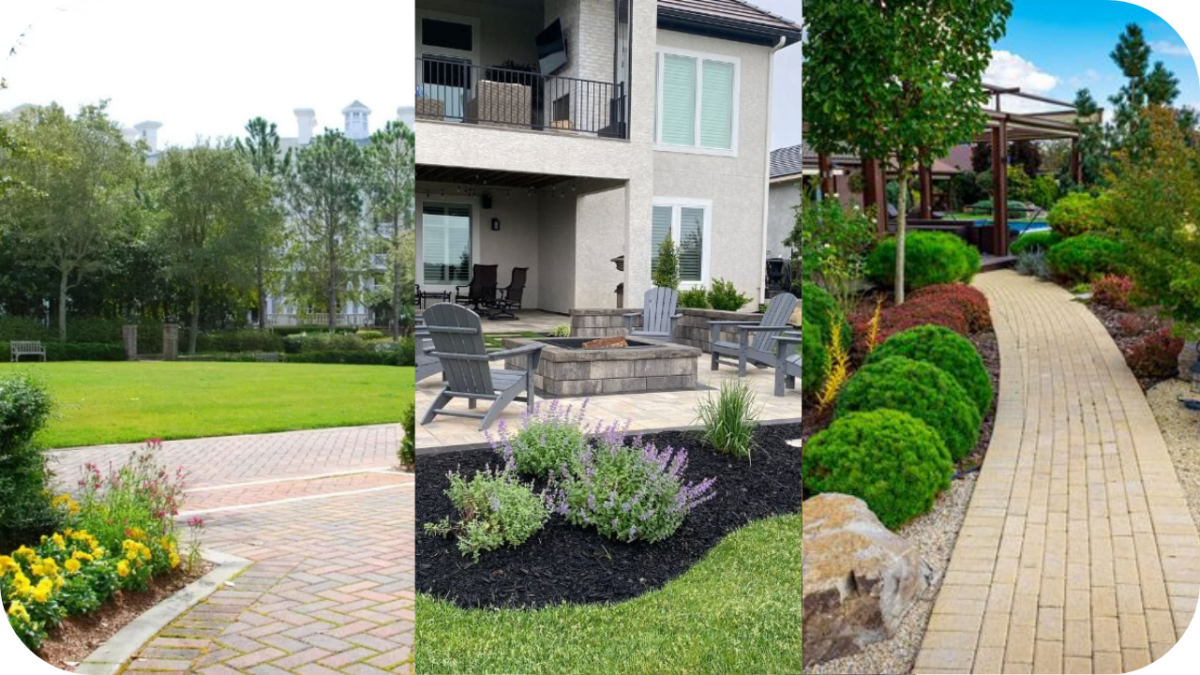
Streetscapes across Australia showcase stone in diverse ways, blending heritage with modern design. Here are styles and applications shaping today’s public spaces with durability, functionality, and character.
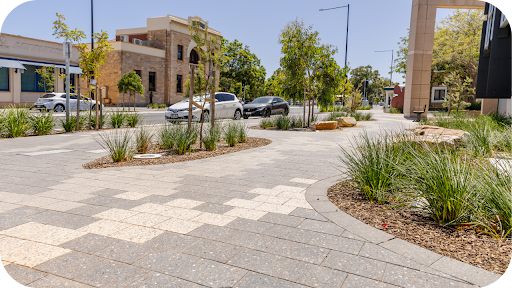
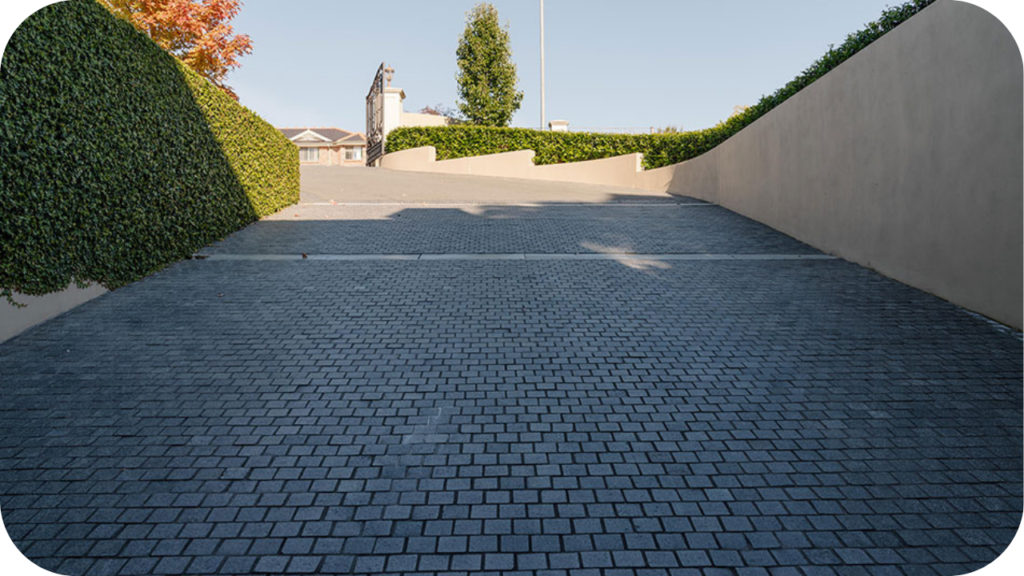
- Cobblestones for heritage charm: Cobblestones bring cultural depth and authenticity to streetscapes, carrying the character of history while performing under modern traffic. They remain a defining feature in laneways and civic squares.
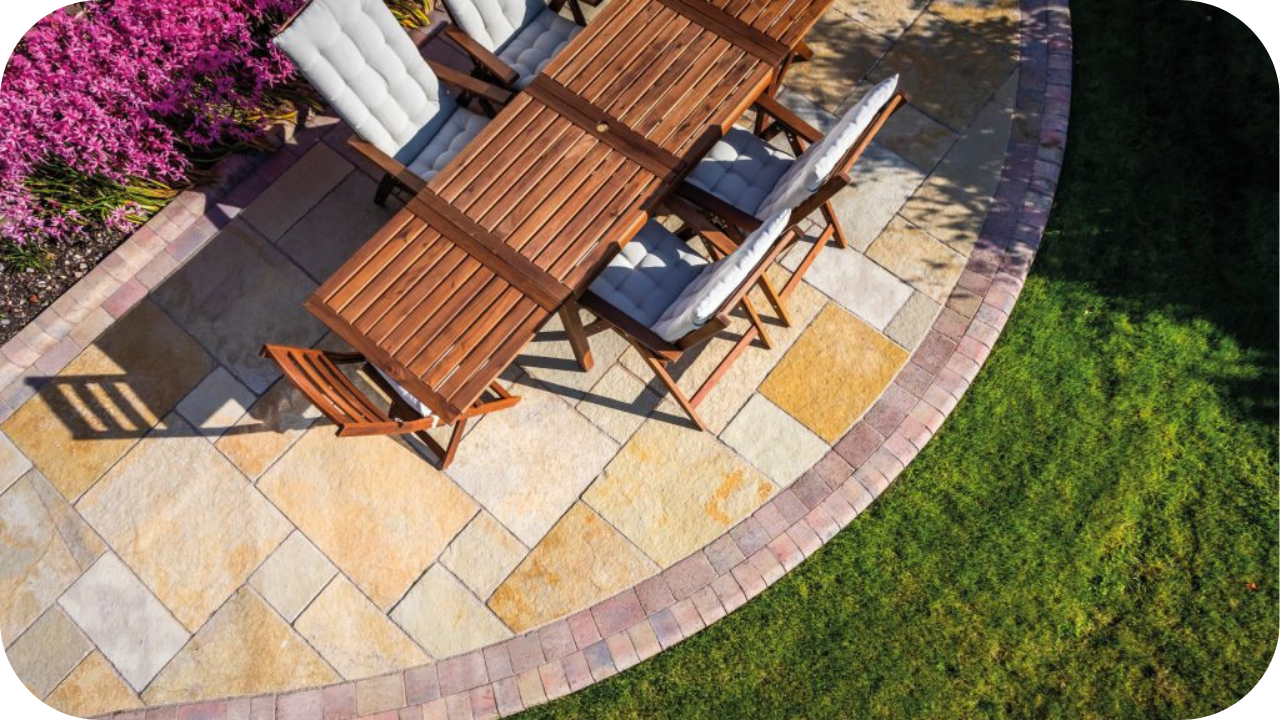
- Large-format paving for plazas: Large-format stone offers clean, open surfaces ideal for civic squares and malls. Its expansive layout creates an uncluttered look while handling the demands of busy urban spaces with ease.
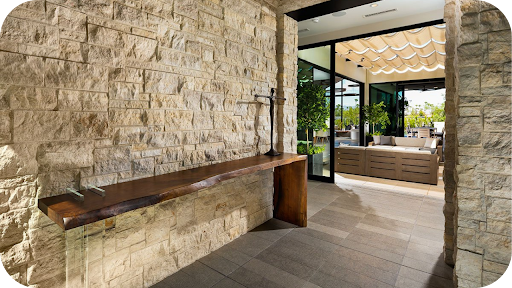
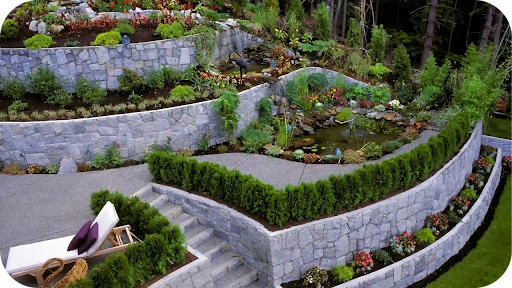
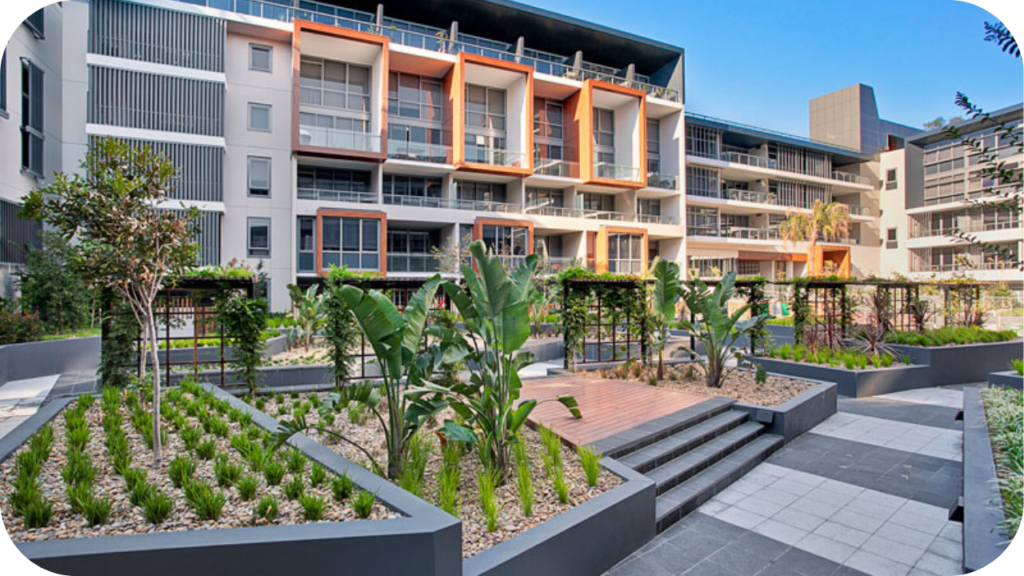
- Stone walls and integrated seating: Walls built from stone provide strength and visual appeal while doubling as seating. This combination of structure and usability enhances both aesthetics and functionality in public landscapes.
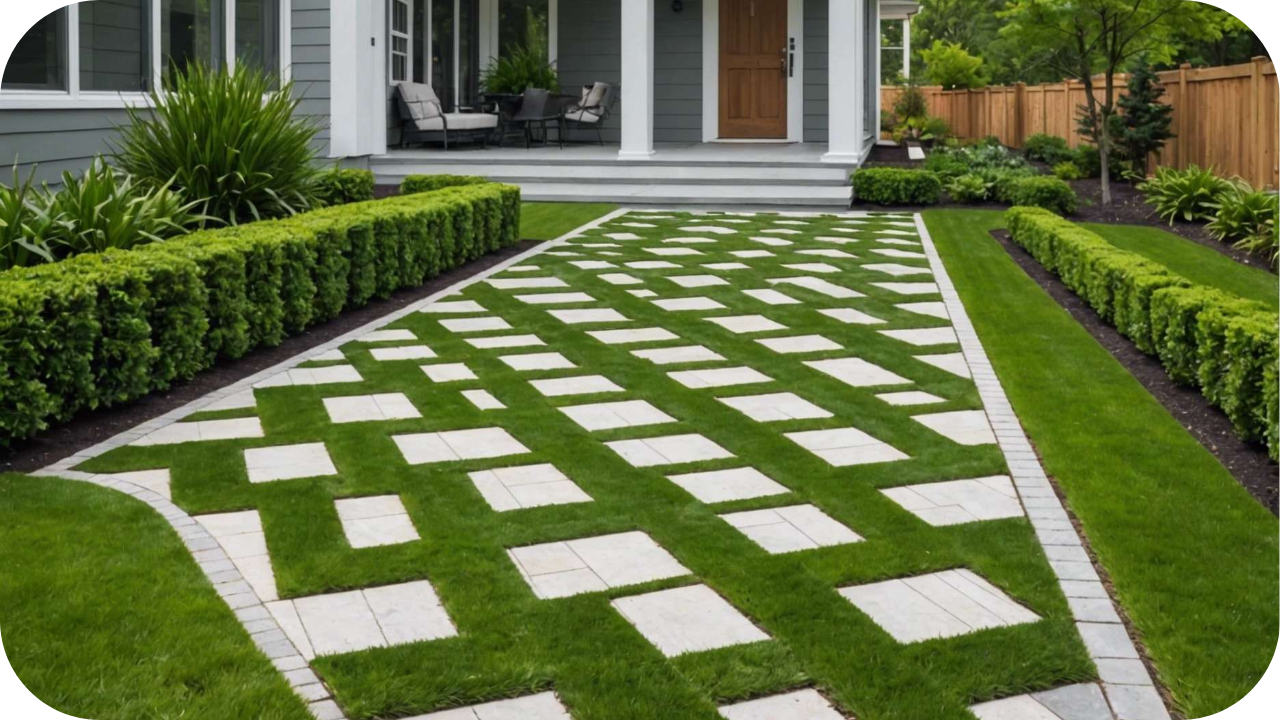
- Linear layouts in urban pathways: Linear patterns guide pedestrian movement through streetscapes, transport hubs, and commercial areas. They combine functional flow with visual order, helping create structured, welcoming public environments.
- Blended stone finishes for variety: Mixing textures, patterns, and tones allows designers to craft distinctive streetscapes. This variety ensures each project achieves a unique identity while retaining stone’s resilience and visual strength.
Trends in Urban Stone Design
Urban streetscapes continue to evolve, with stone adapting to modern needs while preserving timeless qualities. Here are the key design trends shaping how cities use stone today.
1. Mixing Traditional and Modern Patterns
Designers increasingly combine heritage styles like cobblestones with contemporary layouts such as linear paving. This blending creates streetscapes that feel authentic while offering fresh visual appeal suitable for modern Australian cities.
2. Using Darker Tones in Cityscapes
Darker stone colours, such as deep greys or charcoals, are becoming more prominent in urban projects. These tones deliver a sleek, modern finish while complementing existing architecture and providing durability in busy environments.
3. Adopting Sustainable Quarrying and Recycling
Sustainability plays a growing role in stone design. Cities are sourcing locally quarried stone and reusing reclaimed materials, reducing environmental impact while maintaining the character and strength of traditional streetscapes.
4. Incorporating Multi-Functional Stone Features
Streetscapes increasingly use stone for more than paving and walls, integrating features like seating, planters, and edging. This trend blends practicality with aesthetics, maximising stone’s role in liveable and adaptable urban spaces.
5. Emphasising Textured and Natural Finishes
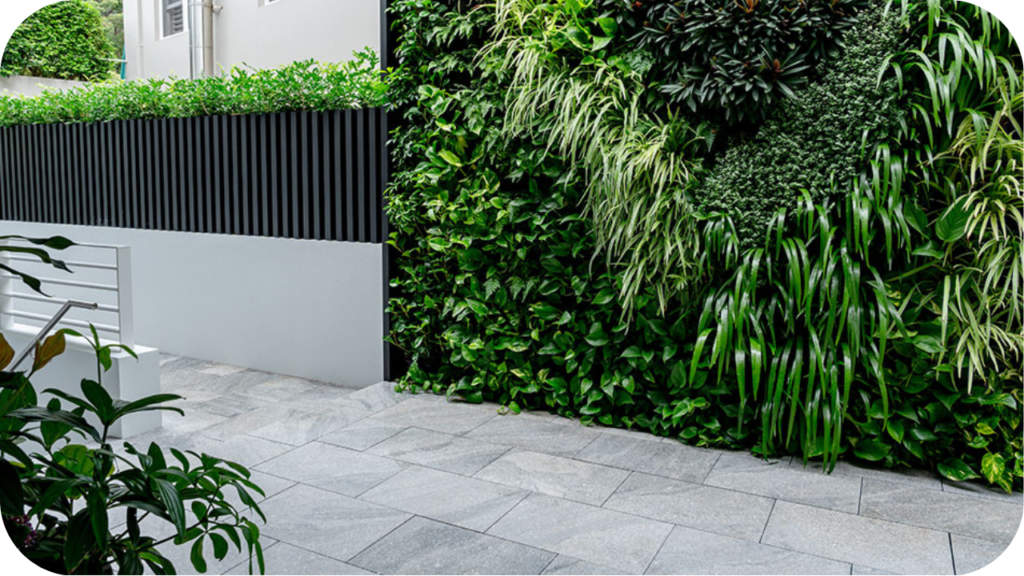
Smooth, polished finishes are giving way to rougher textures that highlight stone’s natural qualities. This approach enhances grip, durability, and visual depth, aligning with Australia’s preference for authenticity in public landscapes.
Bring Stone Strength to Your Streets
Stone has always been more than a construction material. It carries heritage, resilience, and identity, ensuring that Australia’s streetscapes remain functional while reflecting the stories of the communities they serve.
Modern cities demand materials that withstand heavy use while keeping spaces inviting. Stone rises to this challenge, combining longevity with timeless design, ensuring streets continue to inspire both locals and visitors.
With Splendour in Stone, you can choose materials designed for life’s busiest spaces. Contact us today to bring lasting strength and character to your next project.