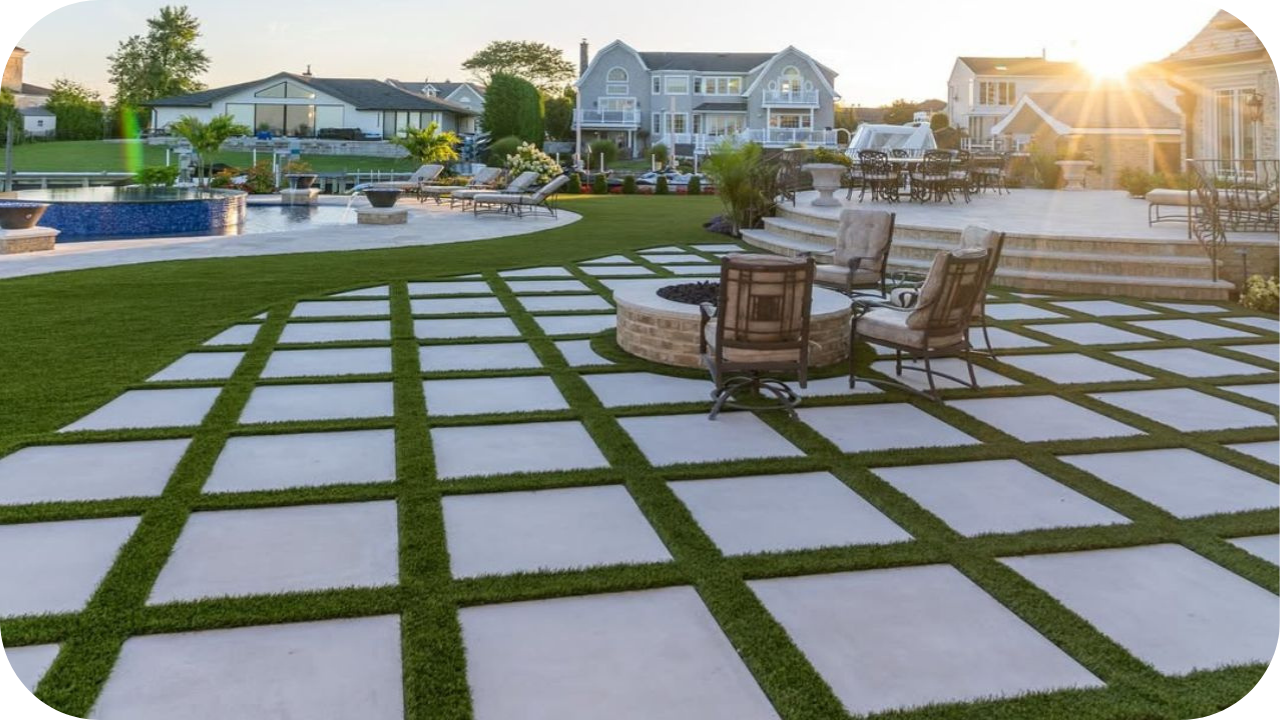
Natural stone adds value and elegance to homes and landscapes, but over time it can suffer from chips, stains, scratches, and other wear.
Many homeowners worry these issues are permanent, yet most forms of stone damage can be repaired with the right approach. From minor surface marks to more serious structural cracks, there are proven solutions to bring stone back to life.
In this article, we’ll cover the most common types of stone damage, how to fix them, prevention tips, and when to seek professional help for lasting results.
Can Damaged Stone Be Repaired?
Yes, most damaged stone can be repaired depending on the severity and type of damage. Chips, stains, and light scratches are often treatable using DIY kits or professional methods. The sooner damage is addressed, the better the outcome.
While minor issues can be fixed at home, more extensive problems like deep cracks or etching on soft stones often require professional restoration for a seamless result and to avoid further deterioration.
Common Types of Stone Damage
Natural stone may be strong, but it’s not immune. These are the issues homeowners encounter most often, each affecting appearance, stability, or longevity in a different way.
1. Chips and Cracks
Chipped edges or hairline cracks often result from impact or pressure over time. While they may seem minor, ignoring them can lead to worsening damage, especially in high-traffic or exposed outdoor areas.
2. Stains and Discolouration
Oils, wine, rust, or organic matter can seep into porous stones and leave behind deep stains. Without sealing, these marks become stubborn and alter the visual appeal of the stone permanently.
3. Etching and Dulling
Acidic substances like lemon juice or cleaning chemicals can react with calcium-rich stones such as marble or limestone. This causes dull patches, also known as etching, which reduce the stone’s natural shine.
4. Scratches and Abrasions
Dragging furniture, foot traffic, or grit can leave visible scratches on softer stones. These marks may not affect durability but can ruin an otherwise smooth, polished surface, particularly on indoor flooring.
5. Loose or Missing Grout and Joints
Over time, grout can deteriorate or crack due to movement, moisture, or age. Gaps between stones allow water in, leading to instability, mould growth, and eventual dislodgement if left unrepaired.
Stone Types and Their Repair Sensitivities
Understanding how different stones respond to repair is crucial. Some are more porous, others more brittle. Here’s what to expect depending on the stone you’re working with.
- Granite: Hard and durable, but tough to repair when cracked. Surface damage can be polished or filled with resin, while deeper fractures often need professional repair.
- Marble: Softer and prone to etching and scratching. Polishing restores shine, but deeper etches or stains often require honing or resurfacing by a professional.
- Limestone: Porous and sensitive to acidic products. Chips and surface damage can be sanded and filled, but regular sealing is essential to prevent long-term wear.
- Travertine: Naturally pitted and softer than other stones. Scratches and stains are common but can be handled with fillers and sealing to retain its finish.
- Bluestone: Dense and durable with a natural grip. Small edge chips are fixable with epoxy, and stains respond well to poultices or alkaline cleaning products.
- Sandstone: Highly porous and stain-prone. Repairs typically involve deep cleaning, sealing, and surface treatment to prevent flaking and maintain colour consistency.
- Quartz: Engineered and non-porous, but chips and cracks need colour-matched resin. Heat damage is often permanent and usually not fixable at home.
- Quartzite: Very hard and scratch-resistant. Light surface damage can be polished out, but serious cracks often require professional tools and expertise.
- Porphyry: Dense and textured with excellent durability. Minimal repairs needed, but sealing helps preserve its tones and prevent moss or grime buildup.
Repair Solutions by Damage Type
The right fix depends on the type of damage, the stone surface, and your desired outcome. Here are the key repair solutions to consider:
1. How to Fix Chips and Cracks
Small chips can be filled with colour-matched epoxy or resin for a seamless finish. For deeper cracks, structural adhesives and clamps may be required. Always clean and dry the area before repair.
2. How to Remove Stains from Stone
Stains caused by oils, wine, or rust can be treated with a poultice specific to the contaminant. Apply, cover, and let sit before wiping. Some stains may need multiple applications to lift fully.
3. How to Restore Etched or Dull Surfaces
Etching from acidic spills creates cloudy spots. Restoration involves gentle honing with fine abrasives or polishing compounds. Professional resurfacing may be needed for larger areas or severe dulling to restore the original sheen.
4. How to Repair Scratched Stone
Light scratches can often be buffed out using polishing pads or fine abrasives. Deeper scratches may need honing. It’s essential to assess stone type before proceeding to avoid making the damage worse.
5. How to Repoint or Regrout Loose Joints
Loose grout or missing joints weaken the structure and aesthetics. Remove debris, then refill with a matching grout or joint compound. Use a pointing tool for precision and seal after curing for added protection.
How to Prevent Future Stone Damage
Small habits make a big impact when it comes to avoiding future stone repairs. These tips help extend the life and look of your stone, inside and out.
- Use mats and coasters: Place protective mats under pots and coasters under glasses to minimise surface contact that causes stains, scratches, or heat marks.
- Seal your stone regularly: A quality sealant acts as a barrier against moisture, spills, and grime, especially for porous stones like travertine, limestone, and sandstone.
- Avoid harsh cleaners: Acidic or abrasive cleaning products can erode the finish or etch the surface. Always use pH-neutral cleaners designed specifically for stone.
- Clean spills immediately: Wiping spills right away prevents them from seeping into the stone or causing long-term staining, especially on lighter-coloured surfaces.
- Trim nearby plants and trees: Outdoor pavers can suffer from root damage, leaf stains, or moisture build-up. Keeping the landscape tidy helps reduce unnecessary wear.
- Use furniture pads: Cushion heavy furniture with felt pads or rubber protectors to prevent dents and scratches on indoor stone flooring.
- Maintain proper drainage: Outdoor stone should never sit in standing water. Proper slope and drainage keep surfaces dry and prevent erosion or mould growth.
- Sweep and mop routinely: Regular dusting and mopping remove gritty particles that cause micro-scratches and wear down the finish over time.
- Schedule professional maintenance: Yearly check-ups or deep cleans by stone care specialists can help preserve the integrity and look of high-traffic or weather-exposed stone.
Conclusion
Stone may be strong, but it is not immune to damage. The good news is that most chips, stains, and surface issues are repairable with the right approach. With consistent care and timely action, your stone surfaces can stay beautiful for years.
For expert guidance or tailored solutions, contact Splendour in Stone today. They are your trusted partner in lasting stone care.
More To Explore

Top 10 Mistakes to Avoid When Choosing Natural Stone
Natural stone has long been a favourite in architecture and landscaping, thanks to its unmatched beauty, durability, and timeless appeal. But as with any premium

Luxury Stone Materials for Homes
Luxury isn’t just about aesthetics, it’s about longevity, craftsmanship, and value. Yet, many homes rely on artificial materials that dull and deteriorate over time. A


