Outdoor paving stones are constantly exposed to rain, sunlight, and dirt, all of which can dull their natural beauty and weaken their structure over time. When left unsealed, stone surfaces are more vulnerable to stains, fading, moisture absorption, and wear.
Sealing your paving stones helps protect their appearance, prolong their lifespan, and reduce ongoing maintenance. It also enhances the colour and texture of the stone.
This article explains why sealing matters, what materials and tools you’ll need, and how to apply the right sealer for outdoor paving conditions.
Tools and Materials You’ll Need
- pH-neutral cleaner: Safely removes dirt, grime, and organic residue from stone surfaces without damaging the natural finish or altering colour.
- Pressure washer: Provides a deep clean by lifting stubborn stains, moss, and debris from textured or porous surfaces before sealing.
- Stiff-bristle brush: Ideal for scrubbing dirt from rough or hard-to-reach surfaces where a pressure washer may not be suitable.
- Masking tape: Helps protect surrounding areas such as walls, borders, or garden edges from accidental sealer application.
- Paint roller or sprayer: Used to apply the sealer smoothly and evenly across wide surfaces for a consistent finish.
- Protective gloves: Shields hands from chemical exposure during cleaning and sealing processes.
- Sealer product: The main protective coating, chosen based on stone type and desired finish.
- Safety gear (mask and eyewear): Ensures safe application, especially when working with sprayers or strong chemical products.
Step-by-Step Guide to Sealing Paving Stones

A flawless finish starts with a clean, dry surface and the right technique. These simple steps will help you apply sealer effectively for long-lasting outdoor protection.
1. Sweep and rinse the surface thoroughly
Remove all visible debris, leaves, soil, and dust using a stiff broom. Then rinse the area with clean water or a pressure washer to lift any remaining grime. A spotless, residue-free surface ensures the sealer properly bonds to the stone.
2. Allow complete drying for 24 to 48 hours
Let the surface dry thoroughly before sealing. Moisture trapped in the stone can prevent proper adhesion and result in blotchy, uneven finishes. Allow at least 24 to 48 hours of drying time, depending on weather conditions and stone porosity.
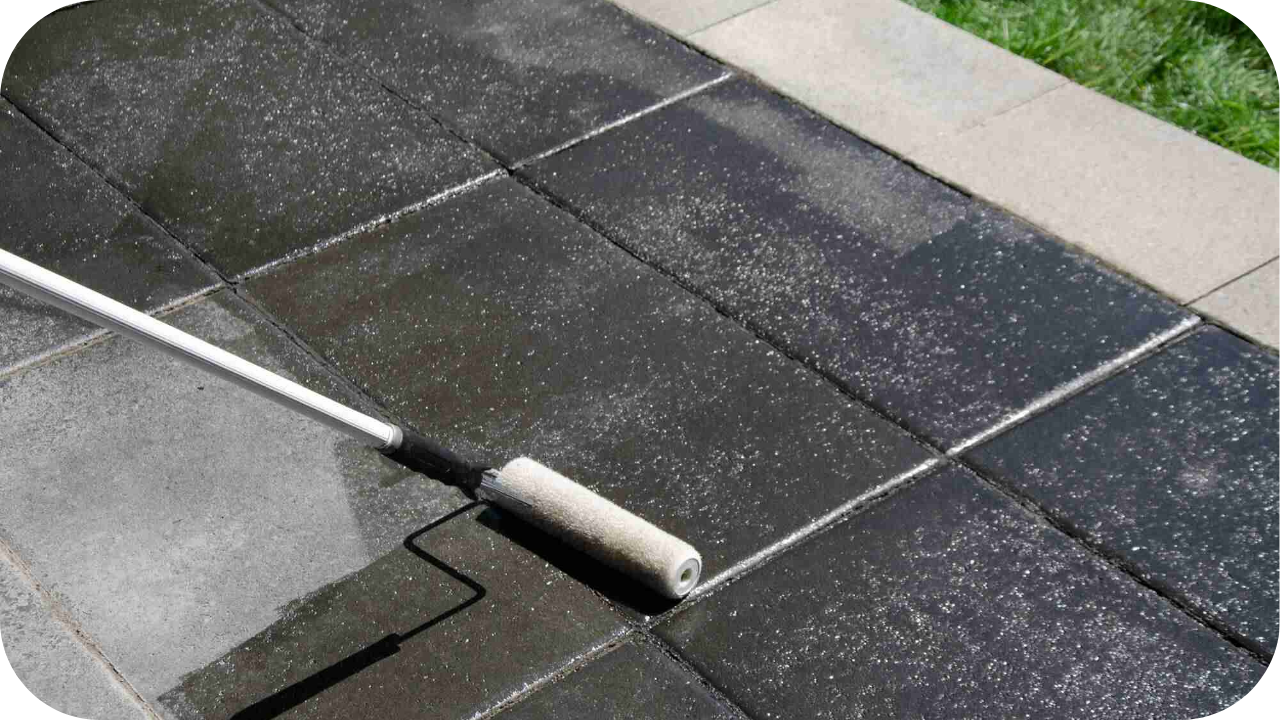
3. Apply the sealer evenly with a roller, sprayer, or brush
Use a sprayer for large areas or a roller for precise coverage. Apply the sealer in thin, even layers. Make sure each stroke overlaps slightly to ensure consistent application, avoiding streaks or gaps in the protective coating.
4. Avoid pooling and overlap marks
Pooling causes the sealer to cure unevenly and may leave glossy, sticky spots. To prevent this, work in small sections with consistent pressure, keeping a wet edge and overlapping strokes to blend each area into the next seamlessly.
5. Allow curing time as per product instructions
Each sealer has a specific curing timeline. Always follow the manufacturer’s guidance, which often ranges from 24 to 72 hours. Disregarding this step can weaken the protective layer and reduce the product’s ability to withstand weather and foot traffic.
6. Apply a second coat if needed
Some sealers perform best when layered. If a second coat is recommended, wait for the first to cure completely. Apply the next layer using the same tool and method to maintain a uniform, well-protected surface with enhanced durability.
7. Keep the surface free from foot traffic and water until cured
Prevent anyone or anything from stepping on the sealed area until fully cured. Introducing water, dust, or movement too early can damage the finish, trap imperfections, and lead to expensive rework or reduced performance of the sealer.
Choosing the Right Sealer for Natural Stone

Making the right choice starts with understanding your stone and its environment. These key considerations will help you select a sealer that protects, enhances, and lasts.
1. Select the appropriate sealer type
Choose between penetrating, surface, or enhancing sealers depending on your needs. Penetrating sealers soak into the stone and offer invisible protection. Surface sealers form a film over the stone, while enhancing sealers bring out the natural colour and texture.
2. Match the sealer to the stone
Not all stones are created equal. Dense stones like granite benefit from enhancing sealers, while porous stones such as limestone and travertine require breathable, penetrating sealers to prevent moisture from becoming trapped and causing long-term damage or discolouration.
3. Ensure the sealer is breathable
Breathability is critical for outdoor paving, where water exposure is frequent. A breathable sealer allows moisture vapour to escape, helping prevent issues like flaking, salt build-up, or mould growth beneath the surface of the stone over time.
4. Choose your desired finish
The right finish influences the look and feel of your hardscape. Gloss finishes give a rich, wet look. Matte finishes are more subtle, while natural-look sealers preserve the stone’s raw appearance without compromising on protection or performance.
5. Verify UV protection levels
Sunlight can fade and weaken stone over time. UV-resistant sealers help preserve the natural colour and surface strength of your paving, making them essential for outdoor areas that receive prolonged or intense sun exposure throughout the year.
Tips for Long-Term Sealer Maintenance

Preserving the look and performance of your paving requires more than one good application. These essential maintenance tips will help your sealed stone stay protected and looking its best over time.
- Reapply sealer regularly: Most sealers require reapplication every 2 to 5 years. Check the product label, consider exposure and traffic, and recoat when needed to maintain protection and visual quality.
- Watch for sealer wear signs: Fading colour, increased water absorption, or visible stains are indicators that your sealer is no longer effective and should be reapplied to prevent surface damage.
- Use stone-safe cleaning methods: Clean with pH-neutral solutions, soft brooms, or low-pressure hoses to avoid damaging the sealed surface or wearing away the protective layer prematurely.
- Avoid harsh cleaning products: Bleach, ammonia, and solvent-based cleaners can degrade sealers. Always choose cleaning products designed specifically for sealed natural stone to preserve durability and appearance.
- Protect paving from heavy furniture: Use pads or mats under furniture legs to prevent scuffing, cracking, or abrasion that can wear down the sealer and expose the stone beneath.
- Address spills and stains promptly: Clean up oils, acids, or coloured liquids right away. This helps prevent them from soaking into compromised areas and causing permanent marks or deterioration.
Aftercare and Maintenance Tips

Maintaining your sealed paving doesn’t stop after the first few weeks. These aftercare habits will help protect the finish, reduce wear, and extend the time between resealing.
- Check for moss or algae growth after rainy periods: Regularly inspect shaded areas where moisture lingers. Moss and algae can break down sealant layers and become slippery if not addressed early.
- Store leftover sealer correctly for future touch-ups: Keep any unused sealer sealed tightly in a cool, dry place. Proper storage allows for quick reapplication of small patches without needing to recoat the entire surface.
- Schedule a yearly professional inspection if unsure: If you’re uncertain about the sealer’s condition, a yearly check by a stone specialist ensures problems are caught early before they require costly fixes.
- Avoid placing metal pots or rust-prone items directly: Metal objects can leave rust stains on sealed stone, especially during rain. Use protective trays or pads to prevent permanent surface discolouration.
- Limit use of high-pressure washers on sealed stone: Excessive pressure can strip sealer prematurely. Use only when necessary and with appropriate settings suited for sealed surfaces to maintain integrity.
- Monitor changes after extreme heat or heavy storms: Intense weather can degrade sealers faster than normal. Always check for surface dullness, spotting, or water absorption following such events.
Final Thoughts
Sealing your paving stones is key to protecting their beauty and ensuring they last in outdoor conditions. From product selection to aftercare, every step matters.
At Splendour in Stone, we offer premium natural stone pavers and expert advice to help you get the best results. Contact us today for tailored solutions that suit your project and environment.
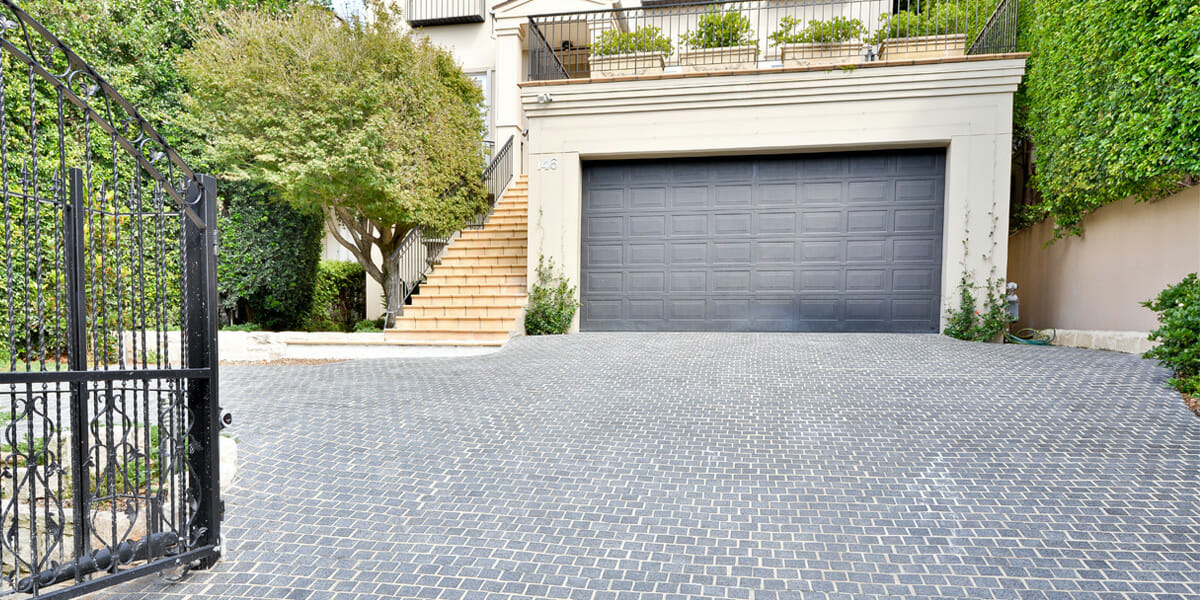
Grey Granite Cobblestones for Driveways: Strength and Style
Grey granite cobblestones combine strength, safety, and timeless appeal, making them a popular choice for Melbourne driveways and outdoor spaces. Their natural flamed texture offers
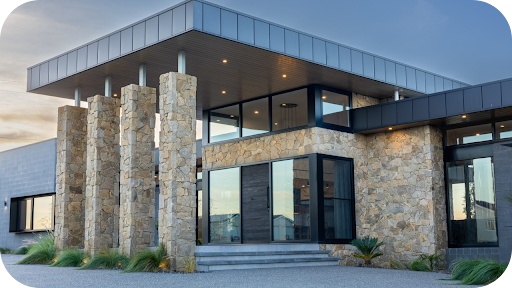
Granite Wall Cladding Melbourne: Modern and Classic Appeal
Granite wall cladding brings both modern sophistication and classic charm to Melbourne architecture. Known for its durability and natural beauty, granite transforms façades, feature walls,
