Porphyry Pavers in Melbourne: A Guide to Durable Outdoor Surfaces
Choosing the right paving material is essential for creating outdoor spaces that last. Homeowners and designers look for surfaces that provide durability, style, and easy maintenance.
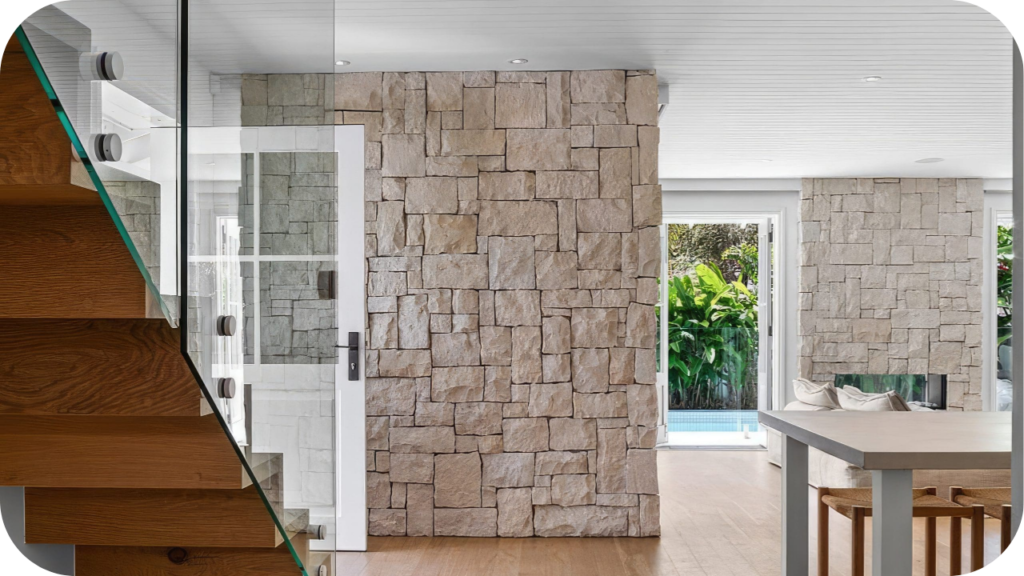
Porphyry pavers offer all of these qualities. With natural strength and distinctive colours, they are increasingly chosen for residential and commercial projects. Their textured surfaces also bring a unique charm that enhances both modern and traditional designs.
This guide highlights what makes porphyry pavers stand out and why they remain a reliable choice for long-term outdoor applications across Melbourne.
What Are Porphyry Pavers?
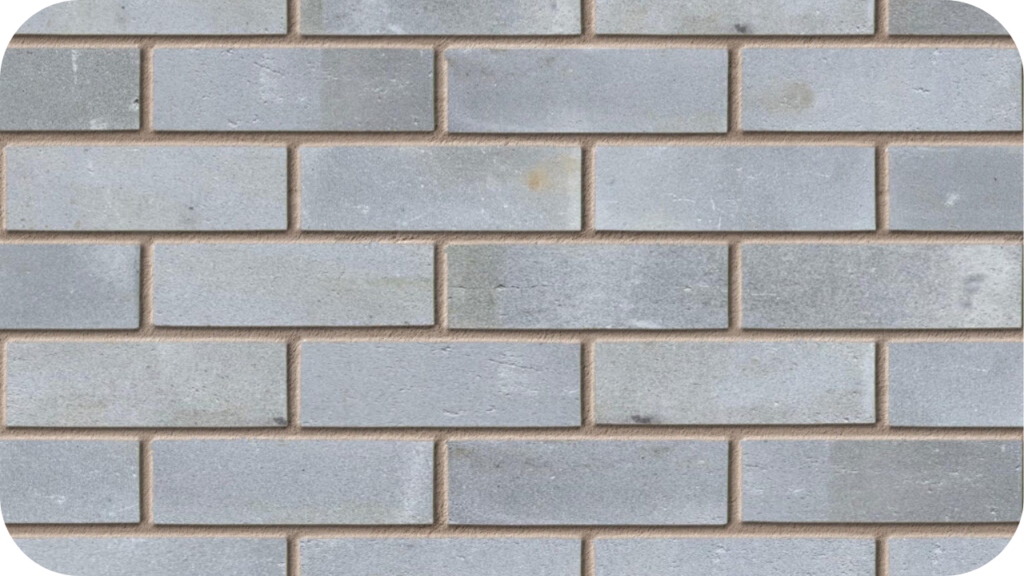
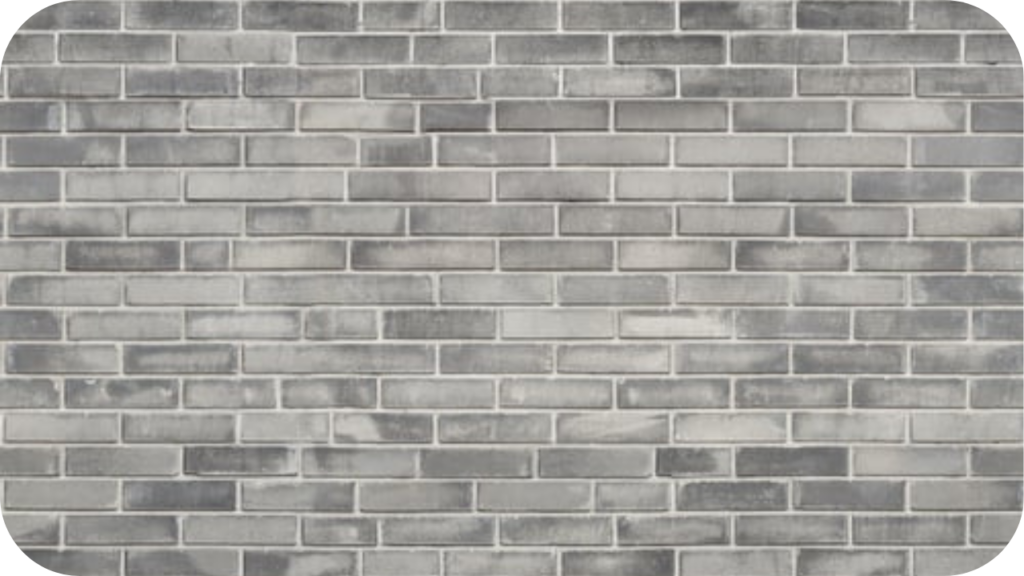
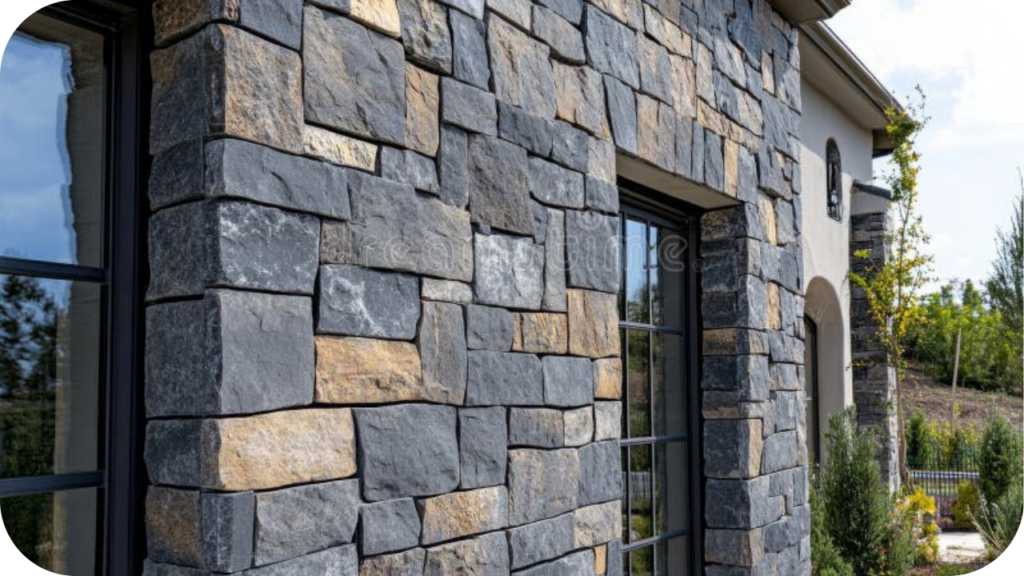
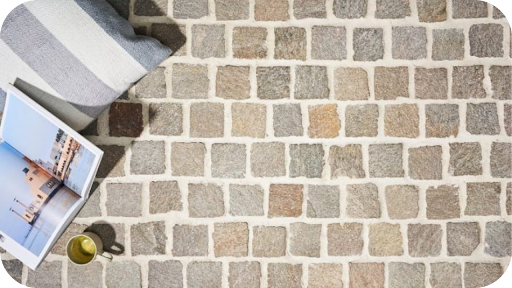
Porphyry is a type of natural stone formed through volcanic processes, giving it a dense structure and distinctive mix of colours. Its crystalline texture makes it highly durable and visually unique compared to many other paving stones.
The stone is well known for its irregular shapes and subtle variations, which create surfaces with character and charm. These features make porphyry particularly suited to high-traffic outdoor environments where both performance and style matter.
When compared with softer options like sandstone or limestone, porphyry offers superior resistance to wear, weather, and traffic, ensuring long-lasting reliability in a variety of outdoor projects.
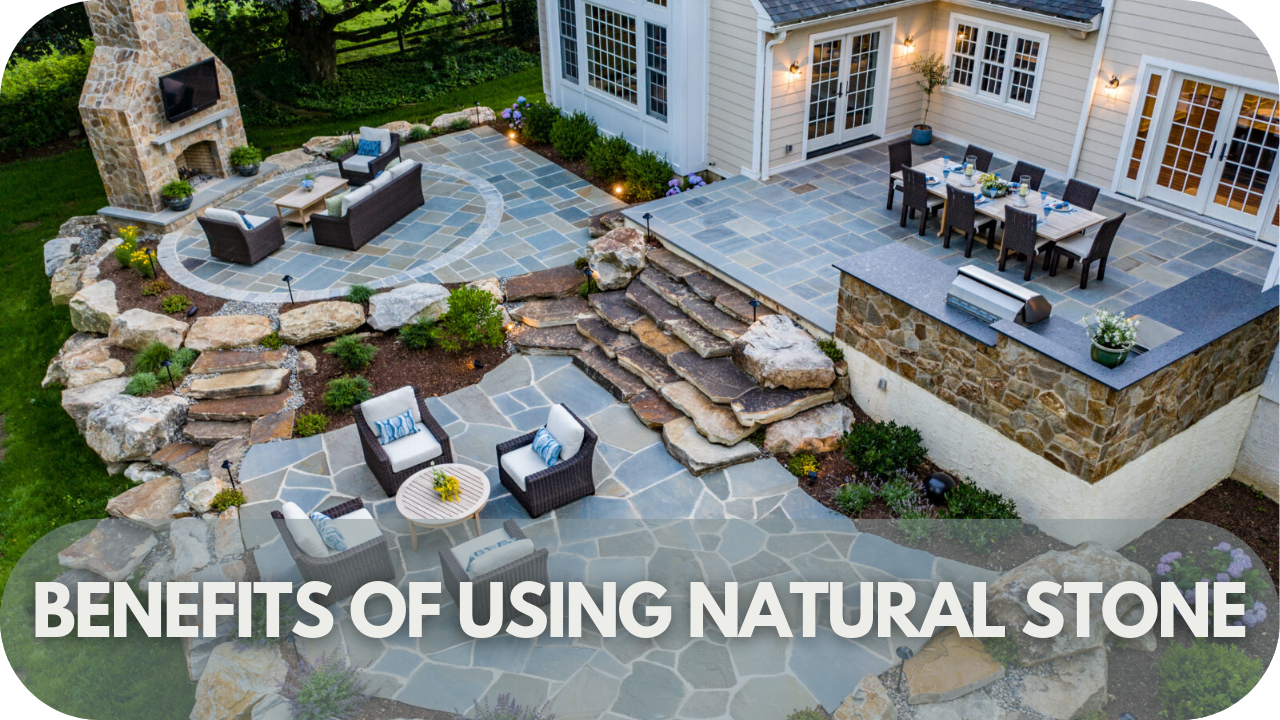
Benefits of Porphyry Pavers for Outdoor Spaces
Porphyry pavers aren’t only attractive; they offer practical advantages that set them apart. Below are the essential benefits that make porphyry a smart, long-term choice for outdoor paving projects.
1. Delivers Lasting Durability
Formed through volcanic activity, porphyry is exceptionally strong. It resists heavy traffic, vehicle weight, and harsh weather, ensuring paved areas remain dependable, safe, and visually consistent for decades without structural failure or wear.
2. Brings Natural Beauty
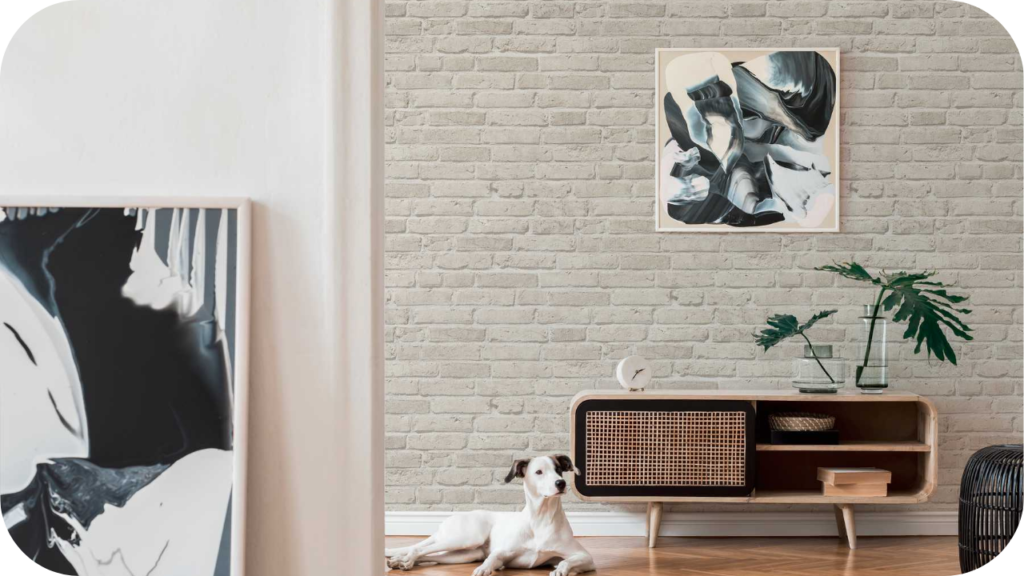
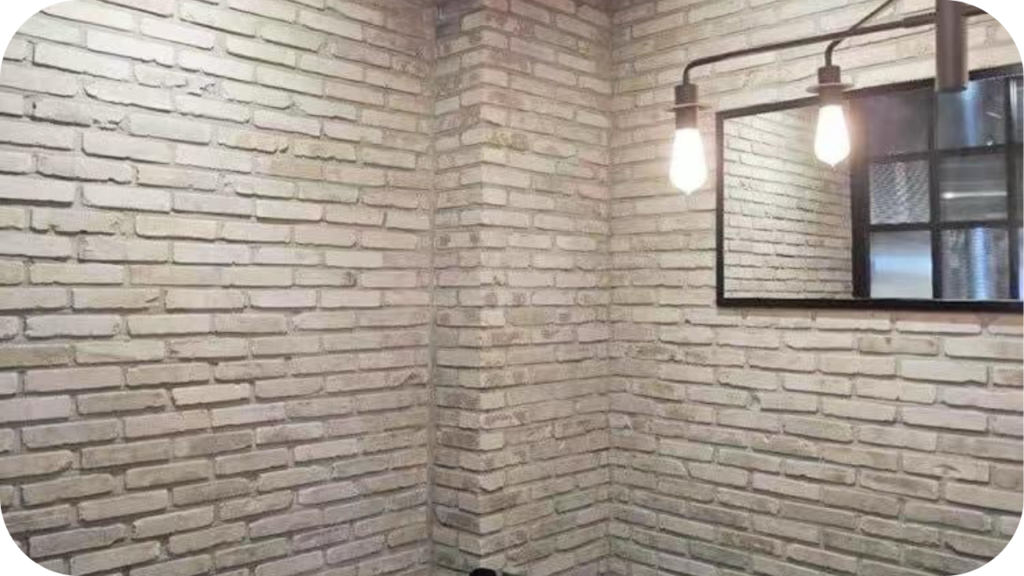
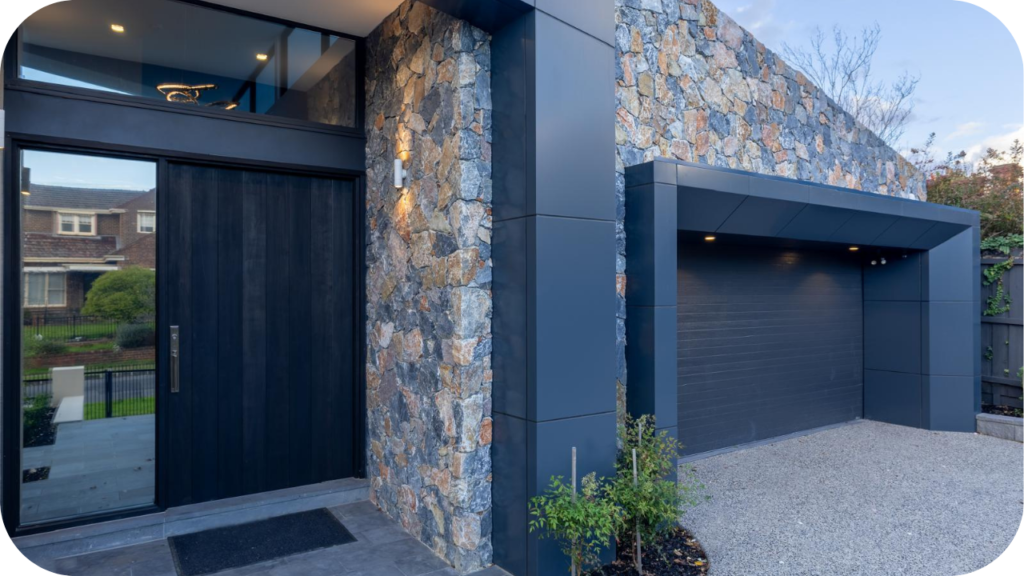
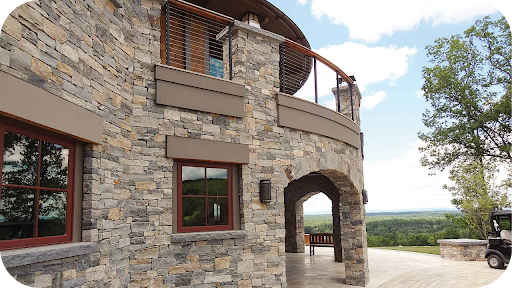
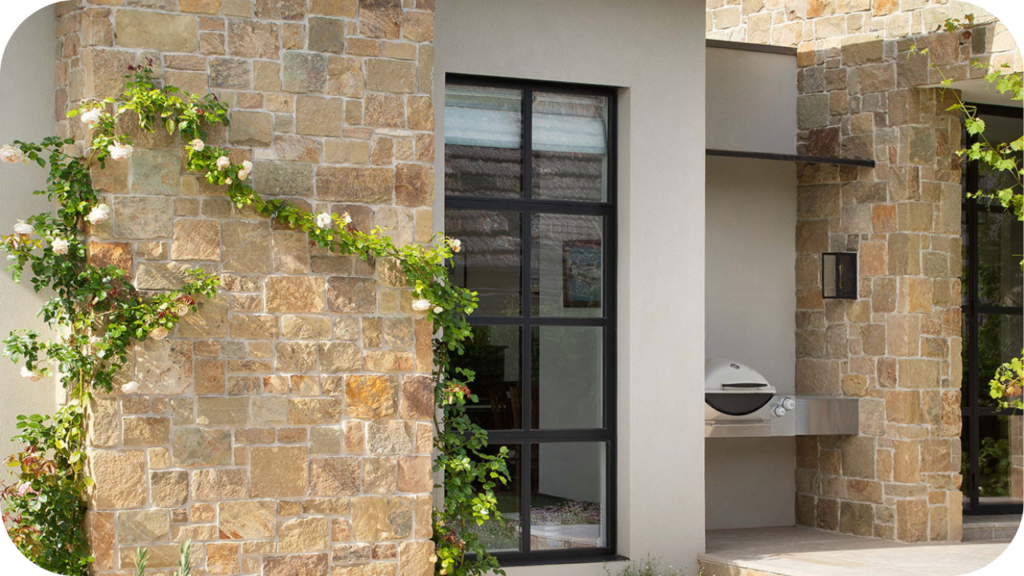
Porphyry’s rich colour variations and textured surfaces add elegance to outdoor areas. This unique character suits both modern designs and traditional landscapes, offering timeless appeal that enhances the kerbside or garden charm of any property.
3. Keeps Maintenance Simple
Porphyry is naturally resistant to moss, algae, and stains. Its dense surface requires little more than occasional sweeping and rinsing, making it a practical, low-maintenance option for homeowners and commercial projects alike.
4. Supports Sustainability
A long lifespan reduces replacement needs, lowering environmental impact. As a natural material, porphyry also aligns with sustainable design goals, providing both eco-friendly value and lasting style for outdoor spaces of any scale.
5. Ensures All-Weather Reliability
Porphyry stands up to extreme weather conditions, from heavy rain to intense heat. It resists fading, cracking, and erosion, ensuring paved surfaces remain both functional and attractive throughout the seasons.
Applications of Porphyry Pavers in Melbourne
Porphyry pavers suit a wide range of outdoor projects, combining durability with timeless appeal. Below are the most common applications where this stone proves both practical and stylish across Melbourne spaces.
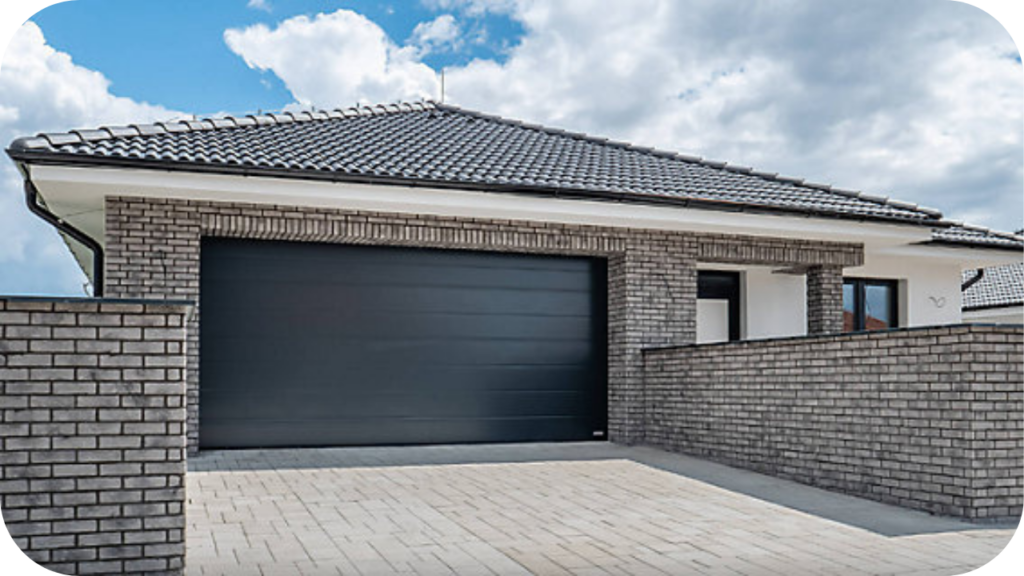
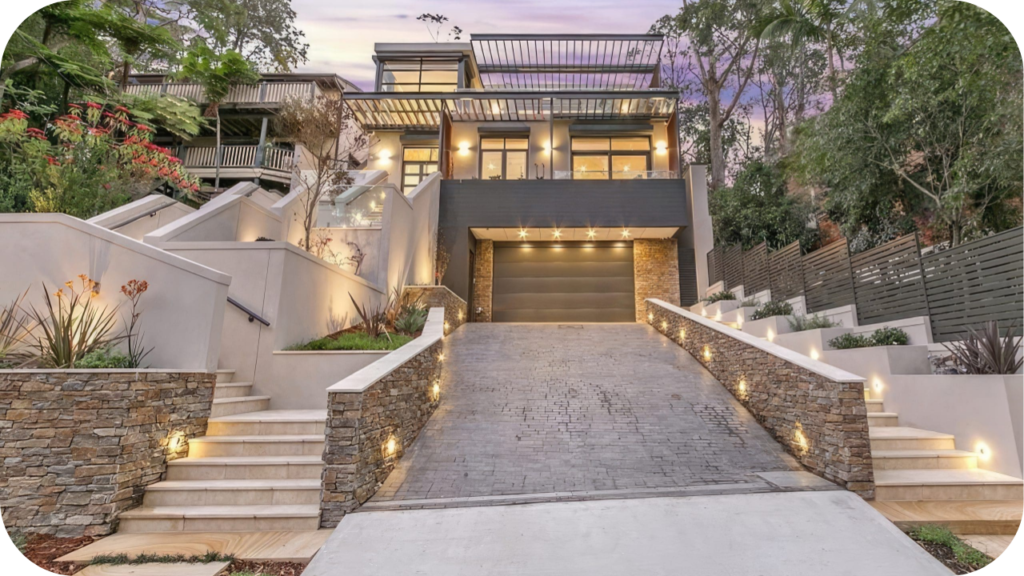
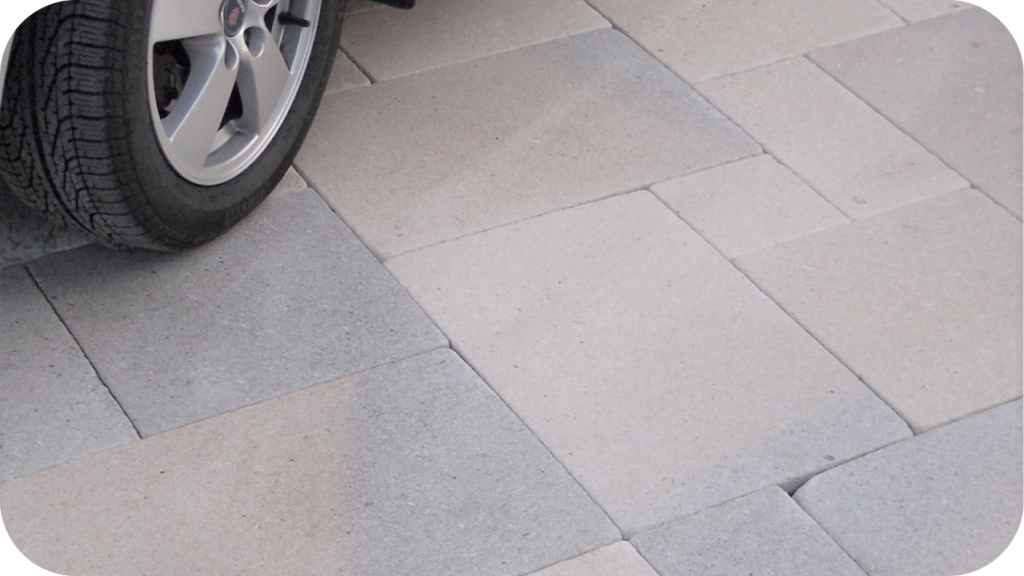
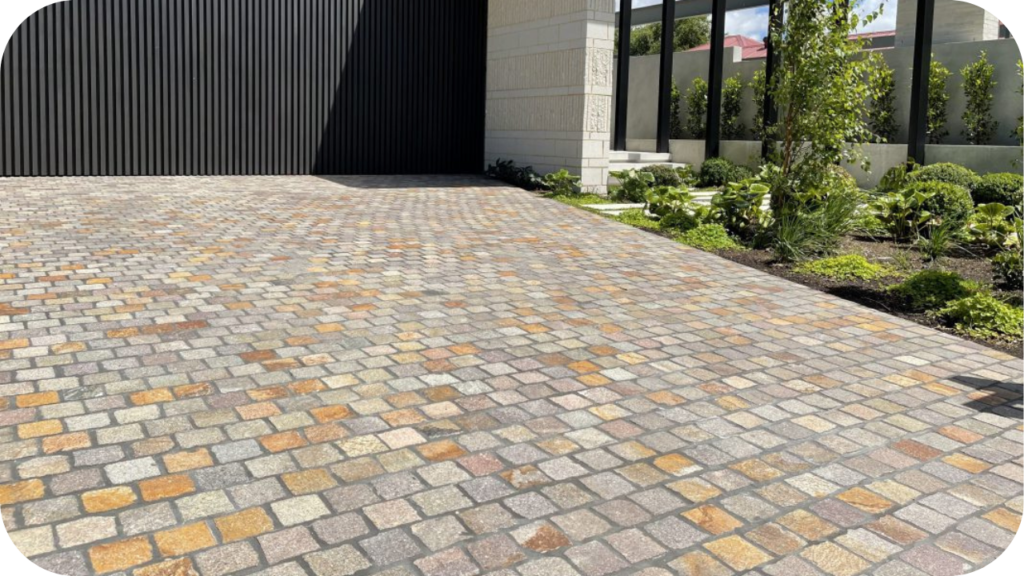
- Driveways: Porphyry’s density withstands vehicles without cracking. Its natural beauty enhances kerb appeal, creating driveways that remain strong, functional, and visually refined while offering dependable long-term performance for homeowners seeking both style and durability.
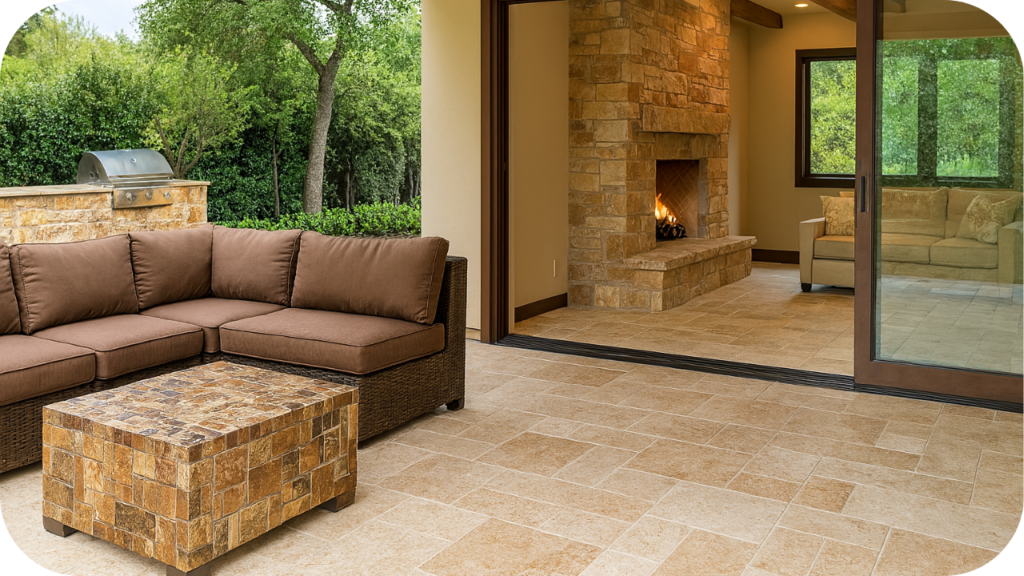
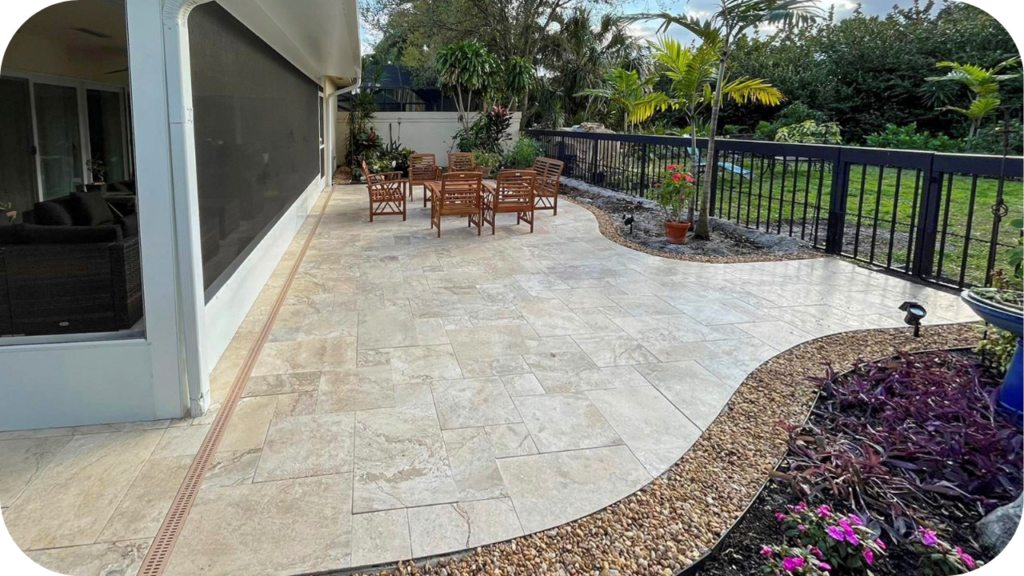
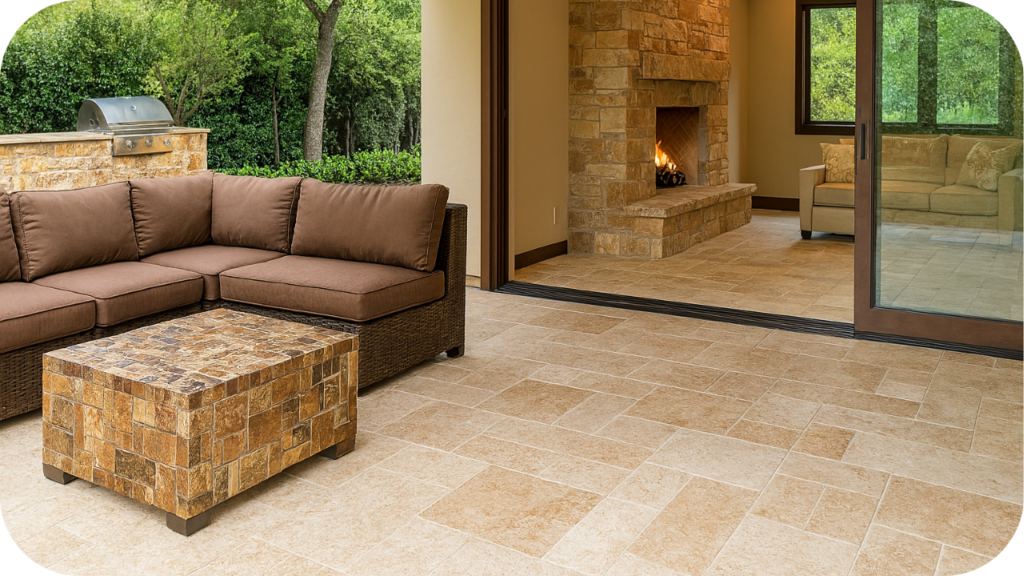
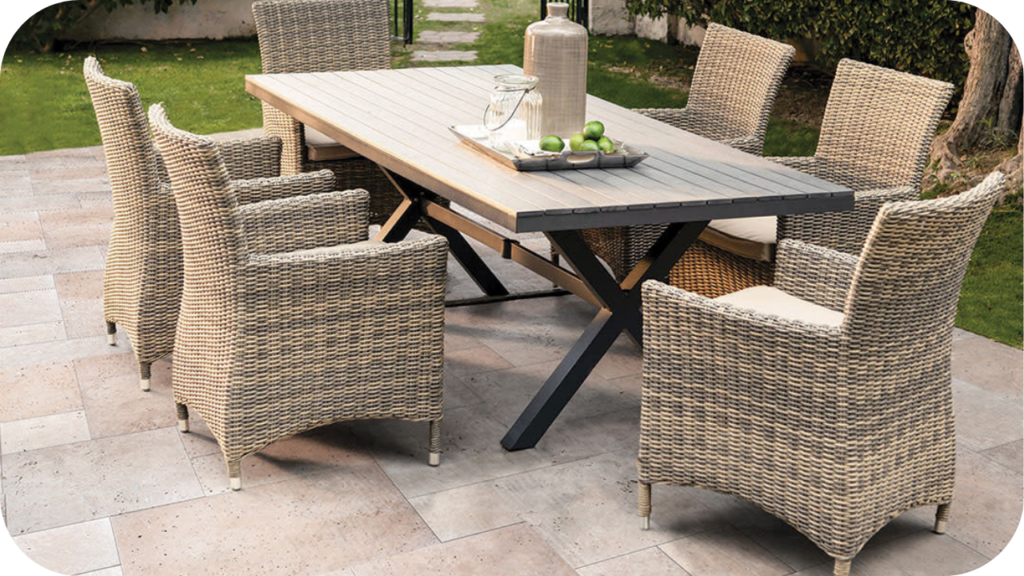
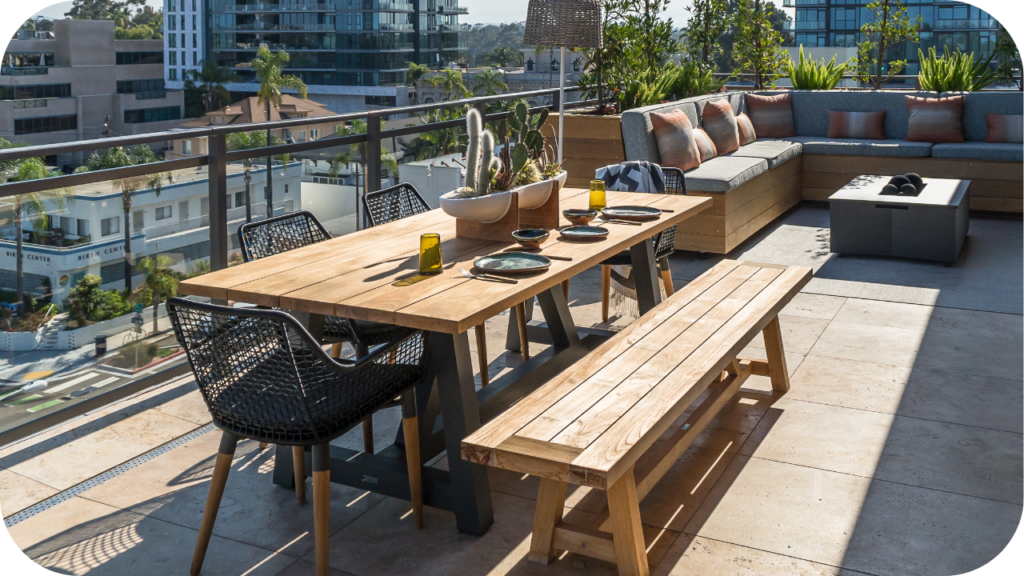
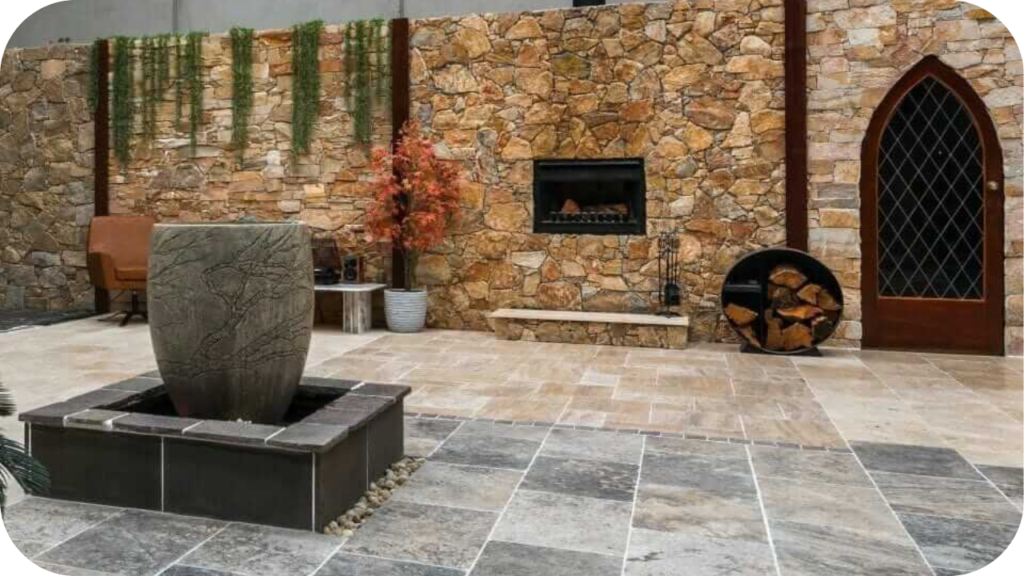
- Patios: Patios paved with porphyry provide comfort and elegance. Their subtle tones enrich outdoor entertaining areas, while their durability ensures surfaces remain reliable and attractive despite constant use, furniture, and seasonal weather changes.
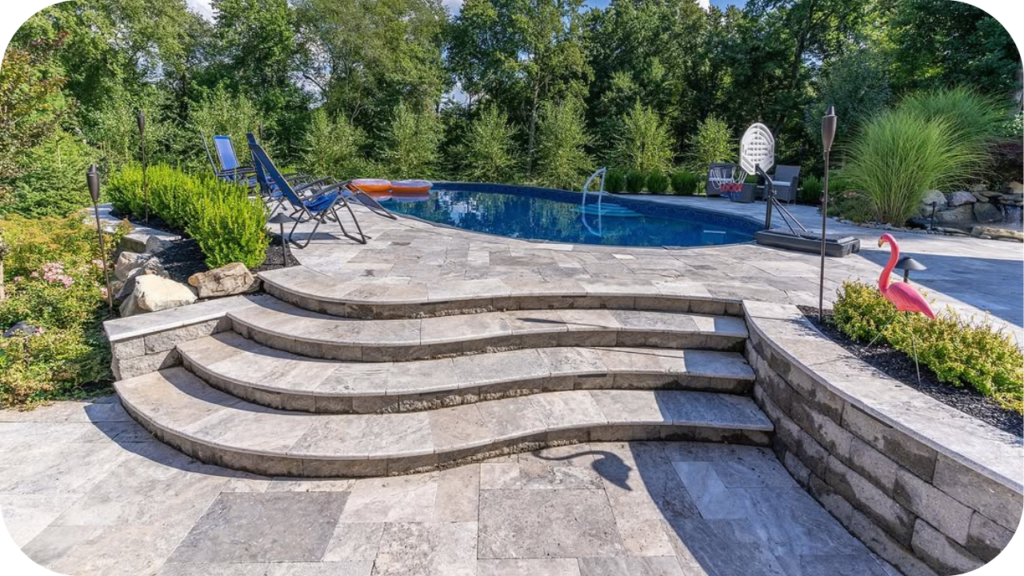
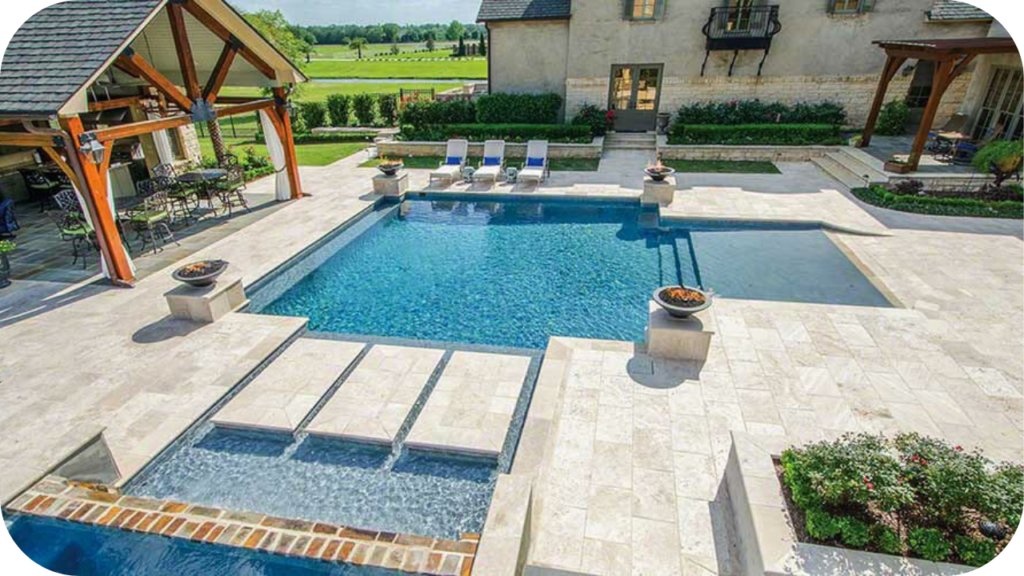
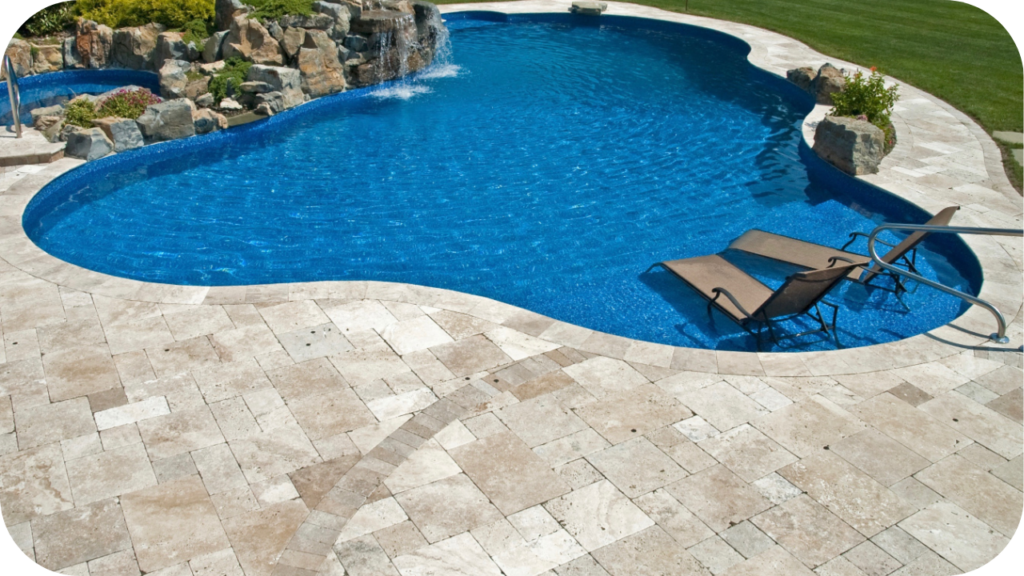
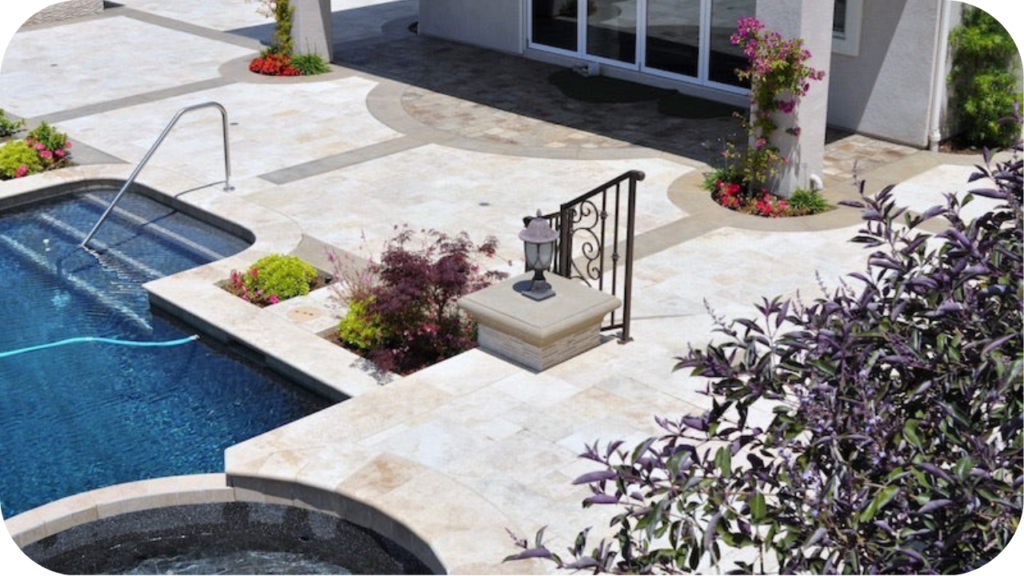
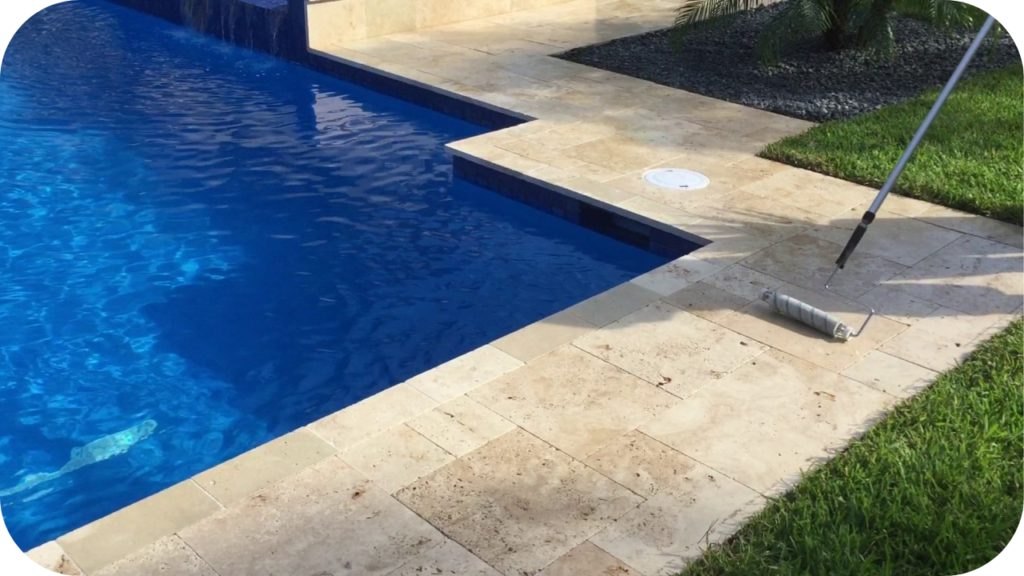
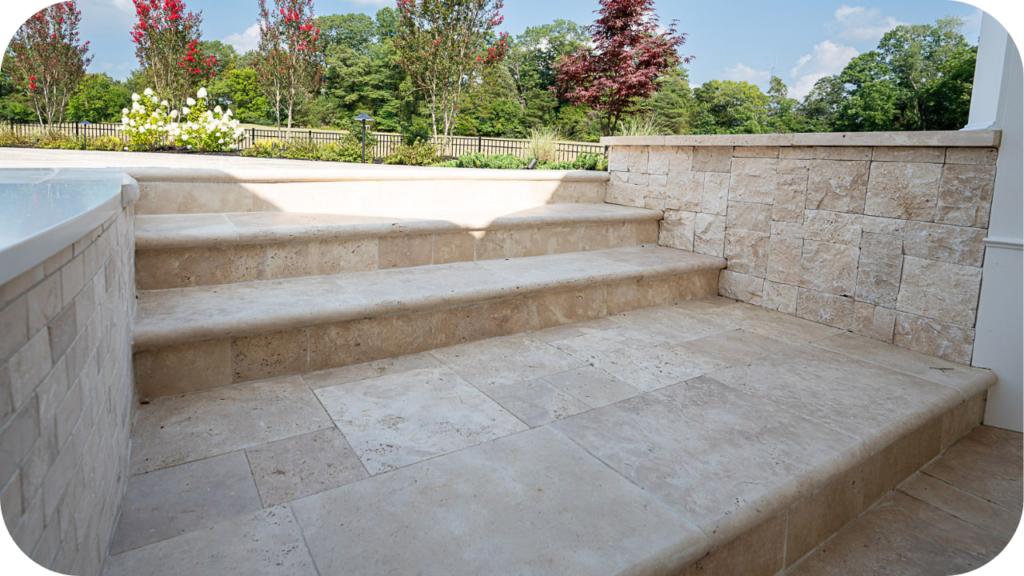
- Pool Surrounds: Around pools, porphyry resists water and maintains safe footing. Its textured surface improves security, while its natural colours elevate poolside spaces, ensuring they stay practical, stylish, and enjoyable all year.
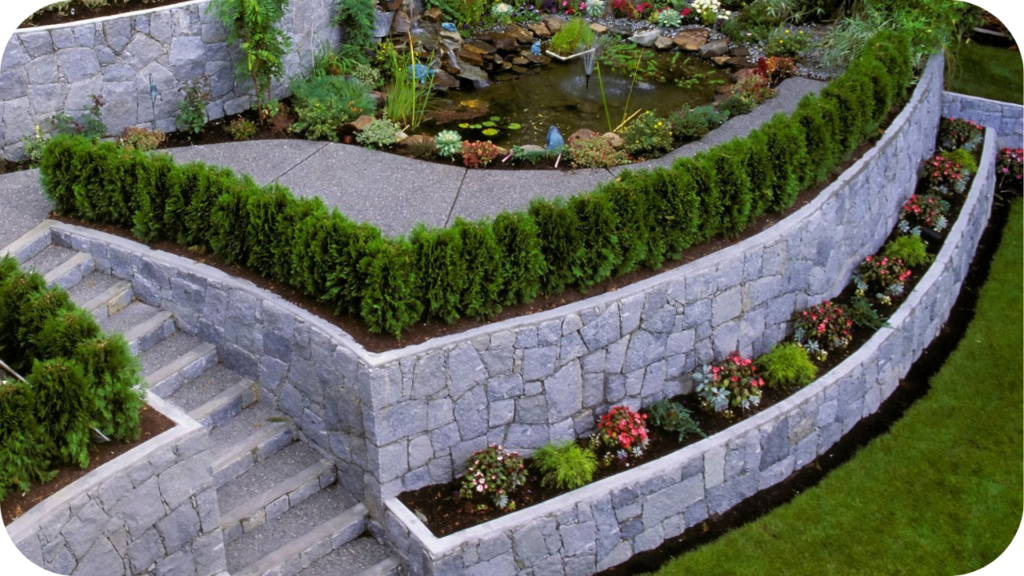
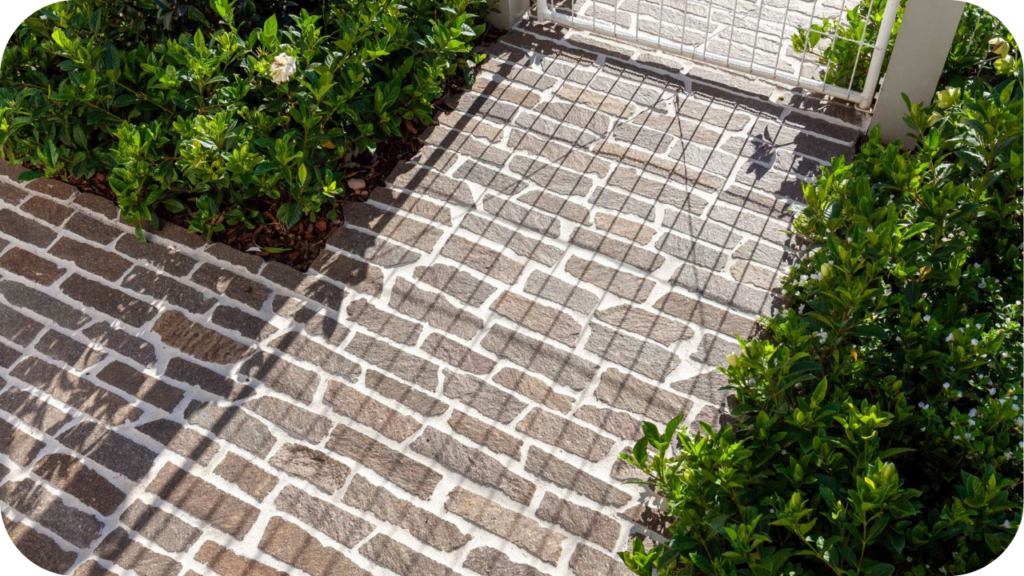
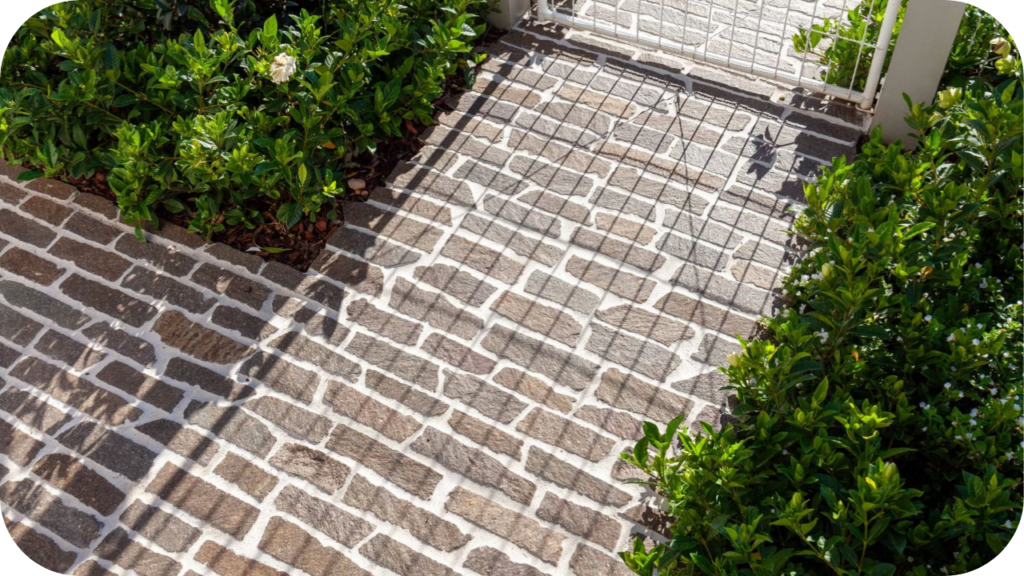
- Walkways: Porphyry walkways combine resilience with charm. They withstand heavy foot traffic while enhancing landscapes, keeping pathways both functional and attractive. Their natural finish adds structure and sophistication to outdoor environments.
- Courtyards: Courtyards finished with porphyry radiate warmth and strength. Their tones and textures create inviting outdoor retreats, offering durability for gatherings, relaxation, and long-term visual appeal in both private and public settings.
- Public Spaces: In plazas, streetscapes, and civic areas, porphyry thrives under heavy use. Its strength guarantees safety and reliability, while its elegance contributes to attractive, long-lasting community spaces across Melbourne.
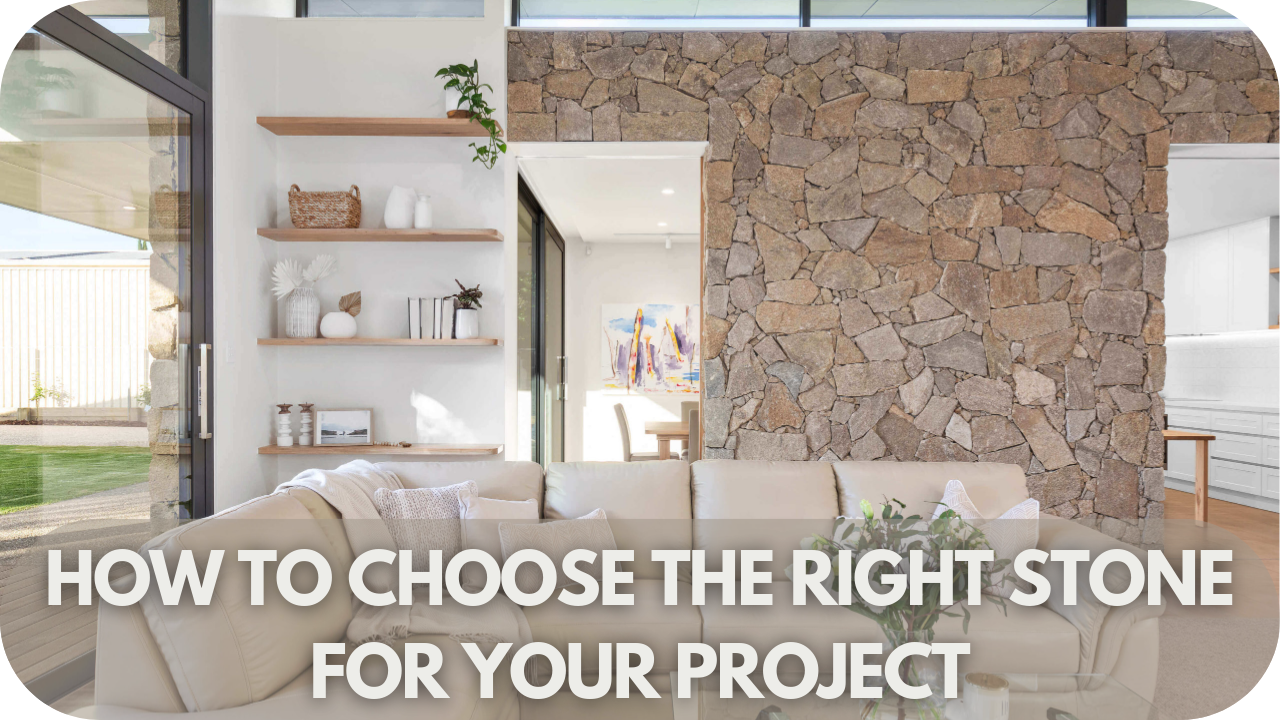
Choosing the Right Porphyry Pavers
Choosing the right porphyry pavers depends on more than appearance. The following considerations highlight what truly matters when selecting stone that delivers both beauty and dependable performance outdoors.
1. Assess Sizes and Thicknesses
Porphyry pavers are available in various sizes and thicknesses, each suited to specific applications. Thicker pavers perform well under vehicles, while thinner options suit patios or pathways. Matching thickness to intended use ensures durability and strength.
2. Match Colours with Design Goals
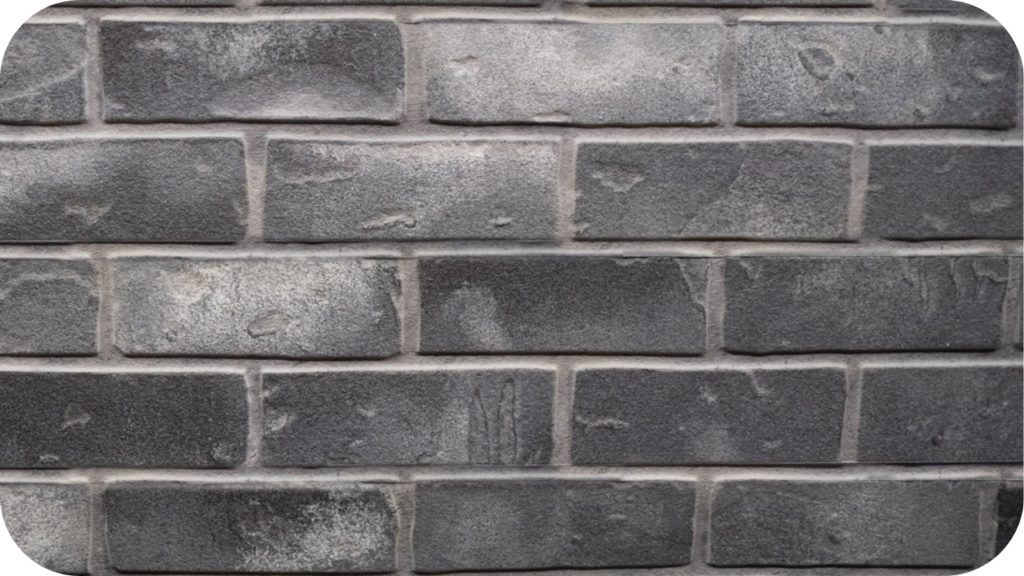
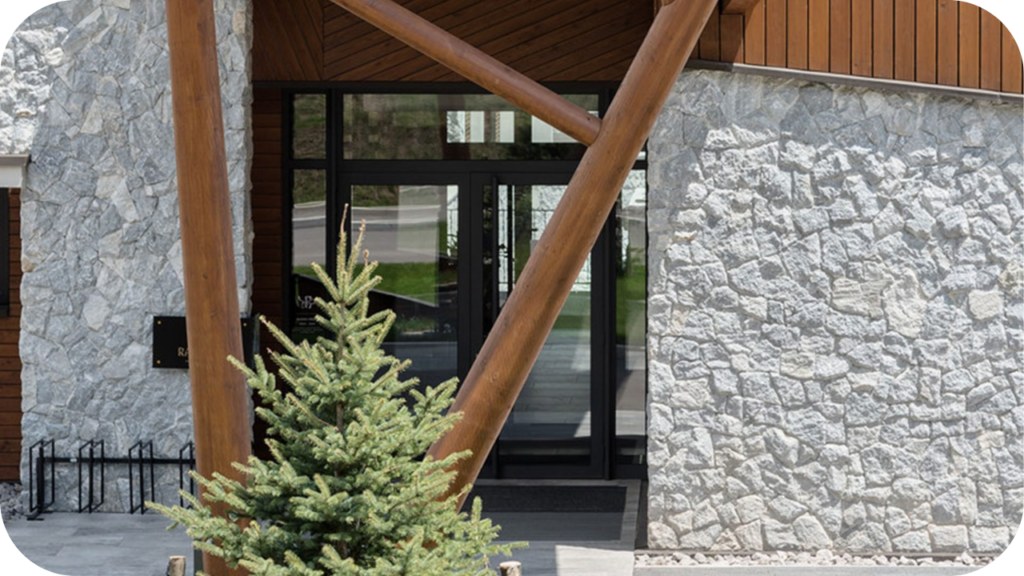
With tones ranging from greys to warm reds, porphyry blends seamlessly into different styles. Matching colours with architecture creates harmony, ensuring paved areas enhance the design while maintaining a timeless appeal across outdoor spaces.
3. Consider Surface Finishes Carefully
Available finishes, including natural, tumbled, and flamed, offer distinct aesthetics and varying grip levels. Selecting the right surface ensures both safety and style, meeting functional requirements while complementing the project’s overall character.
4. Source from Trusted Suppliers
Reliable suppliers guarantee quality, consistency, and proper testing. Working with trusted specialists ensures porphyry is authentic, durable, and responsibly sourced, providing confidence that outdoor projects will deliver long-term performance and style.
5. Compare Value Beyond Cost
Focusing solely on price risks compromising quality. Considering long-term value, resilience, and kerb appeal ensures buyers choose porphyry pavers that not only fit their budget but also deliver genuine returns on investment.
Installation Considerations for Porphyry Pavers
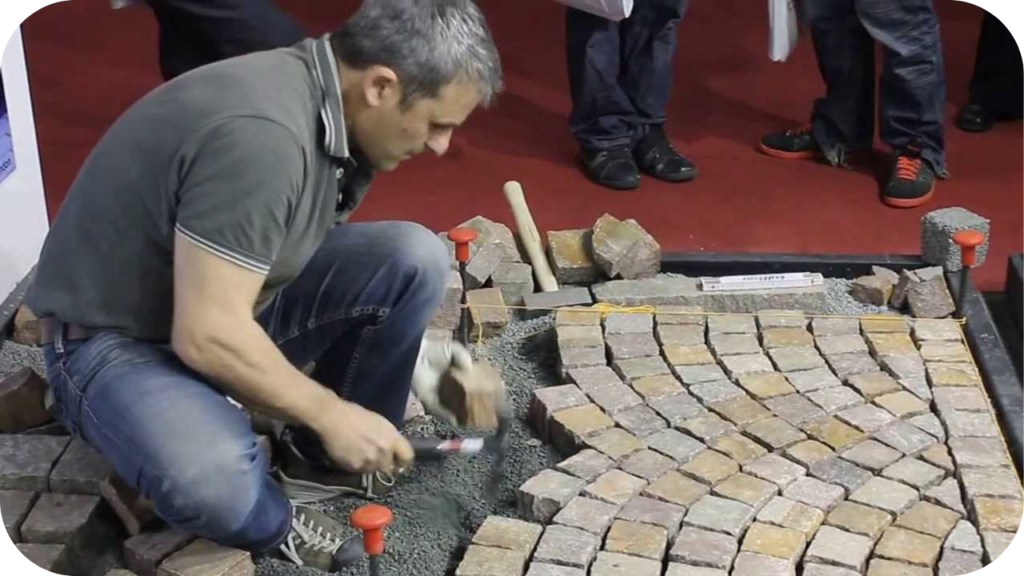
Laying porphyry pavers is a step-by-step process that demands precision. These considerations guide the work, helping surfaces remain durable, functional, and attractive long after the installation is complete.
- Prepare the Base Properly: Start with a stable, compacted base that supports weight and prevents shifting. A strong foundation ensures porphyry pavers stay secure, reliable, and even across years of outdoor use.
- Plan Effective Drainage Systems: Incorporate slopes or drains to move water away. Good drainage protects the base, reduces erosion, and prevents cracks, keeping paved surfaces safe and structurally sound in harsh conditions.
- Set Consistent Joint Spacing: Allow even gaps between pavers for expansion and contraction. Correct spacing maintains alignment, prevents edge damage, and creates a professional, uniform look that lasts across outdoor areas.
- Install Secure Edge Restraints: Lock pavers firmly with strong edging. This step prevents movement, protects alignment, and ensures paved areas maintain their neat appearance and structural strength over the years.
- Seek Professional Installation Support: Experienced installers understand cutting, levelling, and laying techniques. Their skills reduce errors, save time, and ensure porphyry pavers are installed securely for both durability and visual appeal.
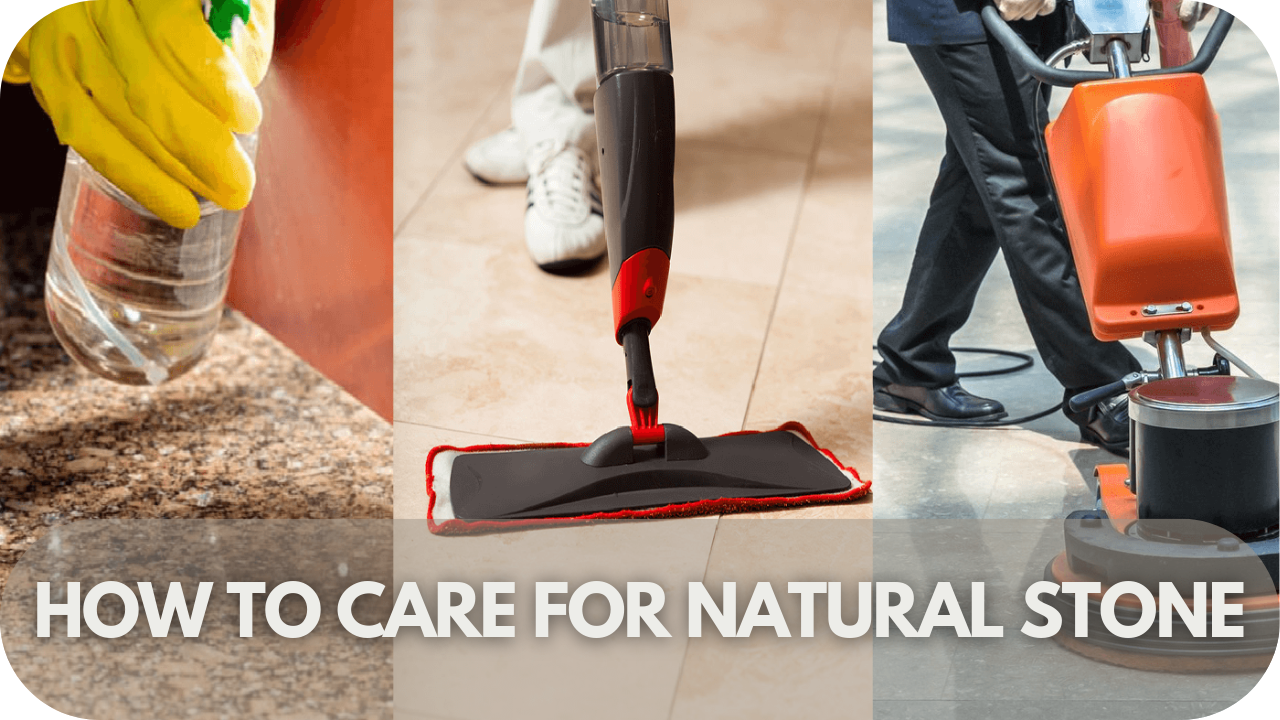
Maintenance Tips for Long-Lasting Porphyry Surfaces
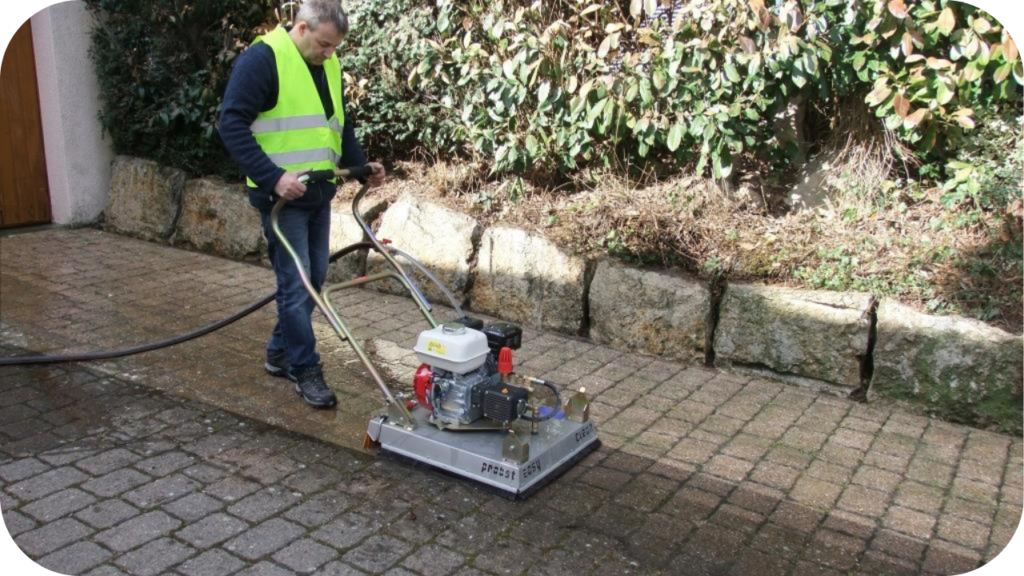
Keeping porphyry pavers in top condition is simple when care is consistent. These straightforward maintenance practices preserve strength and appearance, ensuring outdoor surfaces remain reliable and attractive for years.
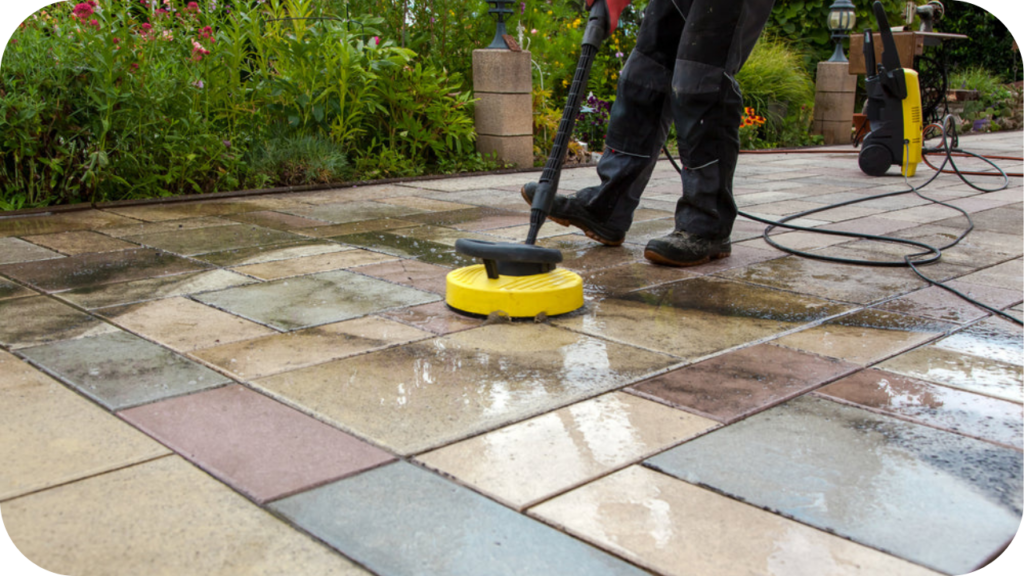
- Clean Pavers Regularly: Sweep dirt and rinse surfaces with water to avoid buildup. Simple cleaning prevents stains, preserves colour variations, and keeps outdoor areas neat, safe, and visually appealing over time.
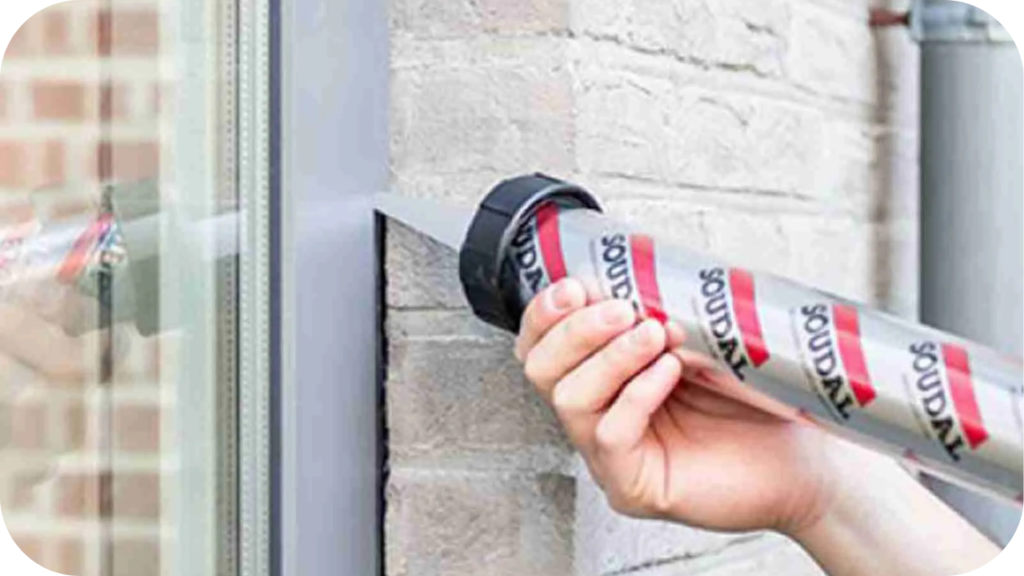
- Seal Surfaces When Needed: Apply a suitable sealant if areas face heavy use or exposure. Sealing enhances resistance to stains and moisture, reducing long-term maintenance while keeping porphyry surfaces naturally beautiful.
- Address Spills Promptly: Treat stains immediately using mild cleaning products. Acting quickly prevents permanent marks, keeping paved areas fresh and ensuring surfaces retain their refined character and durability across everyday use.
- Inspect Joints and Edges: Check edges and joints for movement or gaps. Timely attention helps prevent shifting, protects structural stability, and extends the long-term performance of porphyry installations outdoors.
- Protect Surfaces from Damage: Avoid dragging heavy objects across paved areas and use pads under furniture. Preventing scratches and chips safeguards porphyry’s natural beauty and ensures paved surfaces remain strong.
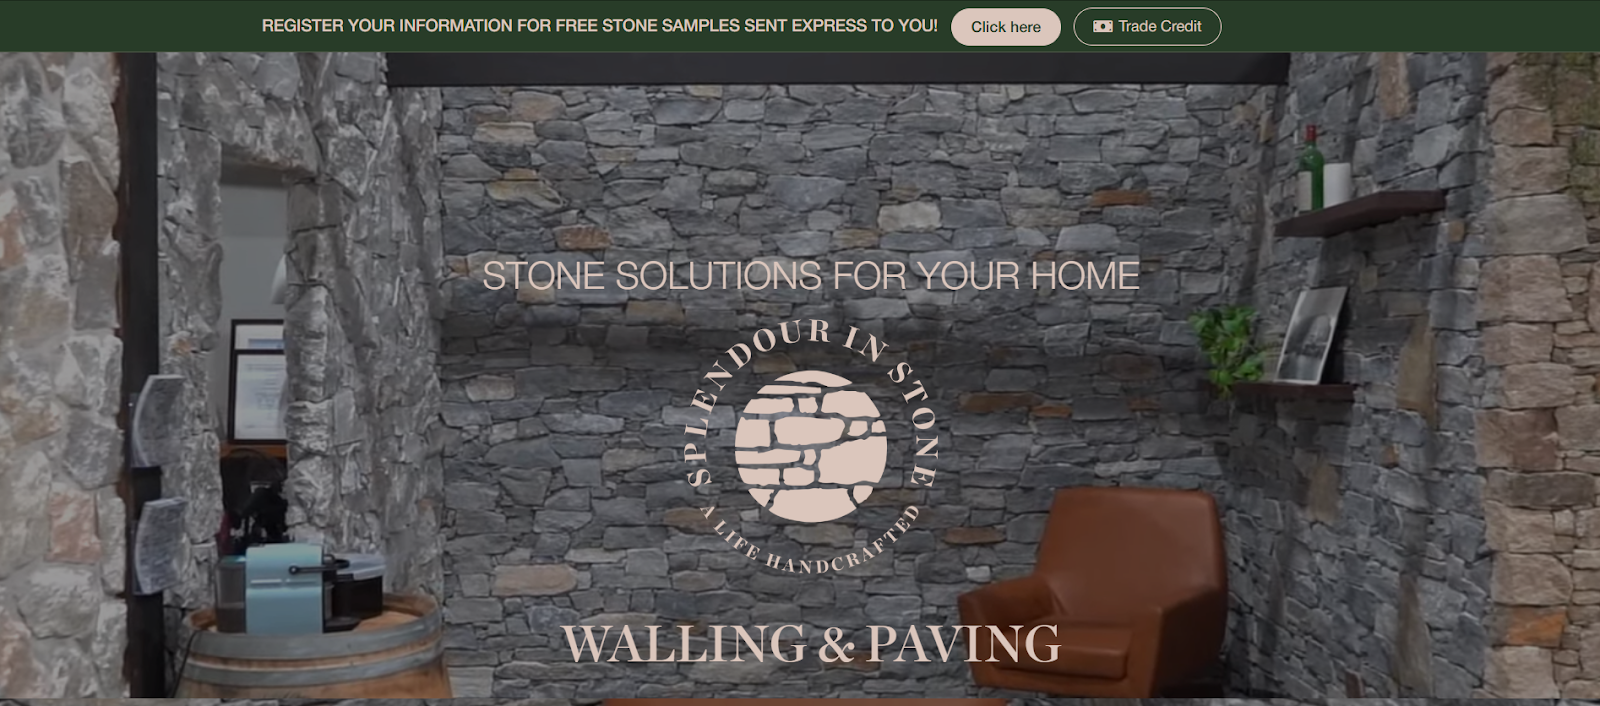
Why Choose Splendour in Stone for Porphyry Pavers in Melbourne
At Splendour in Stone, we take pride in offering premium porphyry pavers that bring together lasting durability and timeless style. Each stone is carefully selected and tested to ensure strength, reliability, and consistent quality across every project.
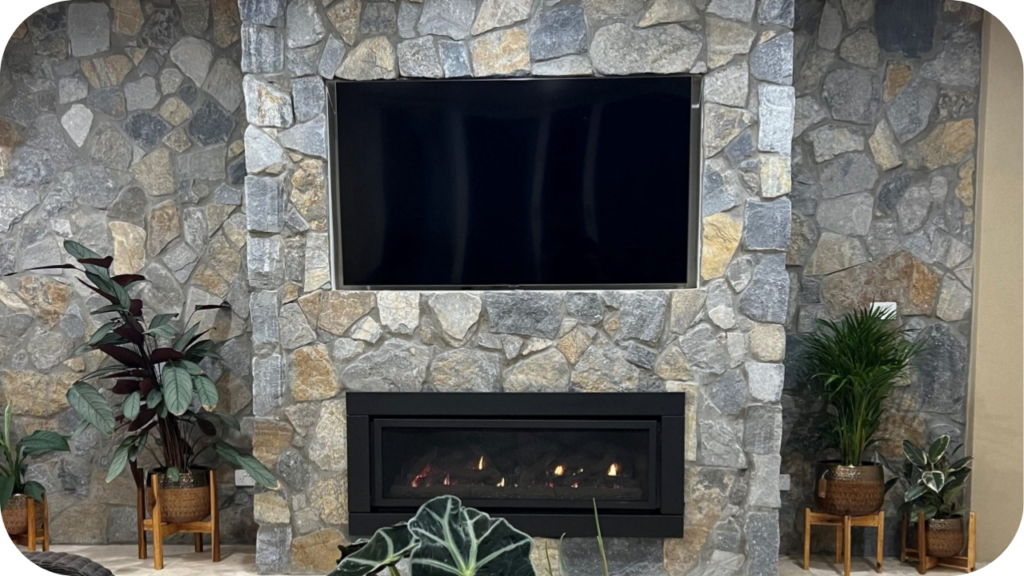
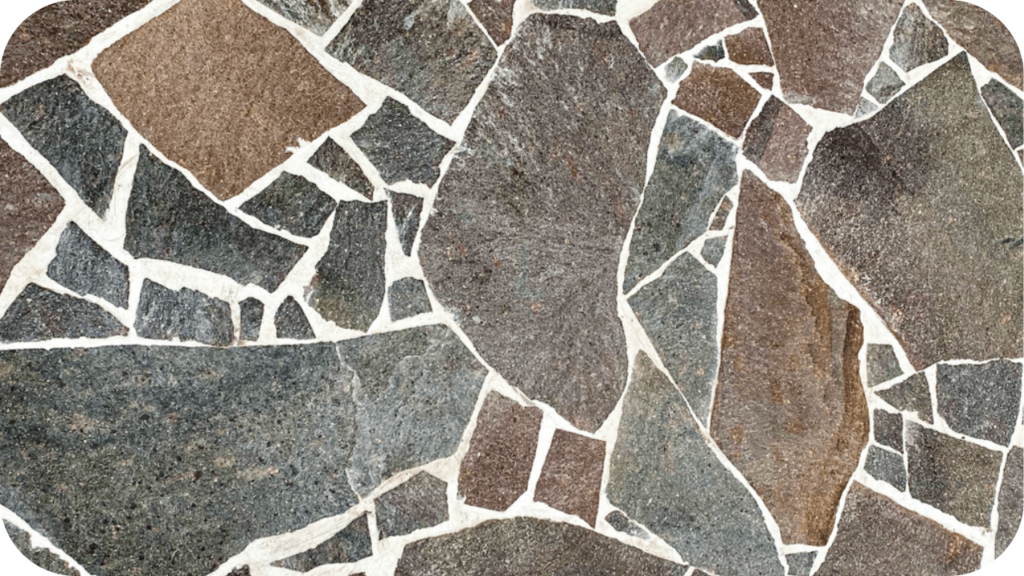
Our collection includes a variety of sizes, colours, and finishes to suit all applications. From driveways and courtyards to pool surrounds, our porphyry range adapts seamlessly to both functional needs and design goals. We stock crazy porphyry, filetti porphyry, and porphyry cobblestones, each offering its own distinct character and versatility for outdoor spaces.
We also provide specialist pieces such as bullnose and drop edges, helping projects achieve smooth transitions and a professional finish while ensuring long-lasting structural integrity.
What sets us apart is our local expertise and personal guidance. Our team advises on preparation, drainage, and installation tailored to Melbourne’s conditions, helping clients avoid costly mistakes while receiving trusted support, ethical sourcing, and premium natural stone.
Start Your Porphyry Paving Project Today
Selecting porphyry pavers means choosing a material that offers durability, character, and practicality. This volcanic stone delivers lasting performance while adding timeless appeal to Melbourne’s outdoor spaces, from family driveways to commercial projects.
With the right installation and simple care, porphyry pavers provide long-term reliability and beauty. They enhance design, increase property value, and ensure outdoor surfaces remain functional, attractive, and strong for decades to come.
At Splendour in Stone, we supply premium porphyry paving solutions supported by local expertise. Contact us today to begin your project and experience stone that delivers quality, service, and lasting style.