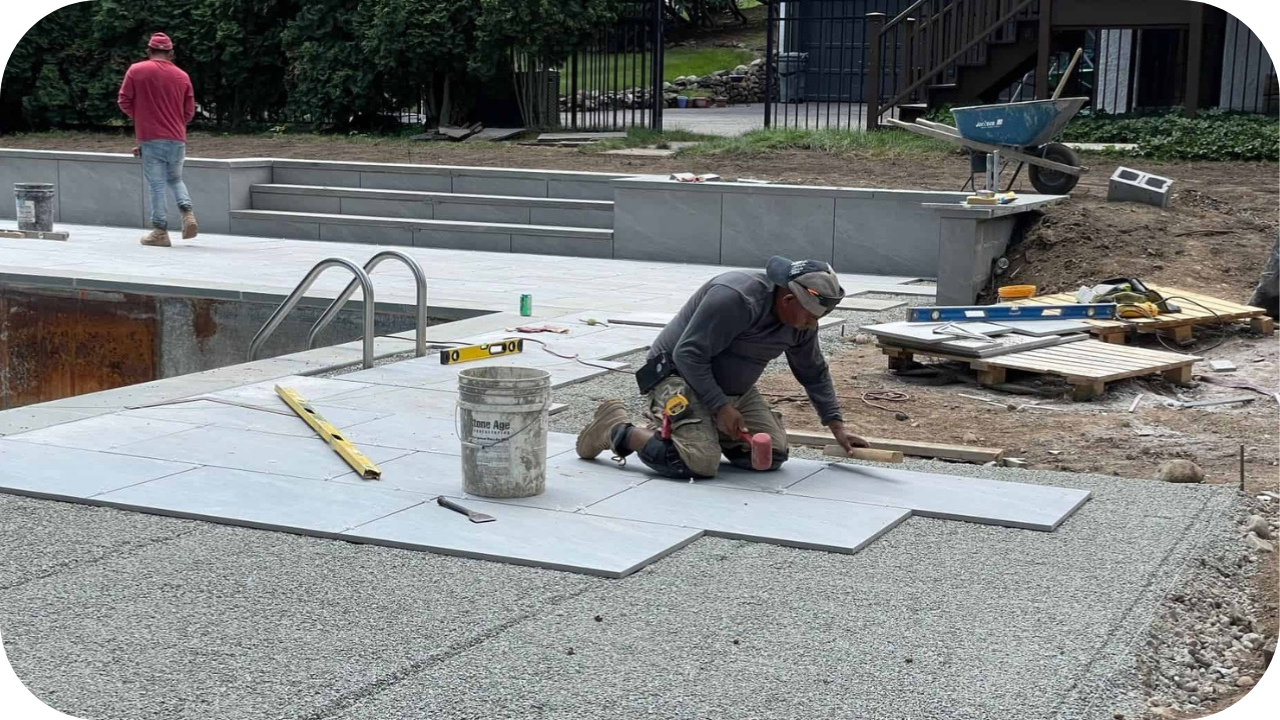
Cost-Effective Stone Pavers for Large-Scale Builds

Large-scale construction projects come with tight budgets, strict timelines, and the constant pressure to deliver without compromising on quality.
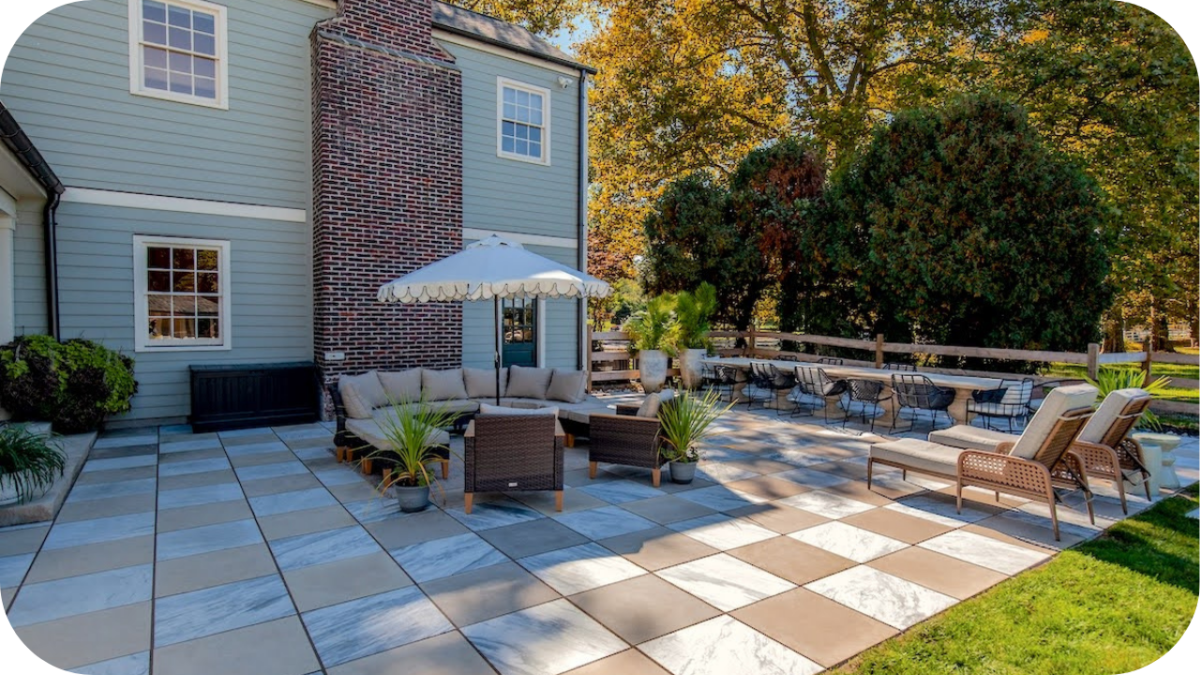
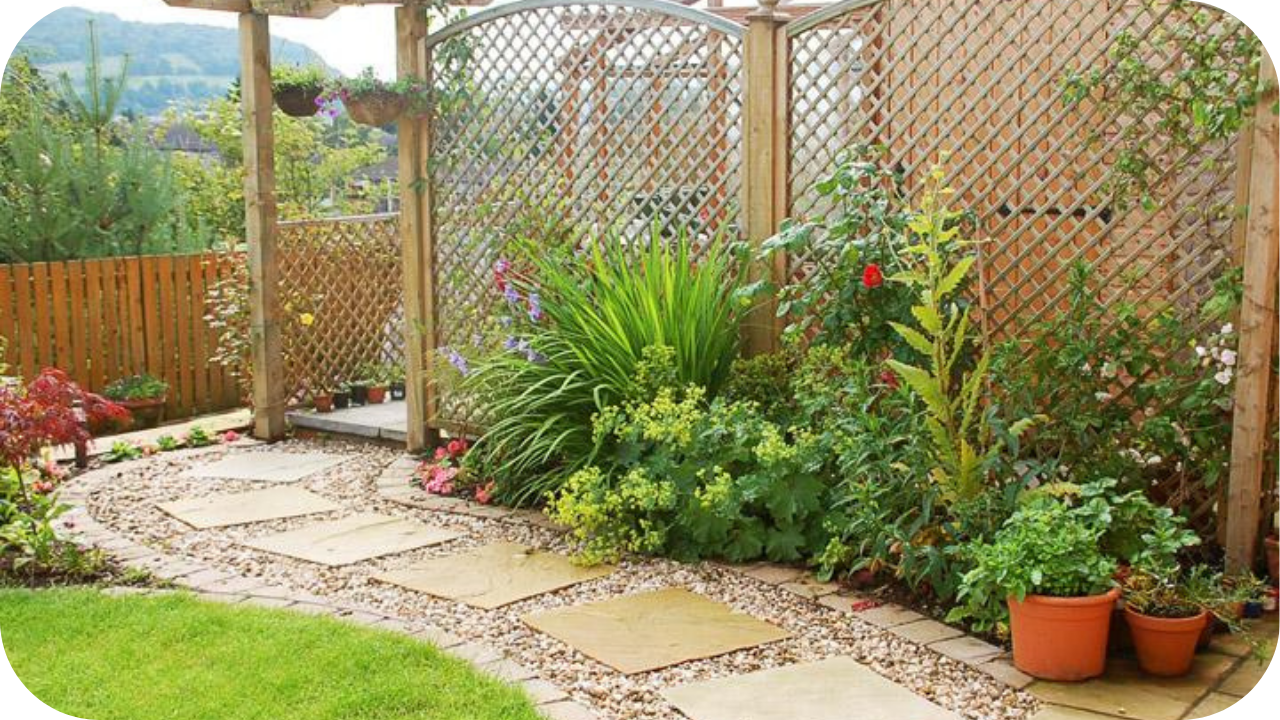
Whether it is a public plaza, school campus, resort pathway, or commercial forecourt, paving these spaces requires smart material choices that balance cost, durability, and aesthetic value. Stone pavers can be both budget-friendly and built to last when selected with purpose.
The right stone not only reduces upfront expenses but also cuts ongoing maintenance and installation time, making it a practical solution for high-volume construction demands.
Why Cost-Effectiveness Matters in Large-Scale Builds
When working on large-scale projects such as council developments, educational facilities, or commercial landscapes, every material choice carries financial and logistical weight.
Paving extensive areas means sourcing high volumes of stone, which increases transport costs and labour demands. Choosing cost-effective pavers helps you stay within budget while still achieving a professional finish.
Certain stone types and modular formats can significantly reduce installation time, freeing up teams for other areas of the build. More importantly, affordability should not mean a compromise in quality.
Long-term durability and minimal maintenance are just as important as the initial price. Opting for practical, robust stone pavers ensures the project delivers lasting value without exceeding financial expectations.
Key Qualities of Cost-Effective Stone Pavers
Smart paving starts with smart selection. These key traits make certain stones more economical without sacrificing performance, beauty, or ease of installation on large-scale sites.
- Locally or readily available: Stones sourced within the region help avoid long lead times and expensive freight, making them ideal for time-sensitive projects where material availability and delivery speed are critical.
- Durable: High-strength stones with weather resistance reduce the need for frequent repairs or touch-ups, resulting in reliable surfaces that stay intact for years with minimal ongoing maintenance costs.
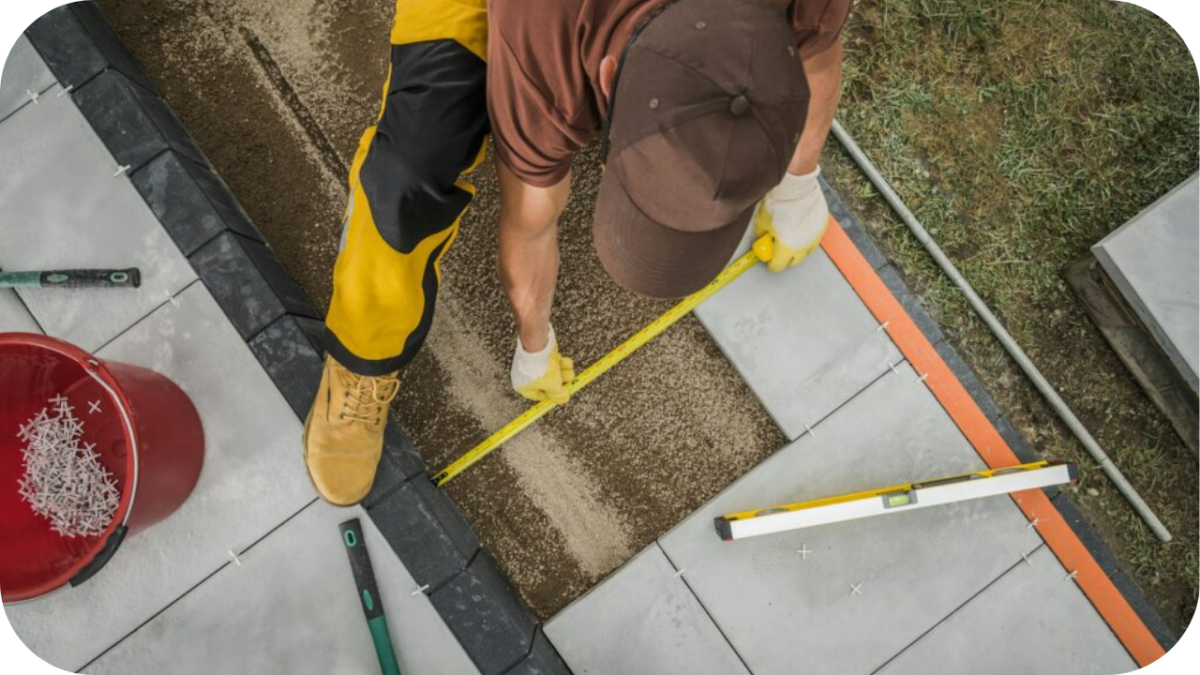
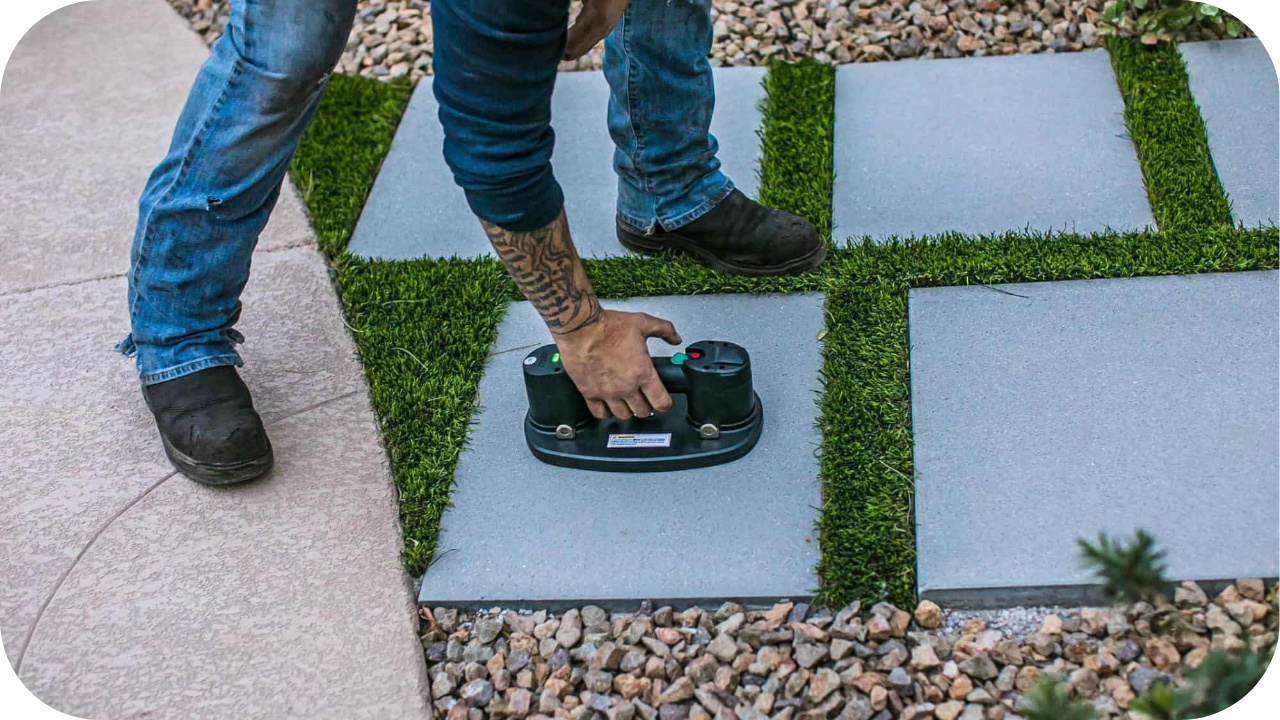
- Modular sizes: Uniform, pre-cut pavers speed up installation and reduce cutting waste. They’re ideal for covering large areas efficiently and help contractors stick to deadlines without extra labour.
- Simple surface finishes: Finishes like sawn or natural split need less processing and treatment, which lowers material costs. These surfaces also blend well with commercial and civic project aesthetics.
- Ease of handling and transport: Pavers that are lighter or consistently shaped allow for safer, faster handling onsite and help reduce breakage during transit, leading to lower wastage overall.
Top Cost-Effective Stone Options for Large Builds
To keep large-scale projects on budget, selecting the right paving stone is key. Here are the best value-driven options to streamline your build without sacrificing quality.
1. Granite Pavers
Granite is known for its strength and long-term performance, making it a reliable choice for cost-conscious projects. Options like Charcoal and Grey Granite feature flamed finishes that are low-maintenance and ideal for high-traffic areas.
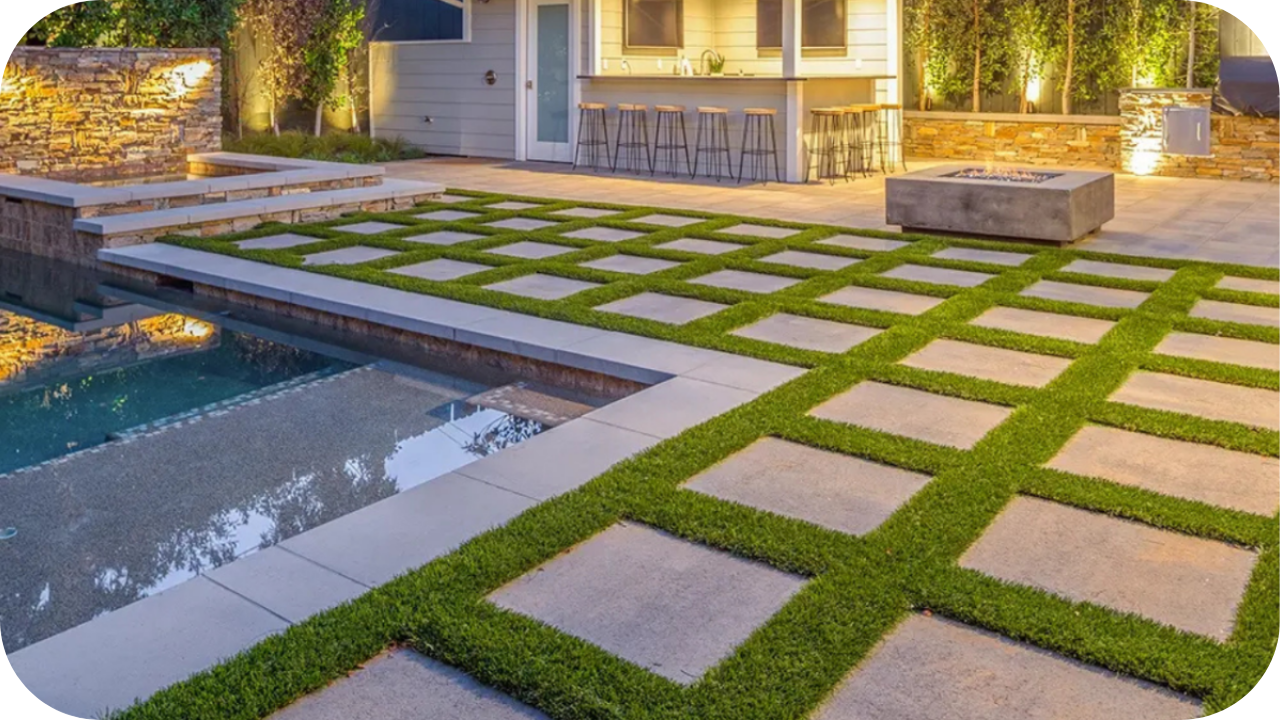
2. Limestone Pavers
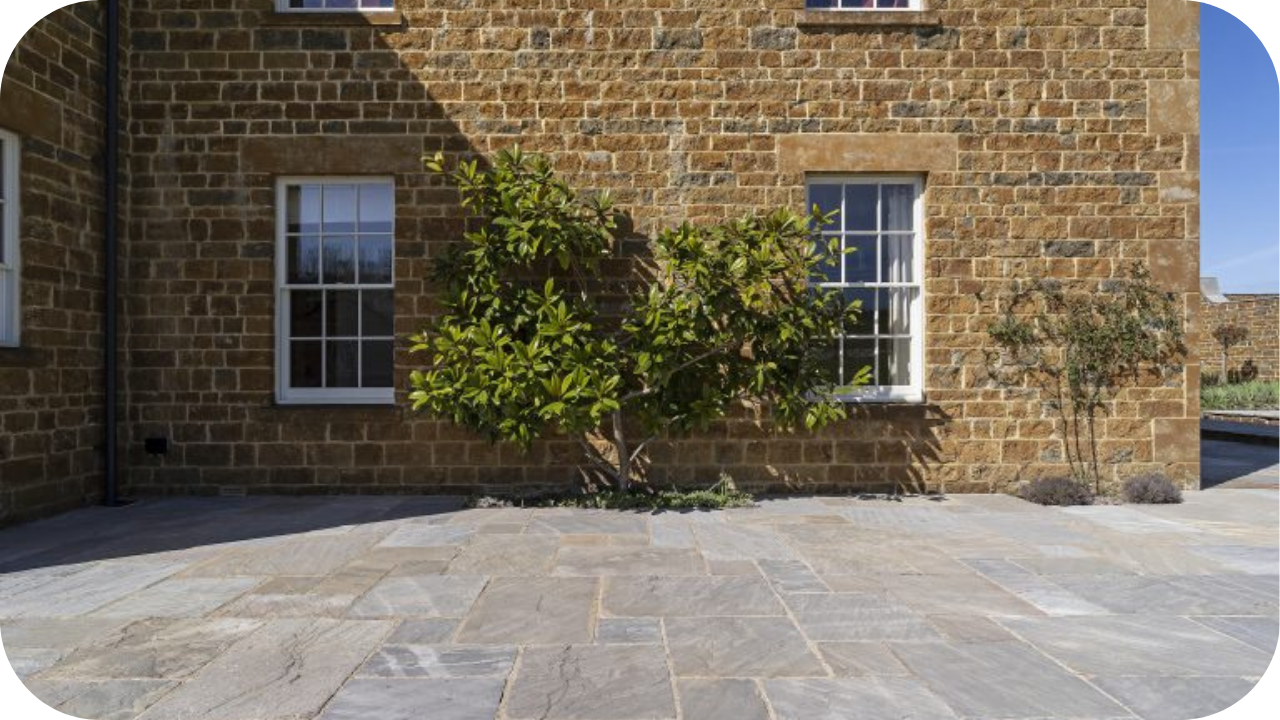
Limestone offers timeless beauty and durability at an accessible price point. Varieties such as Stamford, Selene, and Brooklyn Limestone come in smooth or lightly textured finishes, perfect for both modern and classic commercial designs.
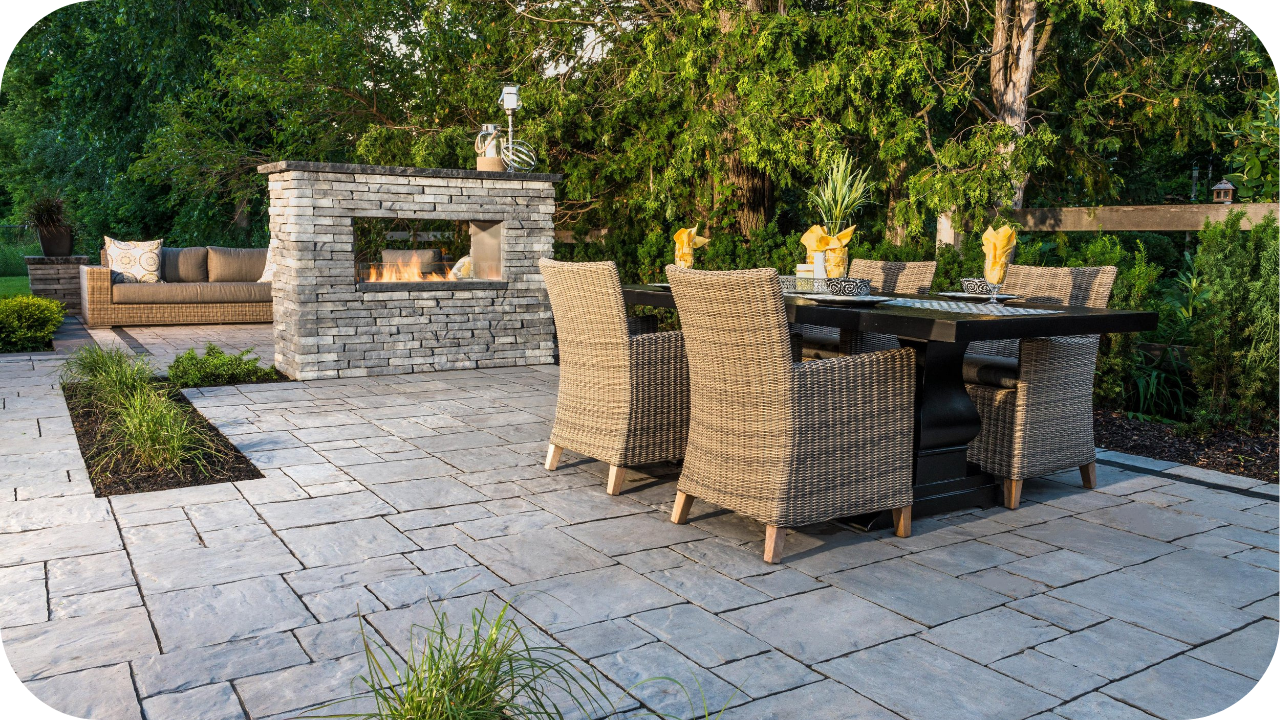
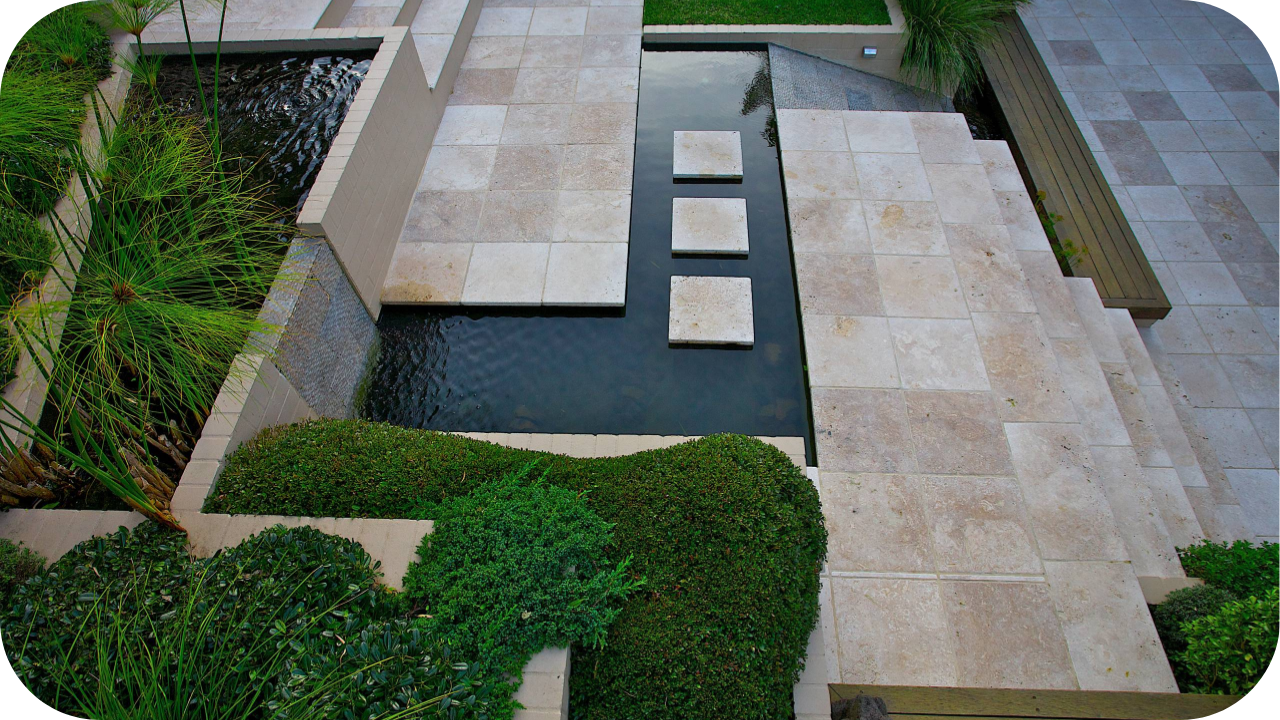
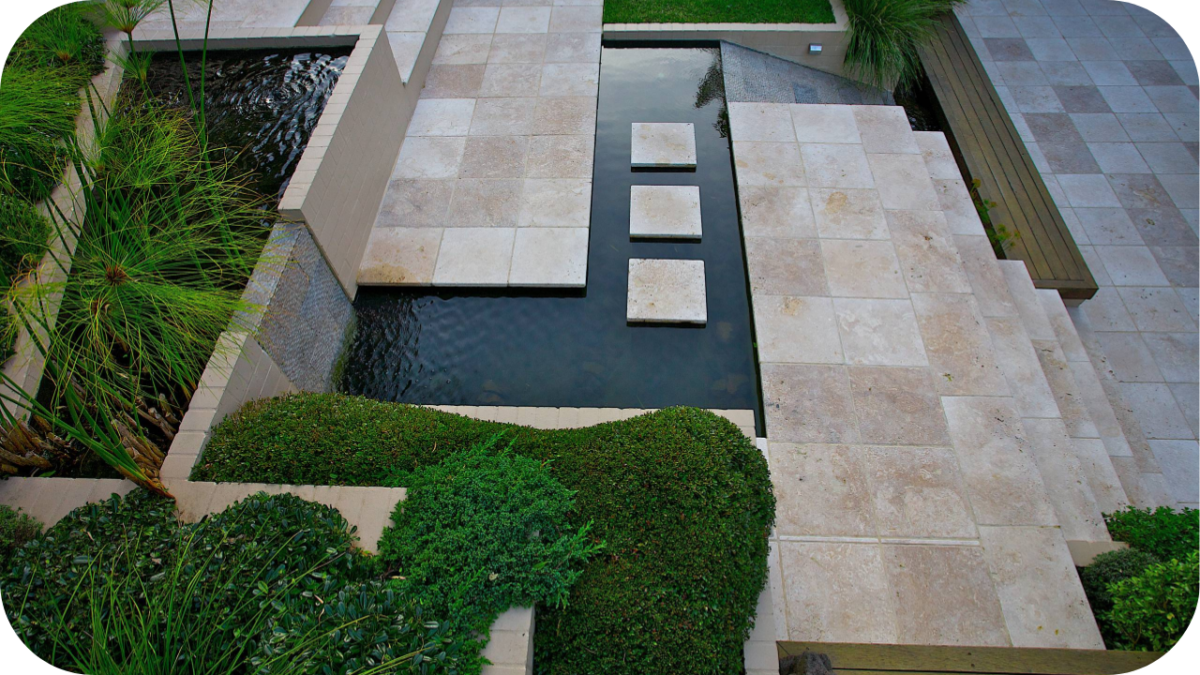
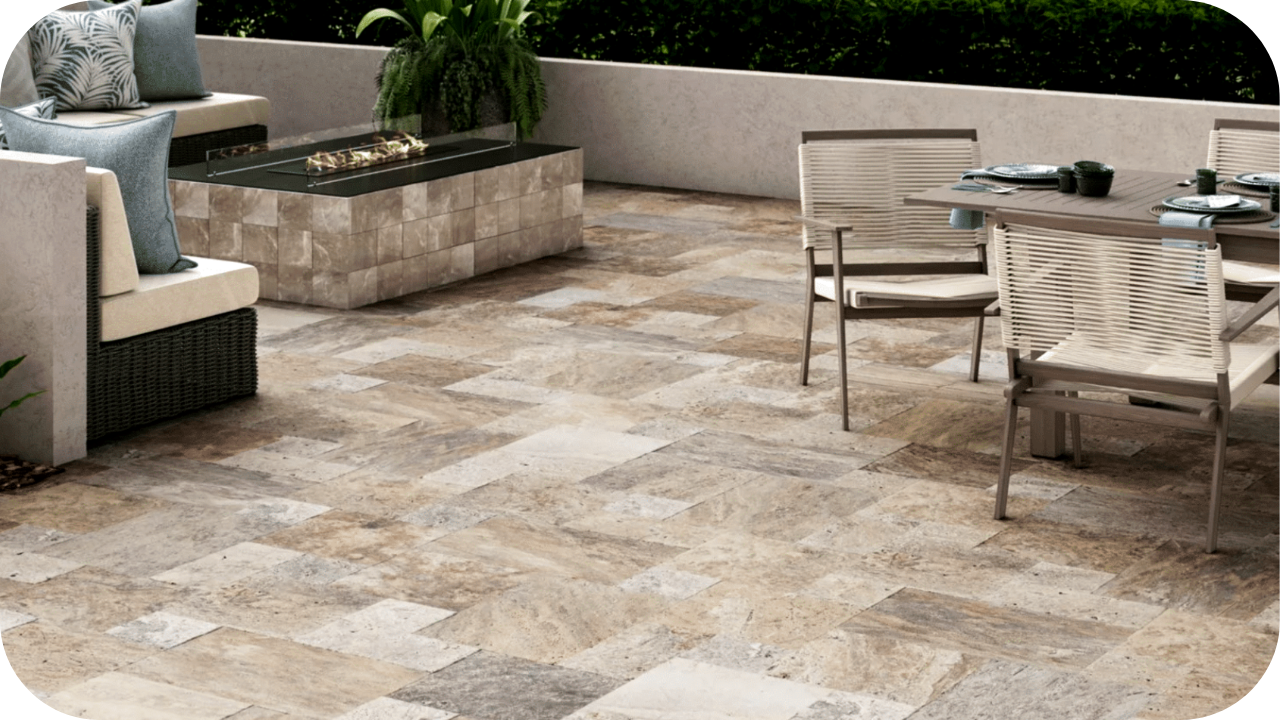
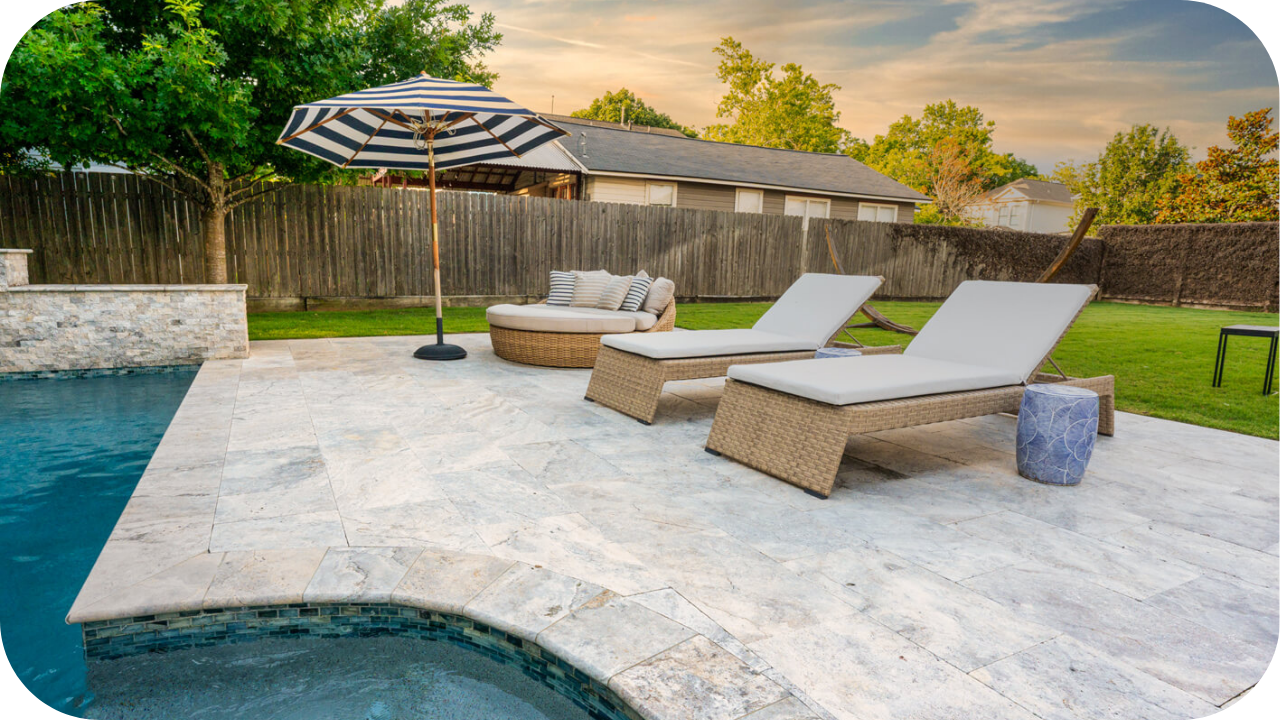
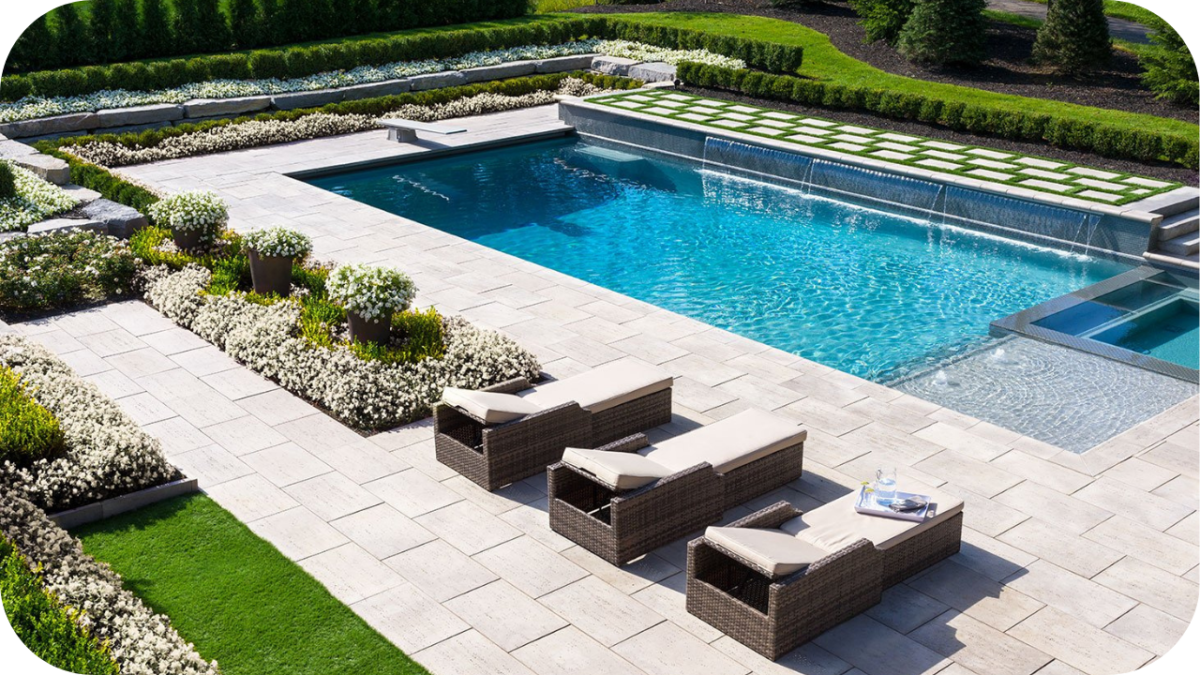
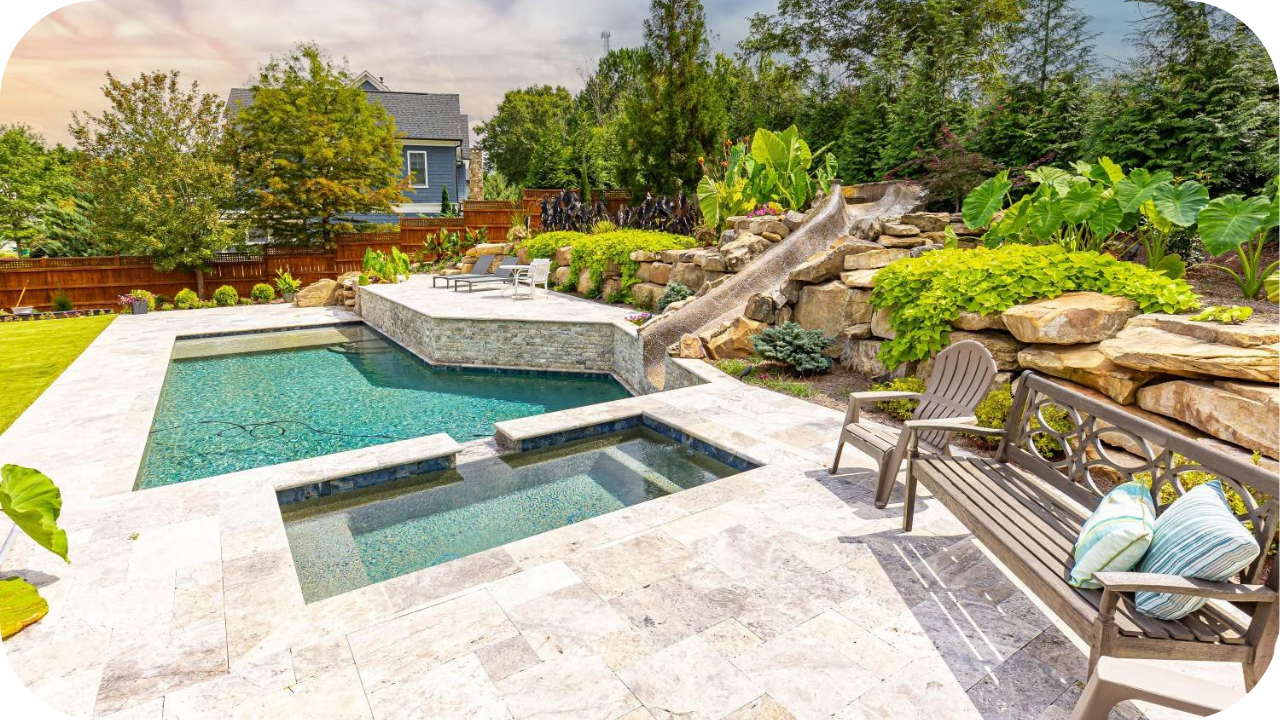
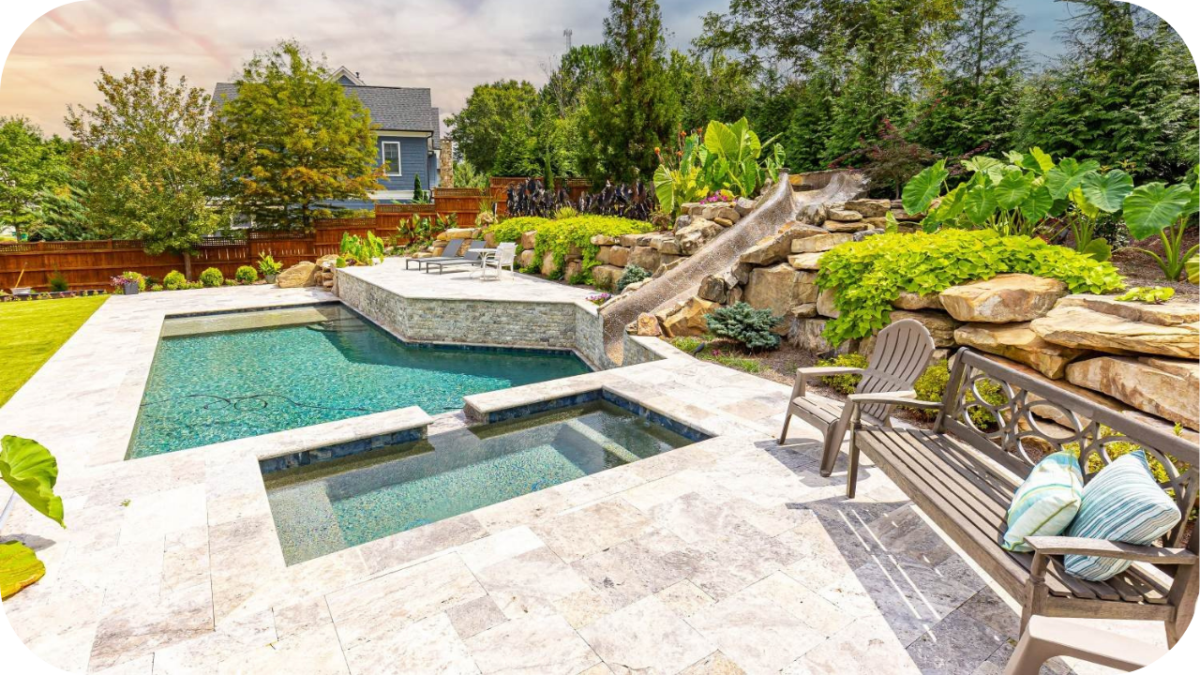
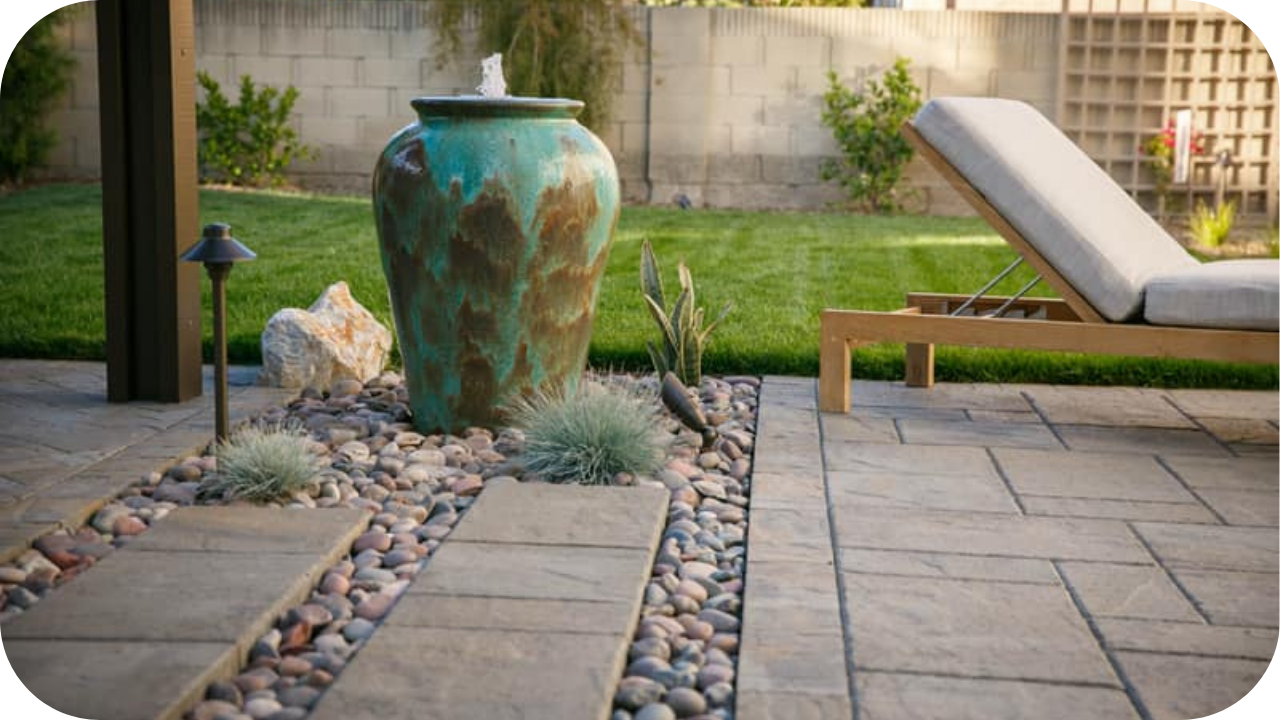
3. Travertine Pavers
Travertine delivers a premium look with surprising affordability. Finishes like those found in Ivory, Classic, and Silver Travertine require minimal treatment and are well-suited to large patios, courtyards, and open public areas.
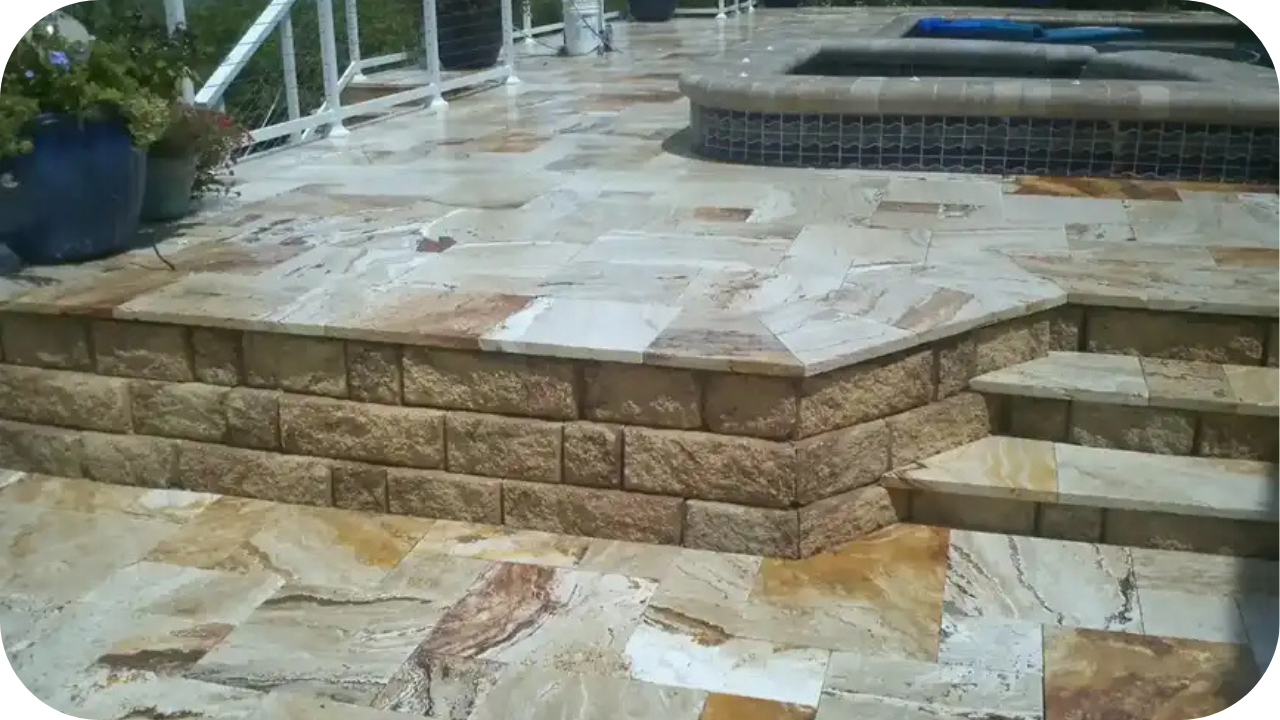
4. Quartzite Pavers
Quartzite is both tough and elegant, offering excellent value over time. Andorra Quartzite, with its natural split finish, is an ideal recommendation for those wanting a sophisticated appearance without exceeding budget limits.
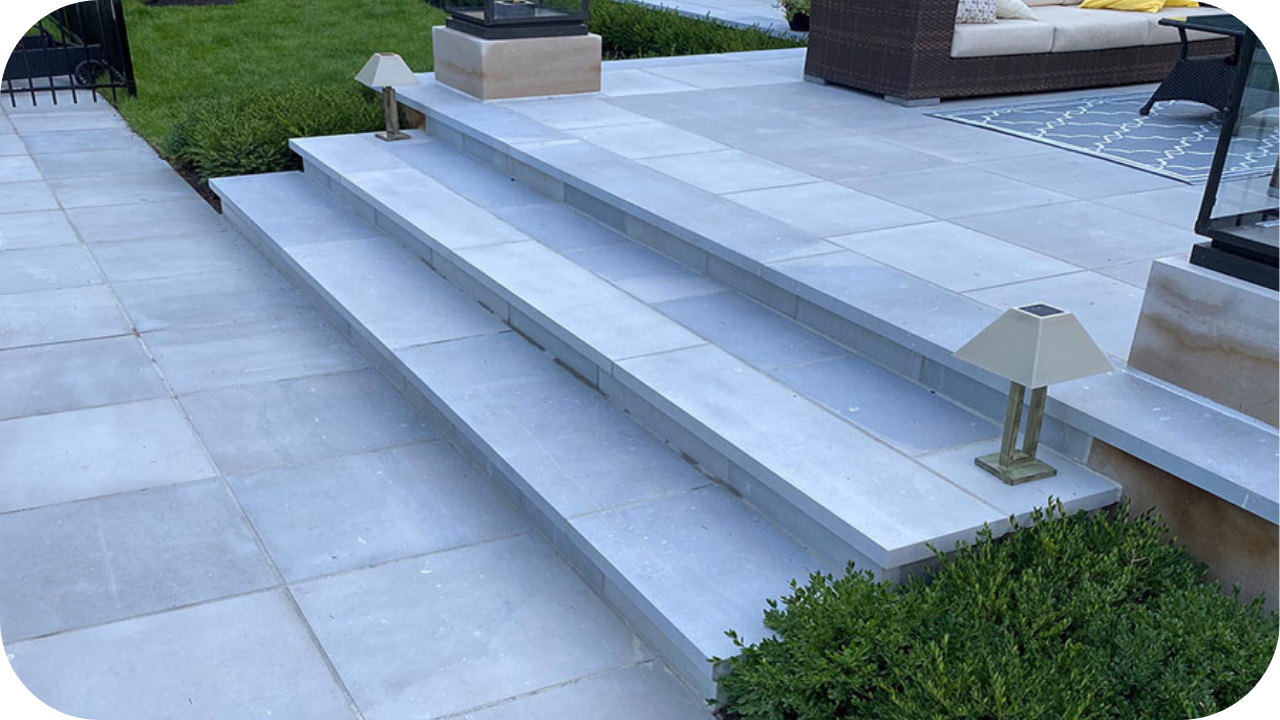
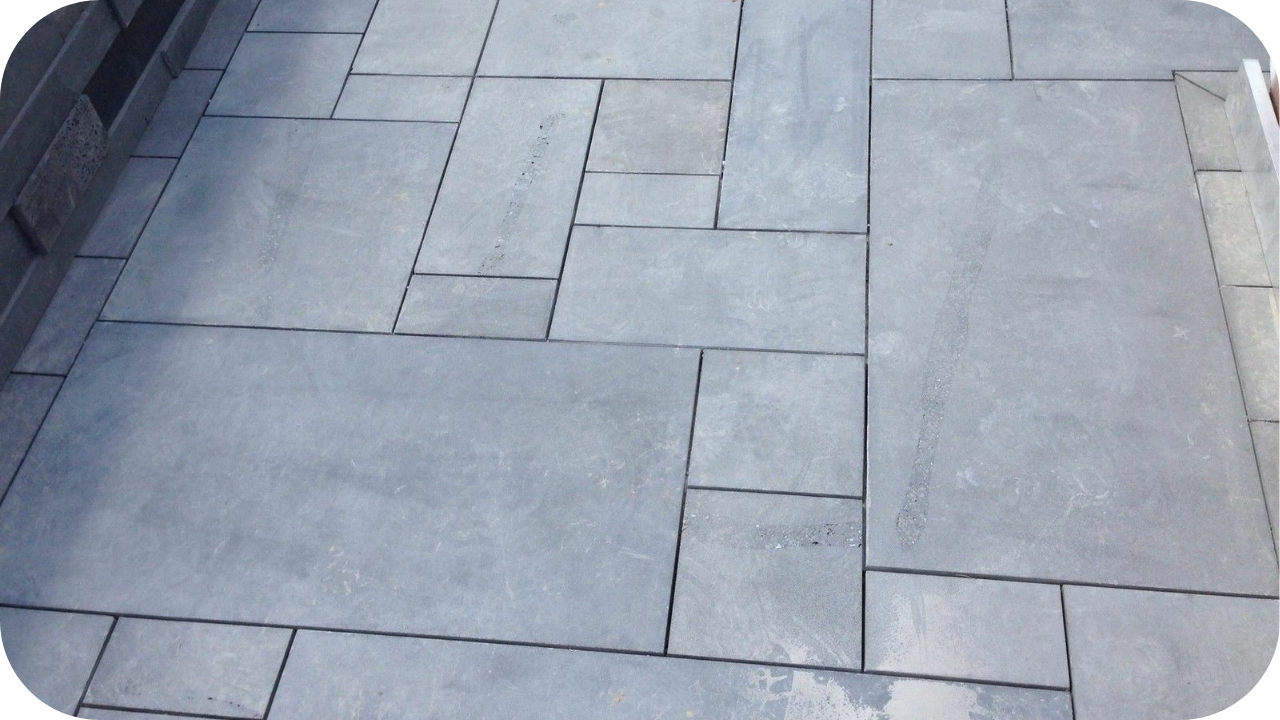
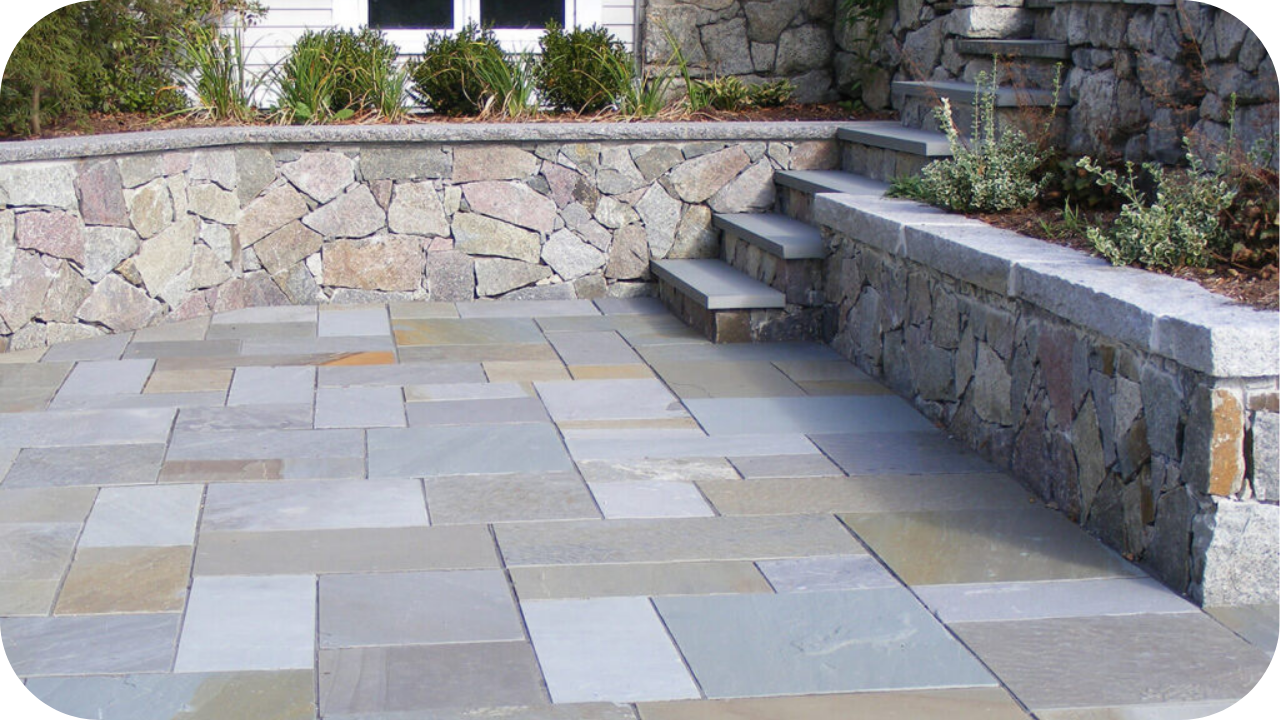
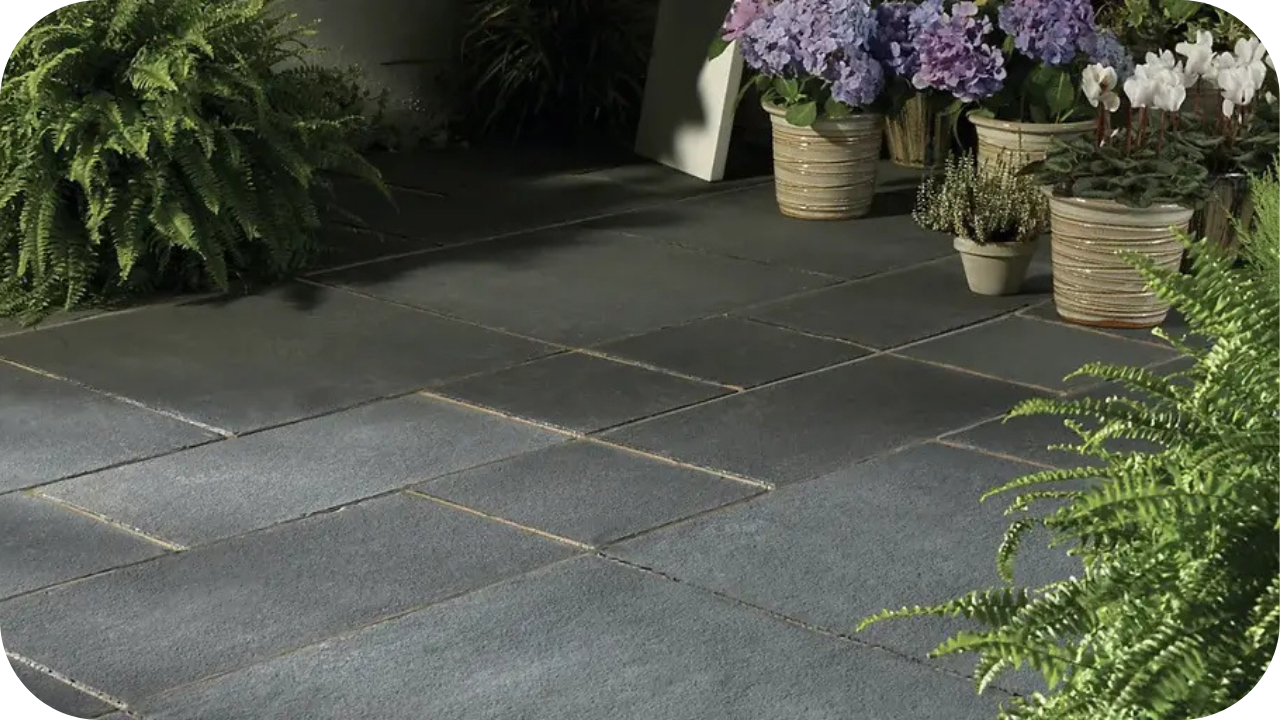
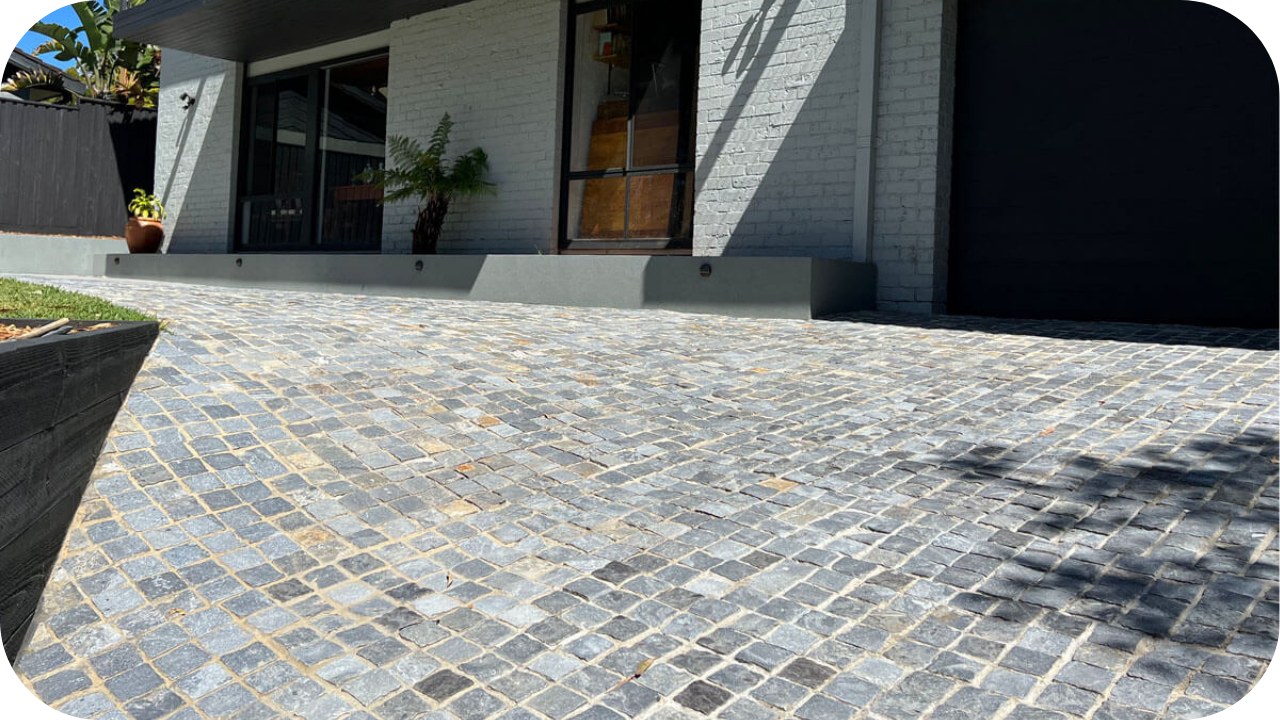
5. Bluestone Pavers
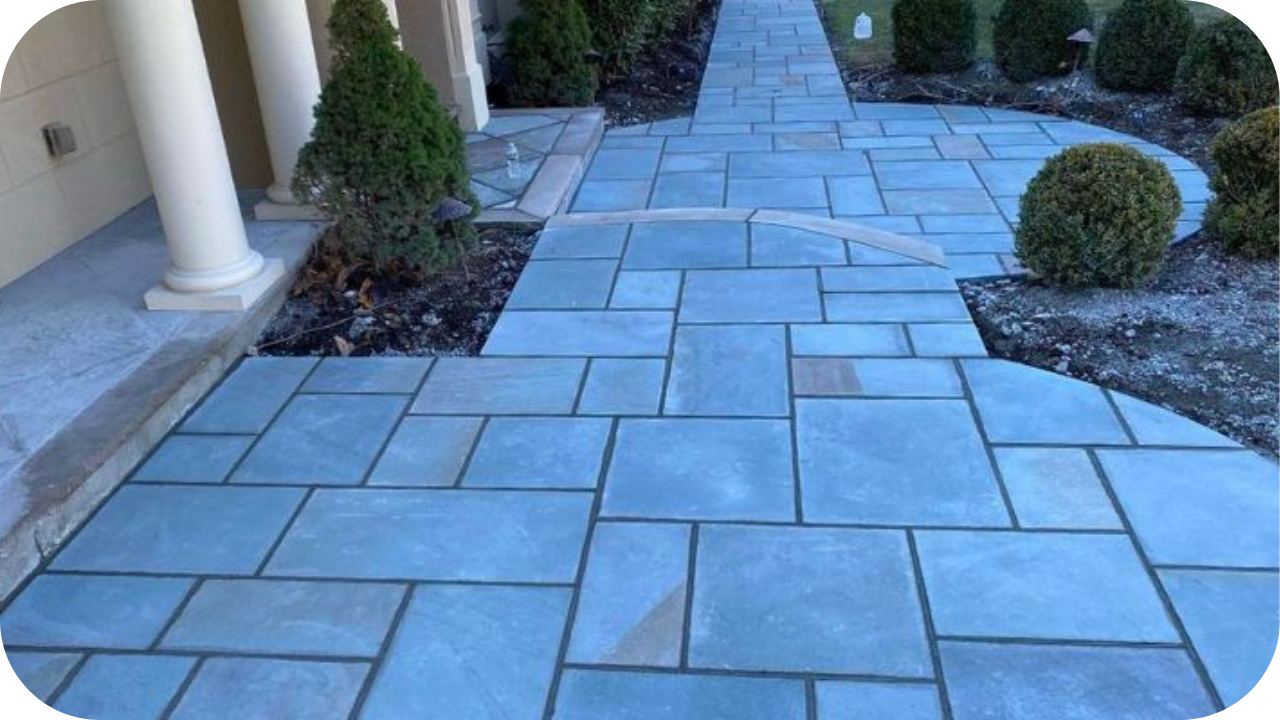
Bluestone combines strength and visual consistency, making it a practical solution for extensive projects. Sawn, Flamed, and Cobbled Bluestone options provide flexible, slip-resistant surfaces for civic landscapes and commercial walkways.
6. Porphyry Pavers
Porphyry stands out for its resilience and textural richness. Affordable finishes like Crazy, Filetti, and Cobbled Porphyry suit high-traffic zones and create an aged, character-filled aesthetic with minimal processing.
Smart Planning Strategies to Reduce Paving Costs

To maximise both time and budget, careful planning is essential. Here are practical strategies that help reduce waste, cut labour hours, and increase value across large-scale stone paving projects.
1. Order in Bulk for Better Pricing
Buying large quantities at once helps secure volume discounts and ensures colour consistency across batches. This reduces per-square-metre costs and avoids delays due to limited stock availability mid-project.
2. Choose Locally Available Stone
Selecting stone that is quarried or stocked nearby reduces freight costs and lead times. This approach supports faster delivery and lowers environmental impact across expansive commercial builds.
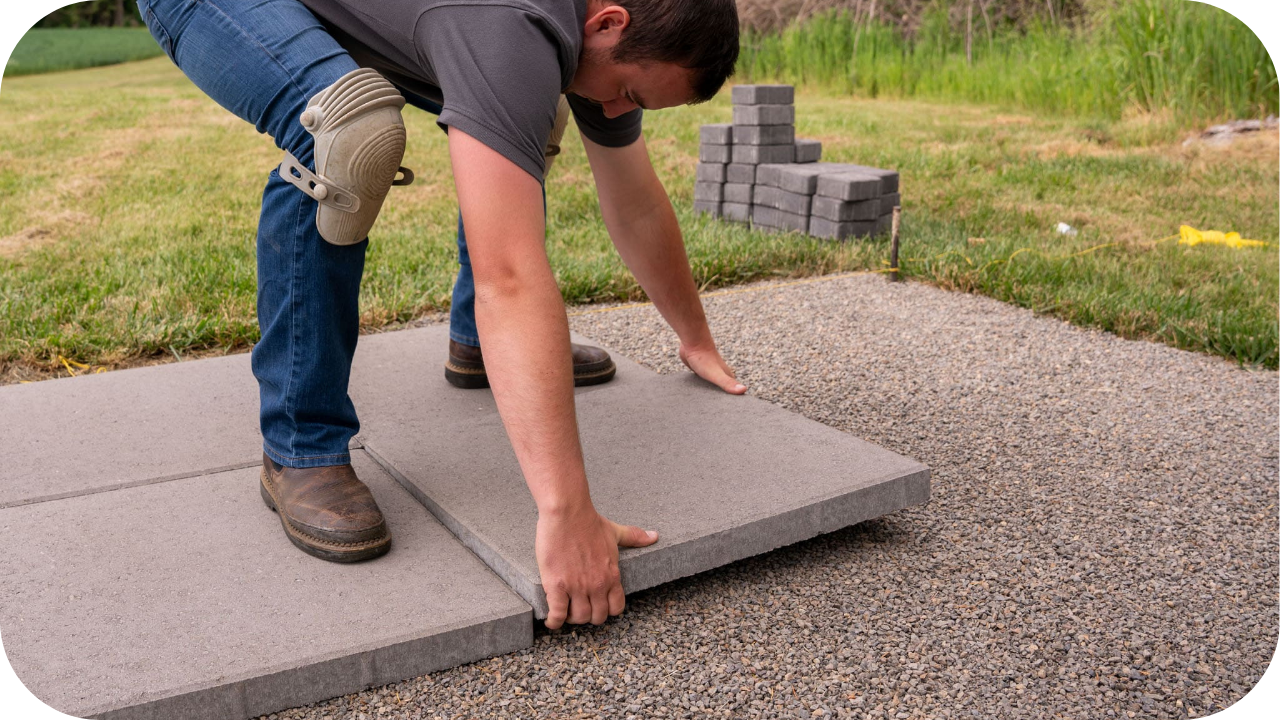
3. Match Pavers to Installation Method
Use formats suited to sand-set or machine-laid installs. These systems speed up placement, reduce manual handling, and are ideal for projects with tight labour schedules and large surface areas.
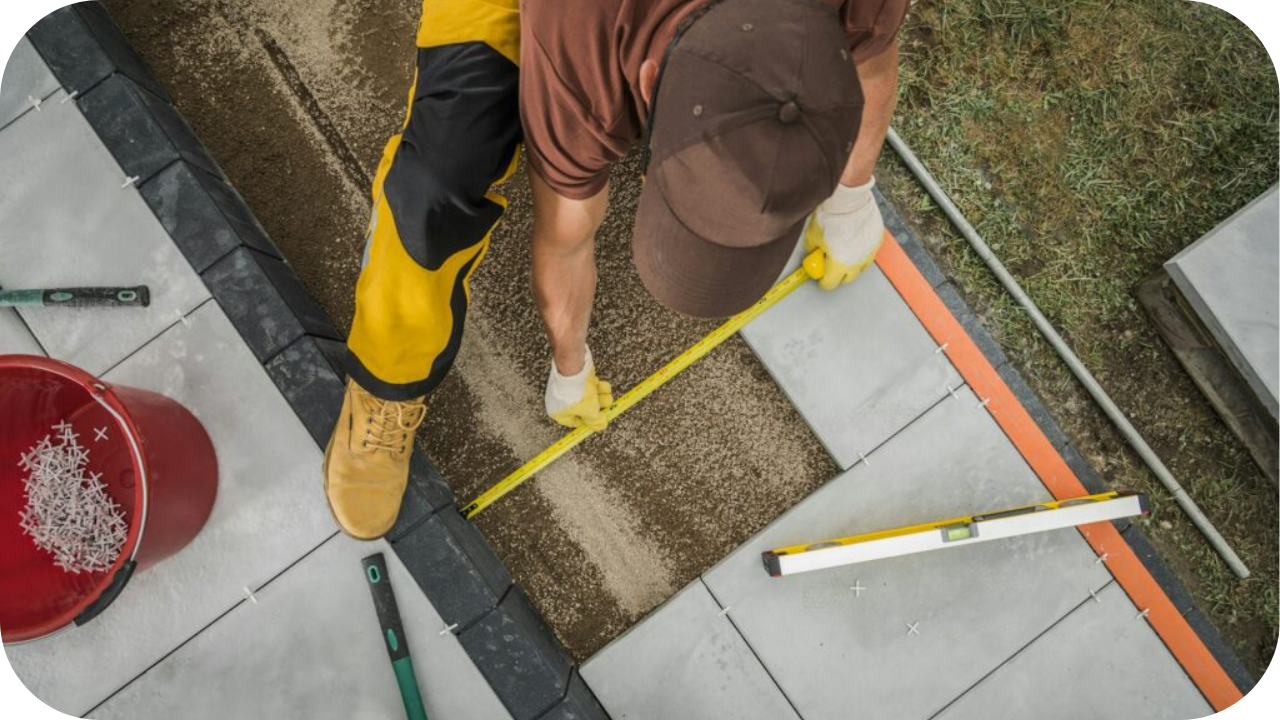
4. Use Standard Sizes to Limit Waste
Work with pavers in modular, consistent dimensions to minimise cutting on site. This reduces offcuts, shortens installation time, and makes material estimation more accurate and efficient.
5. Take Advantage of Surplus or End-of-Line Stock
Purchase clearance or excess batches for secondary zones or service areas. These options offer substantial cost savings where visual uniformity is less critical, without compromising stone quality.
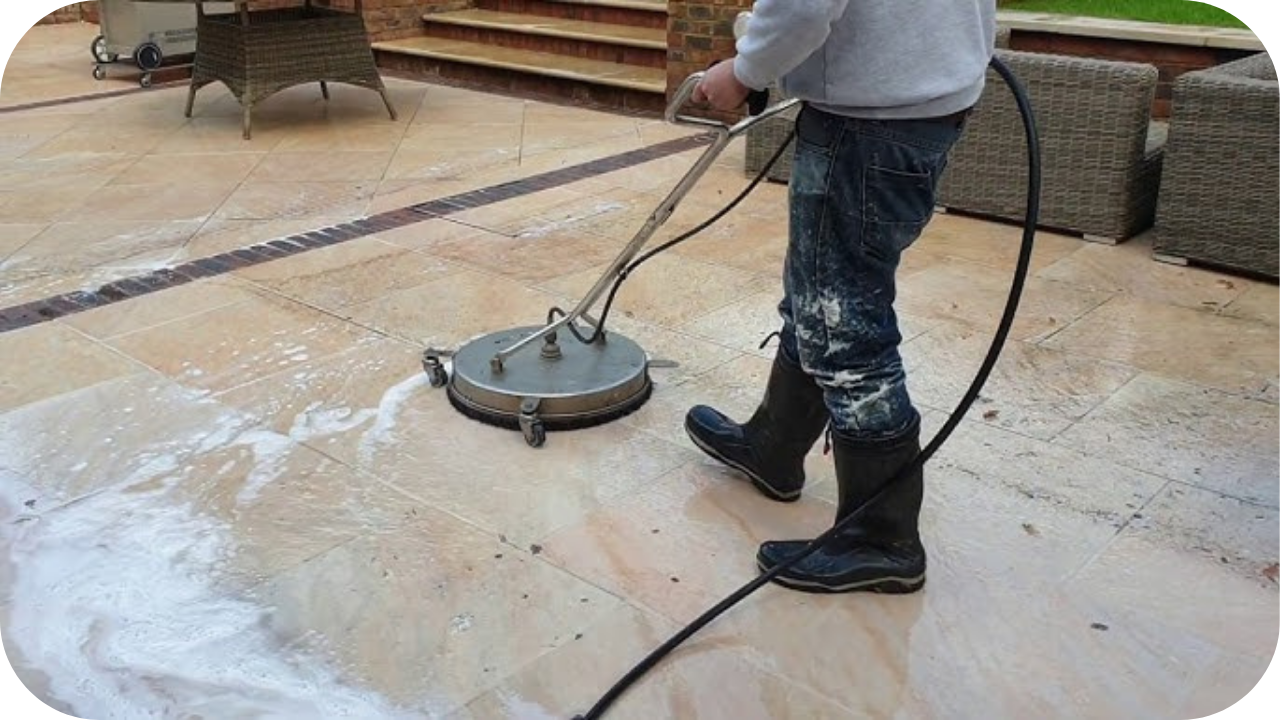
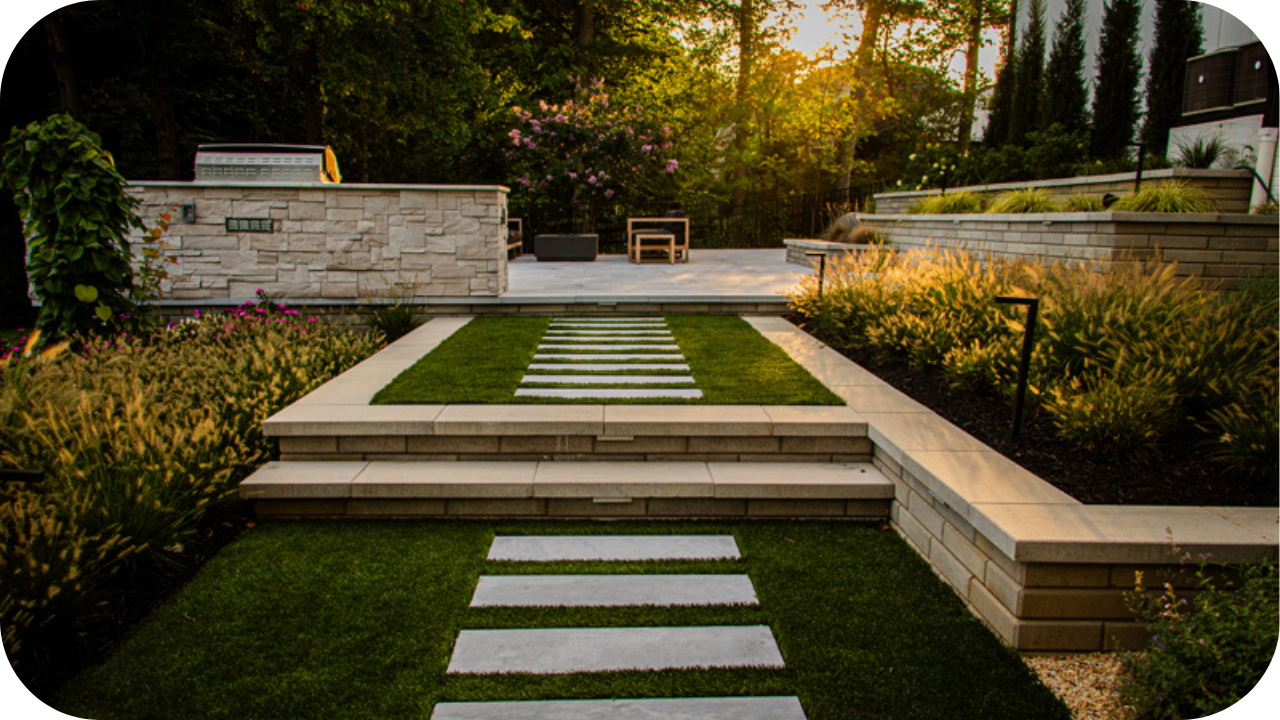
Installation & Maintenance Considerations
To keep long-term costs down, it’s important to choose stone and techniques that reduce labour, upkeep, and the need for future repairs. Here’s what to factor into your project.
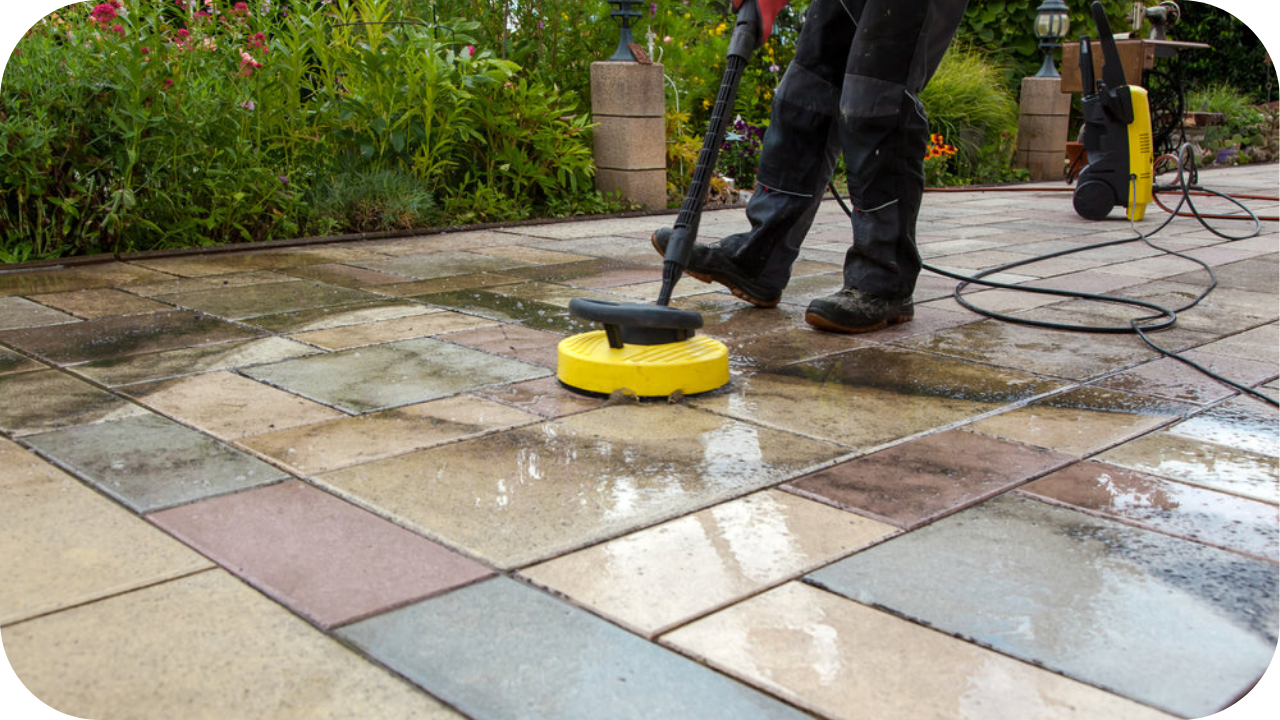
- Select low-maintenance finishes: Opt for sawn or natural split surfaces that require little to no sealing. These finishes resist wear and staining, making them ideal for high-use areas with limited maintenance budgets.
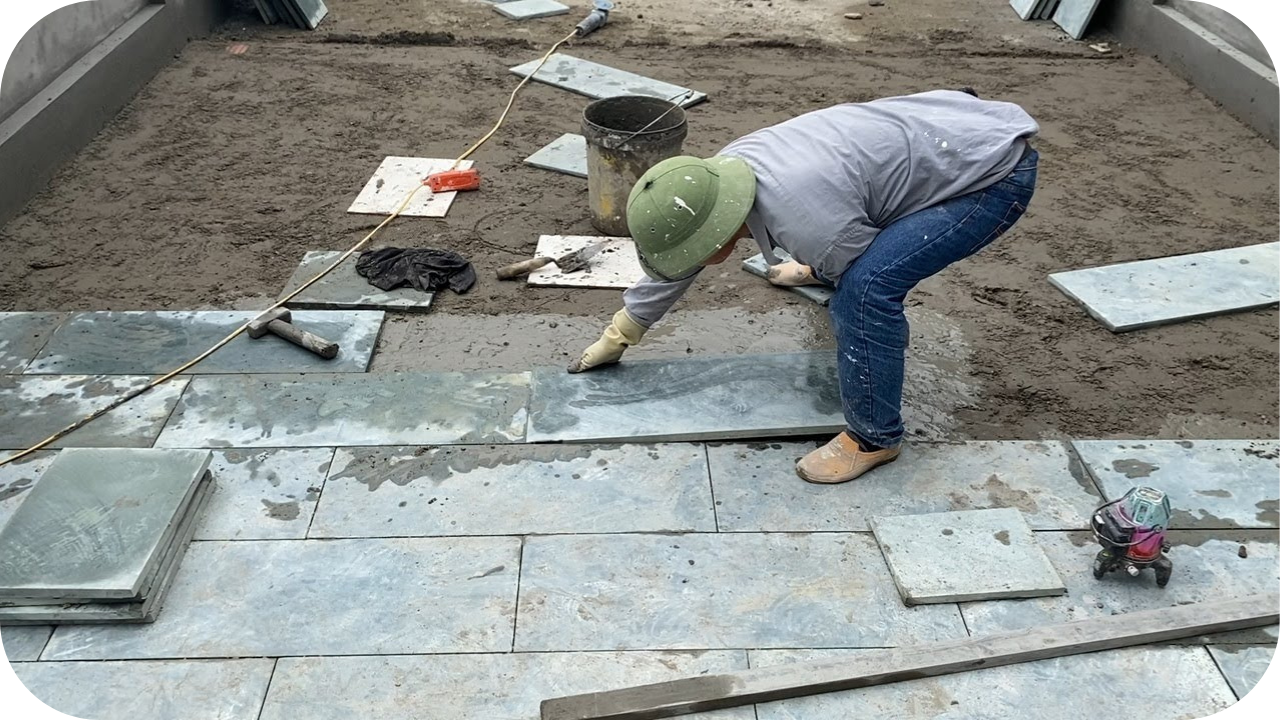
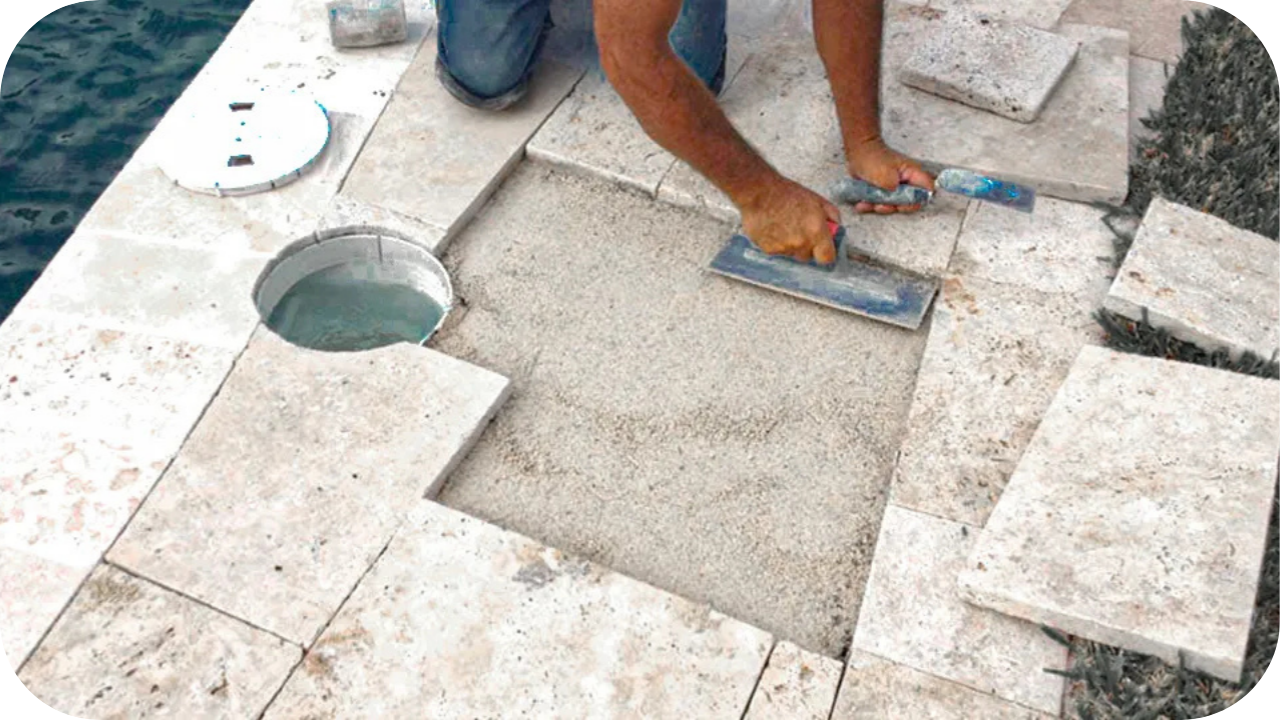
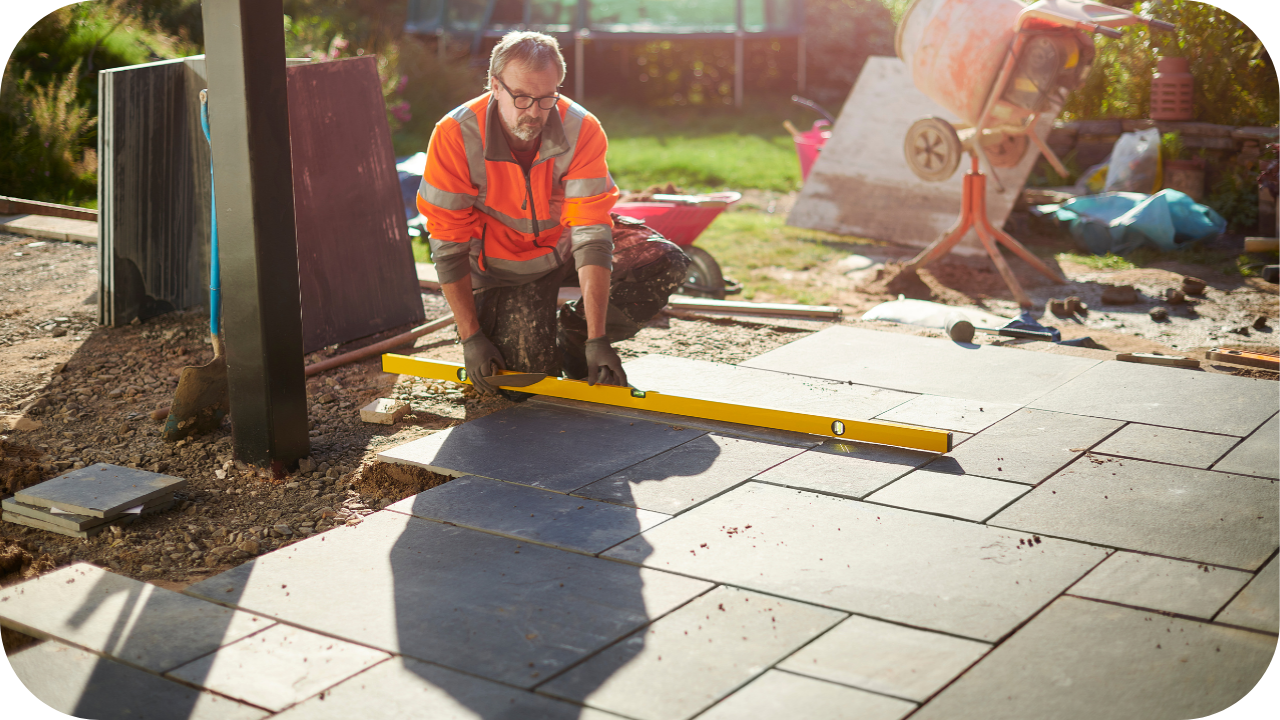
- Use sand-set installation where suitable: Laying pavers over a compacted sand base shortens installation time and simplifies future repairs. This method is cost-effective and well-suited to patios, walkways, and shared spaces.
- Prepare the sub-base properly: A strong foundation ensures stability and prevents shifting, cracking, or drainage issues. Taking time to prepare the base correctly avoids structural problems and expensive corrections later on.
- Seal only where necessary: Apply sealants only in high-traffic or stain-prone zones. Limiting their use lowers material costs and maintenance needs while still protecting surfaces that are most exposed.
- Plan for drainage early: Design the site with proper slope and water runoff in mind. Effective drainage protects the pavers from erosion, freeze-thaw cycles, and premature wear in all climates.
- Choose weather-resistant materials: Select stone types and finishes that hold up under harsh conditions, including UV exposure and heavy rainfall. This reduces surface breakdown and keeps long-term maintenance predictable and manageable.
Why Partner with Splendour in Stone for Large Projects
For large-scale builds, choosing the right stone supplier is critical to staying on time, on budget, and within specification.
Splendour in Stone provides a broad range of commercial-grade pavers that deliver both strength and visual consistency, helping you achieve lasting results across expansive areas. Our large stock volumes allow for prompt dispatch, and our competitive volume pricing supports financial planning without reducing quality.
From material selection to site delivery, our experienced team works closely with you to understand project requirements and ensure smooth coordination. Whether the goal is to pave a public forecourt, a schoolyard, or an outdoor hospitality venue, we offer tailored advice on stone type, finish, and format to suit each setting.
With reliable logistics, compliance-ready documentation, and ongoing technical support, we make the procurement process straightforward. Partnering with Splendour in Stone gives you access to practical expertise, dependable materials, and solutions built for commercial performance.
Final Thoughts
Large-scale projects require more than durable paving. They need well-planned, cost-effective solutions that perform consistently in demanding environments.
By choosing the right stone and working with an experienced supplier, you can stay on schedule and within budget.
Contact Splendour in Stone to view our commercial paving range, request a customised quote, or speak with our team about your upcoming project requirements.