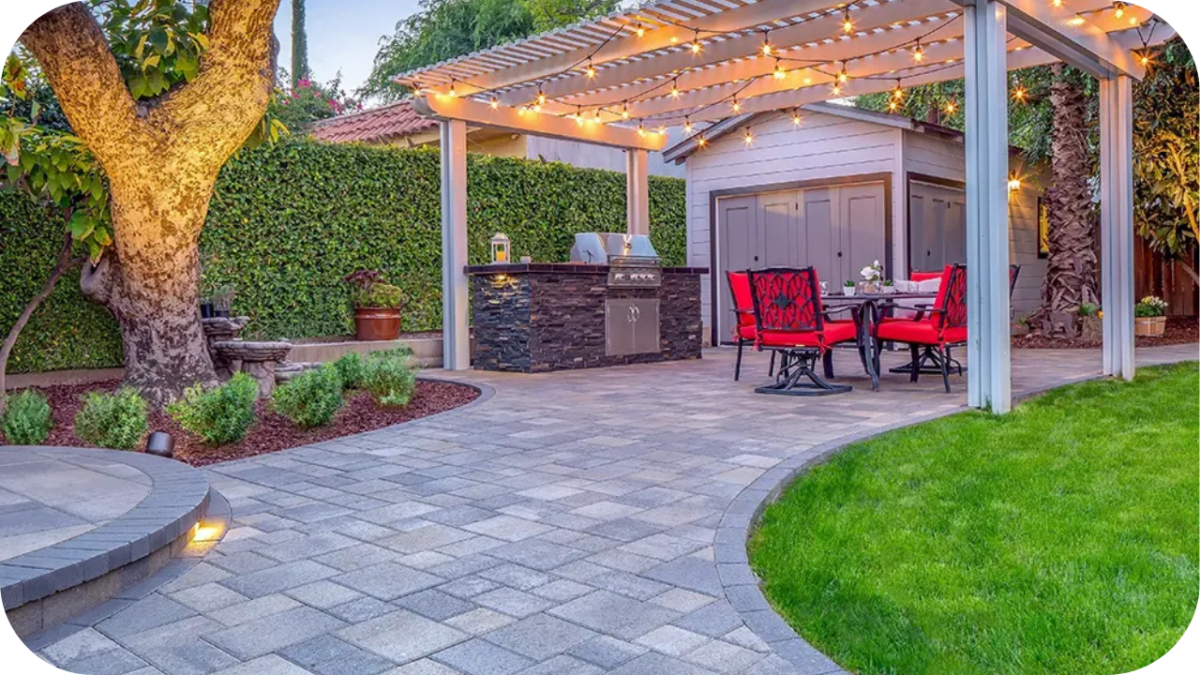
Landscape Advantages of Permeable Pavers in Rainy Climates
Persistent rainfall can turn beautiful outdoor spaces into soggy, uninviting areas prone to flooding, erosion, and damage.
For many homeowners, water runoff and soil erosion present ongoing challenges that ruin garden beds, compact soil, and leave driveways dangerously slippery. As climate patterns shift and rainfall becomes less predictable, the need for smarter drainage solutions has never been greater.
That’s where permeable pavers come in. Designed to handle water efficiently, these innovative surfaces offer a sustainable, attractive, and highly practical solution for managing wet conditions in residential landscapes.
What Are Permeable Pavers and How Do They Work
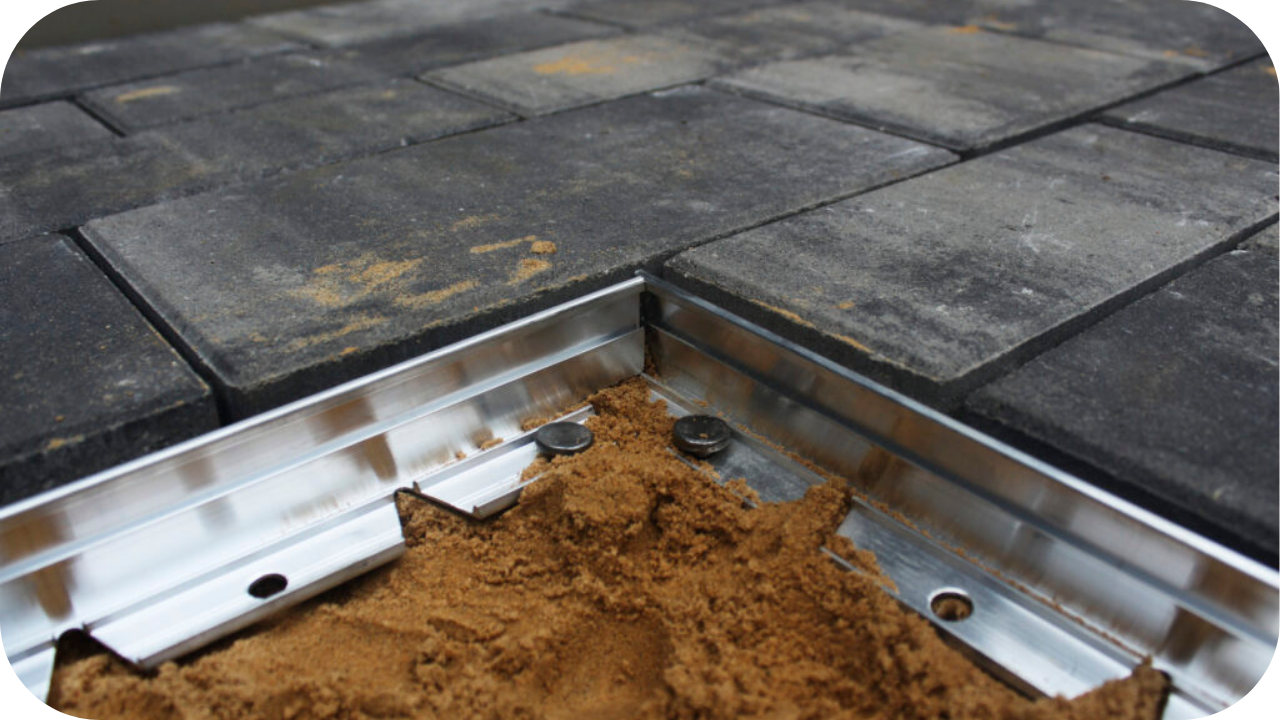
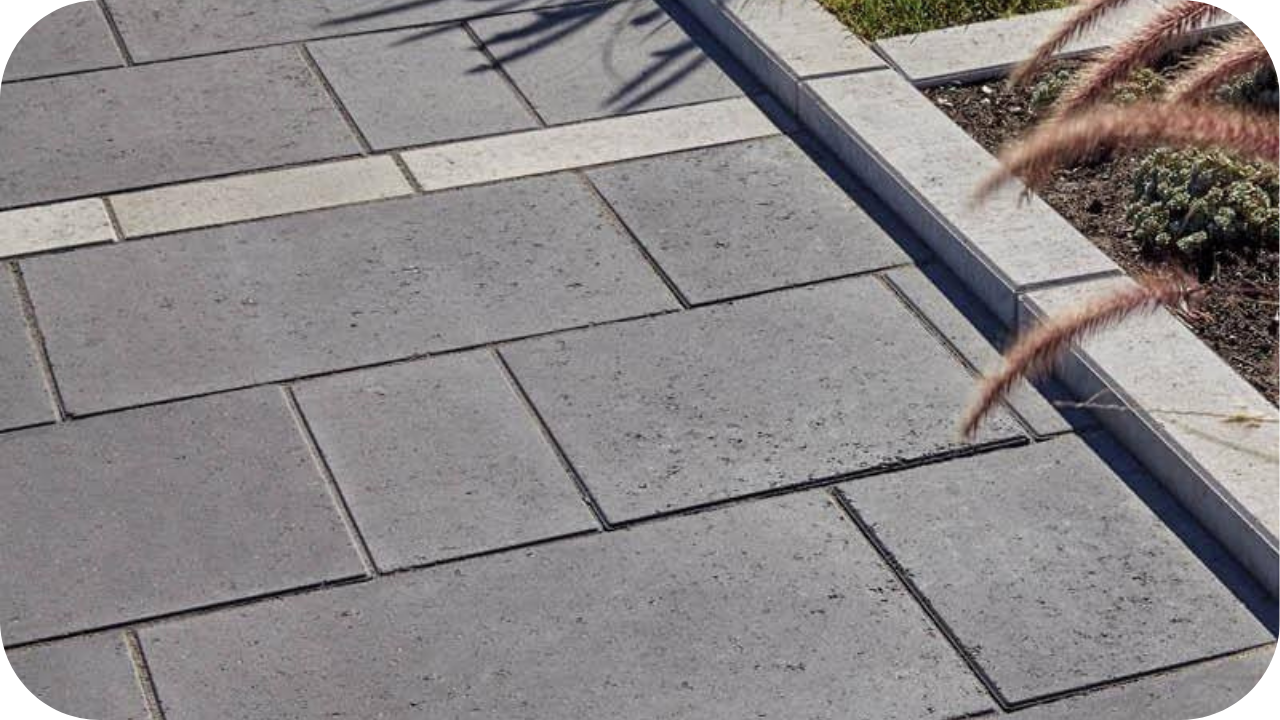
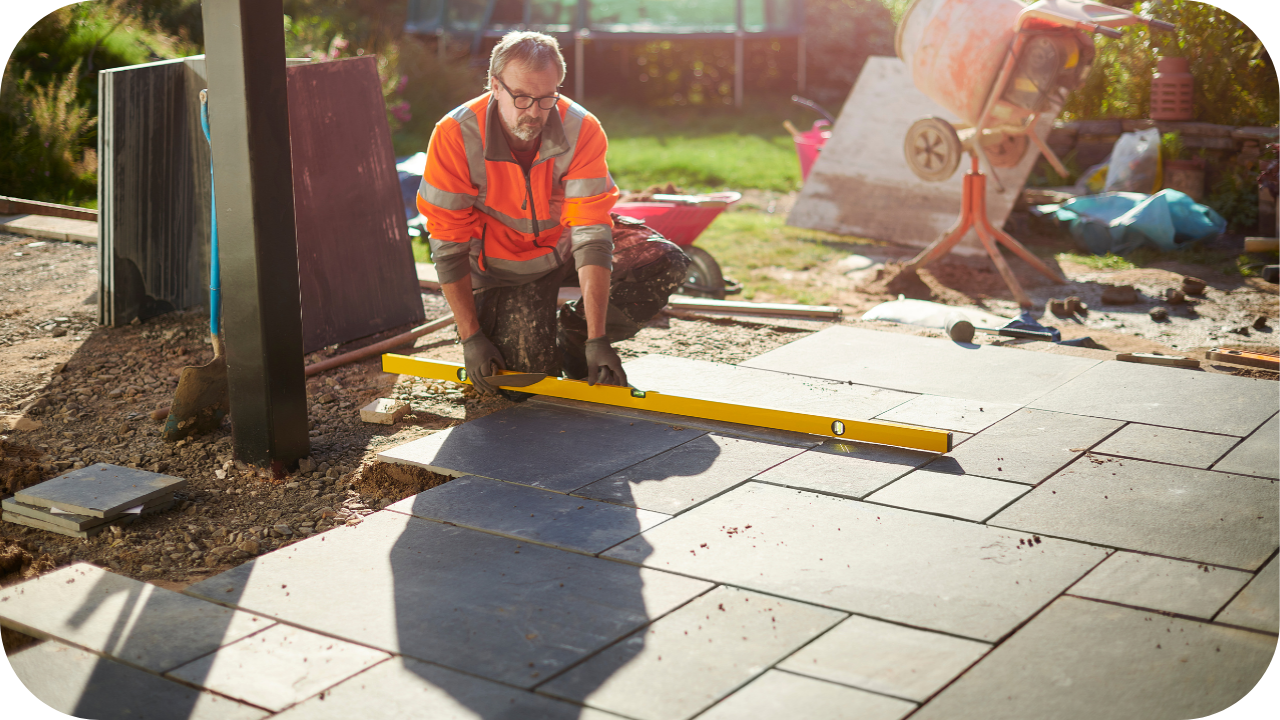
Permeable pavers are specially engineered paving materials designed to let water flow through their surface and into the ground below. Unlike traditional paving, which creates a sealed barrier, permeable systems support natural drainage by reducing surface runoff.
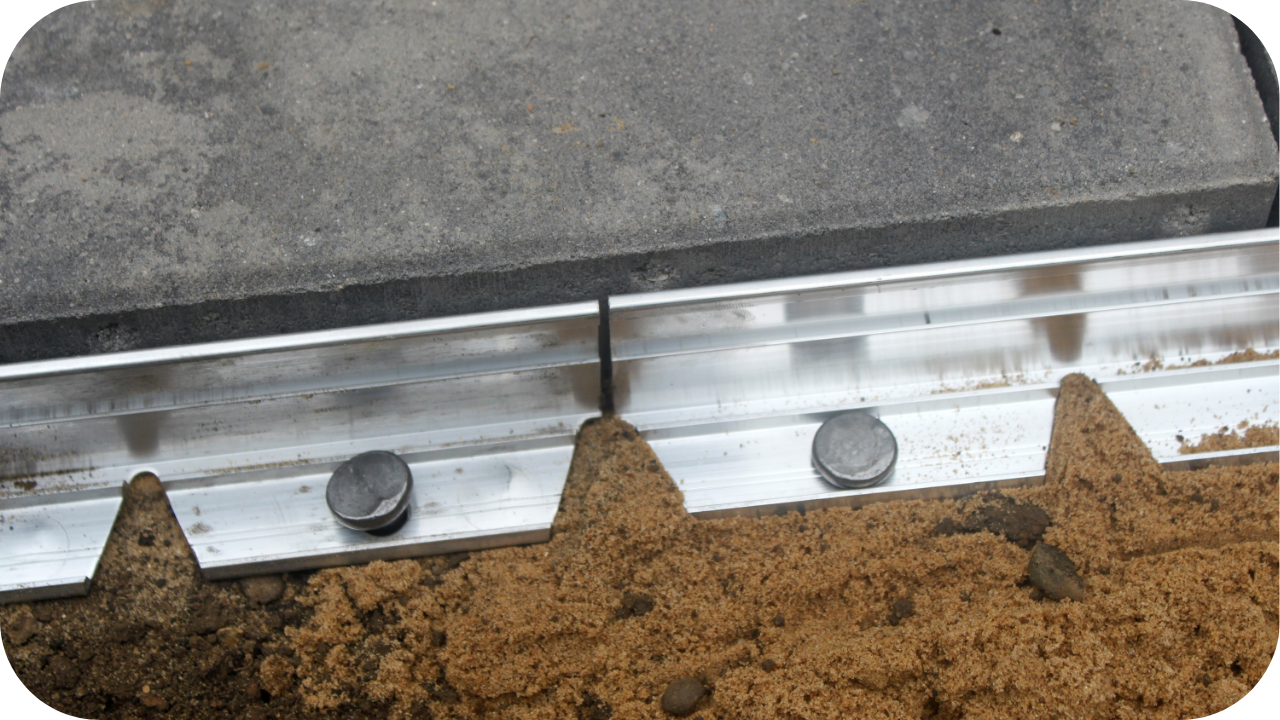
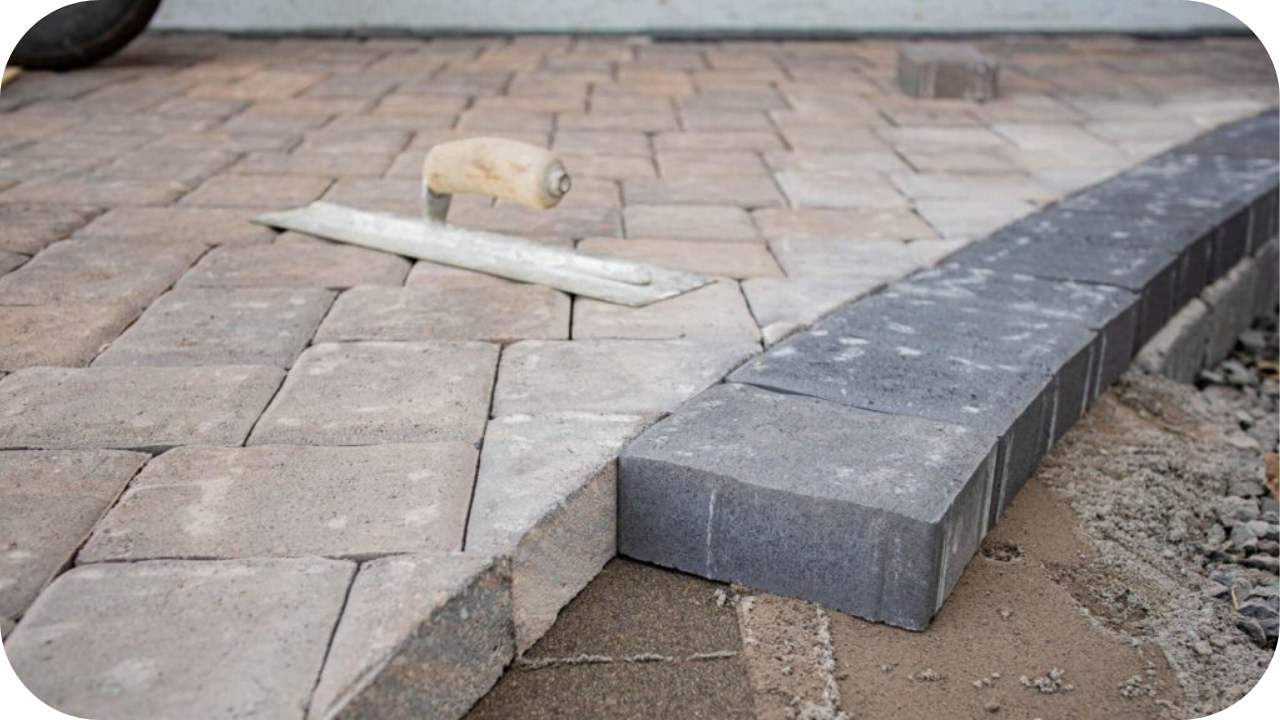
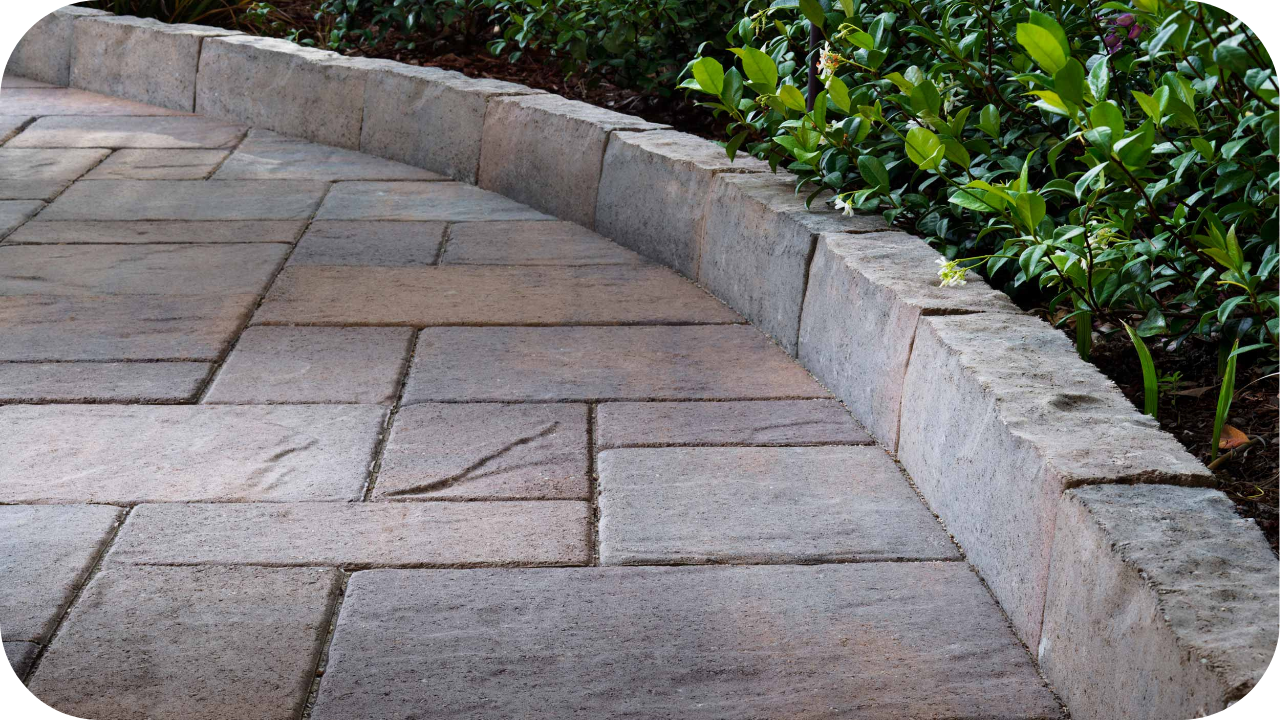
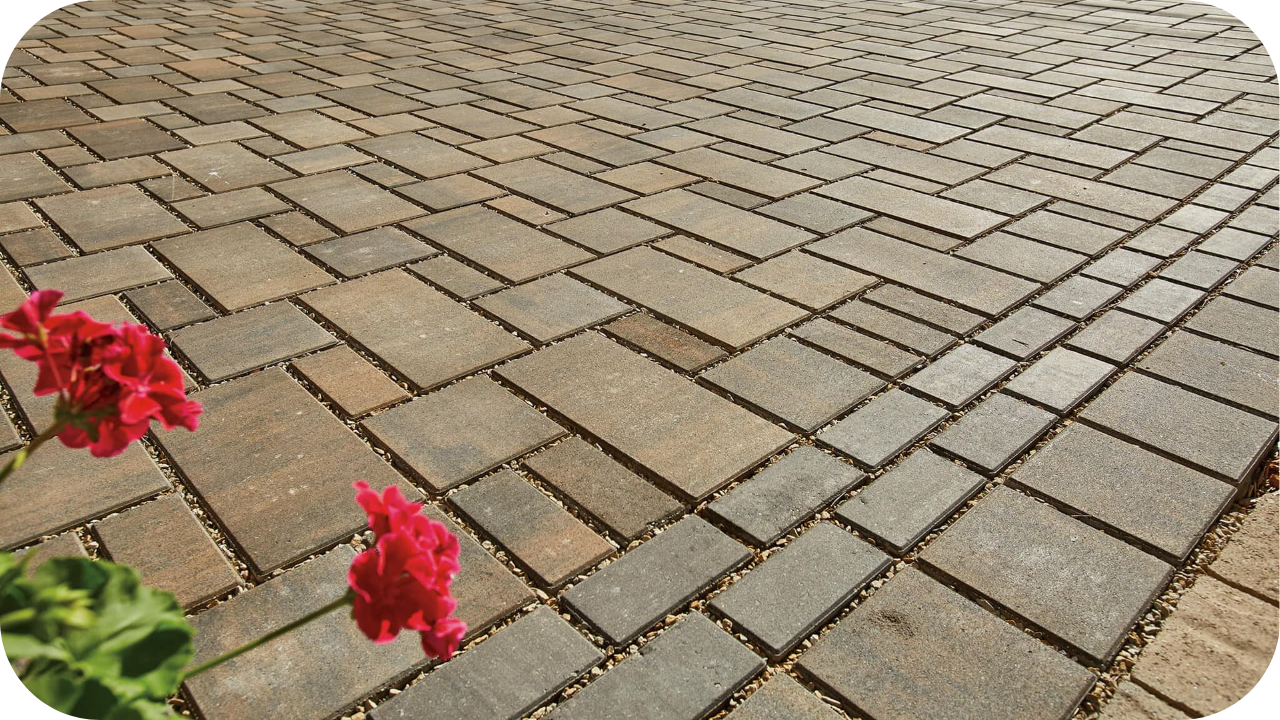
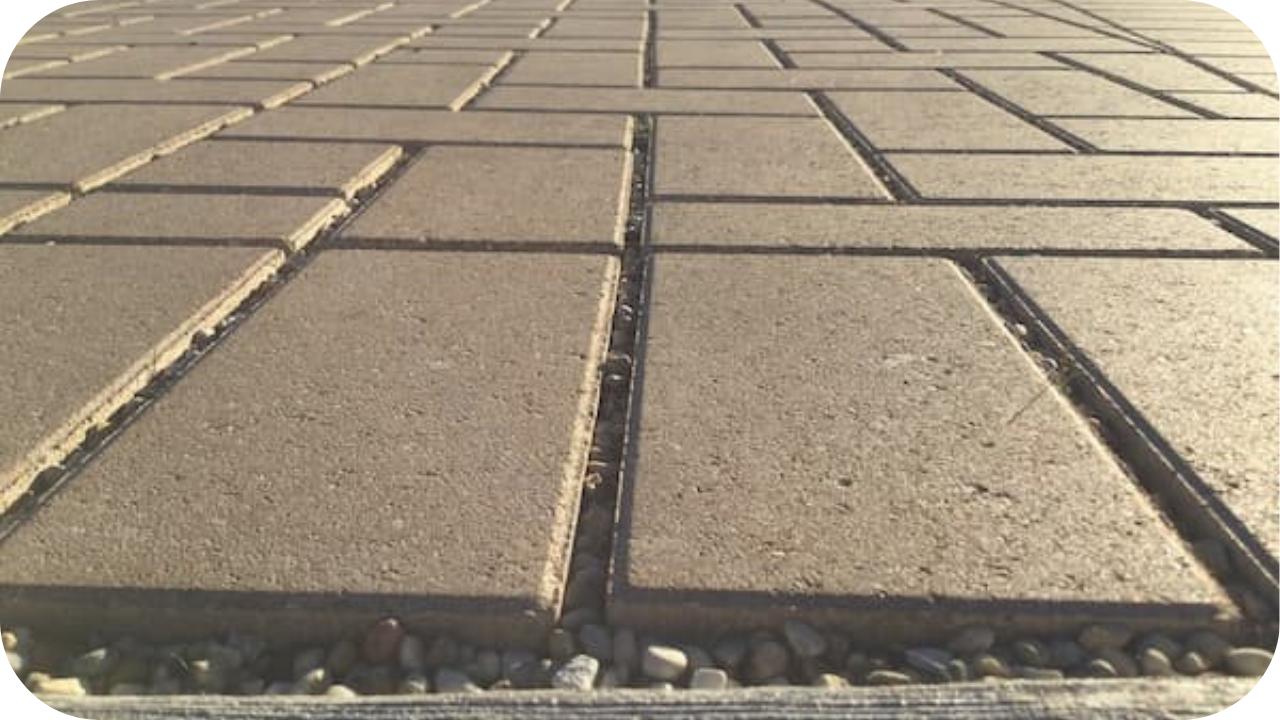
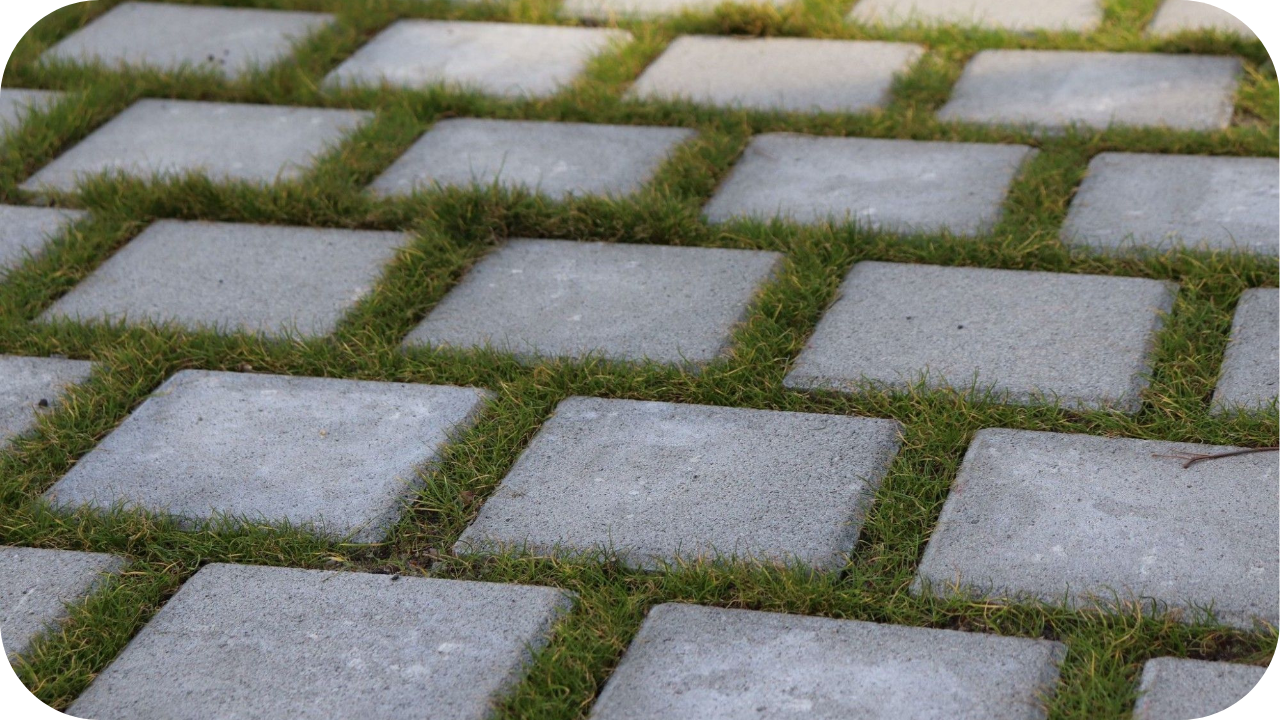
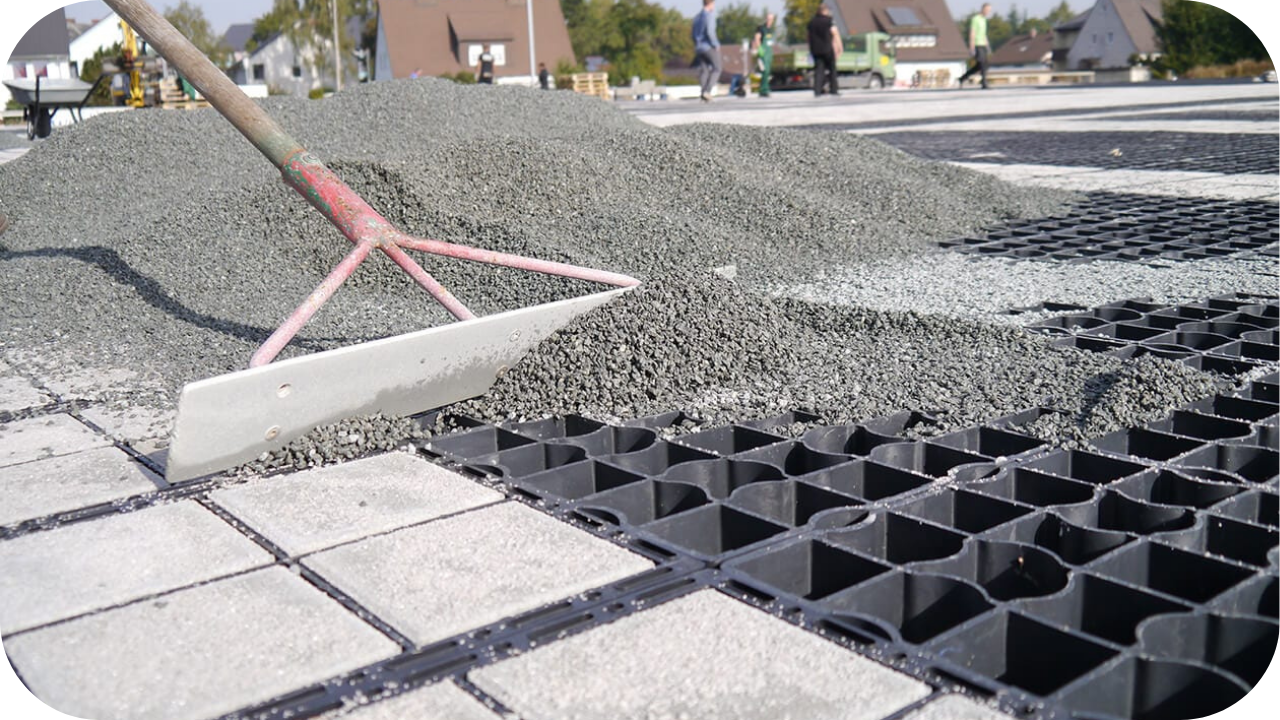
These pavers are typically made from natural stone, porous concrete, or open-cell interlocking grids. Their design features wider joints or textured gaps filled with gravel or sand to facilitate water infiltration. Beneath the surface lies a layered system consisting of bedding, base, and sub-base layers.
Each layer plays a critical role in capturing, filtering, and slowly releasing stormwater into the surrounding soil. The system not only handles rainfall efficiently but also supports the structural integrity of the paved surface.
Permeable pavers offer a smart and eco-friendly solution for driveways, garden paths, patios, and other outdoor areas affected by frequent or heavy rain by mimicking how natural ground absorbs water.
Key Landscape Benefits in Rainy Climates
Persistent rain doesn’t need to ruin your landscape. These practical benefits will help you manage water effectively while keeping your outdoor spaces visually appealing.
1. Reduces surface water runoff
Permeable pavers allow rainwater to filter directly into the soil rather than pooling on the surface. This reduces localised flooding and keeps your driveways and paths clear, providing a practical, visually appealing solution for areas that receive frequent heavy rainfall.
2. Controls soil erosion
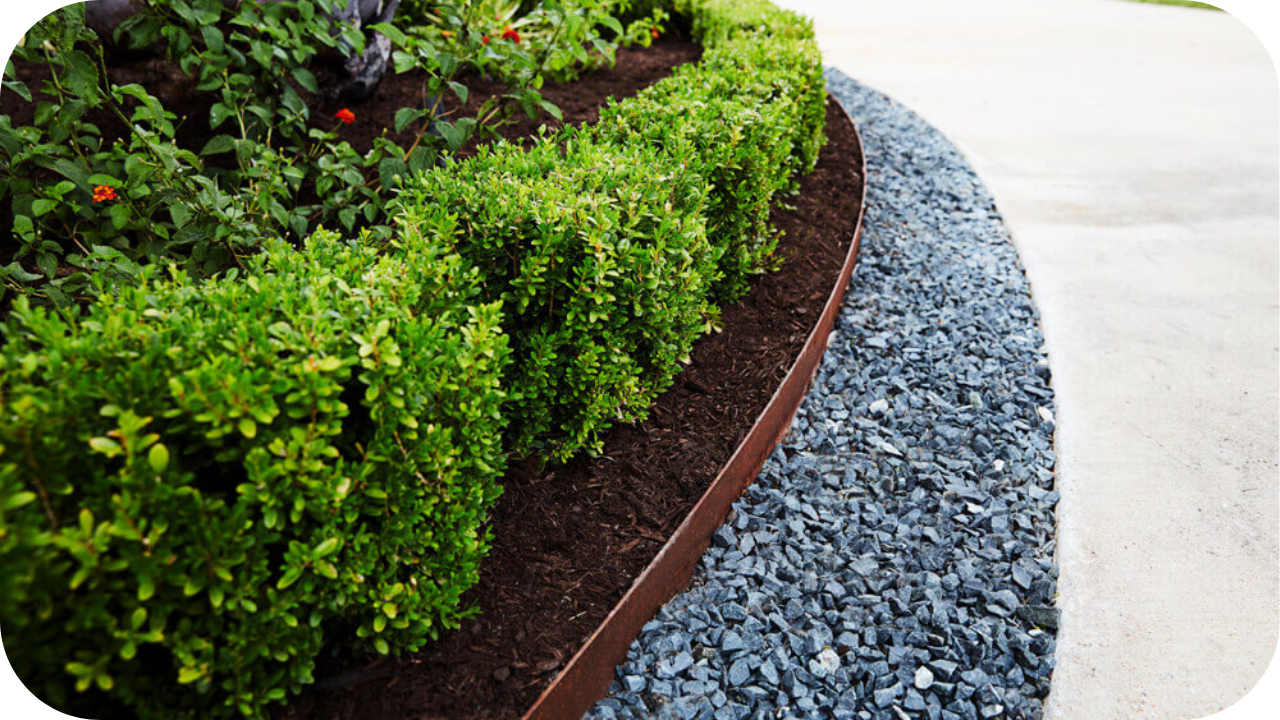
Permeable pavers slow down water flow across your outdoor spaces, reducing soil displacement during rain. This protects your garden beds, retaining walls, and sloped areas from erosion while maintaining the stability and structure of your landscape even in wet climates.
3. Prevents waterlogging in gardens and lawns
Permeable pavers drain water effectively, reducing puddling and soil compaction in your gardens and lawns. This helps keep your plants healthier, prevents damage to grass and beds, and ensures your outdoor areas remain usable and attractive during rainy seasons.
4. Improves safety on wet surfaces
Permeable pavers help prevent slippery conditions by allowing water to drain away quickly. This reduces pooling and puddles on driveways, paths, and entrances, making your outdoor areas safer for everyday use, even during periods of persistent rainfall.
5. Protects long-term structural integrity
Permeable paving systems protect the sub-base from erosion and washout, extending the lifespan of outdoor areas. They help preserve the structural integrity of your driveways, patios, and garden paths, ensuring your outdoor spaces remain stable in rainy climates.
Environmental and Regulatory Advantages
Meeting environmental standards starts with choosing the right materials and design. These key benefits show how permeable pavers support compliance while enhancing your outdoor spaces sustainably.
1. Supports Sustainable Urban Drainage Systems (SuDS)
Permeable pavers enable natural water absorption, supporting Sustainable Urban Drainage Systems (SuDS). This helps reduce flood risk and eases pressure on stormwater infrastructure by allowing rainwater to filter through, protecting local waterways and the surrounding environment.
2. Meets green building standards
Using permeable pavers contributes towards green building certifications by reducing surface runoff and improving drainage. This helps your project align with sustainable design principles, meeting environmental requirements for residential and commercial developments in rain-prone areas.
3. Uses eco-friendly material options
Permeable pavers can be made from recycled aggregates or natural stone, lowering embodied energy compared to conventional paving. Choosing these materials supports environmentally responsible landscaping while maintaining durability and aesthetic appeal for your outdoor spaces.
4. Reduces heat island effect
Permeable pavers allow water to evaporate naturally, helping cool outdoor surfaces. This reduces heat retention around buildings and paved areas, contributing to a more comfortable microclimate, especially important in urban or heavily built-up environments.
5. Improves local groundwater recharge
By allowing rainwater to infiltrate the soil, permeable pavers enhance groundwater recharge. This supports natural water cycles, reduces dependence on stormwater systems, and maintains healthier water tables in regions with frequent or heavy rainfall.
6. Minimises stormwater pollution
Permeable paving helps filter pollutants by letting water pass through porous surfaces instead of flowing over impervious ones. This reduces contaminants entering waterways, protecting local rivers and creeks and preserving overall water quality in your area.
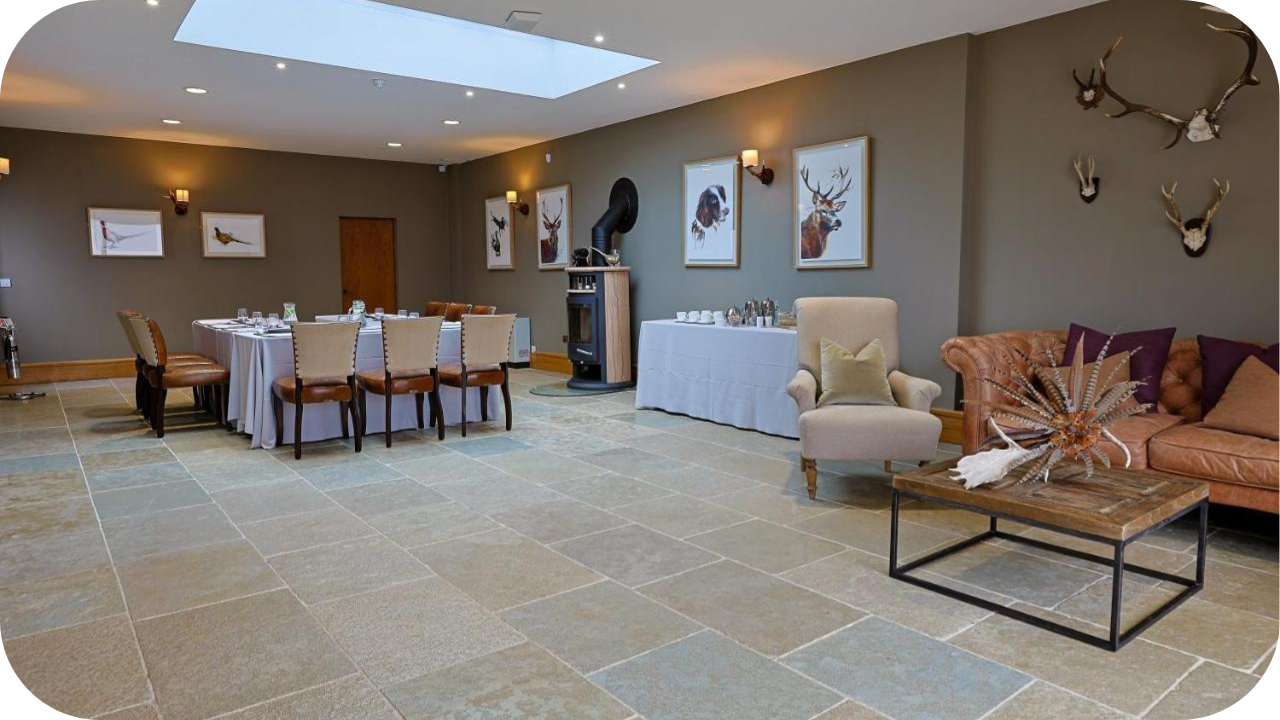
Ideal Applications for Permeable Pavers in Residential Landscapes
Permeable pavers fit perfectly in many outdoor spaces. These key uses highlight where they improve drainage, safety, and durability while enhancing your home’s outdoor areas.
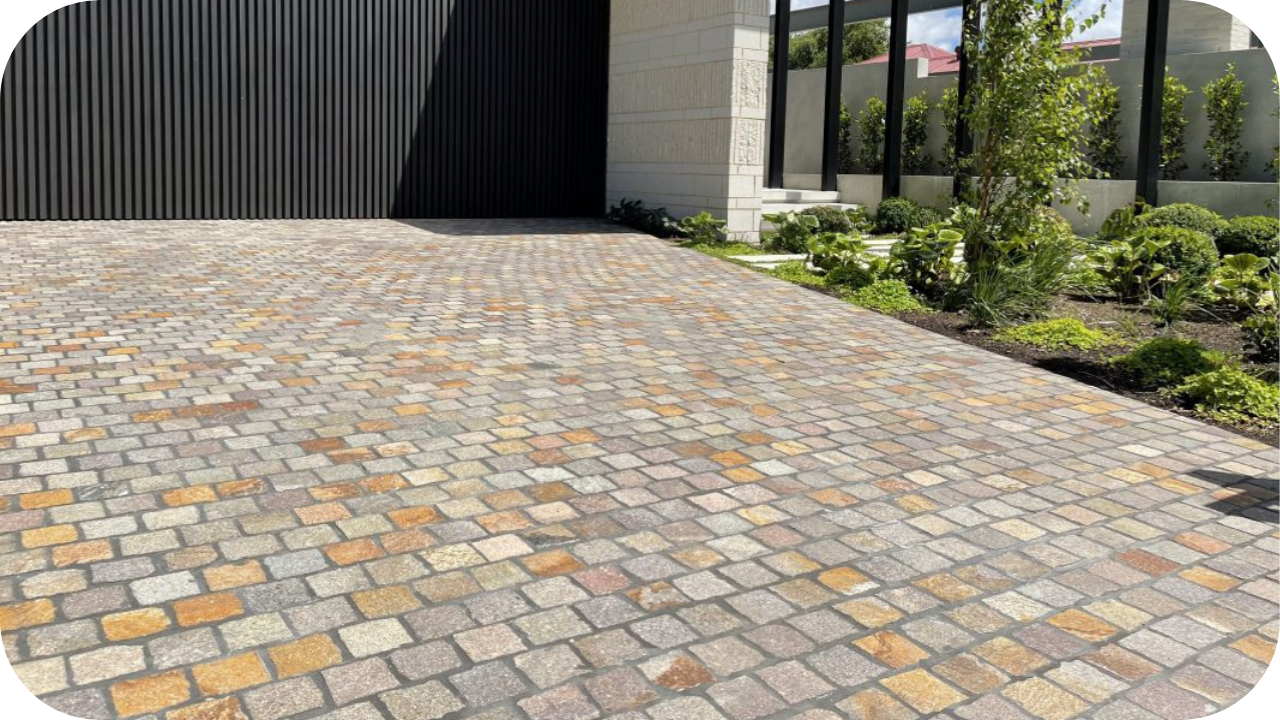
- Driveways and carports: Provide strong, permeable surfaces that withstand vehicle weight while allowing rainwater to drain naturally, reducing flooding risk and protecting the soil structure beneath over time.
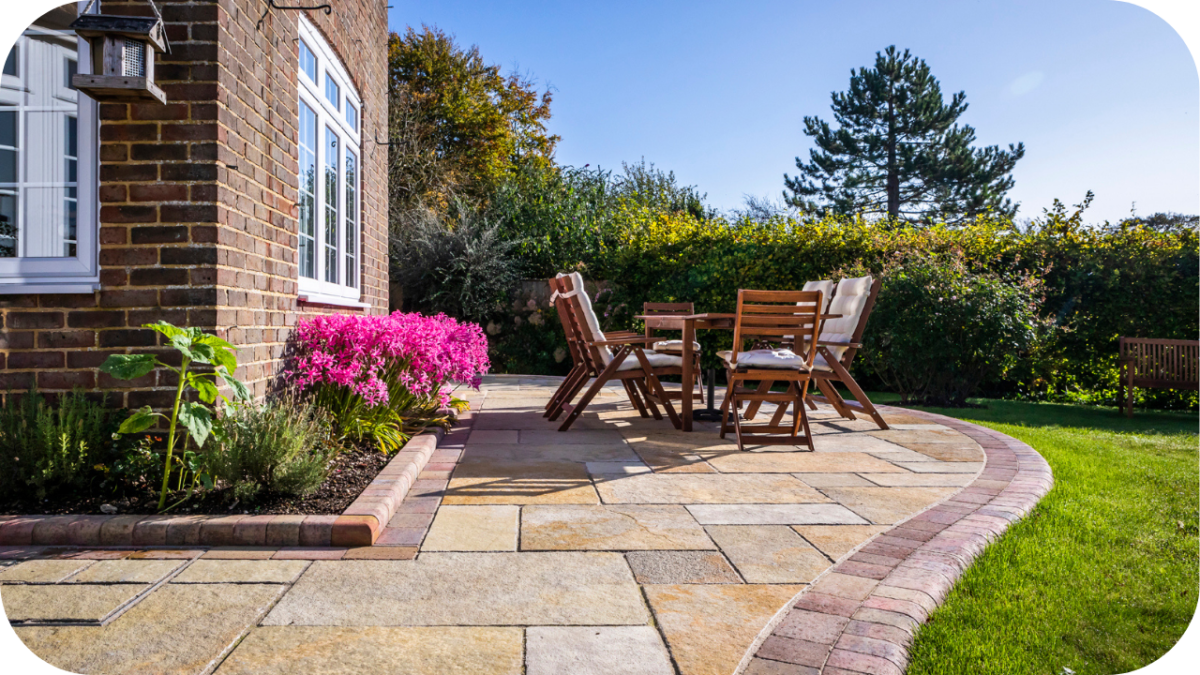
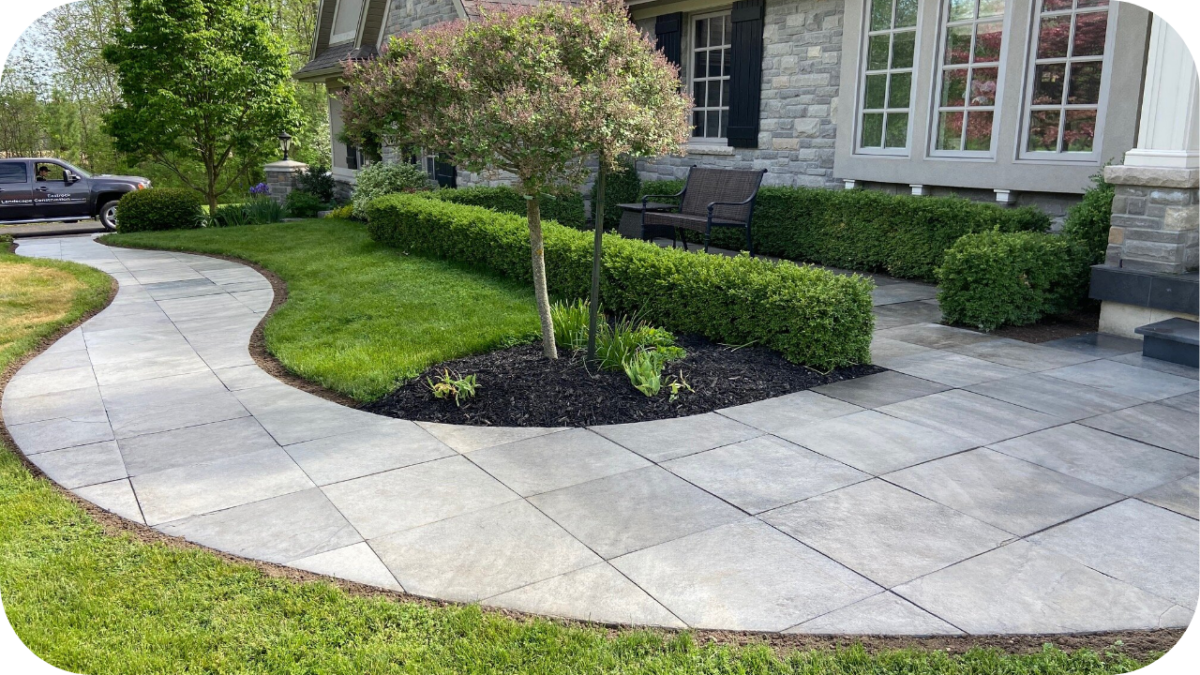
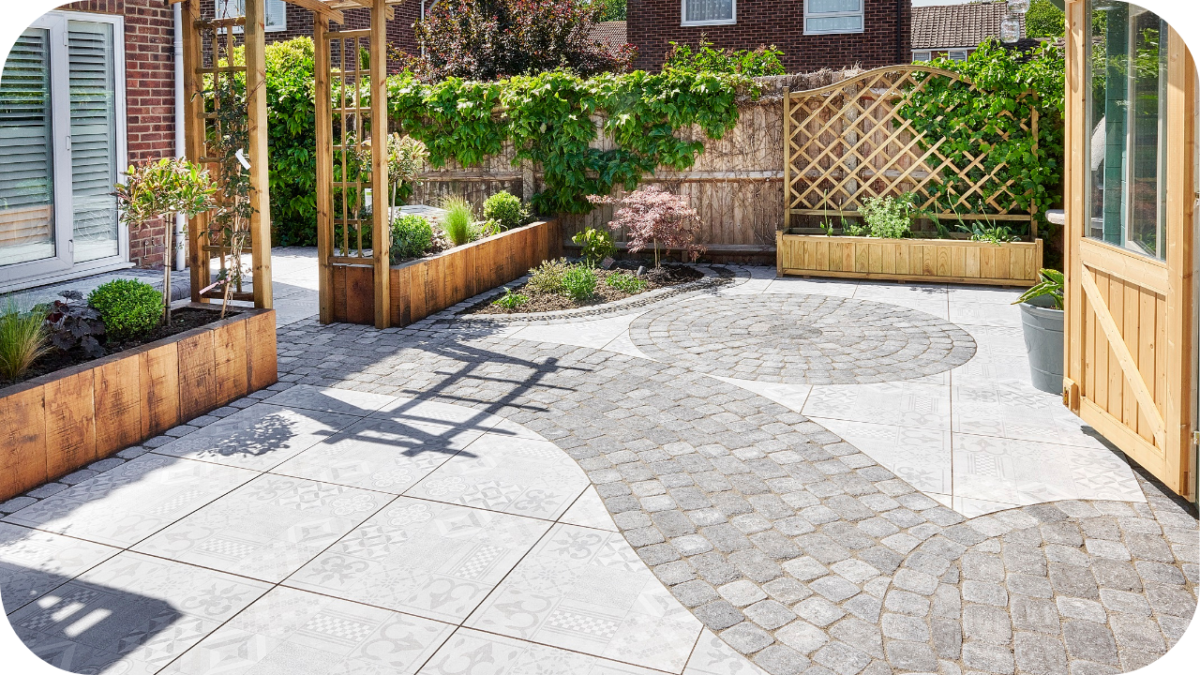
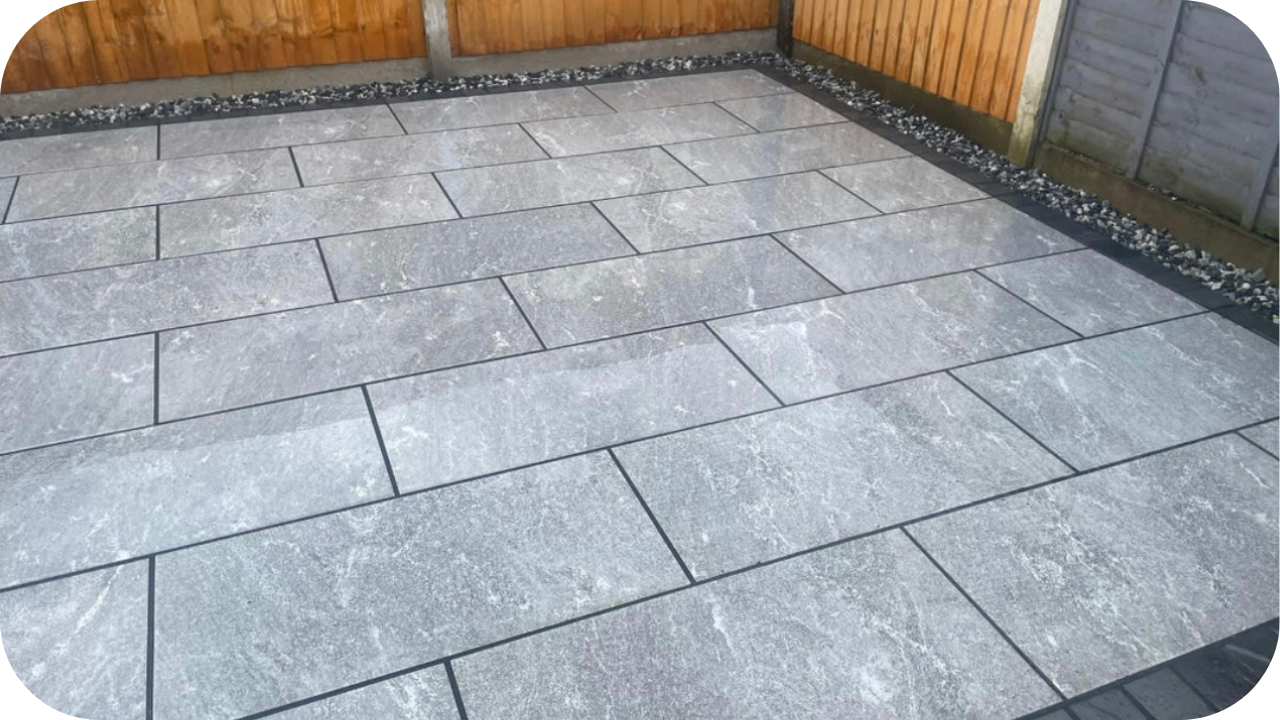
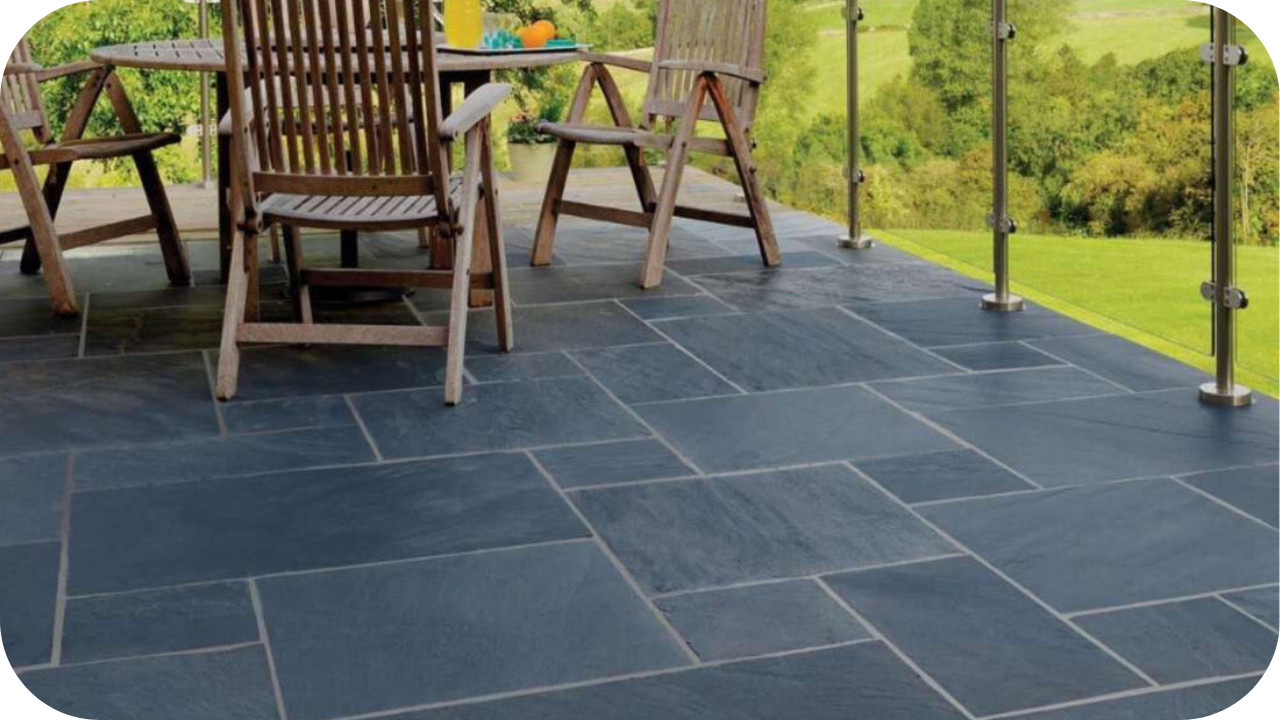
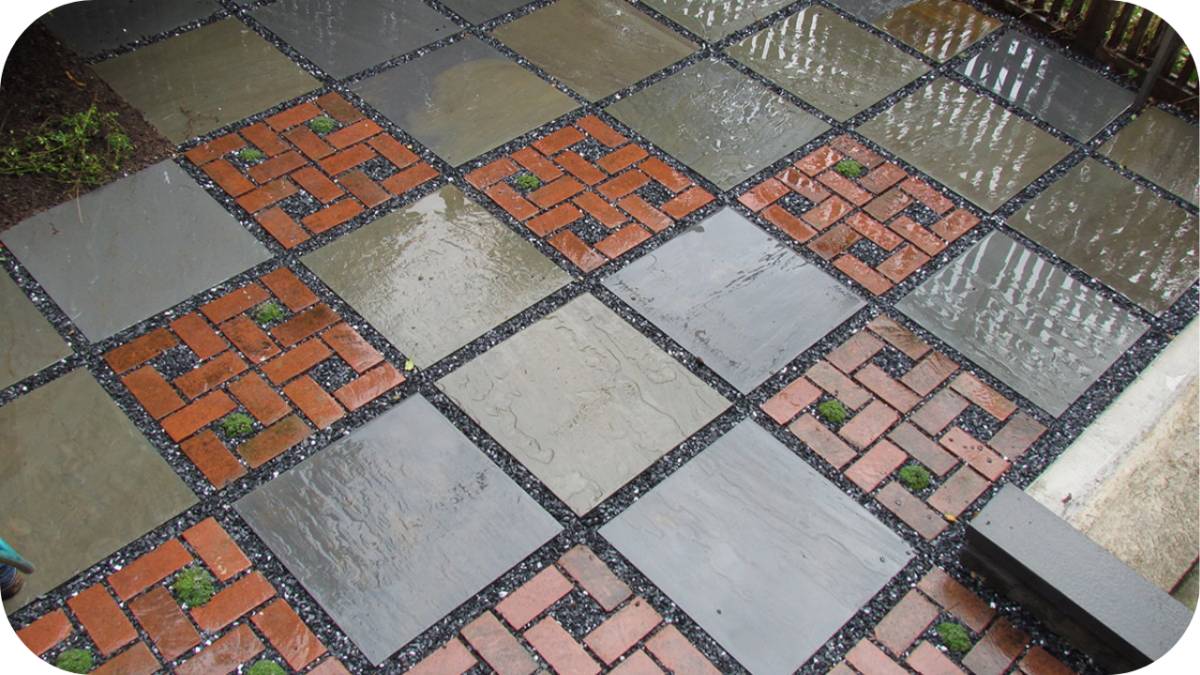
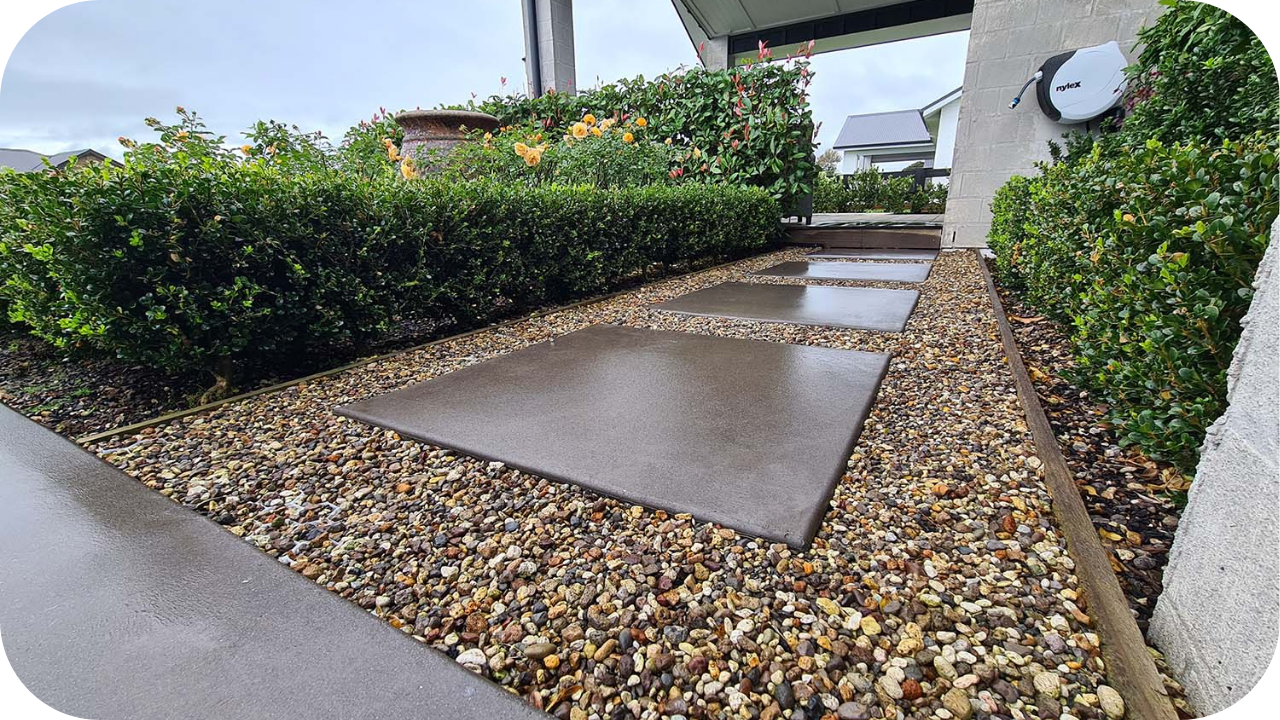
- Garden paths and patios: Create attractive, slip-resistant walkways and outdoor seating areas that remain dry and safe, promoting comfort and reducing cleanup or maintenance after rainfall events.
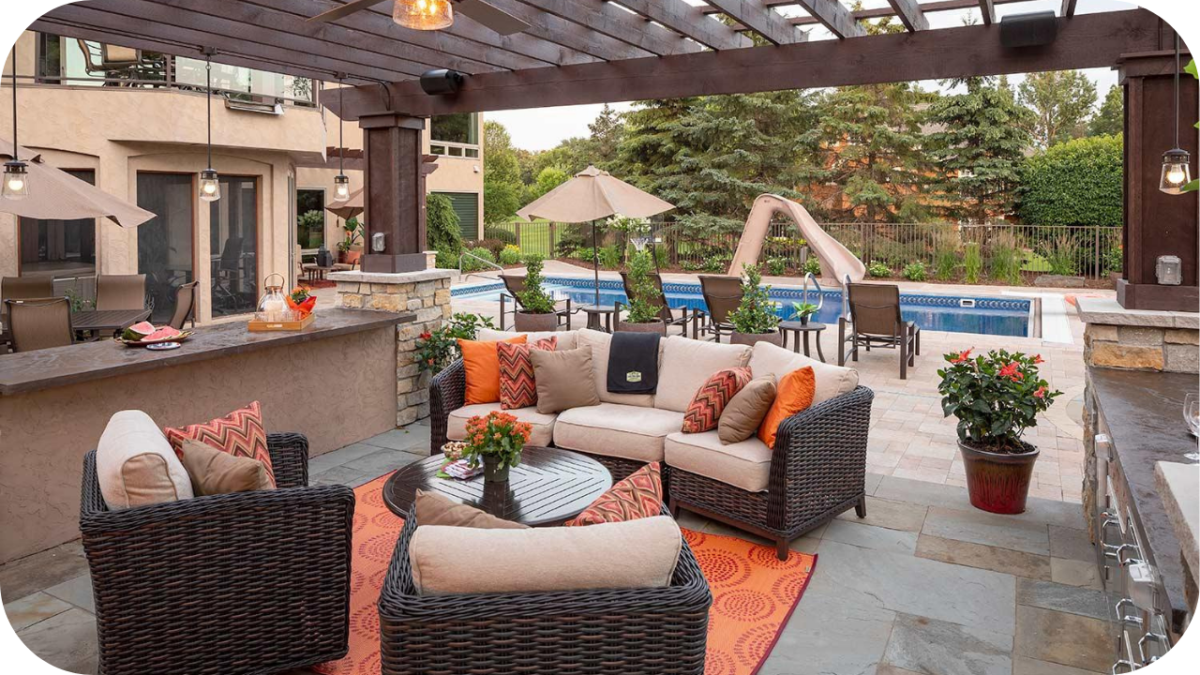
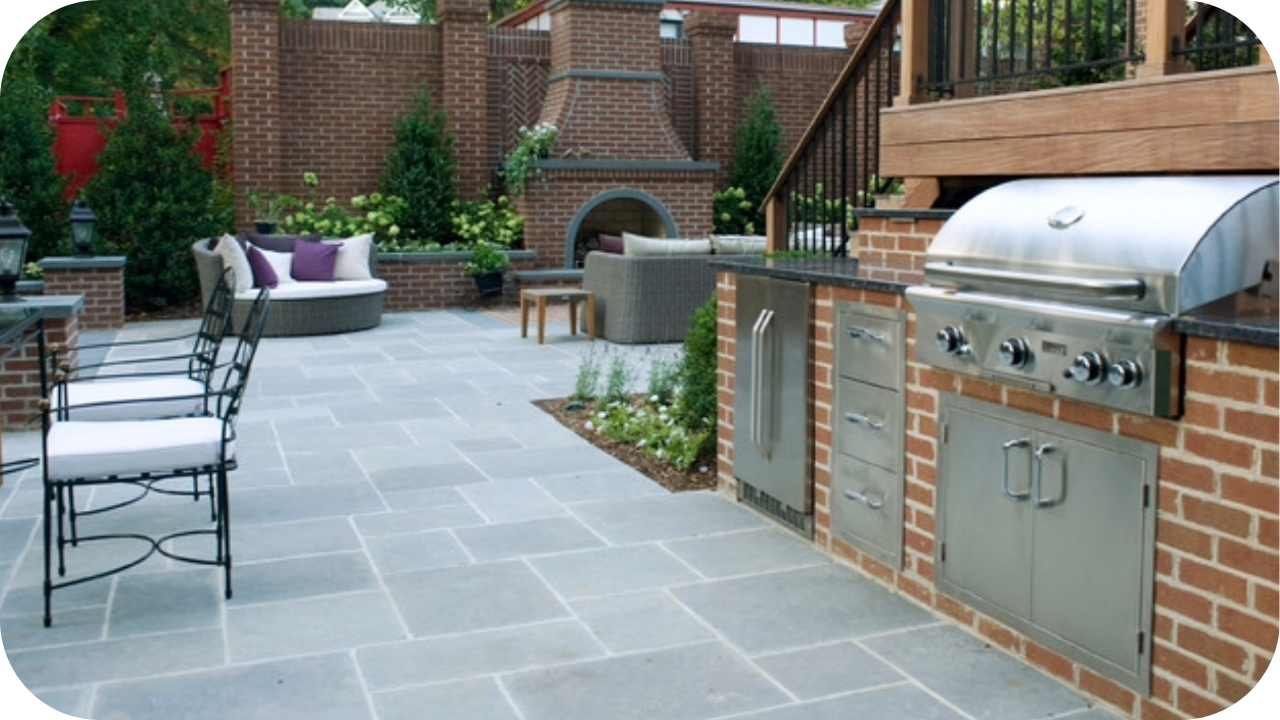
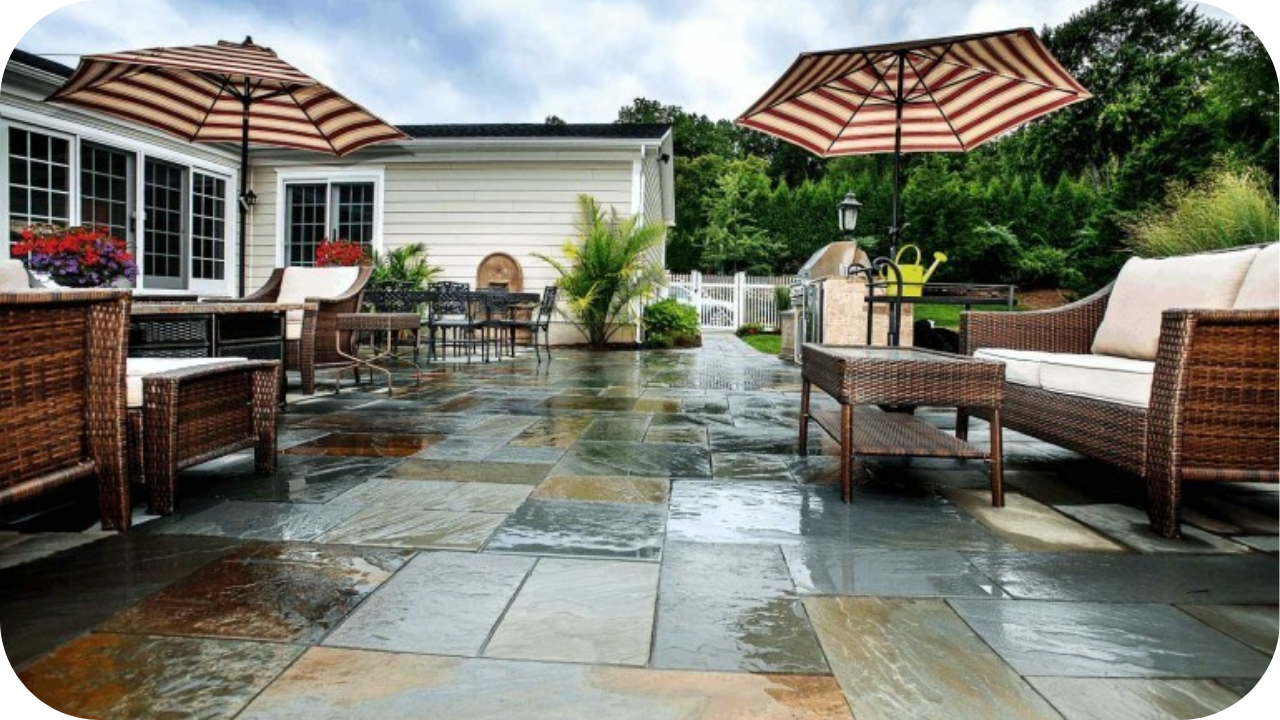
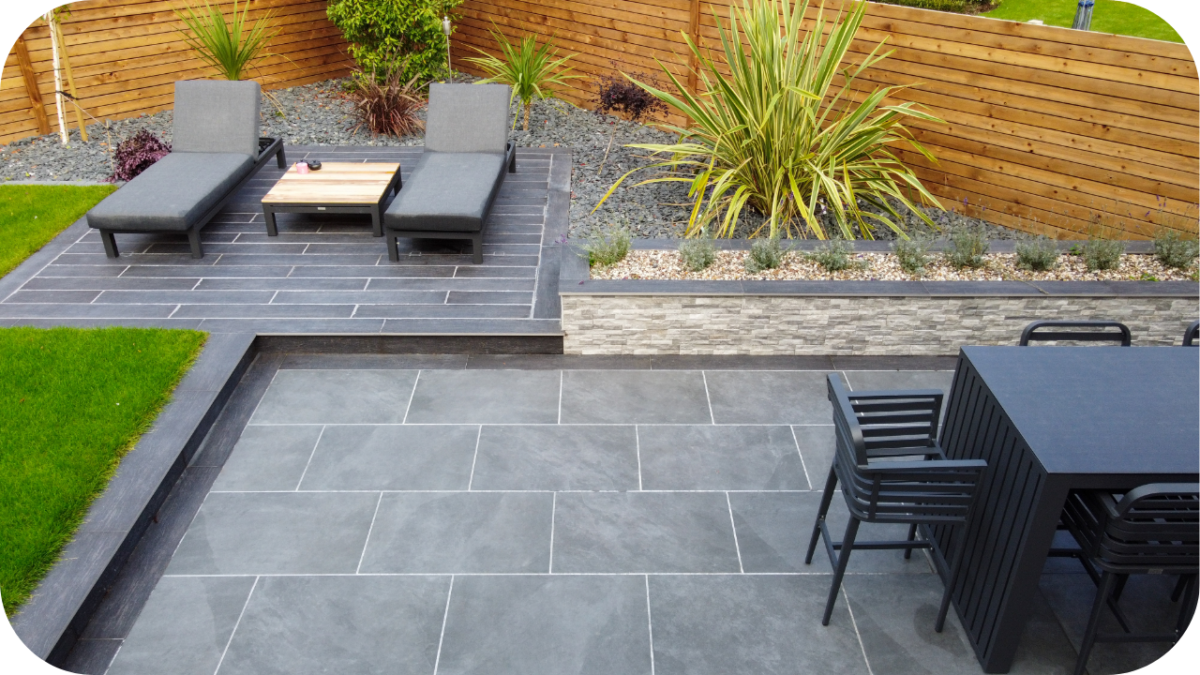
- Courtyards and outdoor entertaining areas: Keep social spaces free from puddles and excess moisture, improving usability, comfort, and enjoyment during and after wet weather conditions.
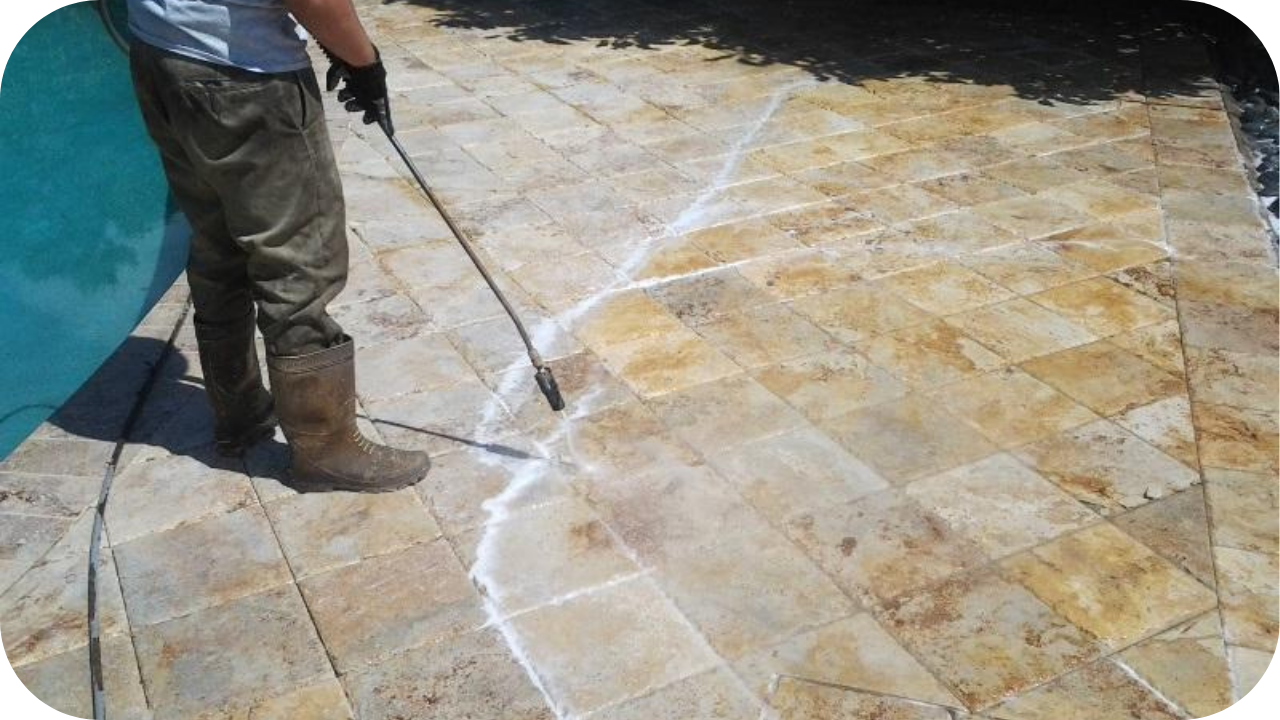
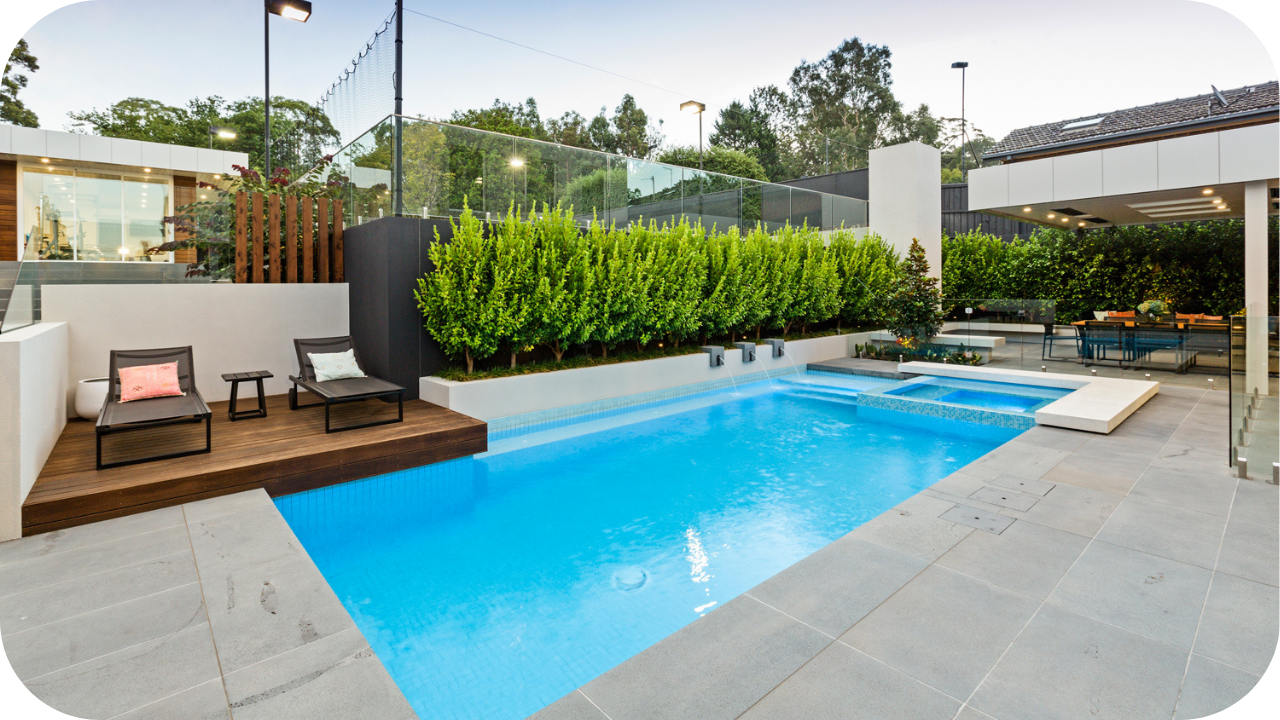
- Pool surrounds and water-sensitive zones: Improve drainage around pools to reduce slippery surfaces and standing water, enhancing safety and protecting poolside plants and landscaping features.
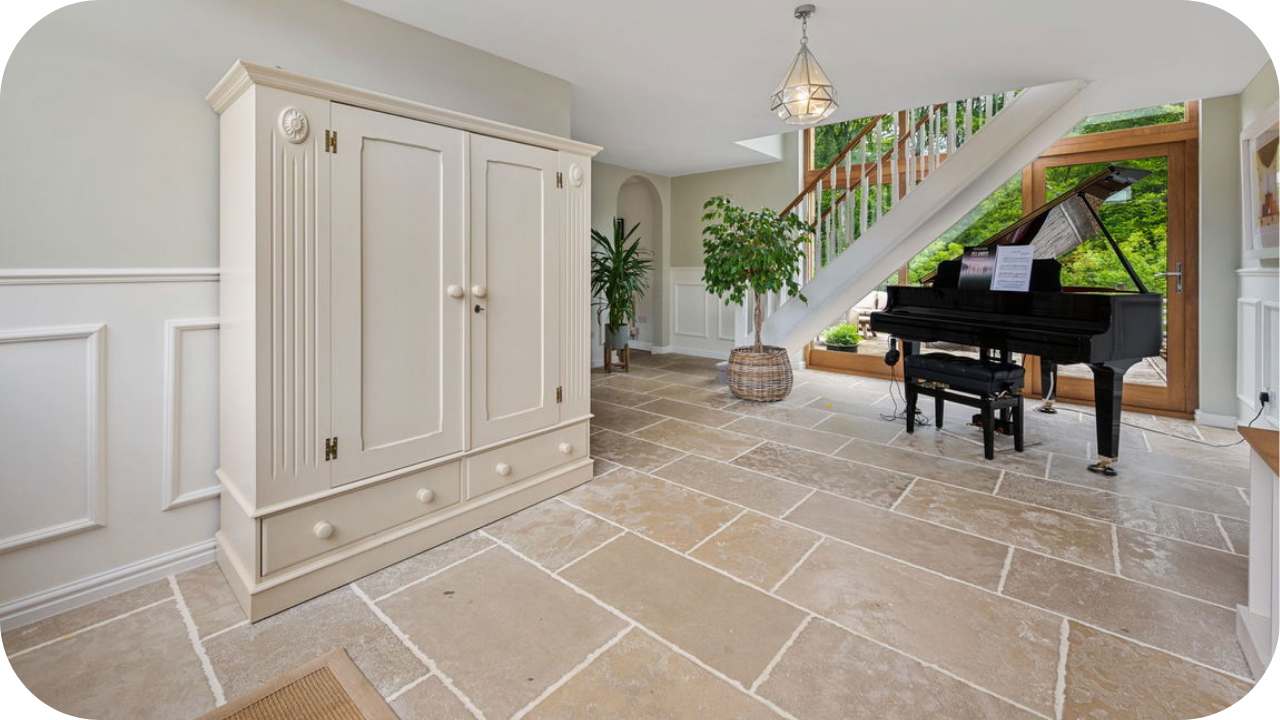
- Walkways and entryways: Minimise water pooling and slippery conditions in high foot traffic zones, ensuring safe, easy, and dry access to your home in all weather conditions.
- Drive-through and service areas: Offer durable permeable paving able to support heavy loads while efficiently managing stormwater to prevent surface damage, pooling, and soil erosion in high-use zones.
Choosing the Right Permeable Paver for Your Climate
Selecting the right permeable paver ensures durability and performance. These key considerations will help you make informed choices suited to your local rainfall, soil, and landscape conditions.
1. Assess rainfall volume
Understanding your area’s average rainfall helps determine the permeability needed. Higher rainfall requires pavers with greater infiltration capacity to manage water efficiently and avoid surface pooling or flooding.
2. Analyse soil type
Soil composition affects drainage rates beneath permeable pavers. Sandy soils drain quickly, while clay soils hold moisture longer, so choose pavers and base materials that complement your soil for optimal water flow.
3. Evaluate slope and grading
Proper slope and grading promote effective water runoff and infiltration. Ensure your landscape design directs water towards permeable surfaces, preventing erosion and pooling in less permeable areas.
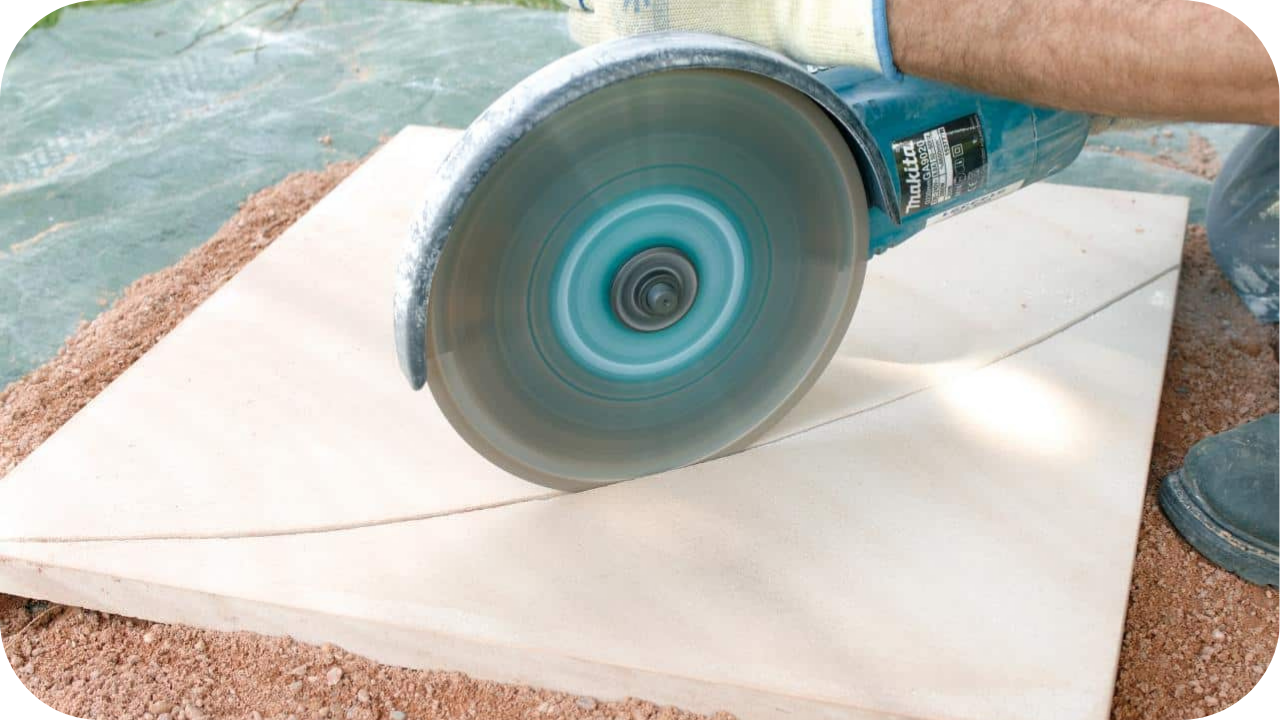
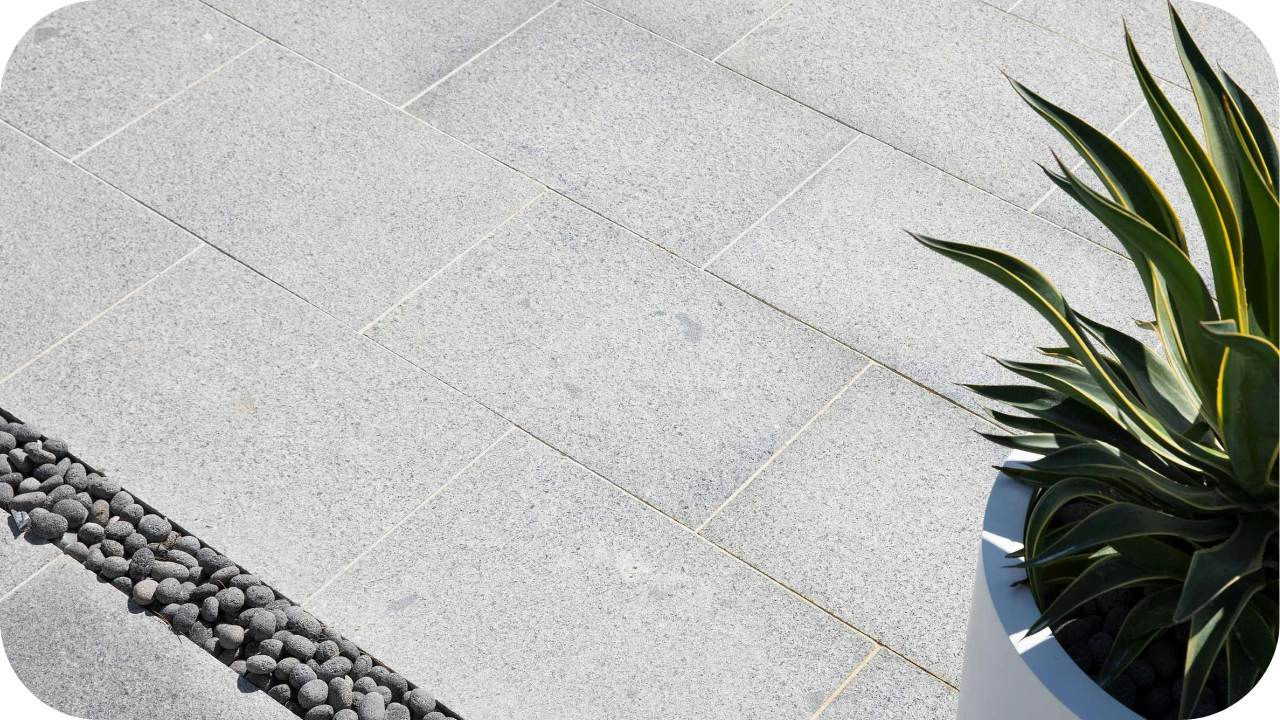
4. Select natural stone options
Choose natural stones like granite or limestone that perform well in wet conditions. Their durability, texture, and non-slip properties make them ideal for maintaining safety and aesthetics in rainy climates.
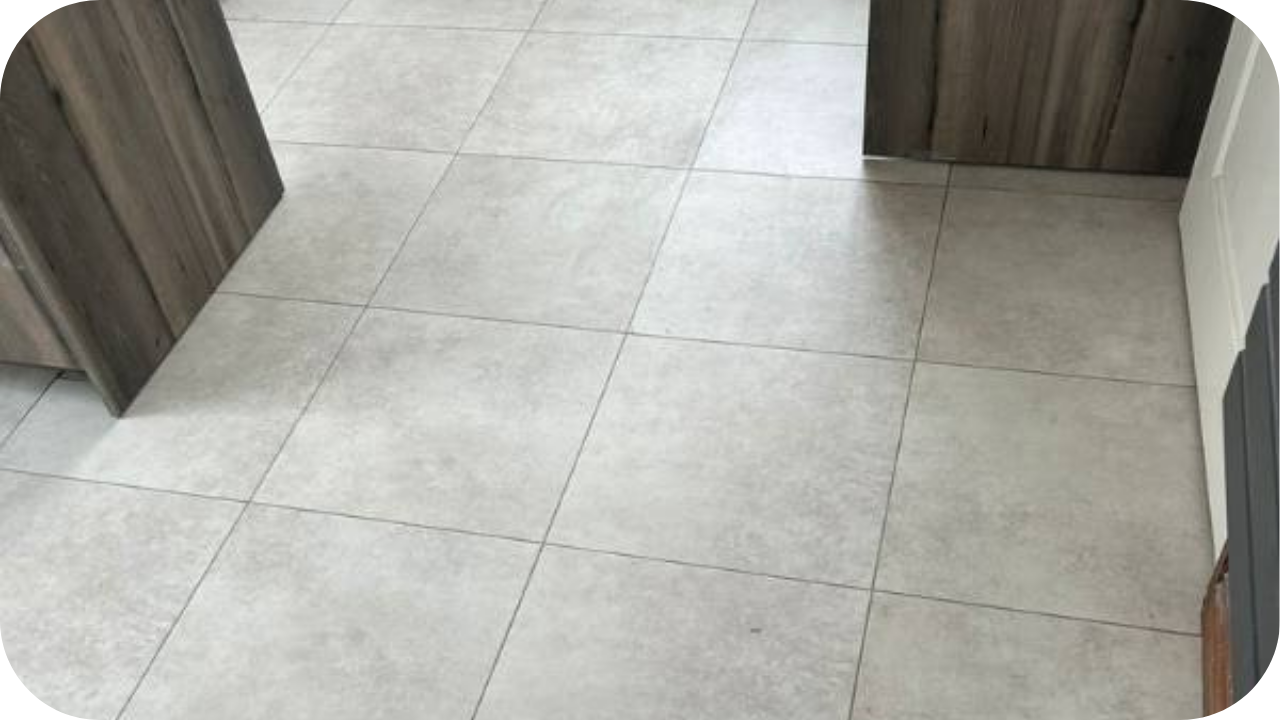
5. Consider surface finishes
Opt for non-slip finishes and textured surfaces to enhance safety on wet pavers. These finishes also add visual interest while reducing the risk of slips and falls in outdoor areas.
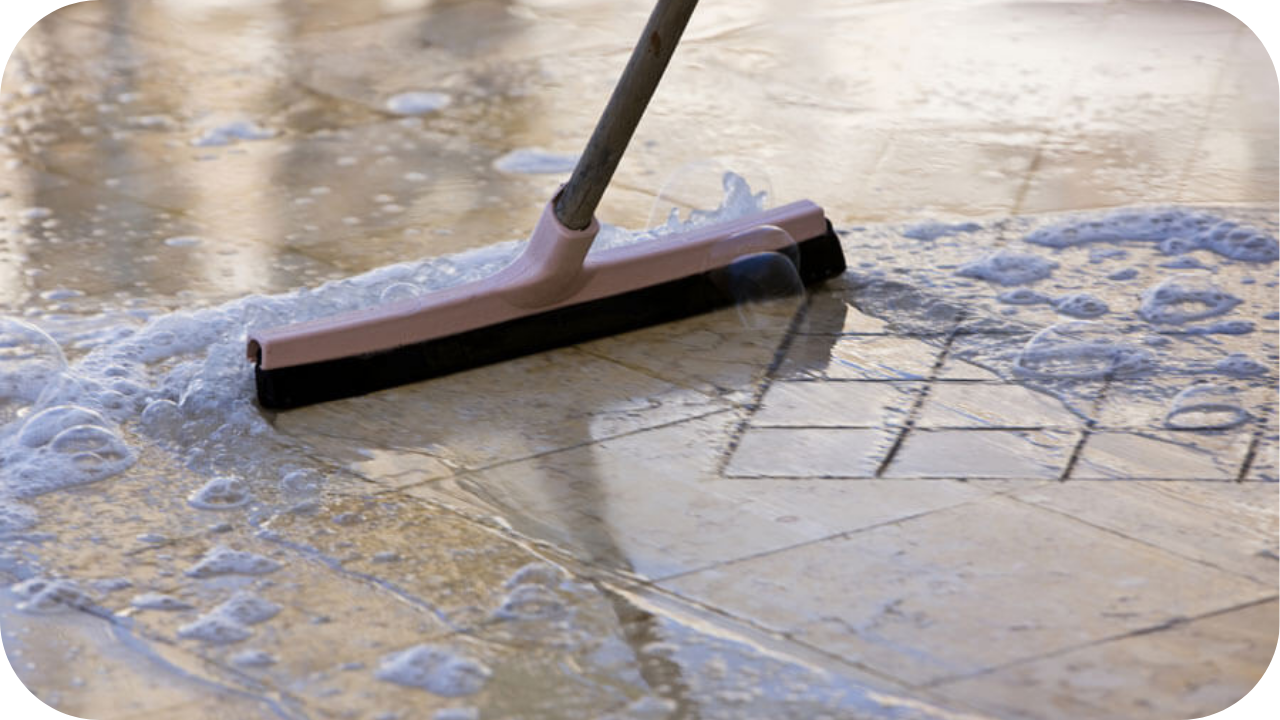
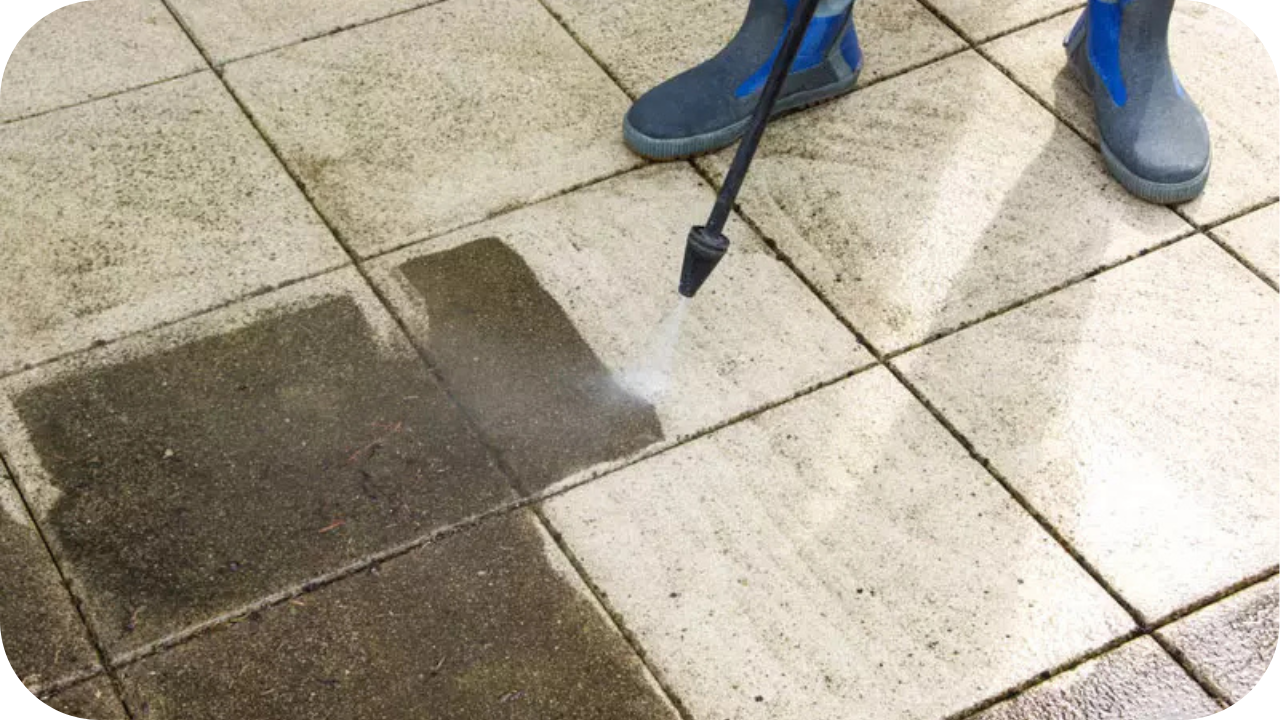
6. Plan for maintenance needs
Consider the maintenance requirements of different paver types. Some materials need regular cleaning or joint refilling to maintain permeability, so select options that fit your upkeep preferences and local climate challenges.
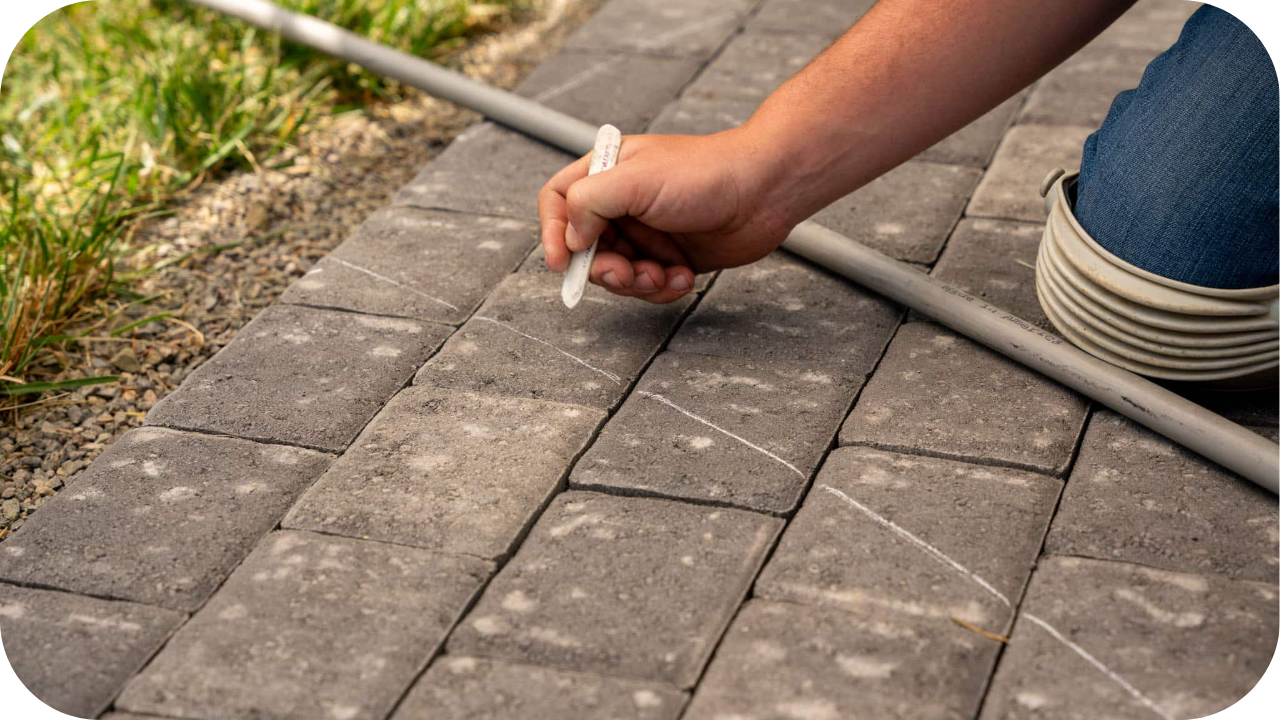
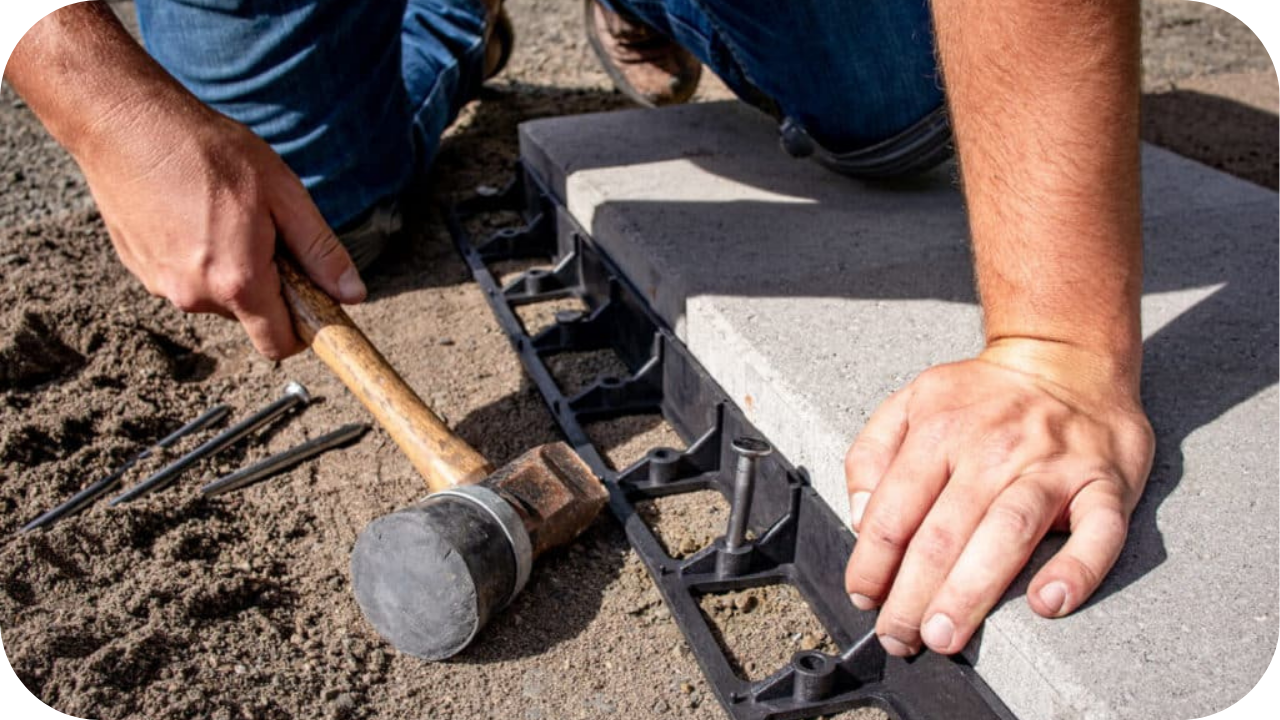
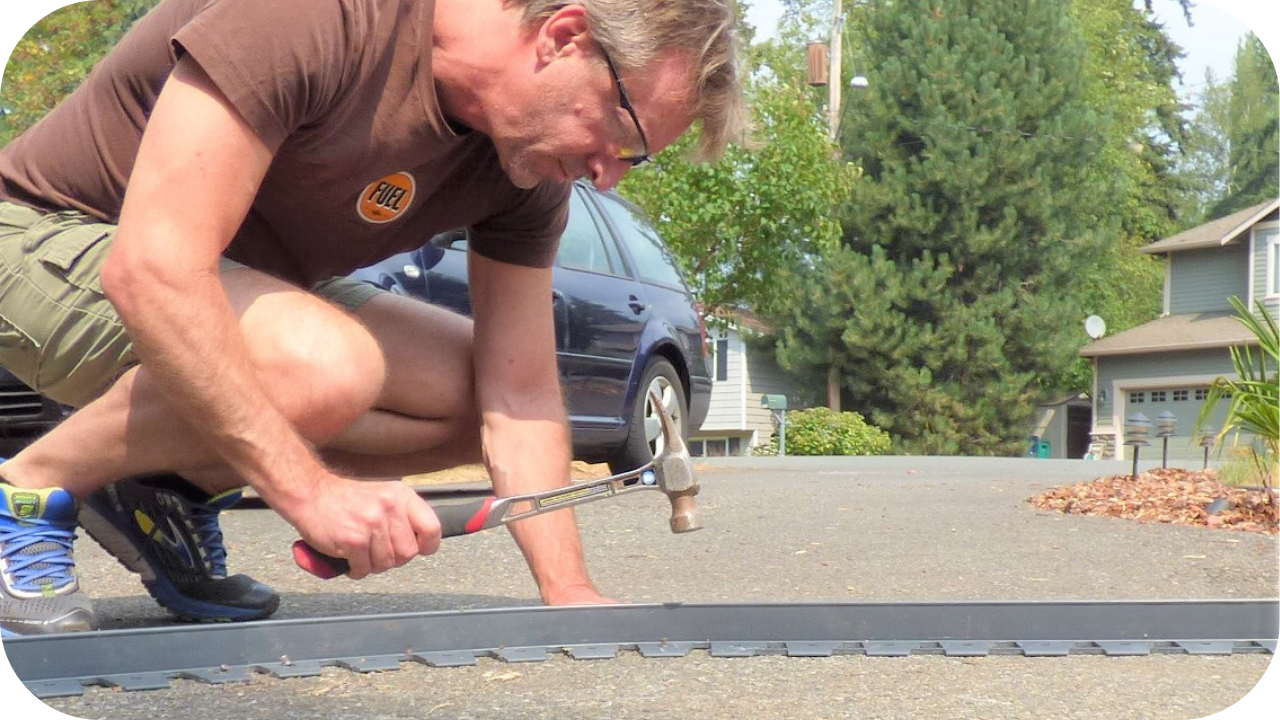
Installation Tips for Rain-Prone Areas
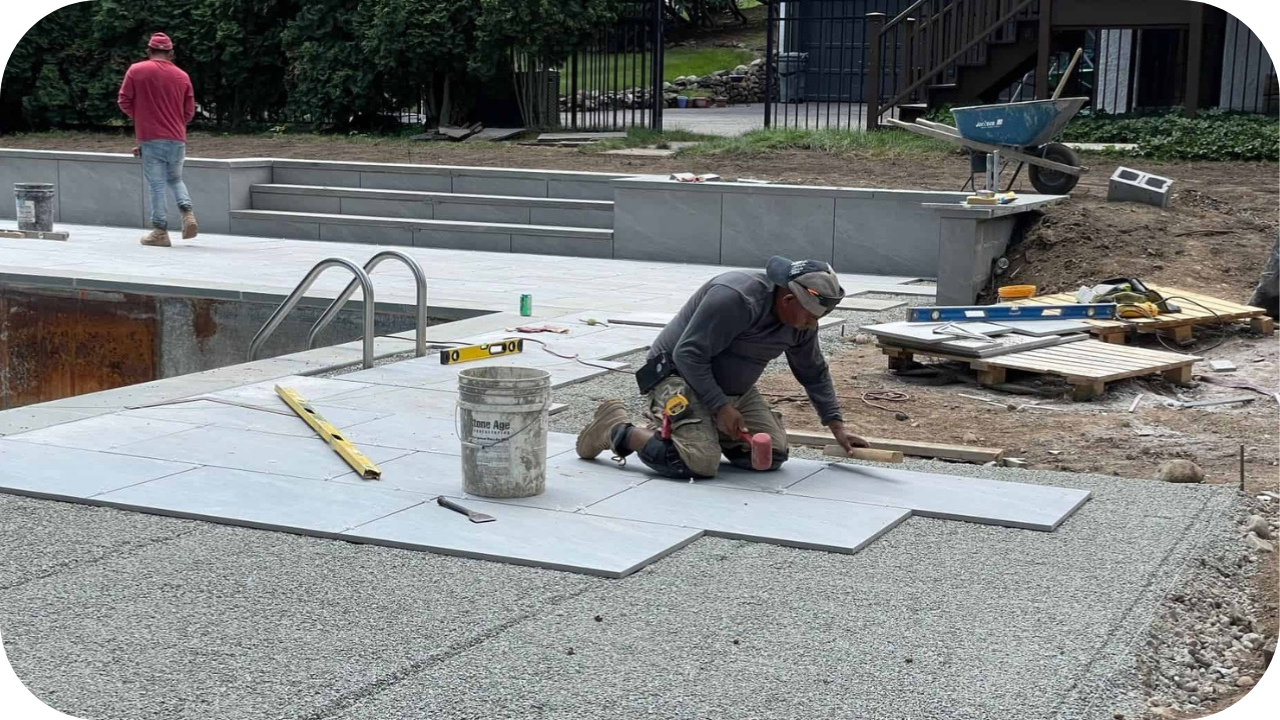
Proper installation is essential to maximise the benefits of permeable pavers in wet climates. These tips help ensure durability, drainage efficiency, and long-term performance for your outdoor spaces.
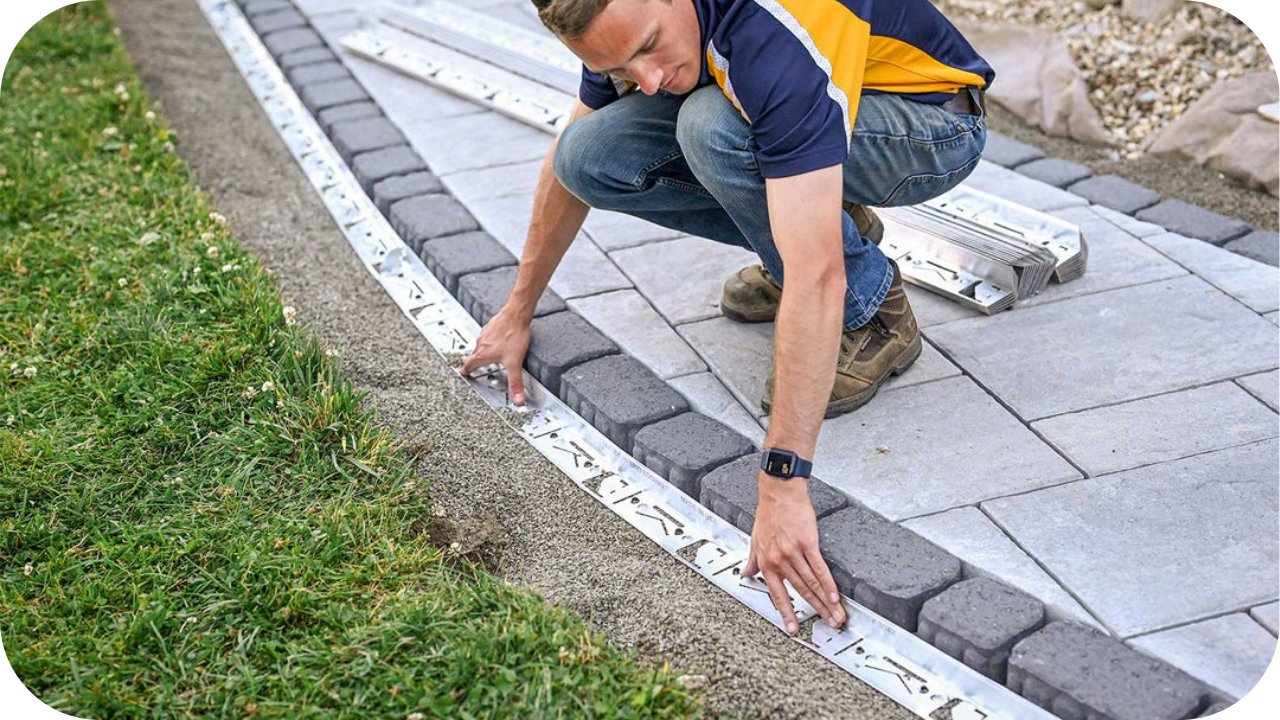
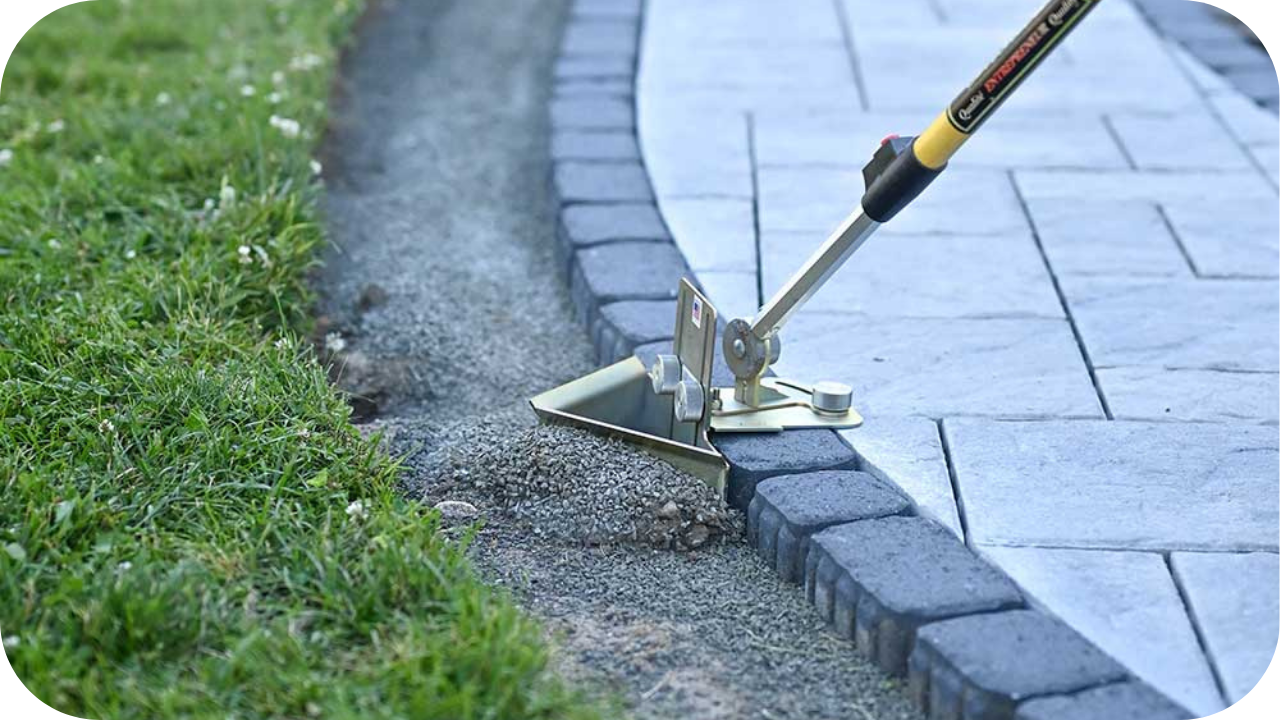
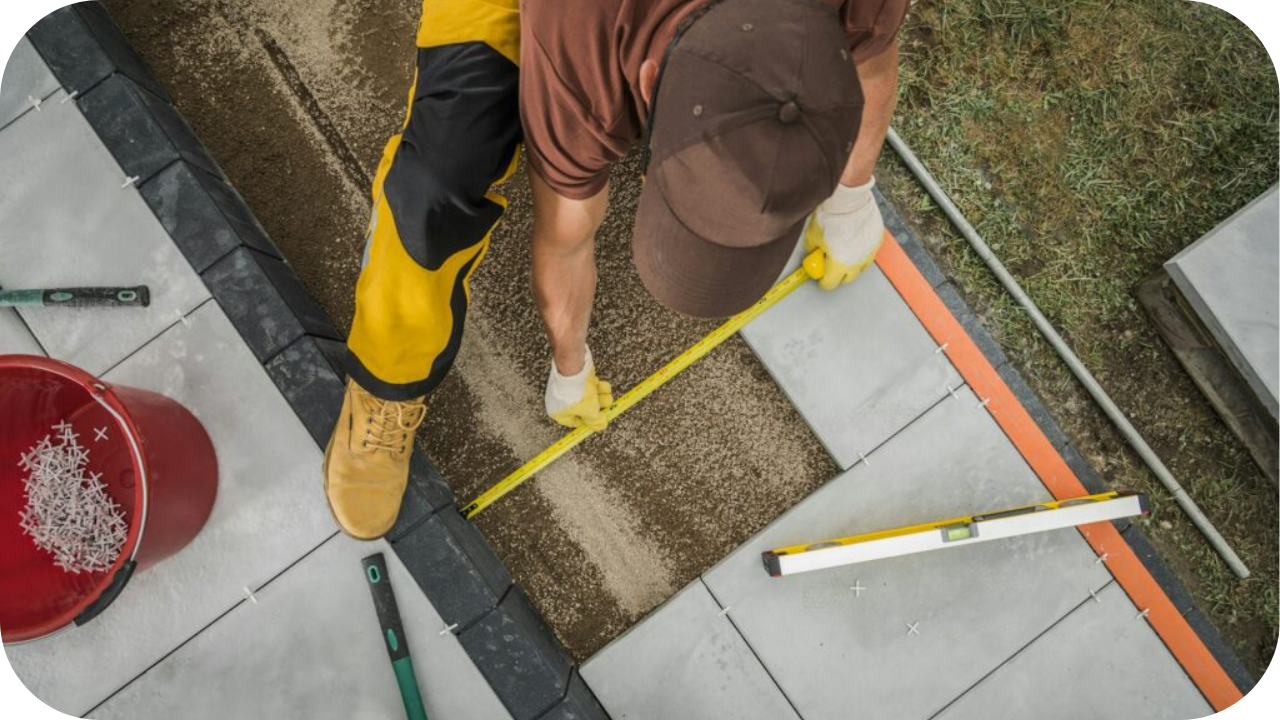
- Prepare a stable sub-base: Ensure a well-compacted and adequately thick sub-base to support heavy loads and prevent shifting, settling, or washout during heavy rainfall or flooding events.
- Grade the site correctly: Establish proper slope and grading to direct water toward permeable areas, preventing unwanted pooling and ensuring effective drainage throughout your landscape.
- Use appropriate bedding materials: Select permeable bedding layers like clean, washed gravel to support pavers and facilitate water infiltration while maintaining structural integrity.
- Hire professional installers: Experienced professionals understand local conditions and can install systems that meet drainage and structural requirements, reducing the risk of costly mistakes.
- Implement regular maintenance: Schedule routine cleaning and joint refilling to preserve permeability and prevent clogging, ensuring your pavers continue to manage water effectively in rainy conditions.
Conclusion
Permeable pavers offer practical, durable solutions for managing water in rainy climates while enhancing your outdoor spaces’ beauty and safety.
Future-proof your landscape with expert advice and premium stone selections from Splendour in Stone. Contact us today to discuss the perfect permeable paving options for your home and enjoy lasting performance and style.