Why and Where to Use Stone Capping or Stone Pier Caps
I’ll never forget the transformation when I added stone capping to my garden walls—the perfect blend of elegance and practicality. Stone pier caps and wall capping protect outdoor features from weather damage and elevate their aesthetic appeal.
This guide covers it all, whether you’re seeking a polished finish for your garden walls or enhancing the grandeur of driveway pillars. We’ll explore the practical benefits, design options, and ideal placements for stone capping, helping you create lasting impressions in your outdoor spaces. Let’s get started!
Why Use Stone Capping or Stone Pier Caps?
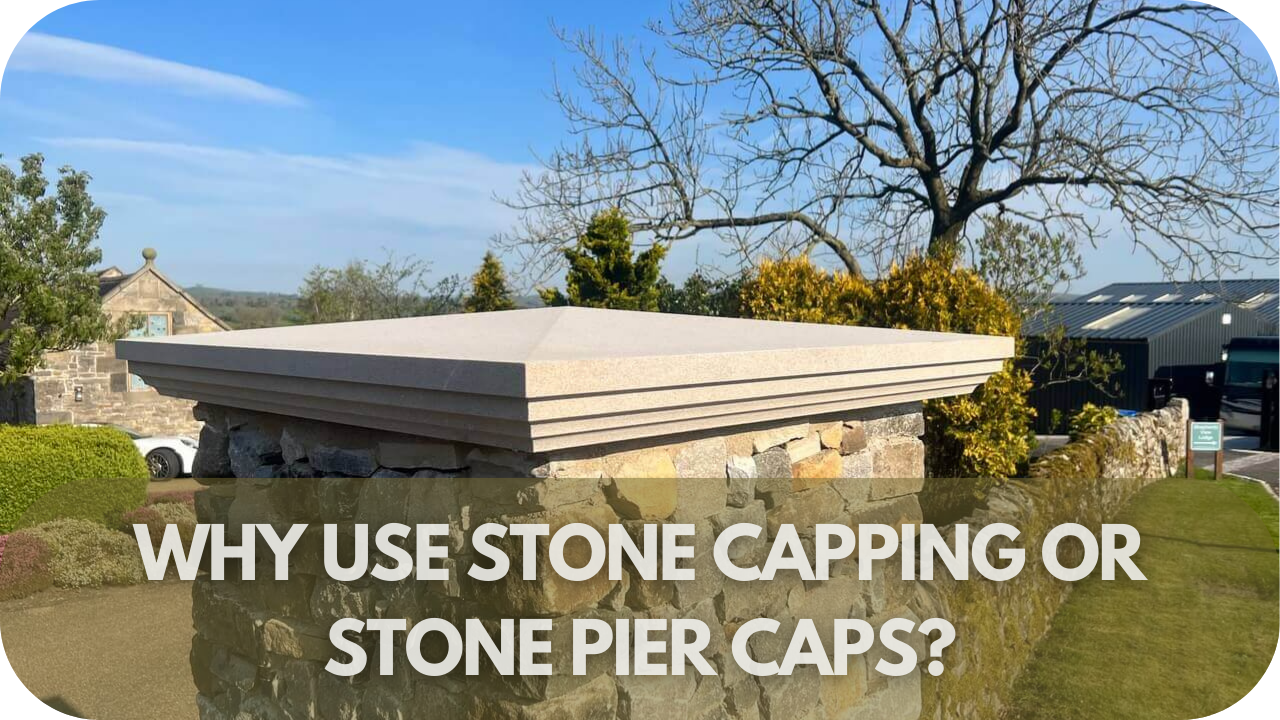
Stone capping, or stone pier caps, is essential to masonry structures like walls, columns, and piers. These stone tops enhance the aesthetic appeal of outdoor features and provide vital protection against weathering, moisture damage, and structural wear.
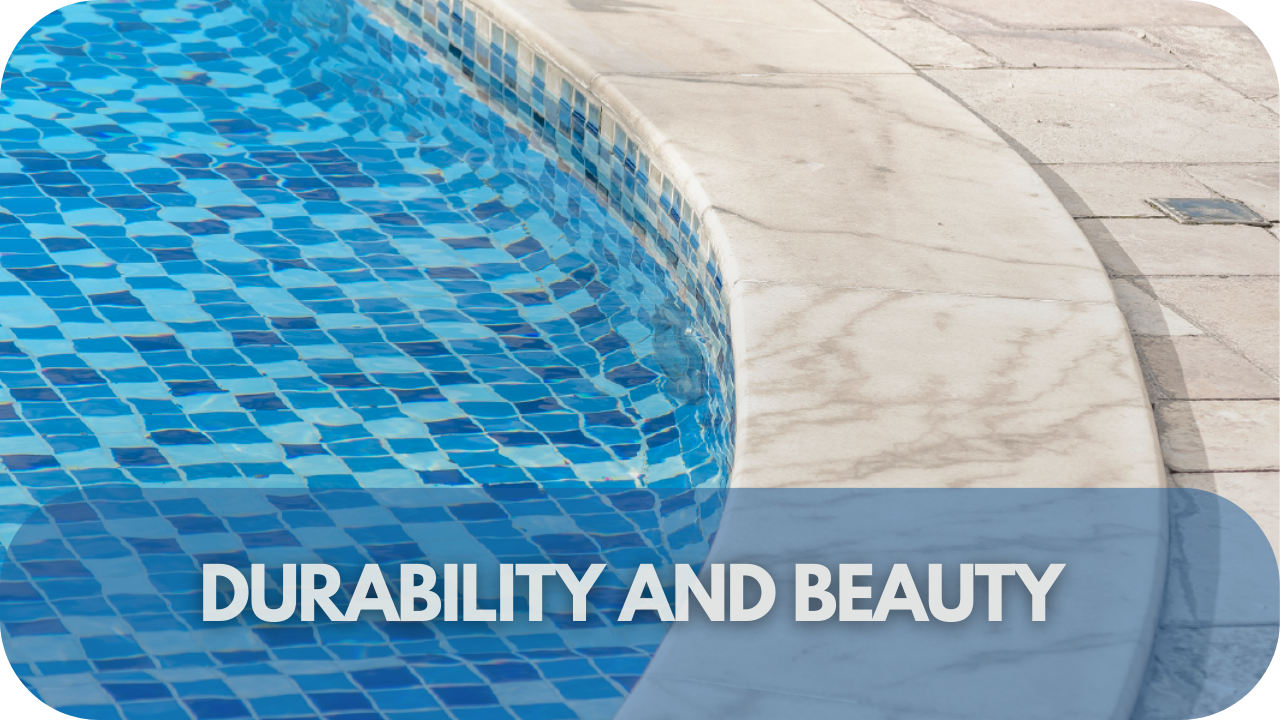
1. Durability and Protection
Stone capping provides excellent protection for masonry structures against environmental damage. Rain, snow, and fluctuating temperatures can cause significant harm over time, leading to erosion, cracking, or deterioration of walls, columns, and piers.
Stone caps prevent water from seeping into the tops of these structures, helping avoid moisture-related damage like freeze-thaw cycles, a common problem in colder climates. The weight and density of stone naturally protect against the elements, acting as a shield to preserve the integrity of the underlying masonry.
Stone caps divert water from sensitive areas, preventing pooling and structural weakening.
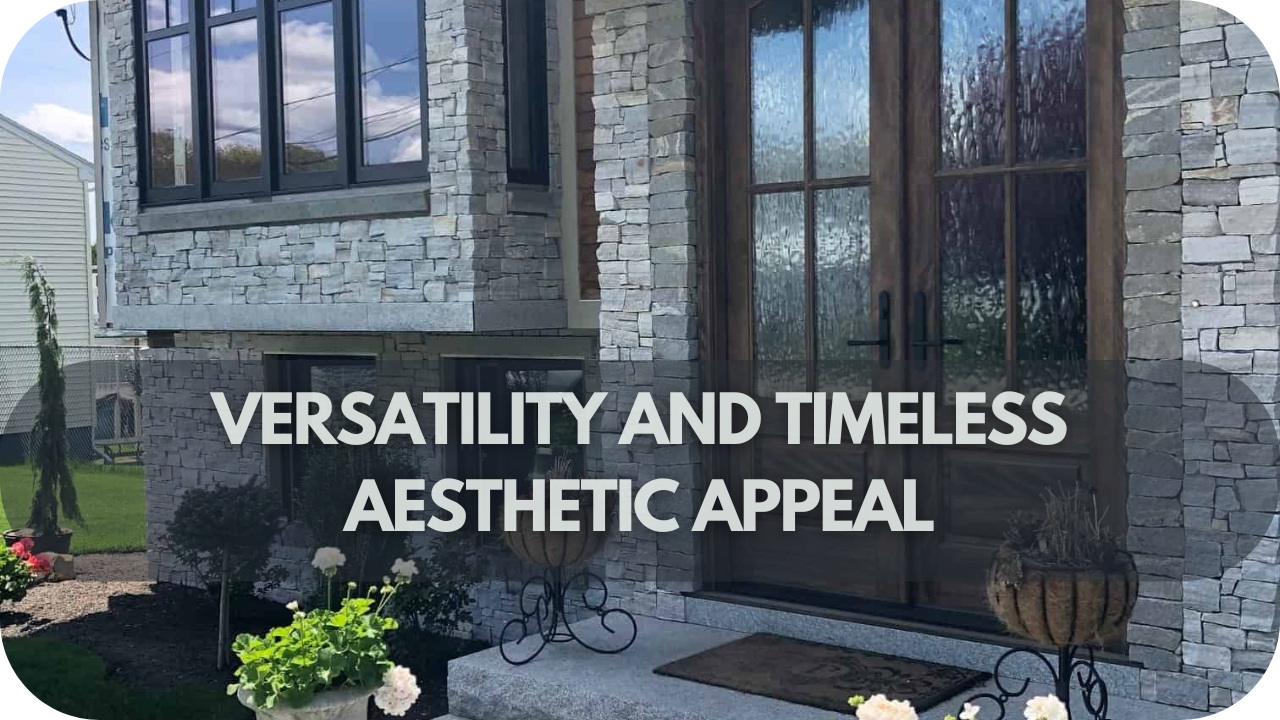
2. Aesthetic Appeal
Stone capping adds a sophisticated and polished finish to any stone wall, column, or pier. It’s an effective way to enhance the visual appeal of outdoor structures. With various styles, shapes, and finishes available—from smooth, polished surfaces to natural, textured stones—stone caps can complement any architectural or landscape design.
Whether used on gate posts, garden walls, or boundary fences, stone gives a neat, refined appearance that elevates the overall look of the space.
With its unique grain patterns and colour variations, the stone’s natural beauty contributes an organic, timeless charm, perfectly balancing functionality and aesthetics.
3. Structural Integrity
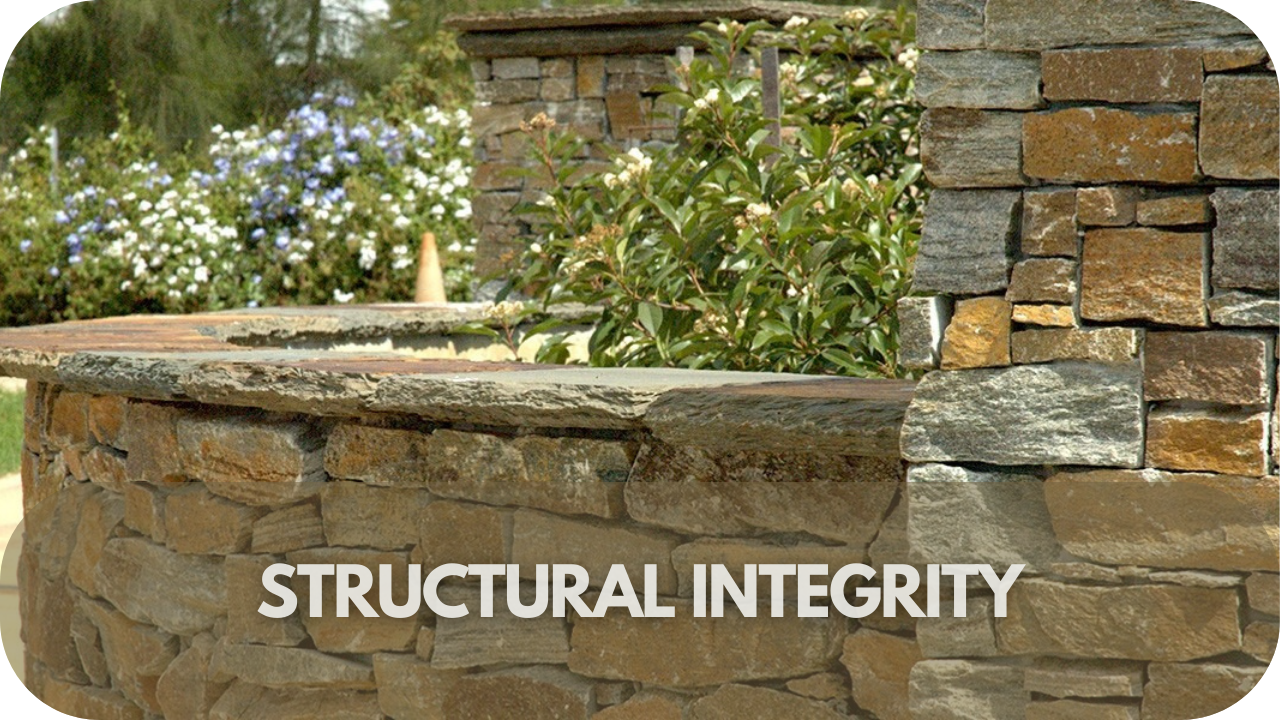
Stone caps are crucial in maintaining the structural integrity of walls, piers, and columns. Distributing weight evenly prevents pressure from concentrating at the top of the structure, reducing the risk of cracks and damage.
This is particularly important in tall columns or walls subjected to heavy loads or external forces like wind or impact. Stone capping also shields the top from water infiltration, which could weaken the underlying structure over time.
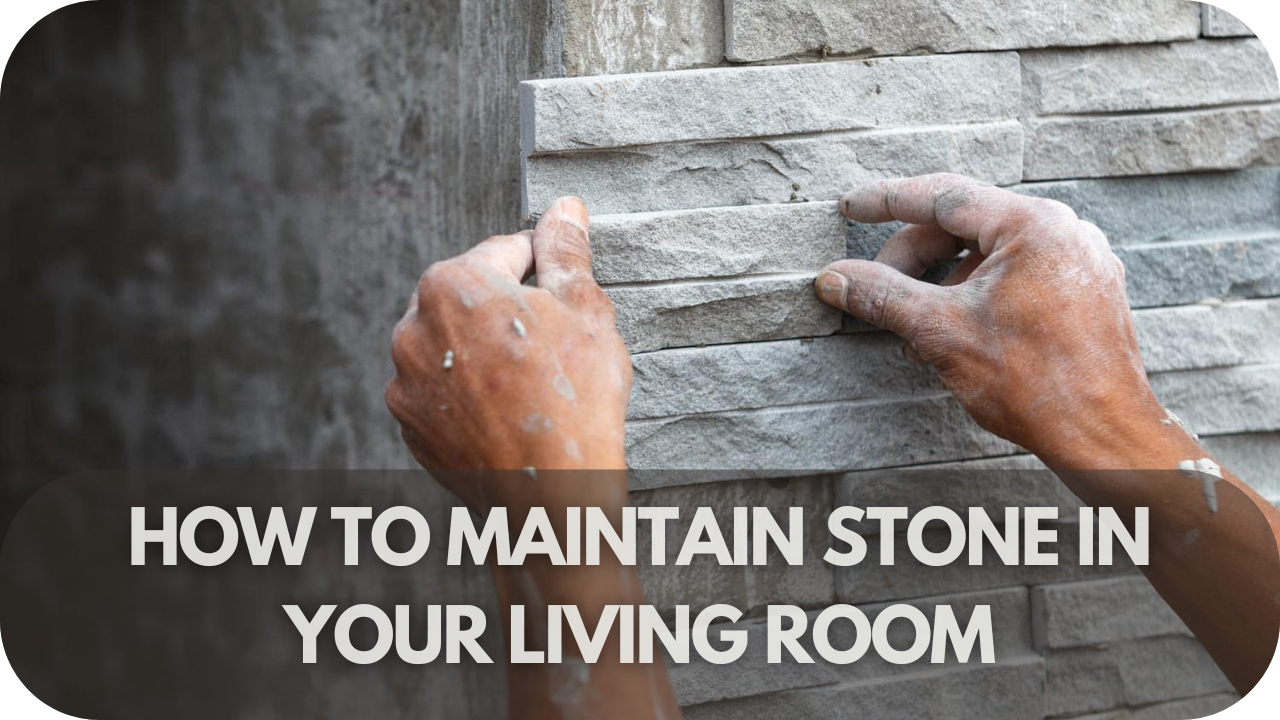
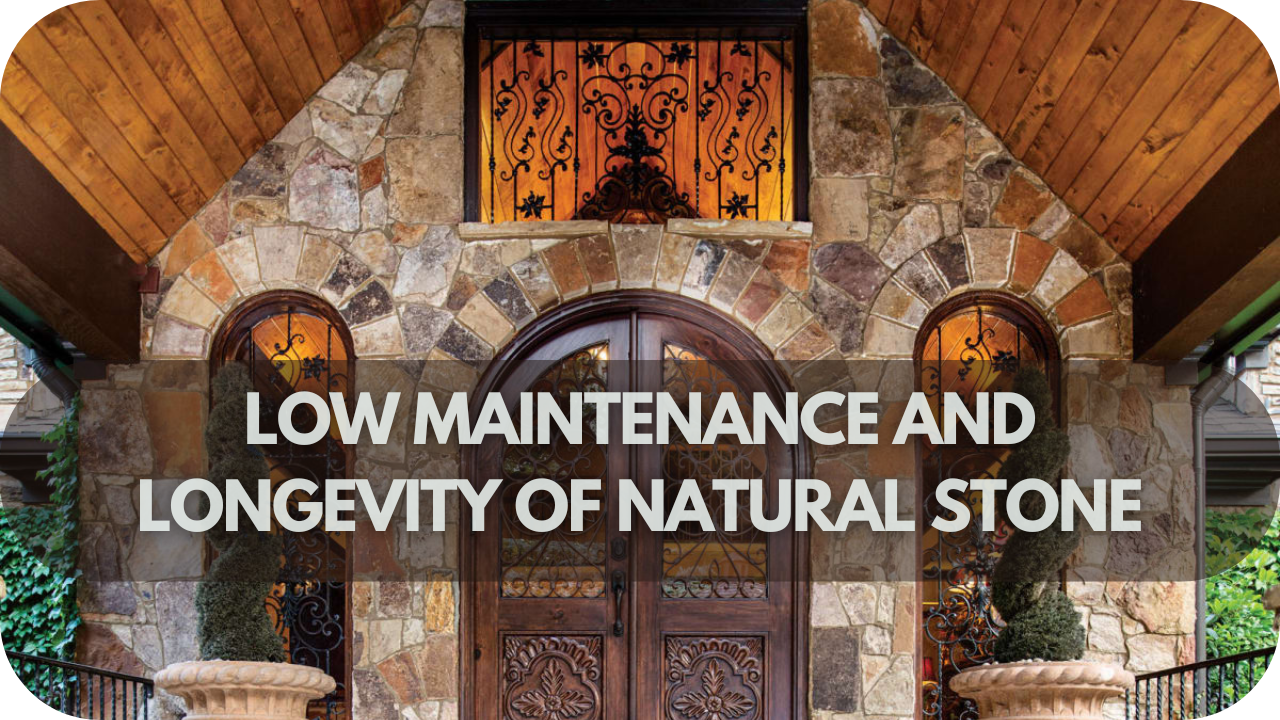
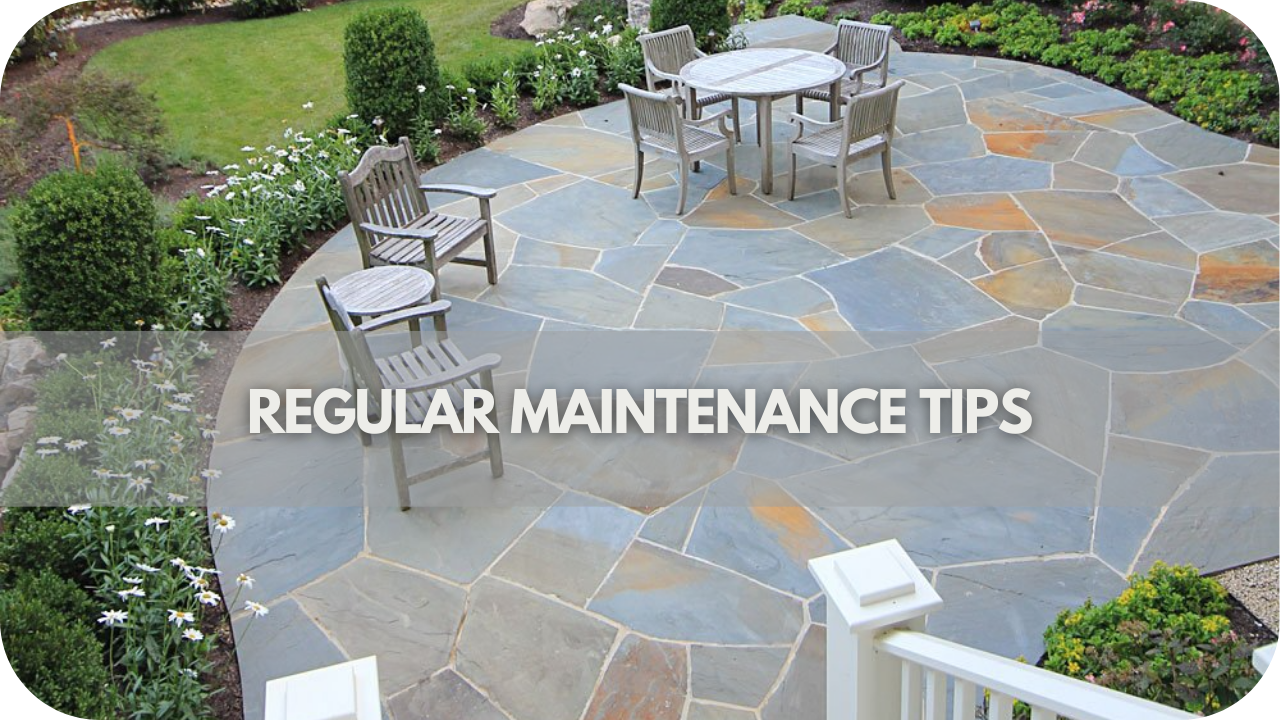
4. Low Maintenance
One key benefit of using stone capping is its low maintenance. Unlike materials such as wood or metal, which require regular treatment, sealing, or repainting, stone caps are virtually maintenance-free.
Stone is naturally resistant to weathering, corrosion, and pest damage, making it a long-lasting solution. Once installed, stone caps retain their integrity and appearance without needing constant attention.
Cleaning them is simple and infrequent, requiring only periodic washing to remove debris or dirt. This low-maintenance nature makes stone capping a cost-effective option in the long run, as it reduces the need for costly repairs or replacements.
Where to Use Stone Capping or Stone Pier Caps?
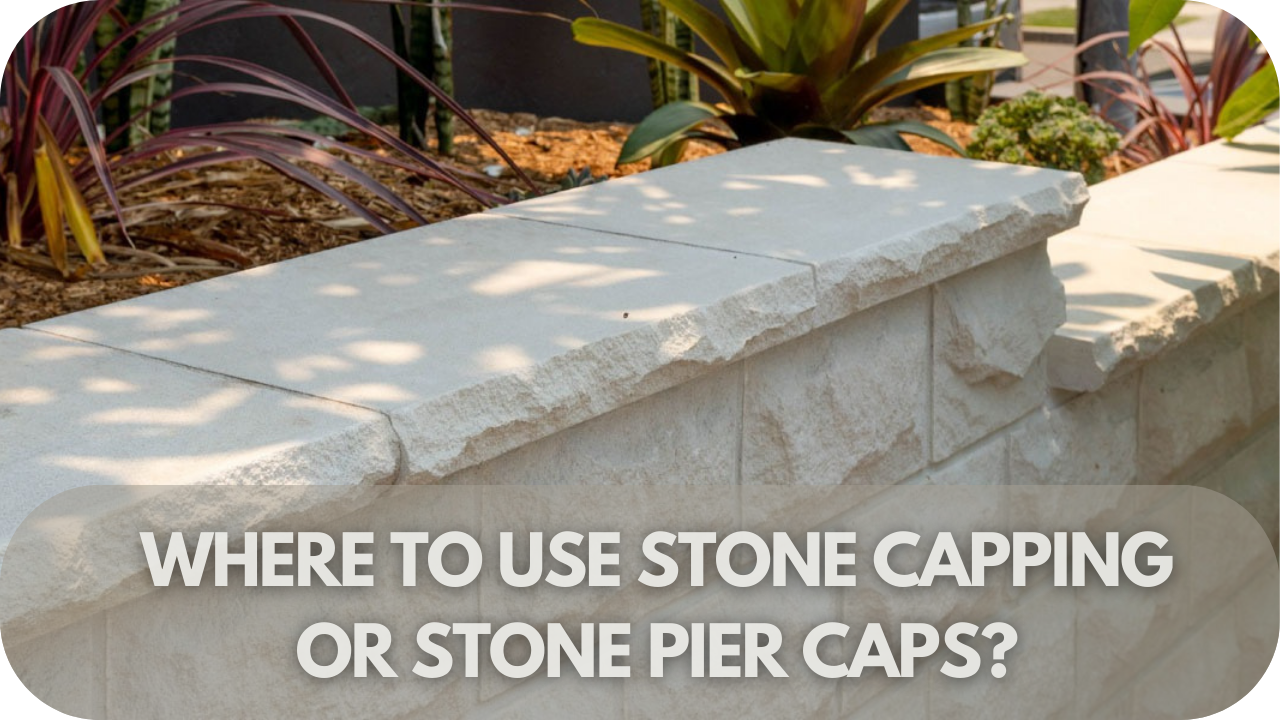
Transform your outdoor spaces with stone capping—experience how and where to use it for unmatched elegance and protection, from garden walls to driveway pillars. Ready to elevate your design?
1. Gate Posts and Pillars
Stone capping is famous for gate posts and pillars, especially at property entrances. These structures are often focal points, and adding stone caps gives them a refined, finished look.
Stone’s durability also protects the tops of gate posts from weathering, which is particularly important since these areas are exposed to the elements. Whether you’re framing a grand driveway or a garden entrance, stone pier caps add both protection and elegance, enhancing curb appeal while ensuring longevity.
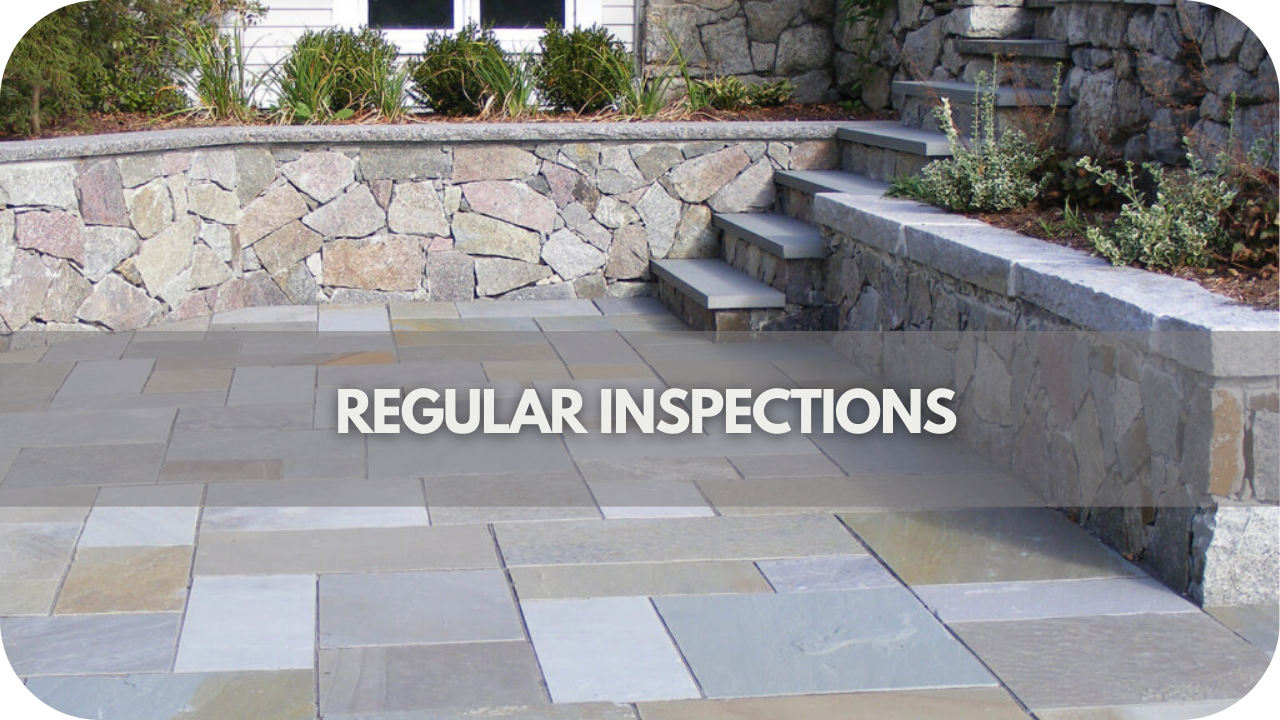
2. Garden Walls and Retaining Walls
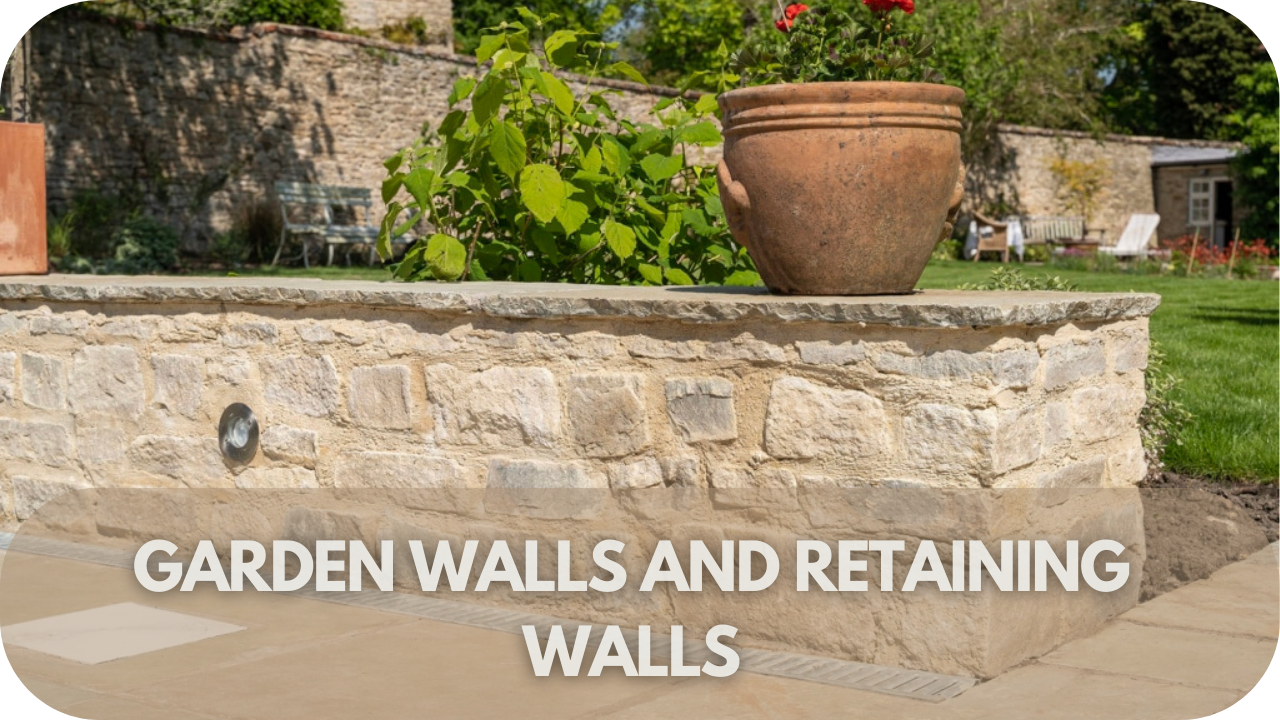
Garden and retaining walls are essential for landscaping structures, but they are also susceptible to damage from water and the elements. Stone capping provides a protective barrier at the top, preventing moisture from seeping into the wall, which can cause erosion or cracking over time.
It also adds a finished, polished look to the wall, complementing its design. Whether used on decorative garden walls or functional retaining walls that hold soil, stone capping enhances these structures’ durability and aesthetic value.
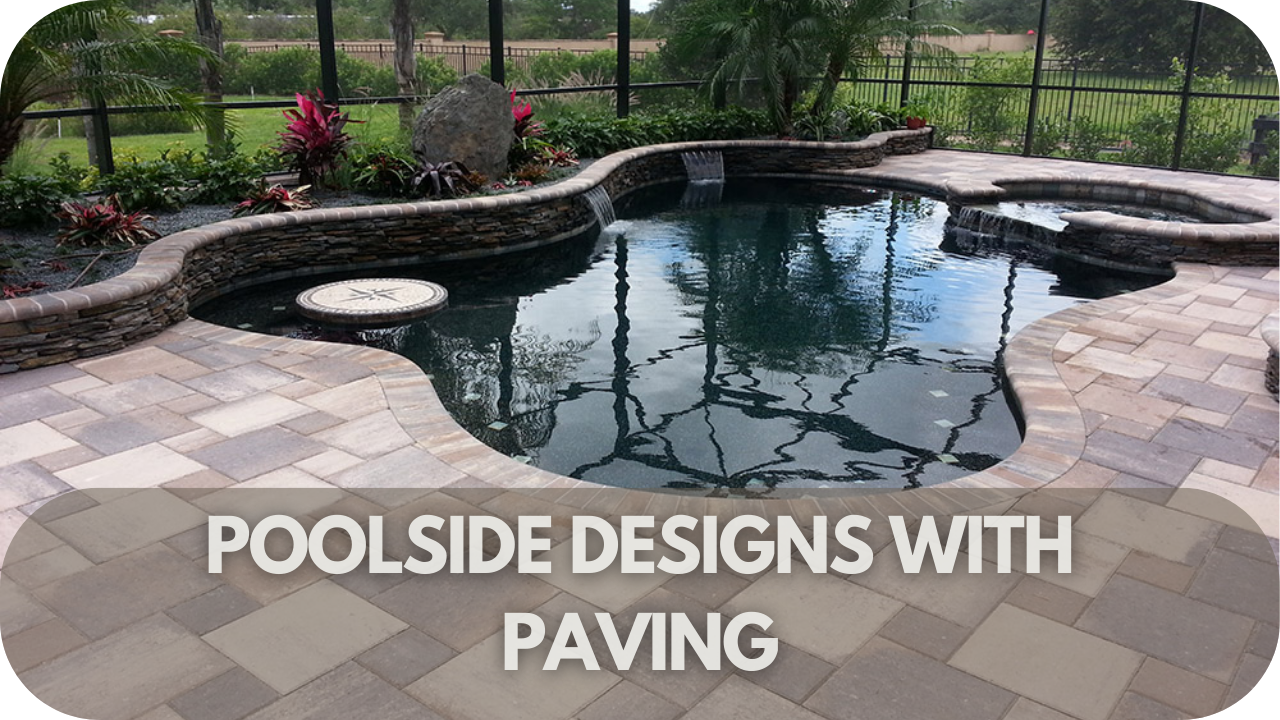
3. Driveways and Pathways
Stone capping is often used for posts and pillars along driveways and pathways. These pillars help define the entrance and edges of the path, and the addition of stone caps adds sophistication.
Stone’s durability also protects the tops of posts from weathering and impact, particularly in high-traffic areas. Whether used on ornate columns at the entrance to your driveway or as part of a decorative feature along a garden pathway, stone caps create a cohesive and stylish look while preserving the structure’s integrity.
4. Fencing and Boundary Walls
Stone capping is commonly applied to the tops of fences and boundary walls to offer aesthetic appeal and functional protection. The caps prevent rainwater from infiltrating the wall’s top, which can lead to damage over time.
Whether your fencing is made of stone, brick, or concrete, stone caps help protect the structure and provide a finished, elegant appearance. They also enhance privacy by adding height and definition to the wall, making them an excellent choice for boundary fences around gardens or properties.
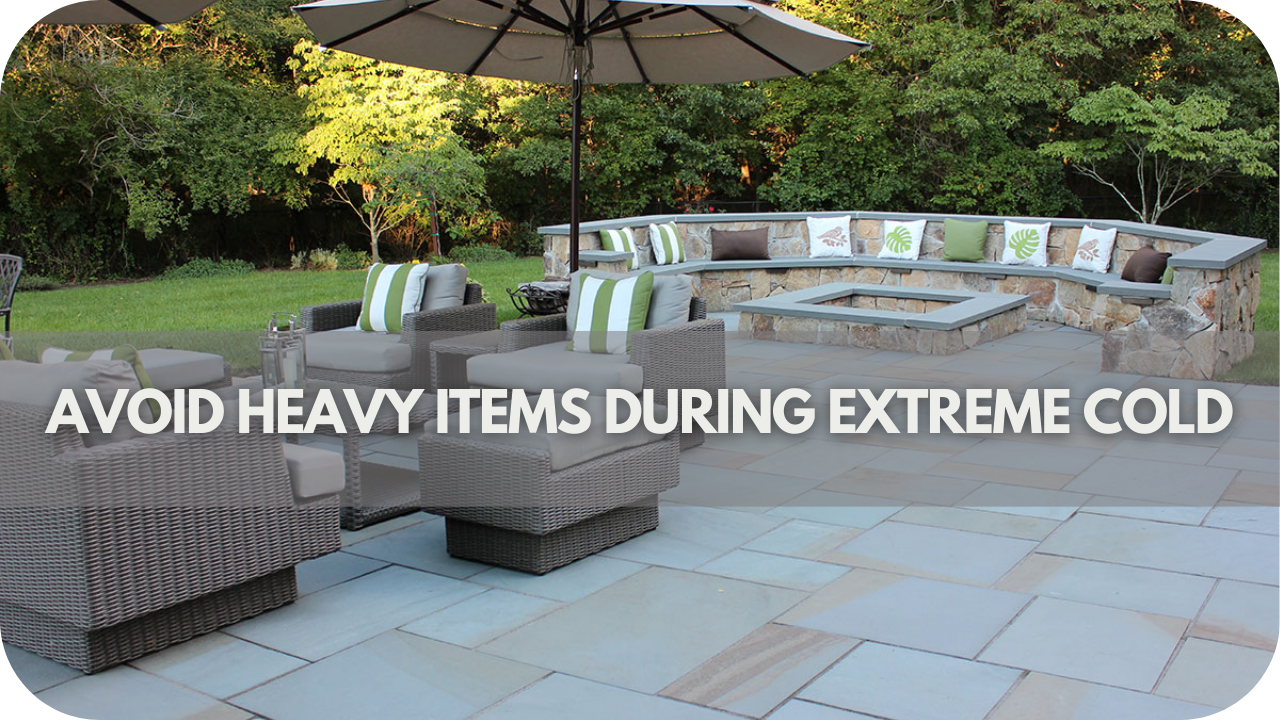
5. Landscaping Feature.
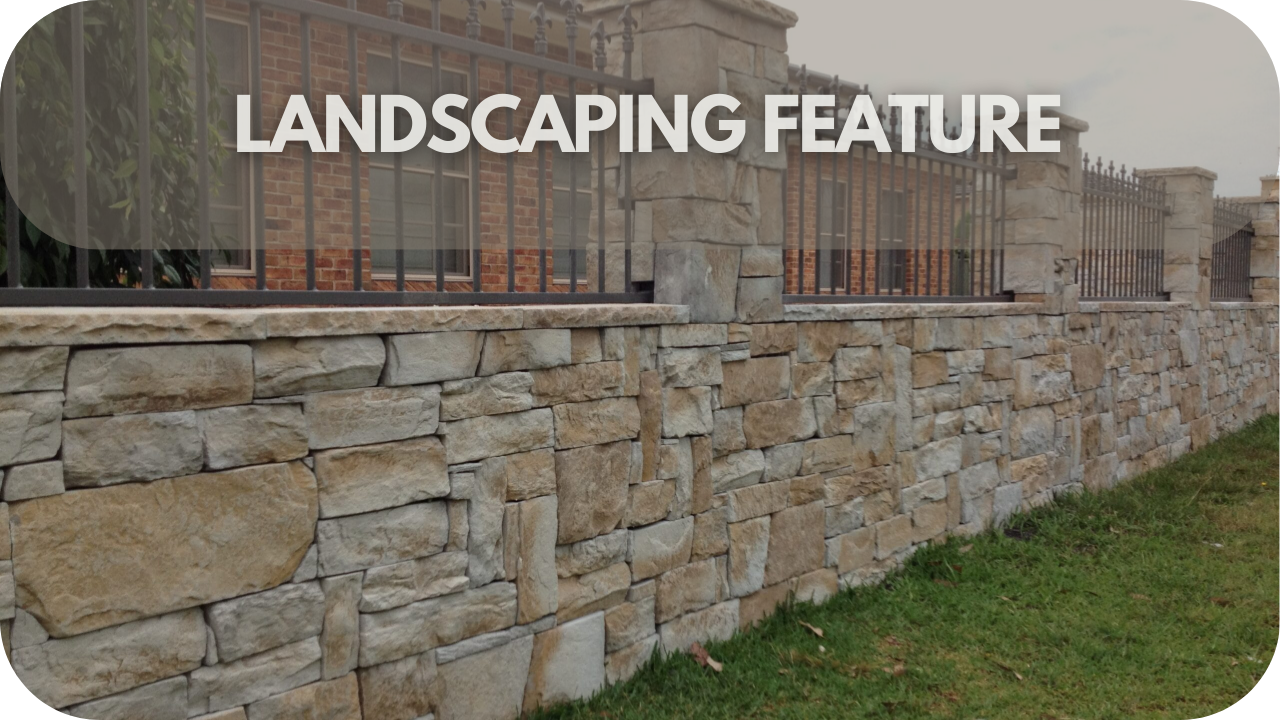
Stone caps are ideal for landscaping features like stone columns, garden planters, and raised flower beds. These features often need extra protection from the elements, and stone capping prevents soil erosion, water damage, or plant overgrowth from affecting the structure.
Stone caps add a decorative element to the garden, seamlessly blending with the natural surroundings. Whether used on a decorative stone column or a raised planter, stone capping enhances the overall aesthetic while ensuring the longevity of these landscaping elements.
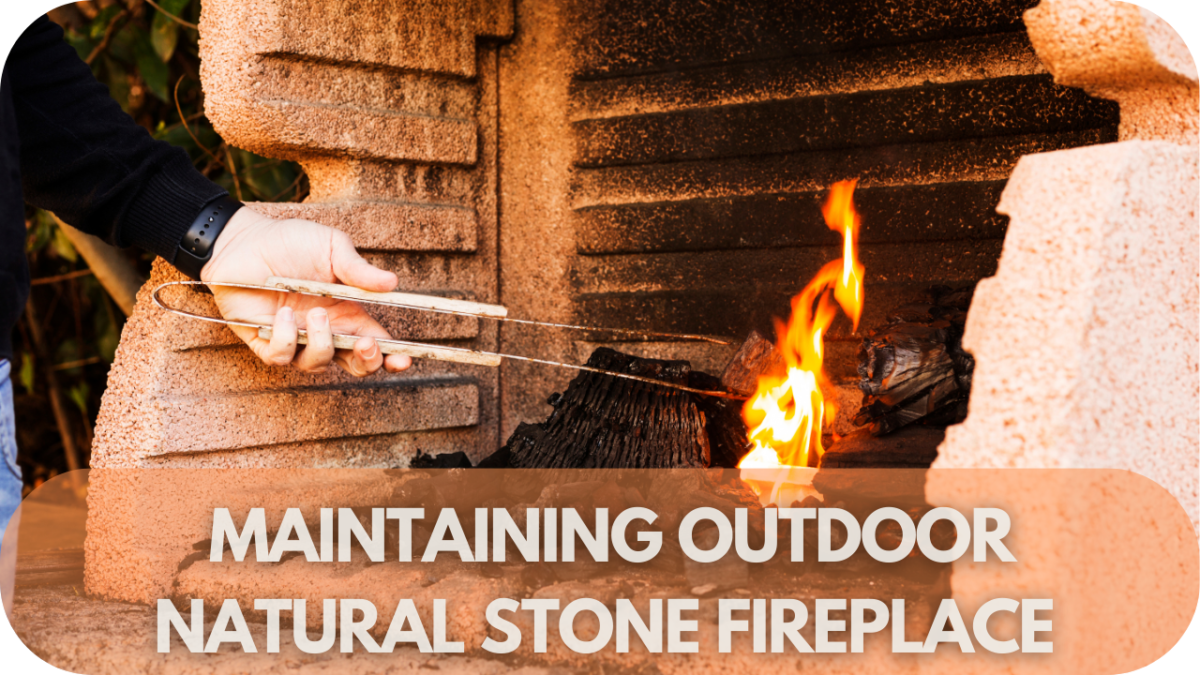
6. Architectural Details on Homes
Stone capping can also be used as an architectural detail on homes, particularly on stone or brick columns, railings, or edges of balconies and staircases. It caps off the tops of these structures with a polished, professional finish, enhancing the home’s overall exterior design.
Stone caps improve the appearance of architectural features and protect them from weather damage and decay, ensuring they remain strong and visually appealing for many years. Adding stone capping to your home’s exterior can significantly elevate its curb appeal and value.
Benefits of Using Stone Capping and Pier Caps
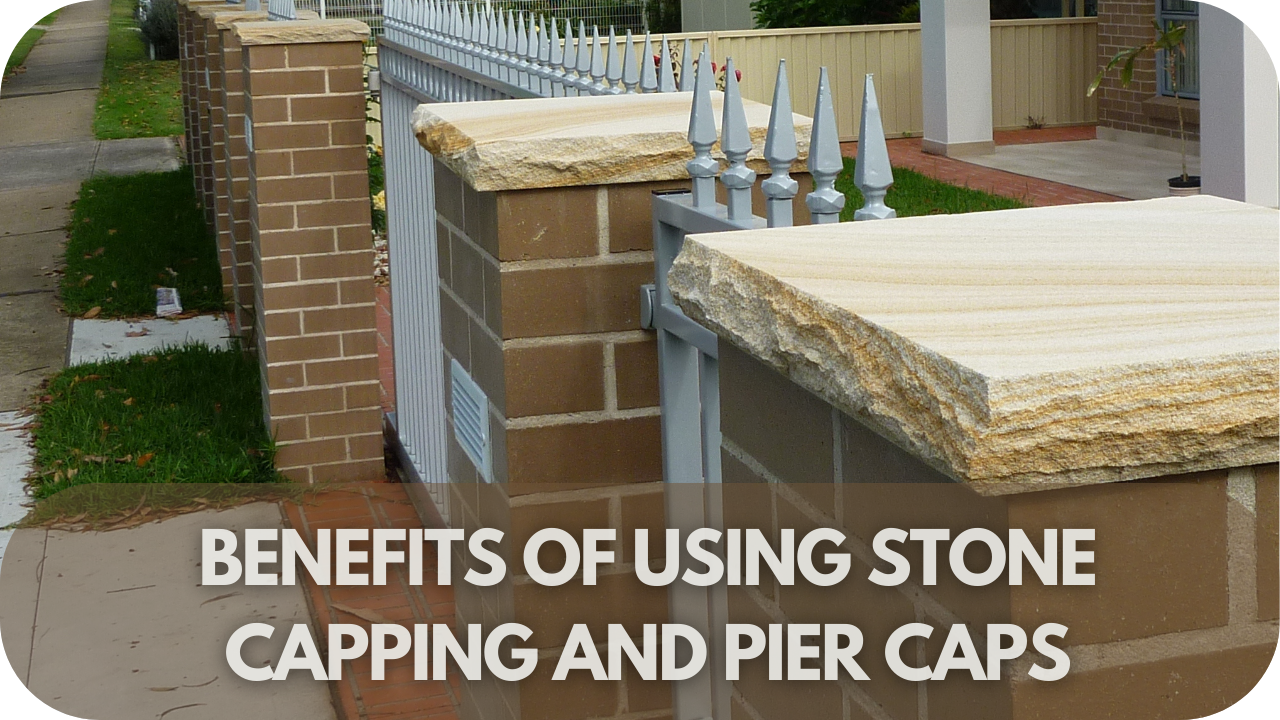
Investing in stone capping and pier caps isn’t just about aesthetics – it’s about fortifying your property and adding long-term value. Here’s why these seemingly simple additions are a must-have:
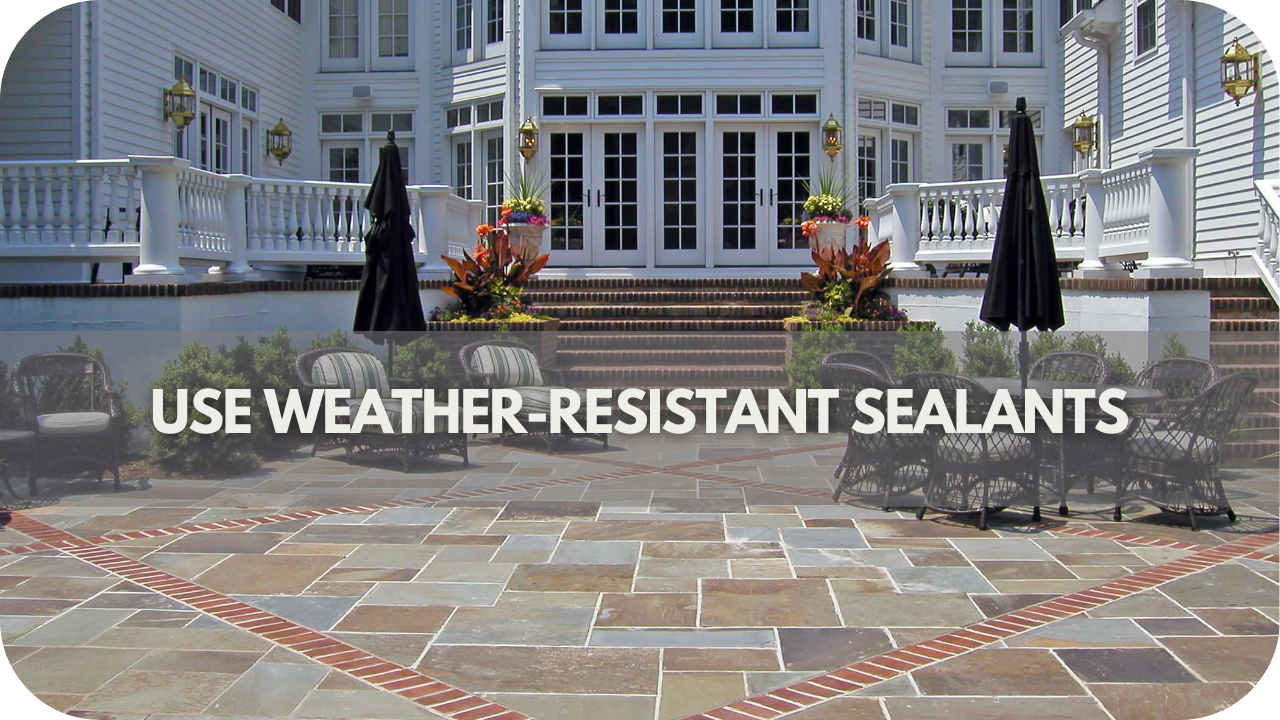
- Weather Warriors: Stone capping acts as a shield, deflecting rain and snow away from vulnerable wall surfaces. This prevents water damage, erosion, and staining, ensuring your walls stand firm against the elements.
- Structural Guardians: Pier caps provide crucial support for both walls and gates. They distribute weight evenly, preventing cracks and instability, especially in areas prone to ground movement.
- Timeless Beauty: Beyond function, stone capping and pier caps elevate your property’s appearance. Their natural elegance complements various architectural styles, adding a touch of sophistication and charm.
- Low Maintenance Luxury: Once installed, stone capping and pier caps require minimal upkeep. They resist fading, cracking, and chipping, maintaining their pristine look for years.
- Return on Investment: These features enhance curb appeal and boost your property’s value. Potential buyers are drawn to well-maintained exteriors, making your investment wise.
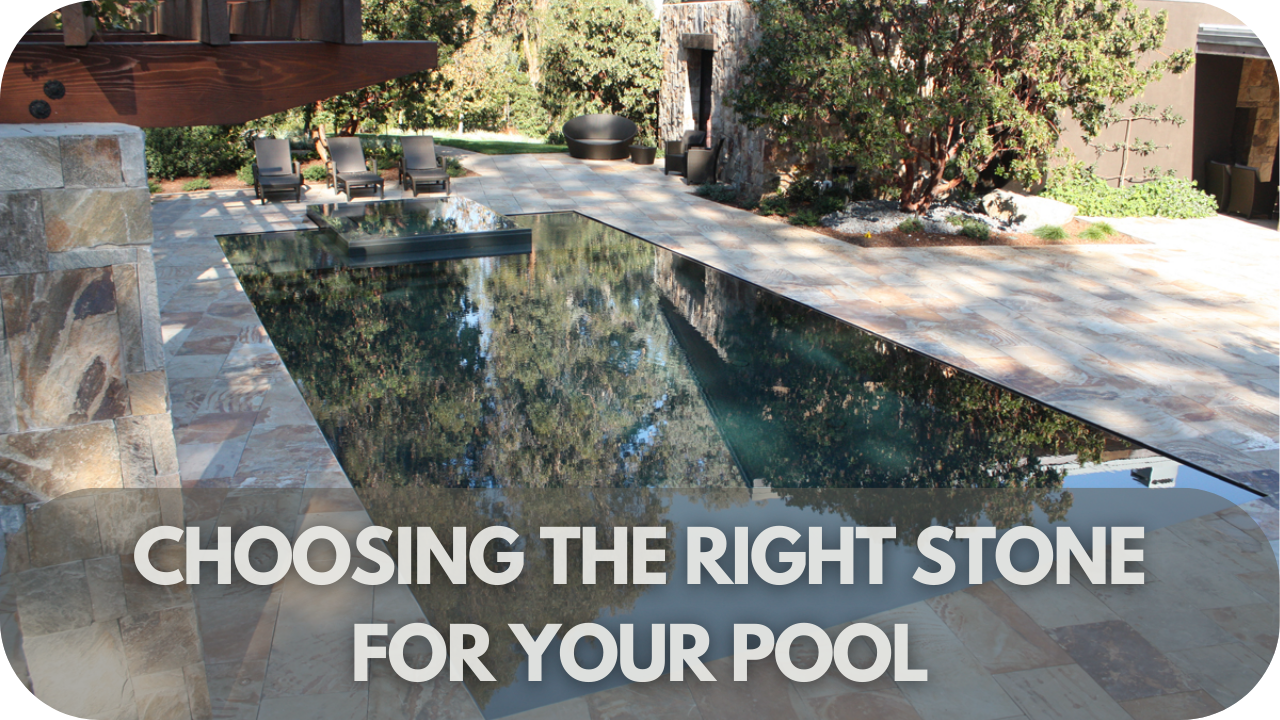
Choosing the Right Stone Capping and Pier Caps

Choosing the correct stone capping and pier caps can feel overwhelming, but with a few key considerations, you’ll find the perfect match for your project.
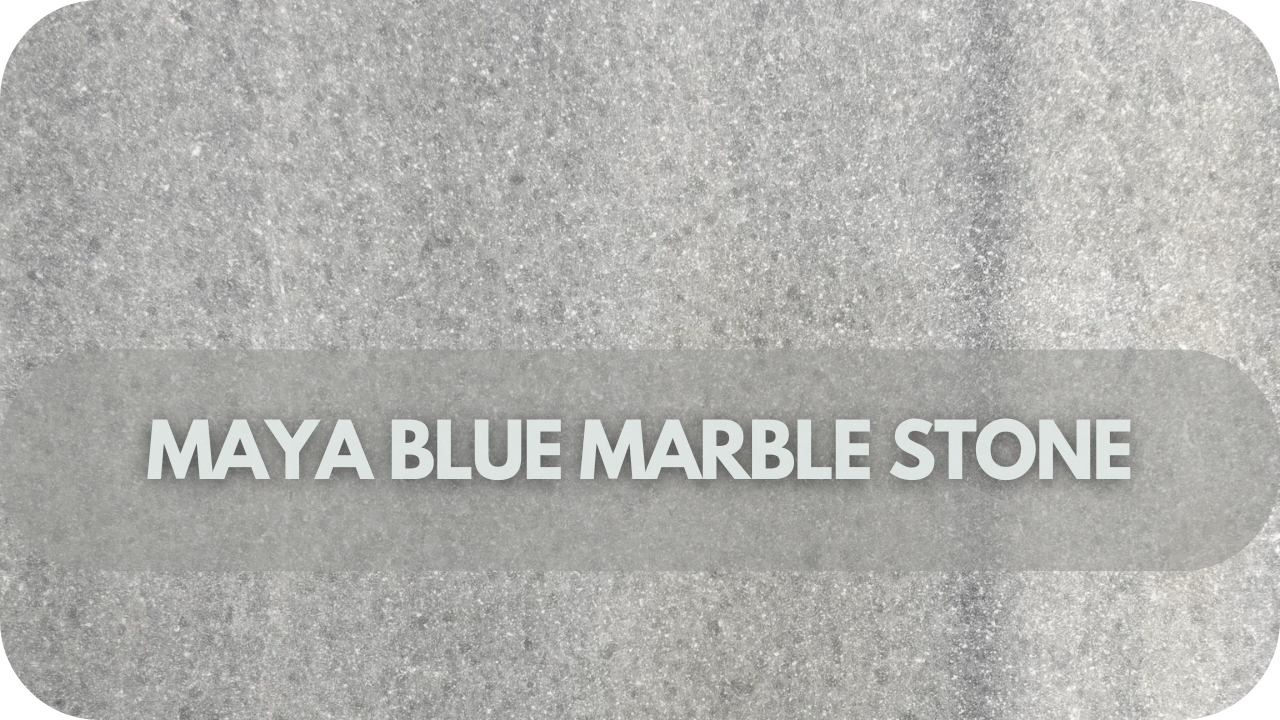
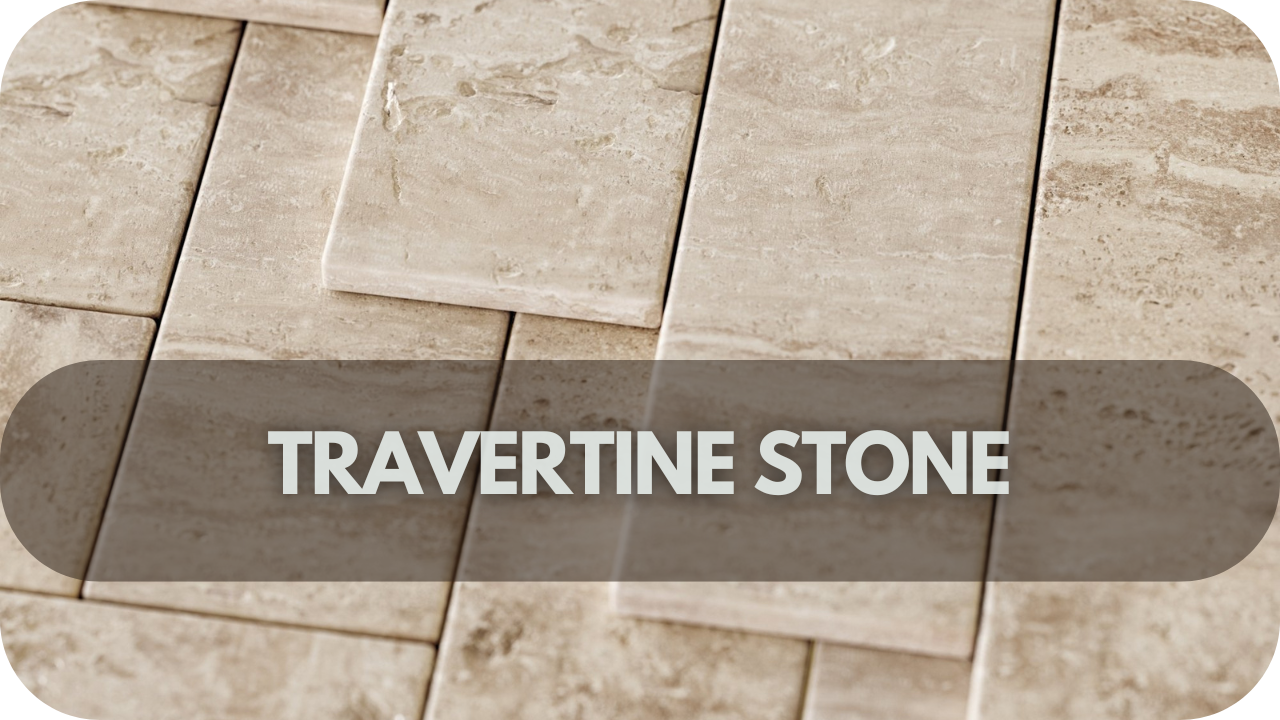
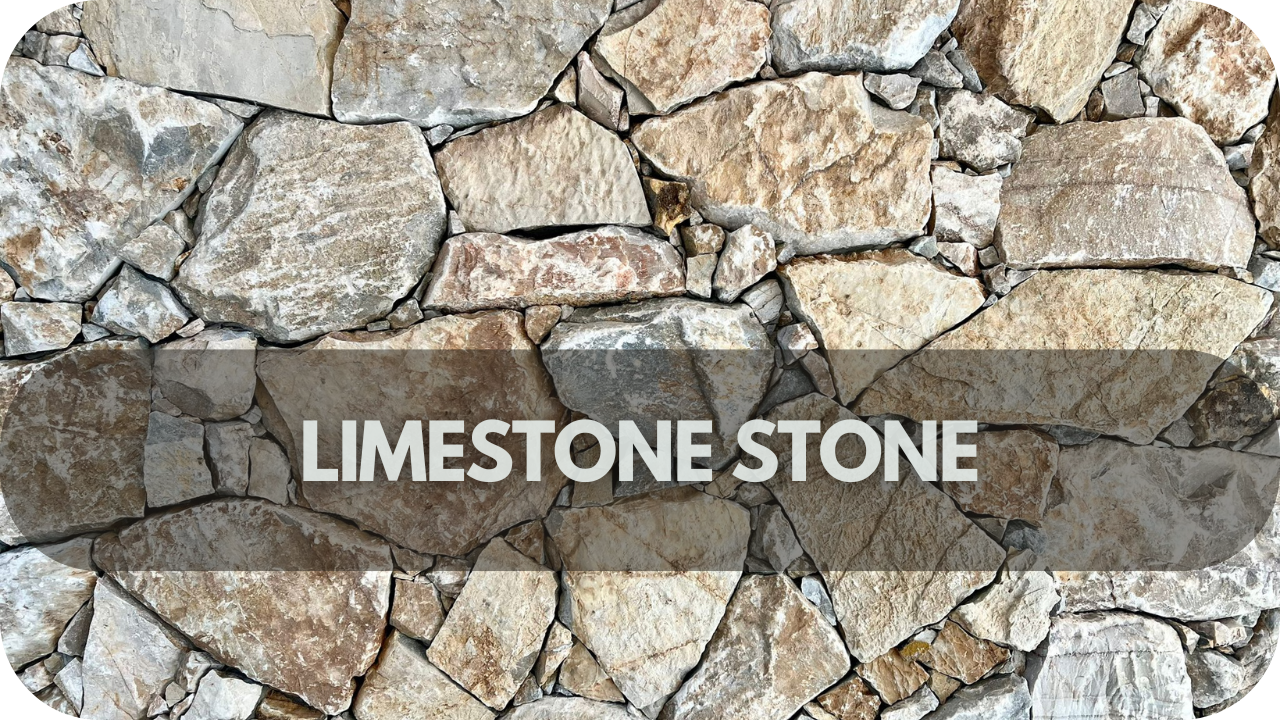
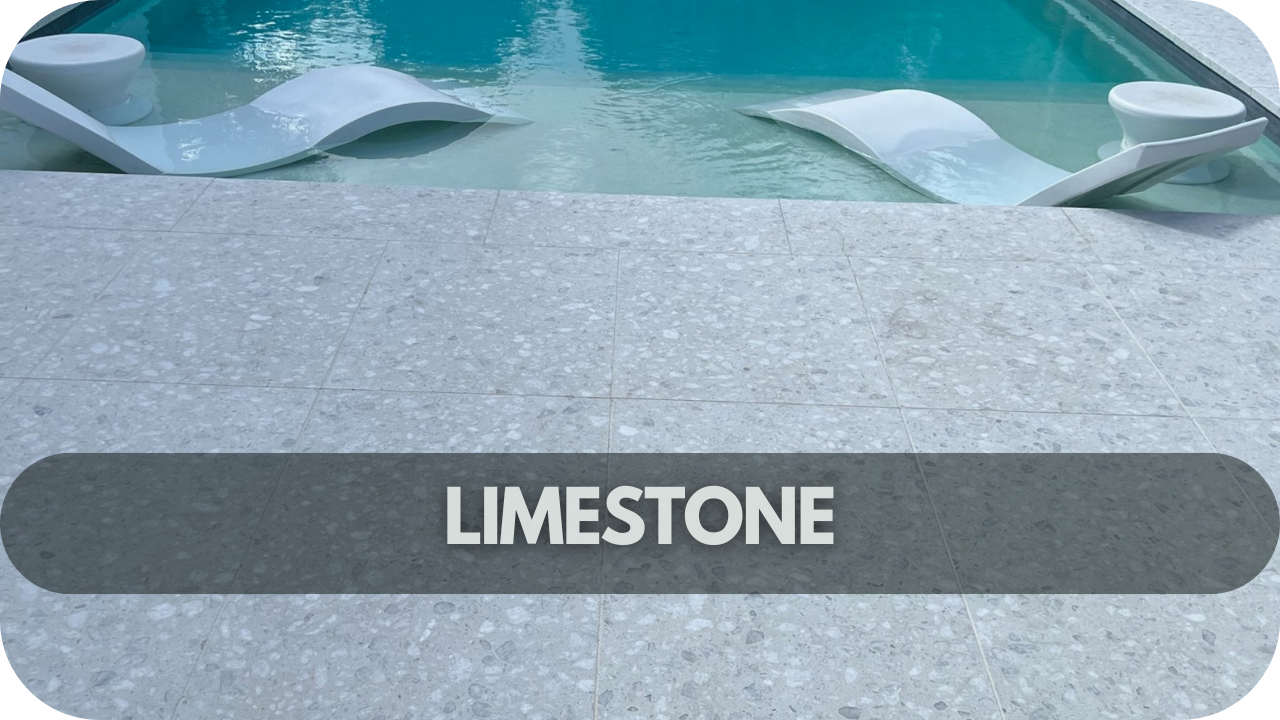
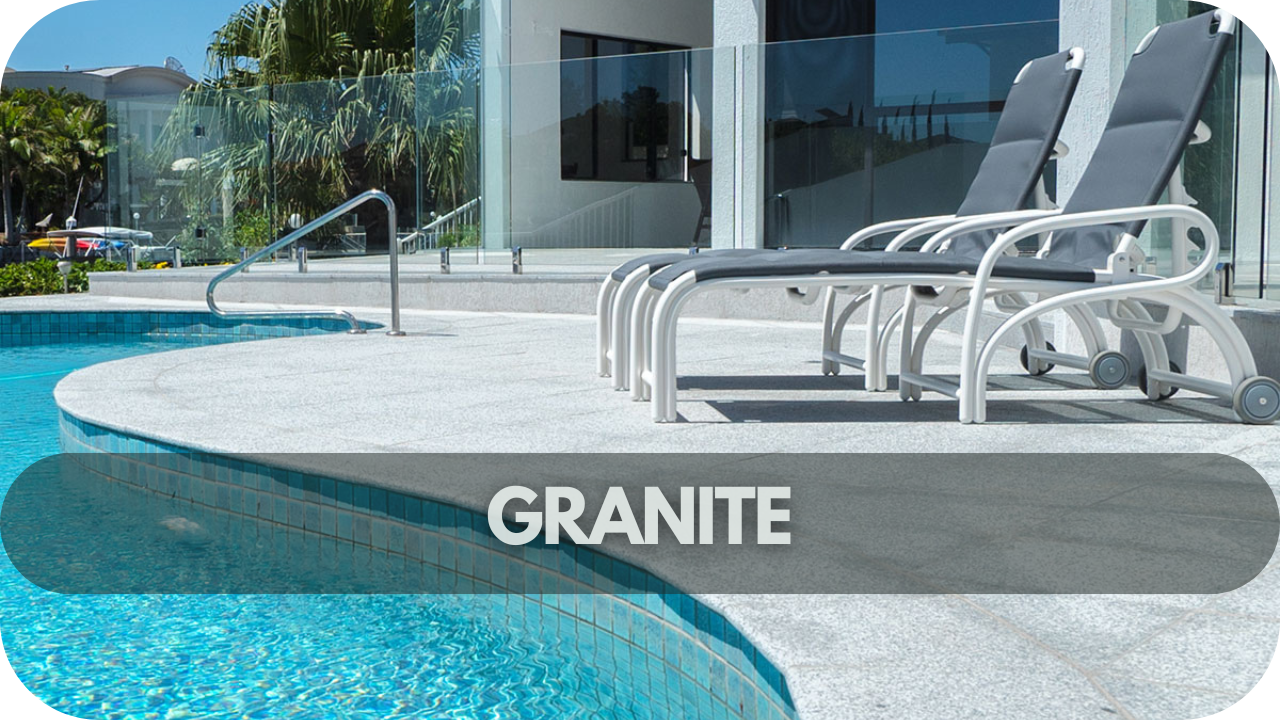
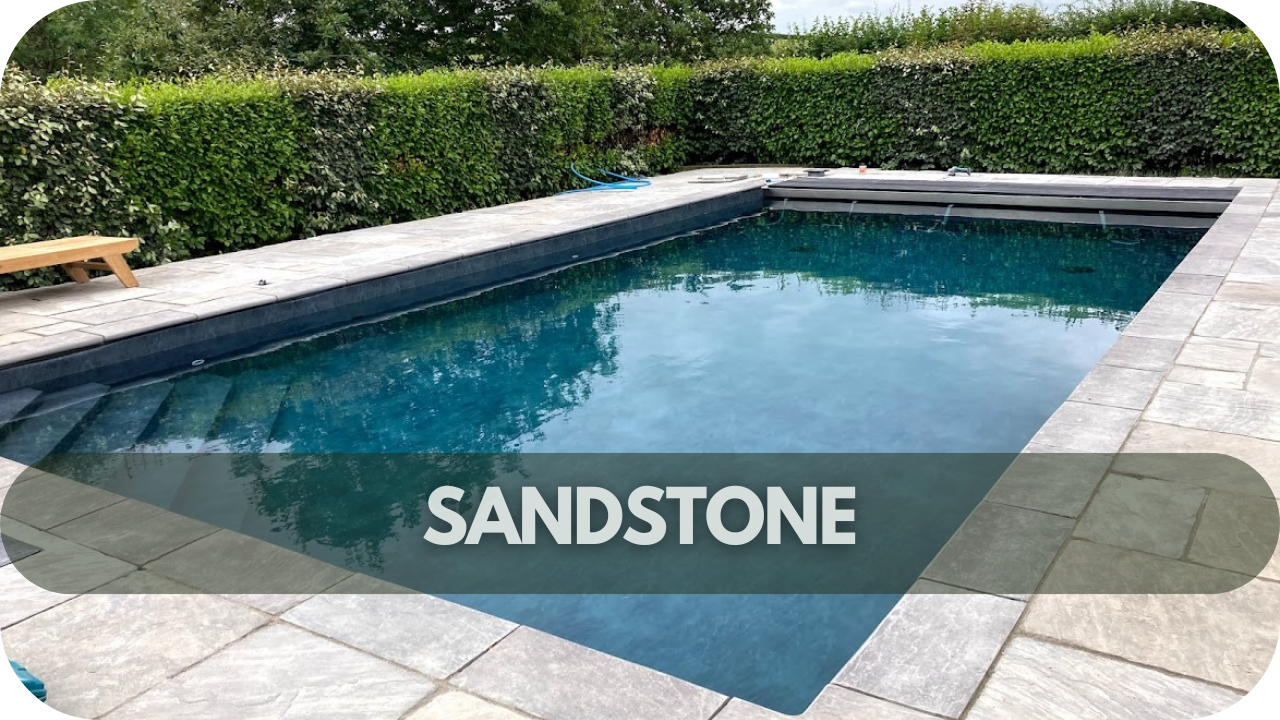
- Material Matters: Consider the material of your existing structure. Matching or complementing materials creates a cohesive look. For instance, sandstone capping beautifully complements sandstone walls.
- Style Statement: Choose a style that complements your property’s architecture. Traditional homes often feature ornate pier caps, while modern designs benefit from sleek, minimalist options.
- Size and Shape: Ensure the dimensions of your chosen capping and pier caps are proportionate to the structures they’ll adorn. Oversized or undersized options can look awkward.
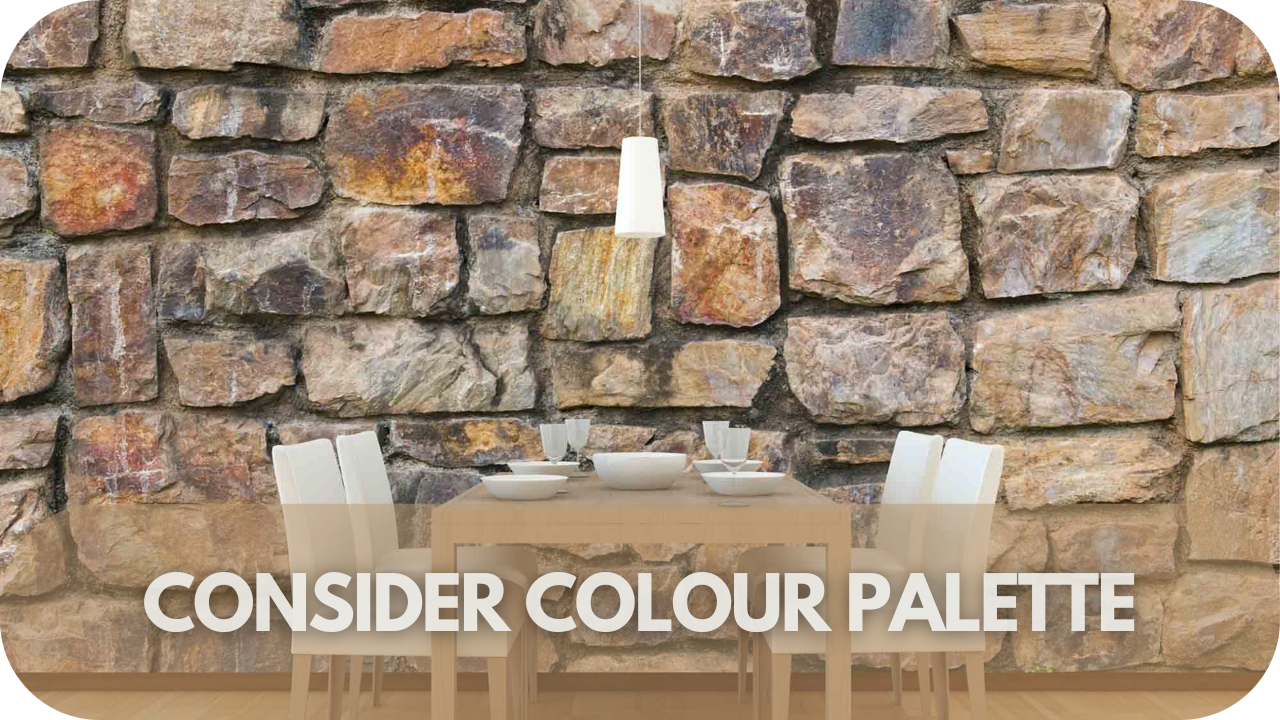
- Colour Coordination: Select colours that harmonise with your existing colour palette. Earthy tones like browns and greys offer versatility, while bolder colours create a statement.
- Budget-Friendly: Stone capping and pier caps come in various price ranges. Set a budget beforehand to narrow down your choices and avoid overspending.
- Professional Guidance: If unsure, seek advice from a landscape designer or stone supplier. Their expertise can help you make informed decisions based on your needs and preferences.
Conclusion
So, there you have it! Stone capping is the MVP for protecting your outdoor spaces – tough as nails and as good-looking as a sunset over Bondi.
Whether you’re sprucing up your garden walls or giving your gate posts a bit of TLC, it’s the low-maintenance hero your property deserves. No more worrying about erosion or water damage. Stick a stone cap on it, and you’re good to go – job’s a beauty!