How Long Does Travertine Last?
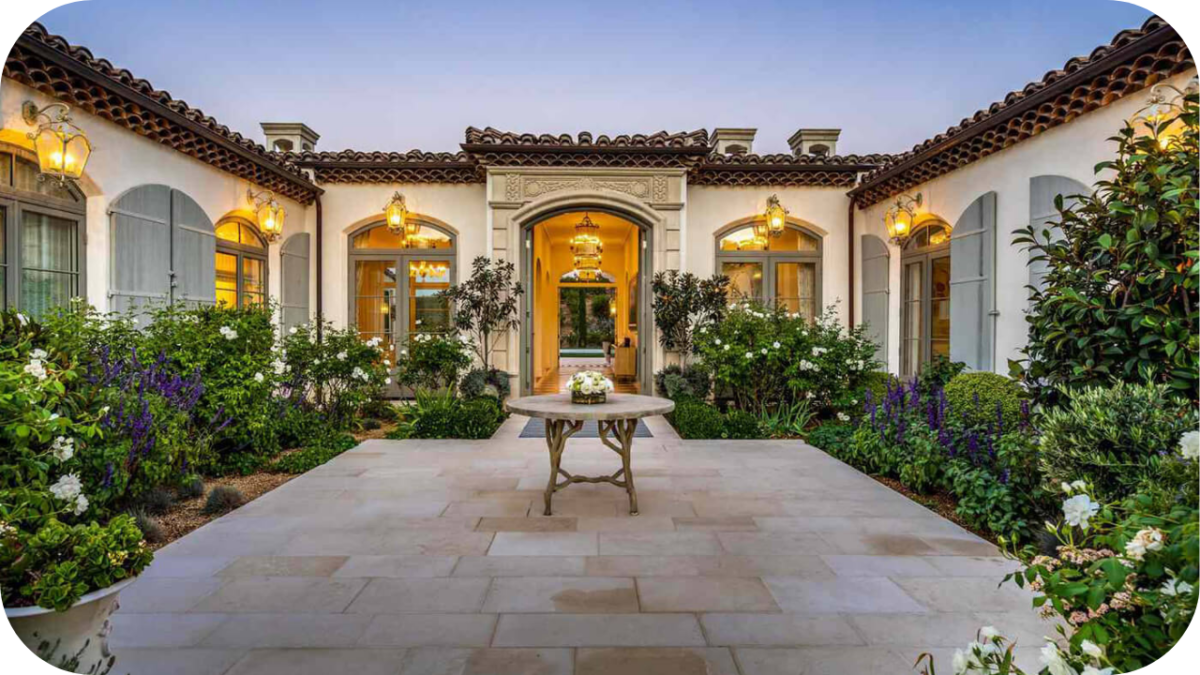
Travertine is a highly durable, natural stone commonly used in flooring, walling, and outdoor applications, offering both strength and visual appeal.
Its versatility makes it a popular choice for various residential and commercial projects. As a long-lasting material, understanding how long travertine lasts and how to properly maintain it is essential for homeowners and contractors alike.
In this article, we’ll discuss the lifespan of travertine, the key factors that affect its durability, and the best ways to ensure it remains in excellent condition for many years.
How Long Does Travertine Last?
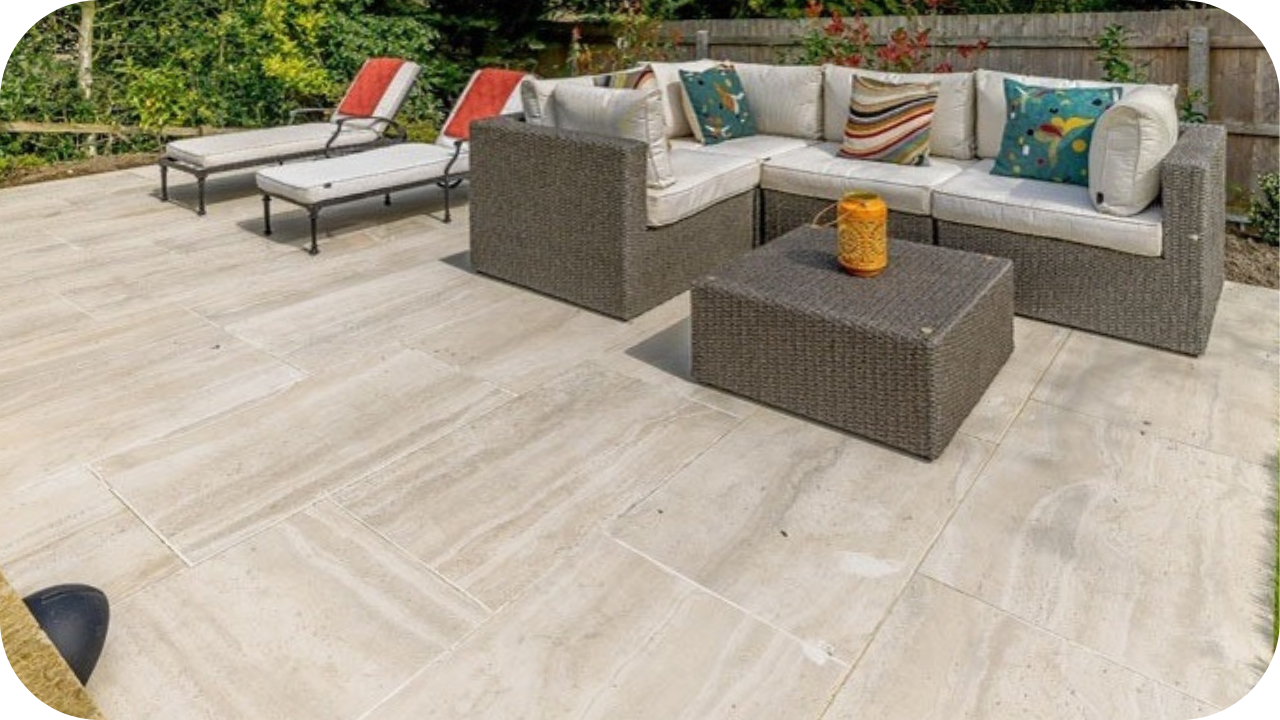
Travertine can last for decades, typically 20+ years in high-traffic areas like kitchens or hallways with proper care. Outdoor installations can last 10–20 years, depending on environmental conditions. Regular maintenance, including sealing and cleaning, as well as proper installation, are key factors that help ensure travertine stays durable, functional, and visually appealing for many years.
Factors That Affect the Lifespan of Travertine

Understanding the factors that impact the lifespan of your travertine is crucial for ensuring its long-term durability and beauty. Let’s break down the key elements that influence your travertine’s length.
1. Type of Travertine (Polished vs. Honed)
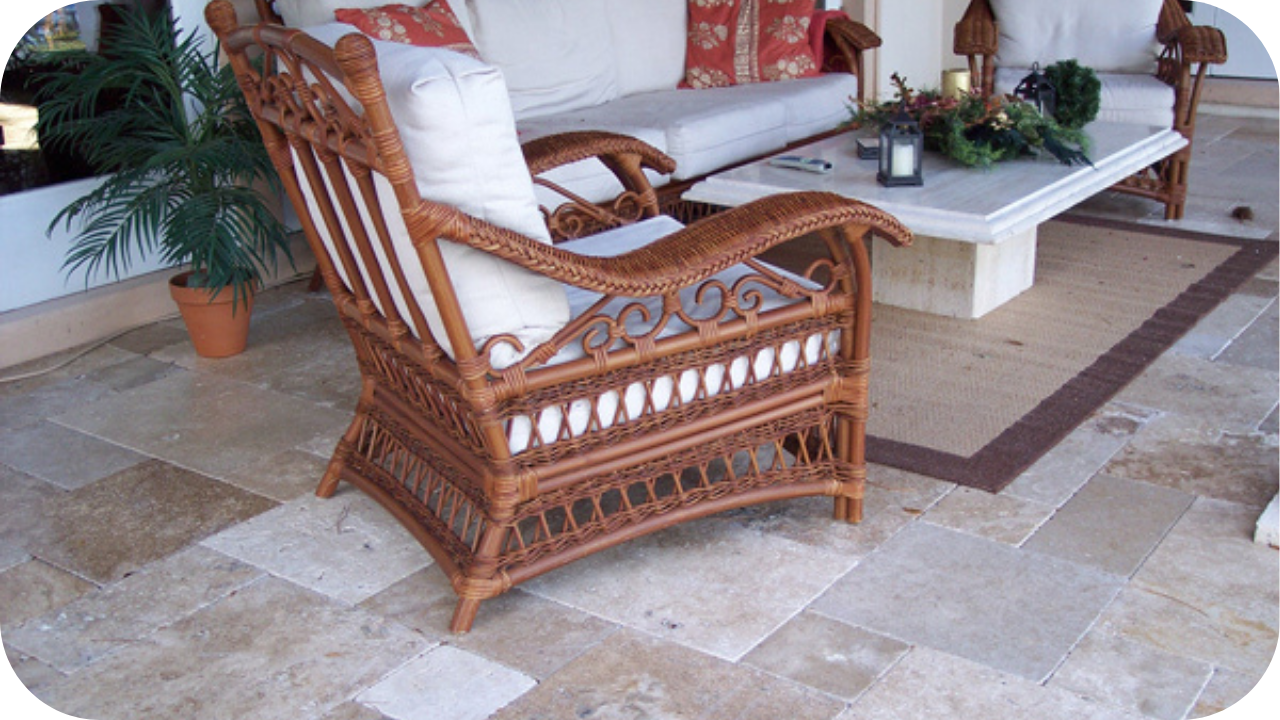
Polished travertine has a smoother, denser surface, making it less porous and more stain-resistant. Honed varieties, like Ivory, Classic, and Silver Travertine, are more porous, requiring more frequent sealing but offering better durability in high-traffic areas.
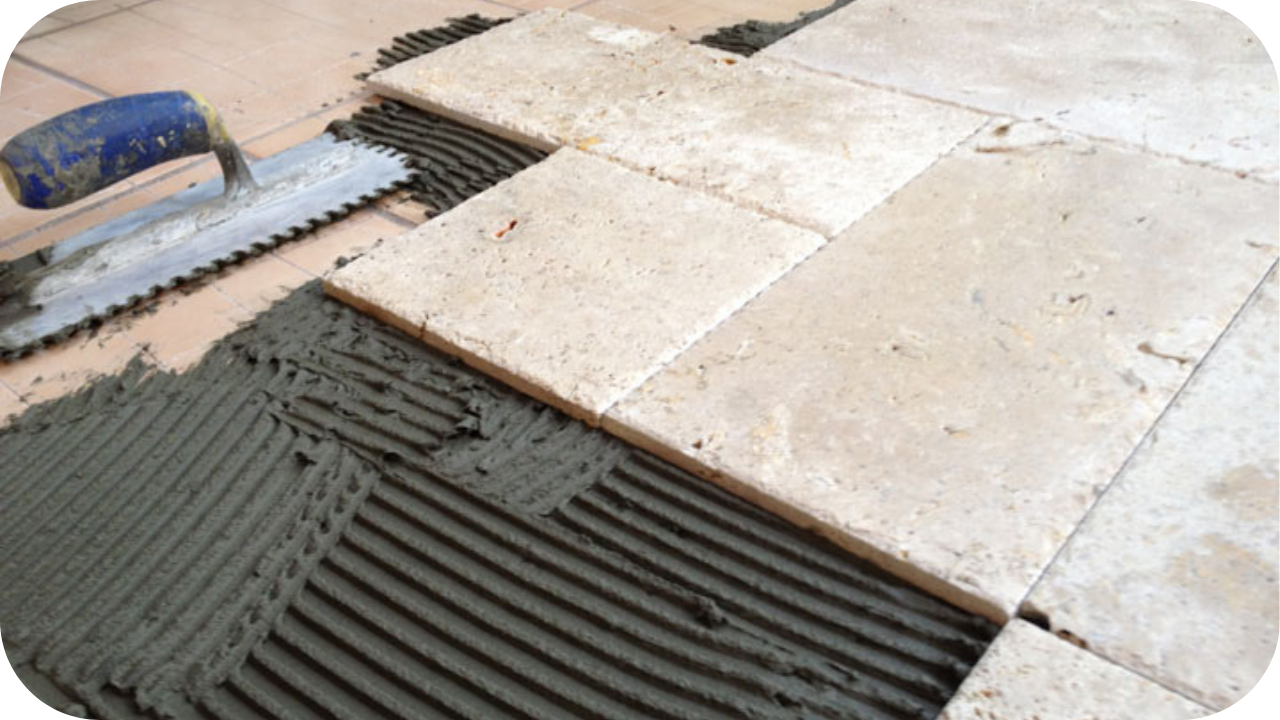
2. Installation and Quality of Materials
Proper installation plays a crucial role in the lifespan of travertine. High-quality materials, such as thicker, well-sourced stone, contribute to greater durability. Professional installation ensures the stone is laid correctly, reducing the risk of premature wear.
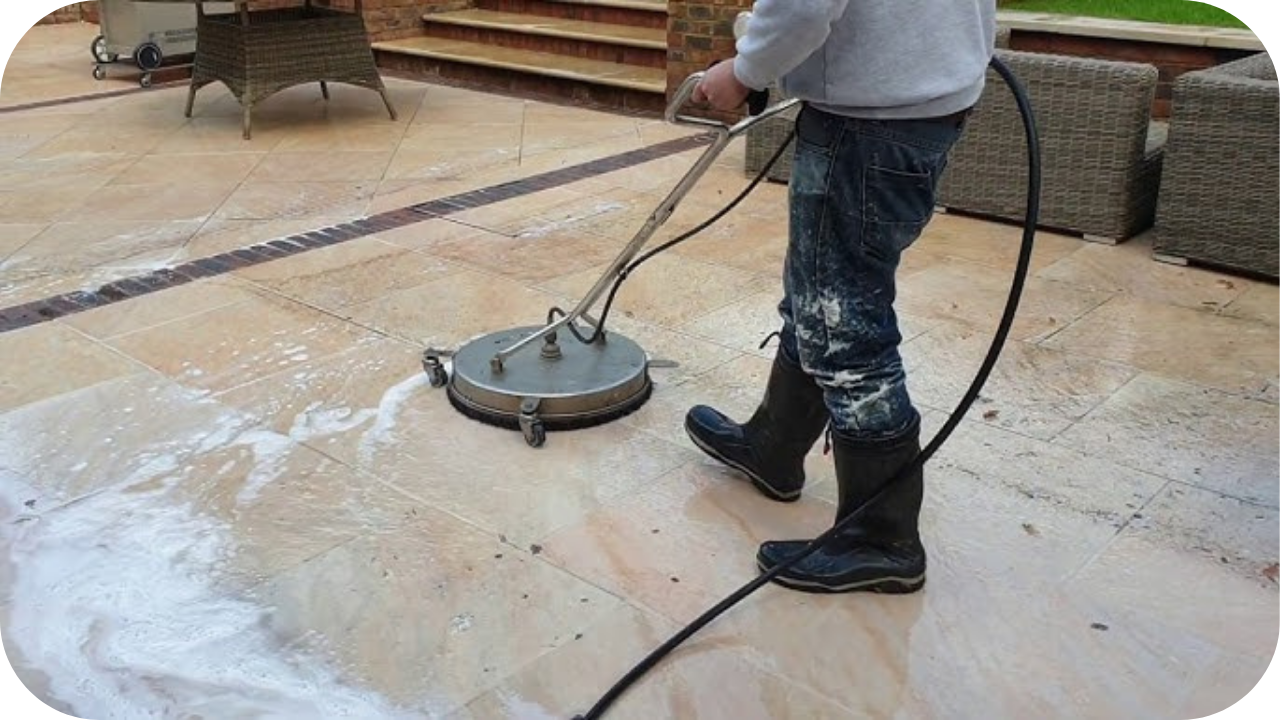
3. Maintenance and Care
Regular cleaning and sealing are vital for maintaining the stone’s condition. Poor maintenance, like using harsh chemicals, can shorten travertine’s lifespan. Using pH-neutral cleaners and applying sealers as needed helps preserve its appearance and longevity.
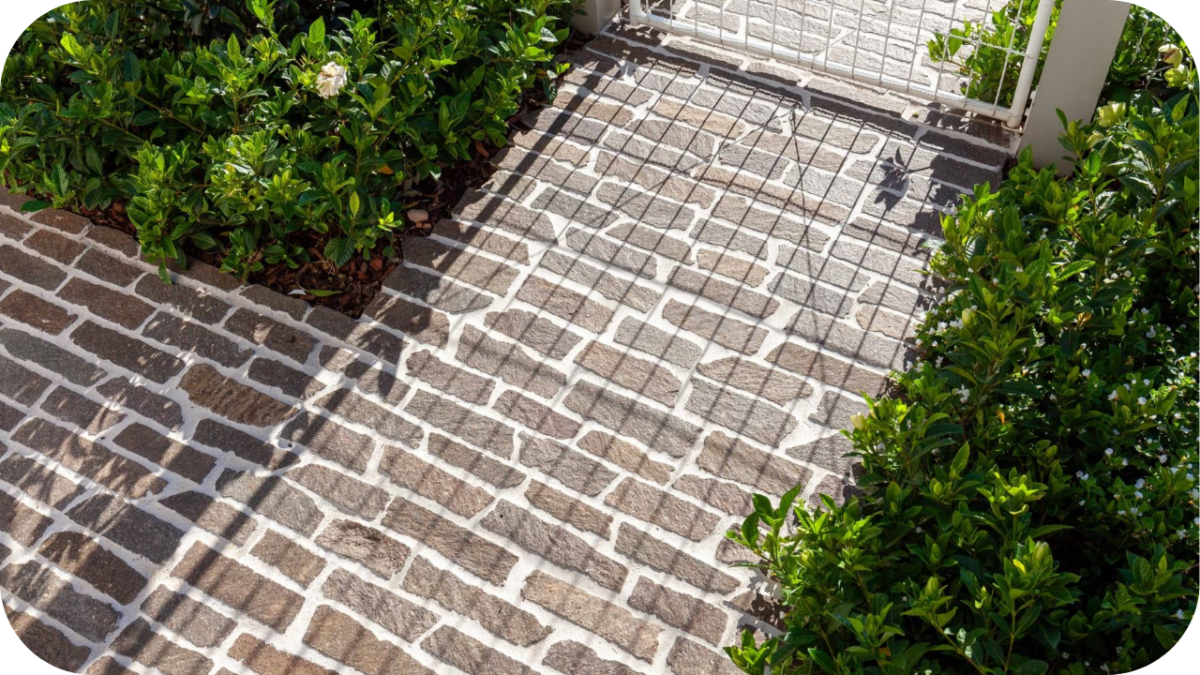
4. Exposure to Environmental Elements
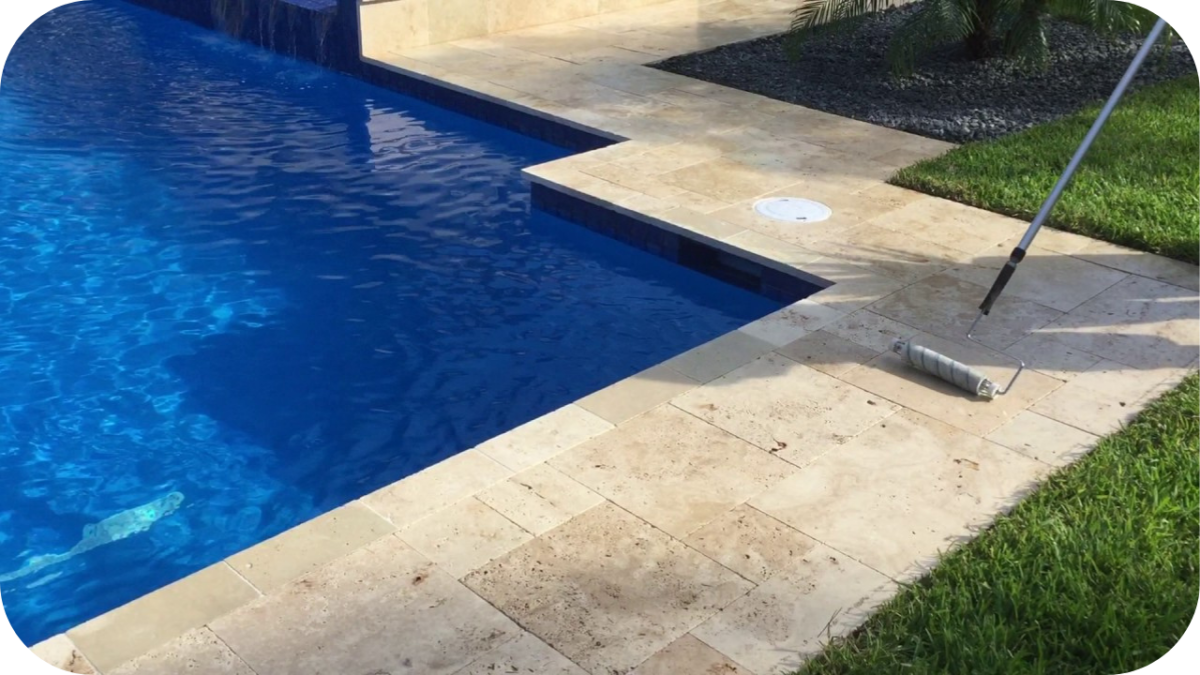
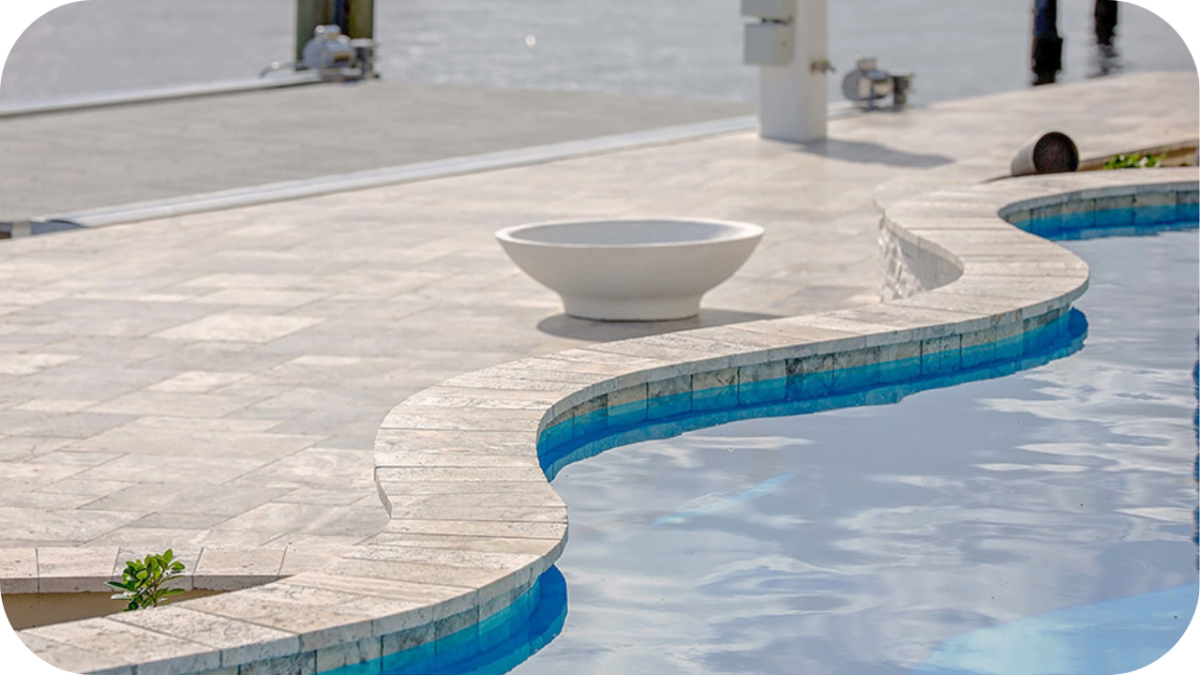
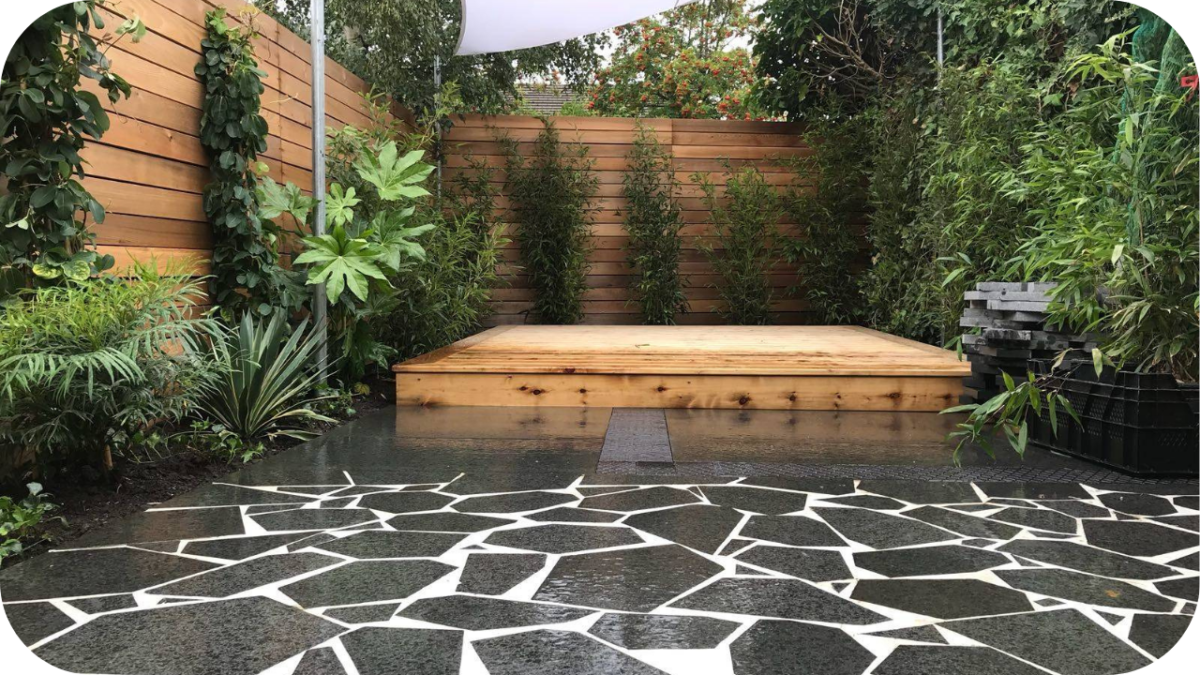
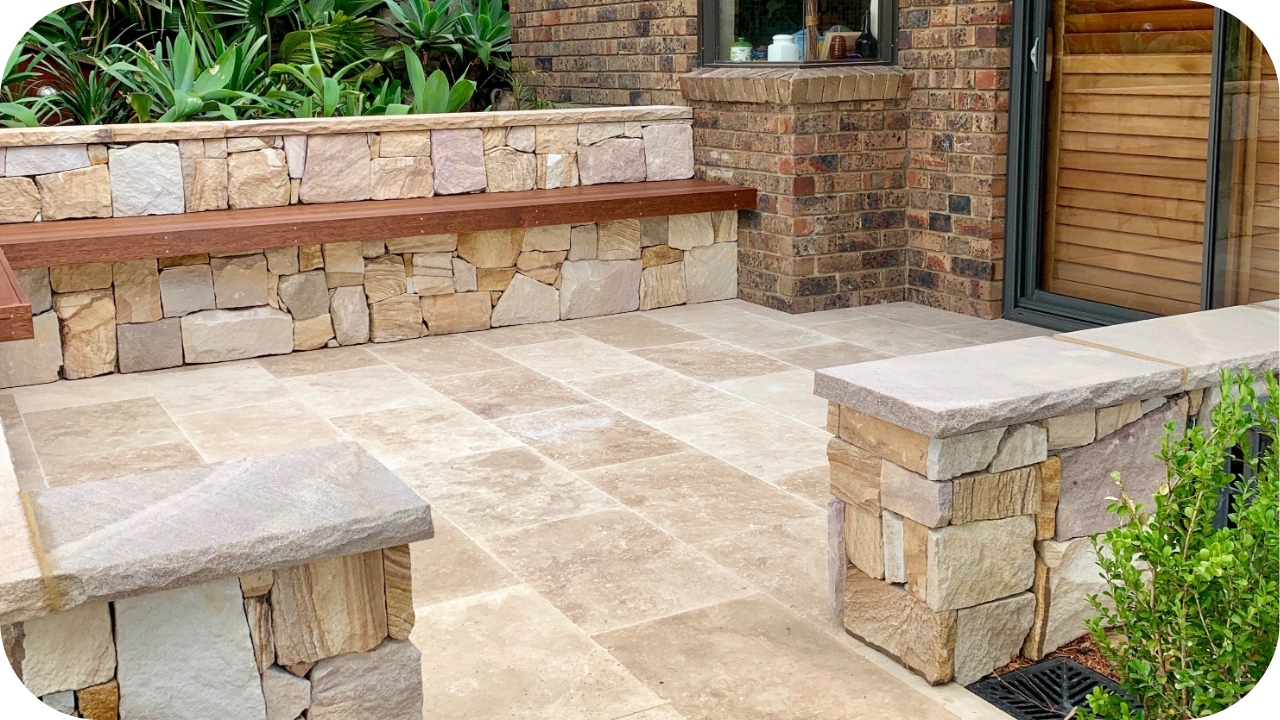
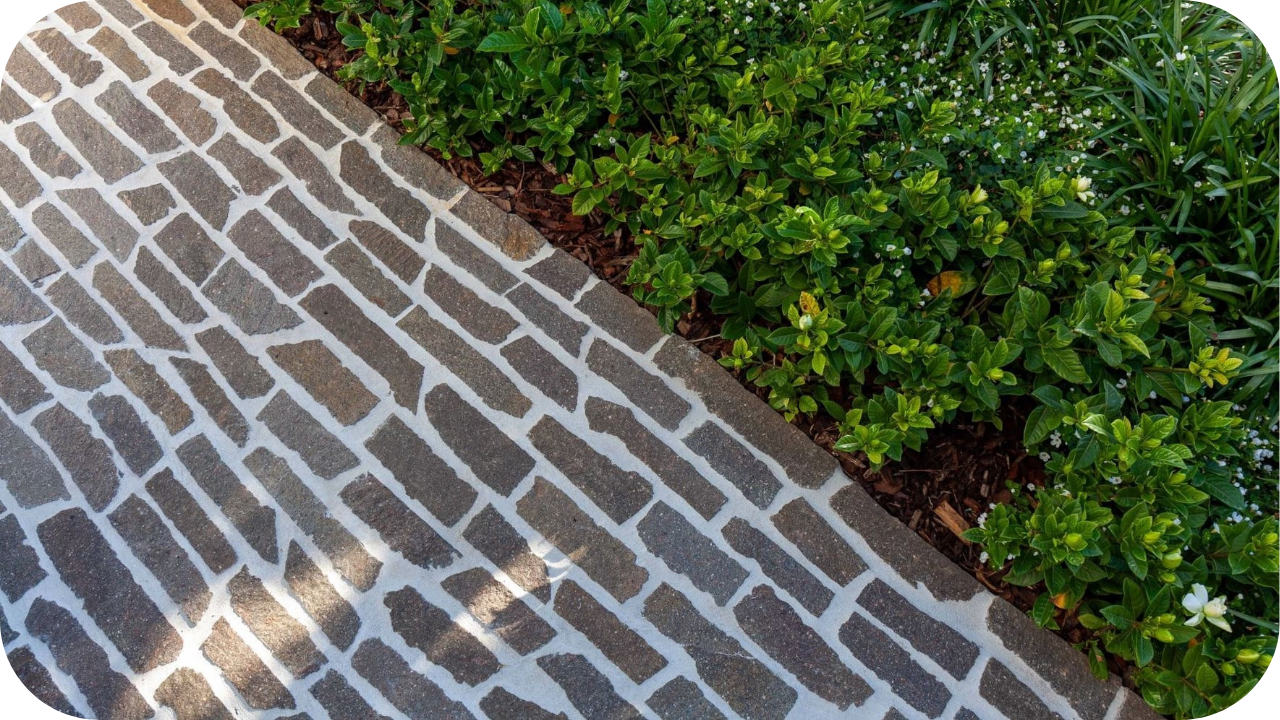
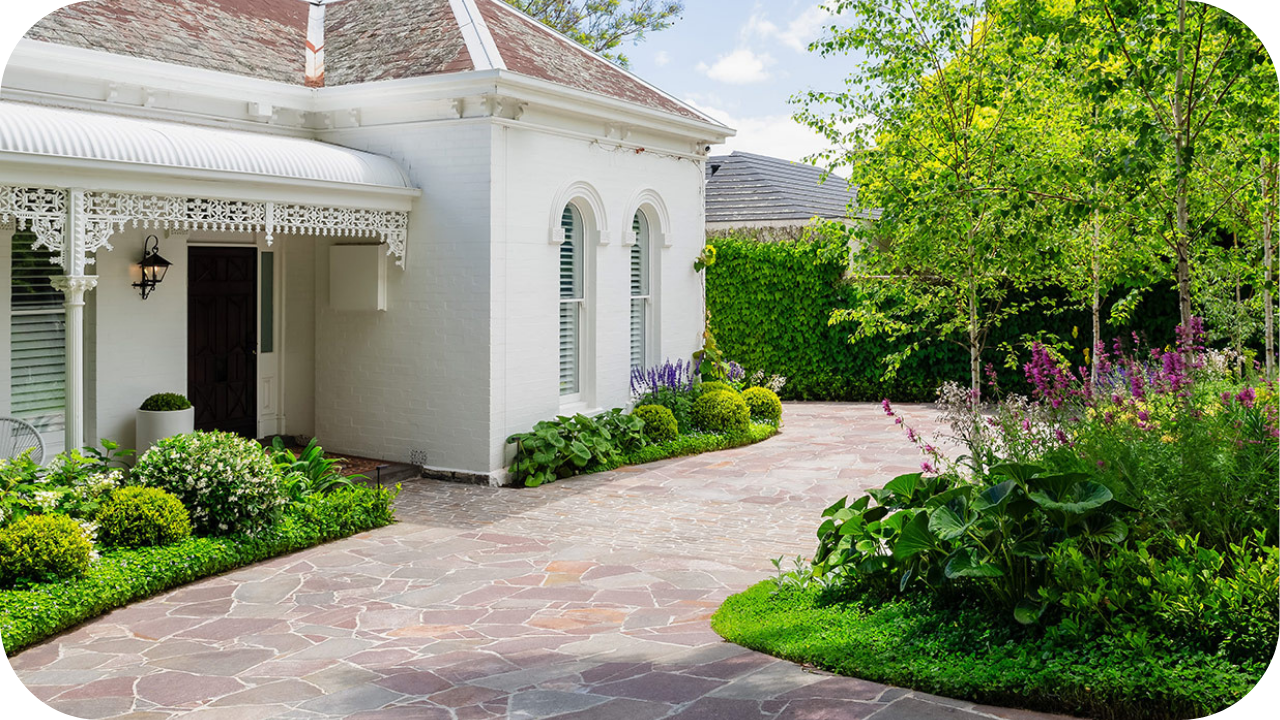
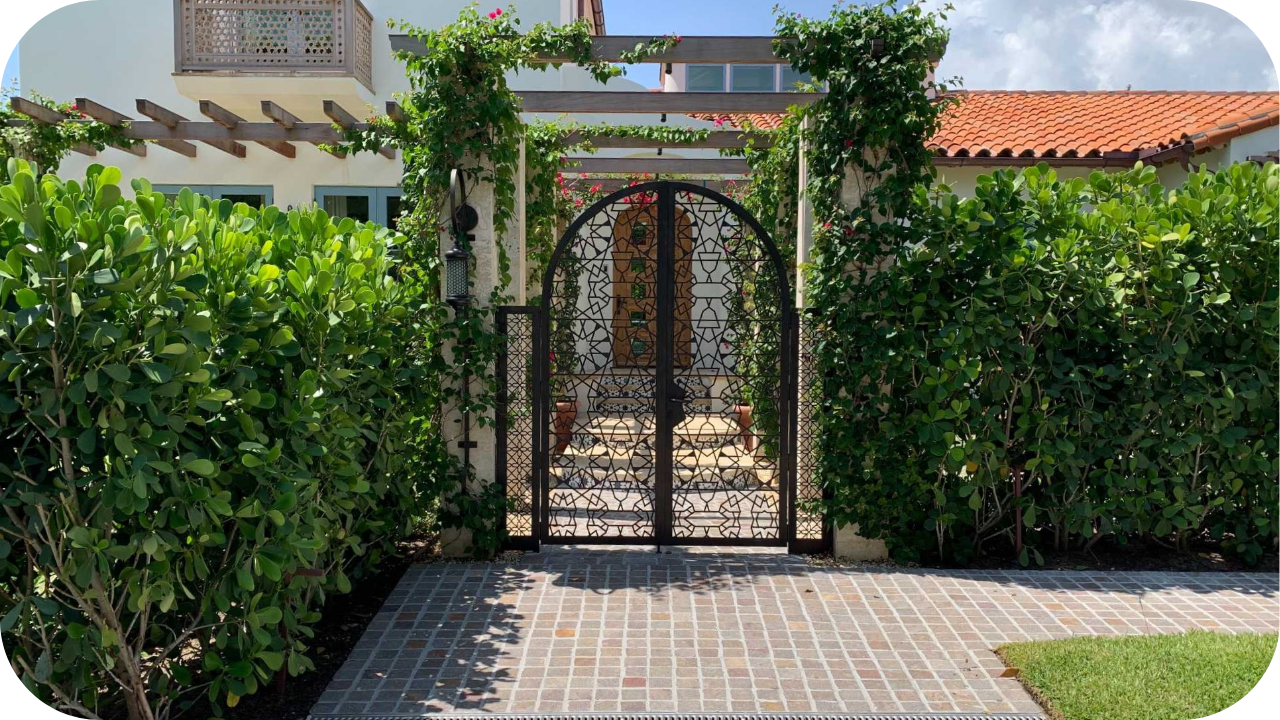
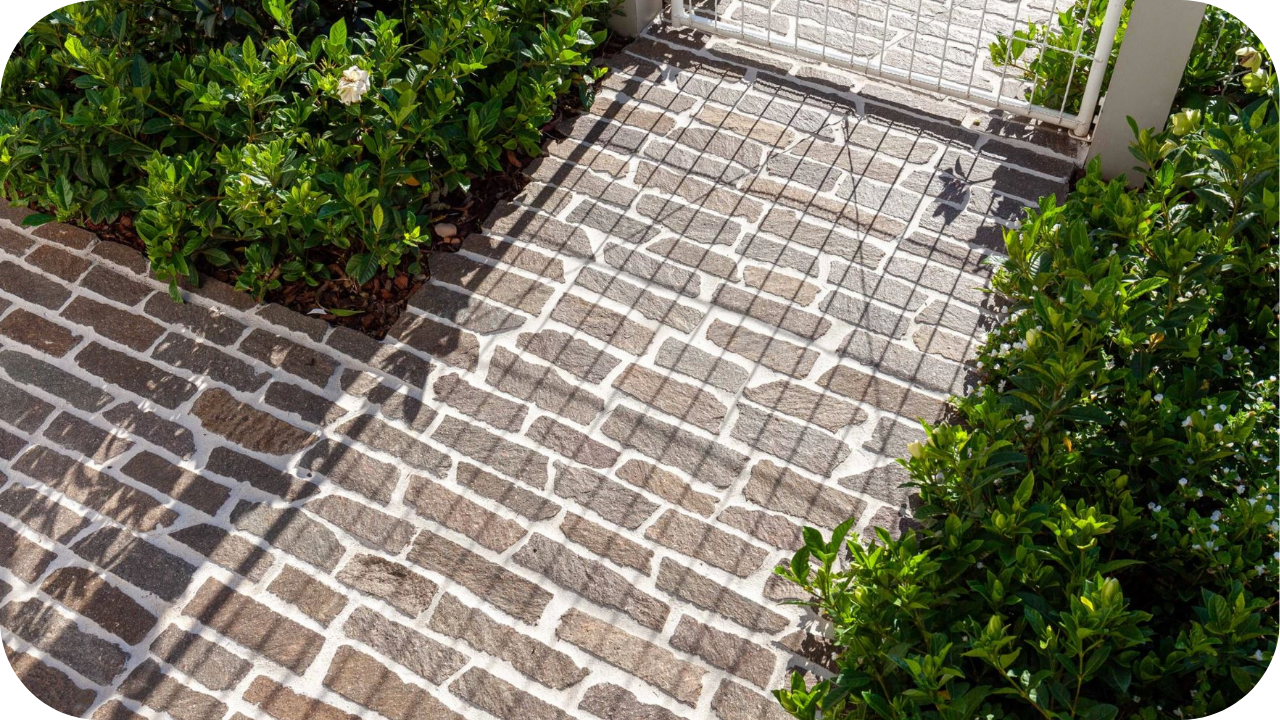
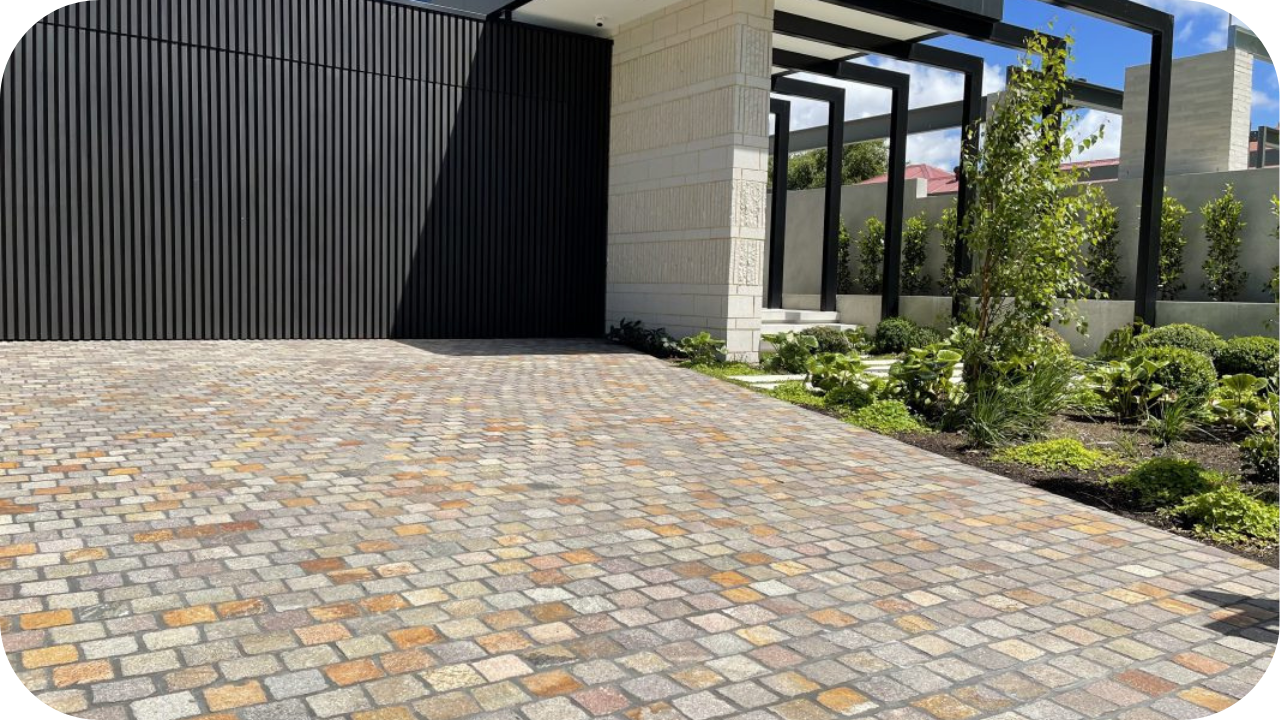
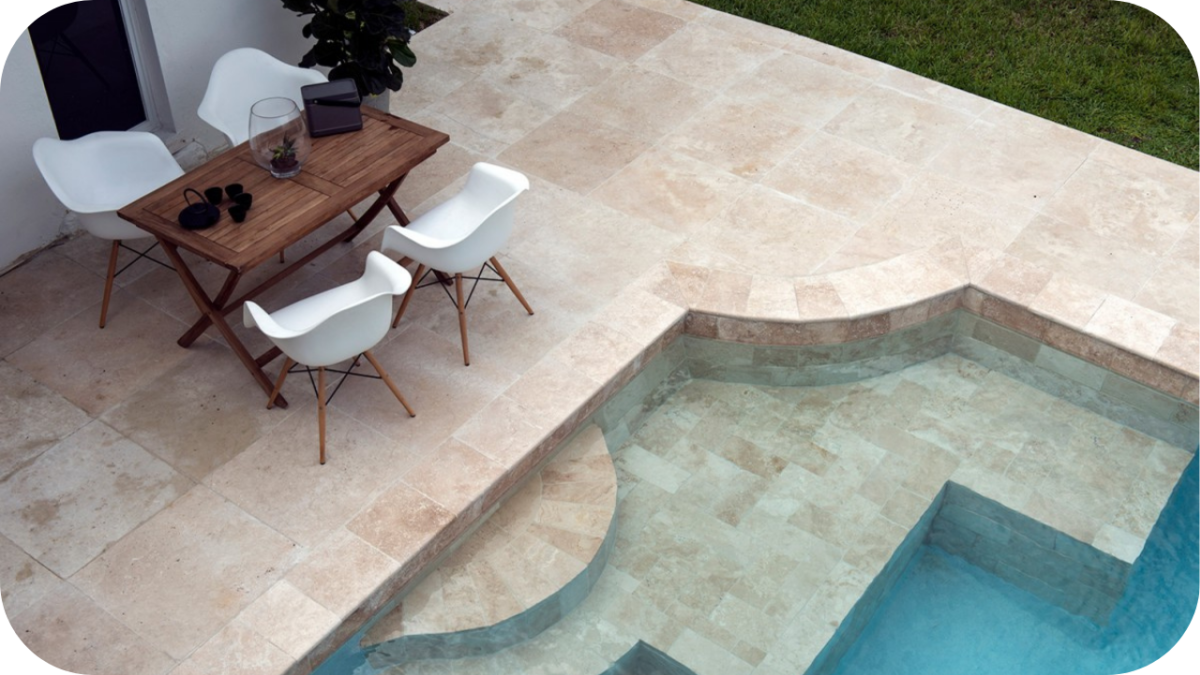
Outdoor travertine installations face greater challenges from weather, UV exposure, and moisture. In humid or coastal areas, sealing is crucial to prevent damage. Indoor travertine, shielded from the elements, tends to last longer with less maintenance.
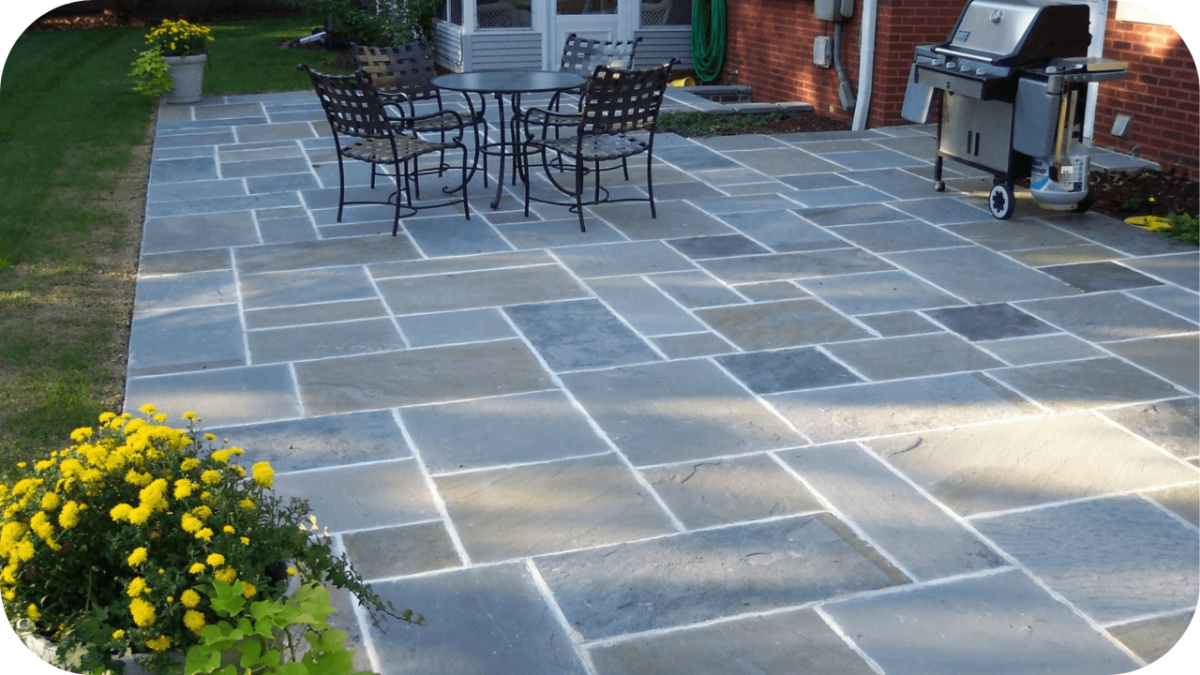
5. Usage and Traffic
High-traffic areas like hallways, kitchens, or entryways experience more wear and tear, causing travertine to deteriorate faster. The more foot traffic or heavy usage an area sees, the more frequent maintenance and sealing will be needed to maintain its durability.
Common Issues That Can Shorten the Lifespan of Travertine

Several factors can contribute to the deterioration of your travertine surfaces. Being aware of these common issues will help you address them early, ensuring your travertine remains durable and aesthetically pleasing.
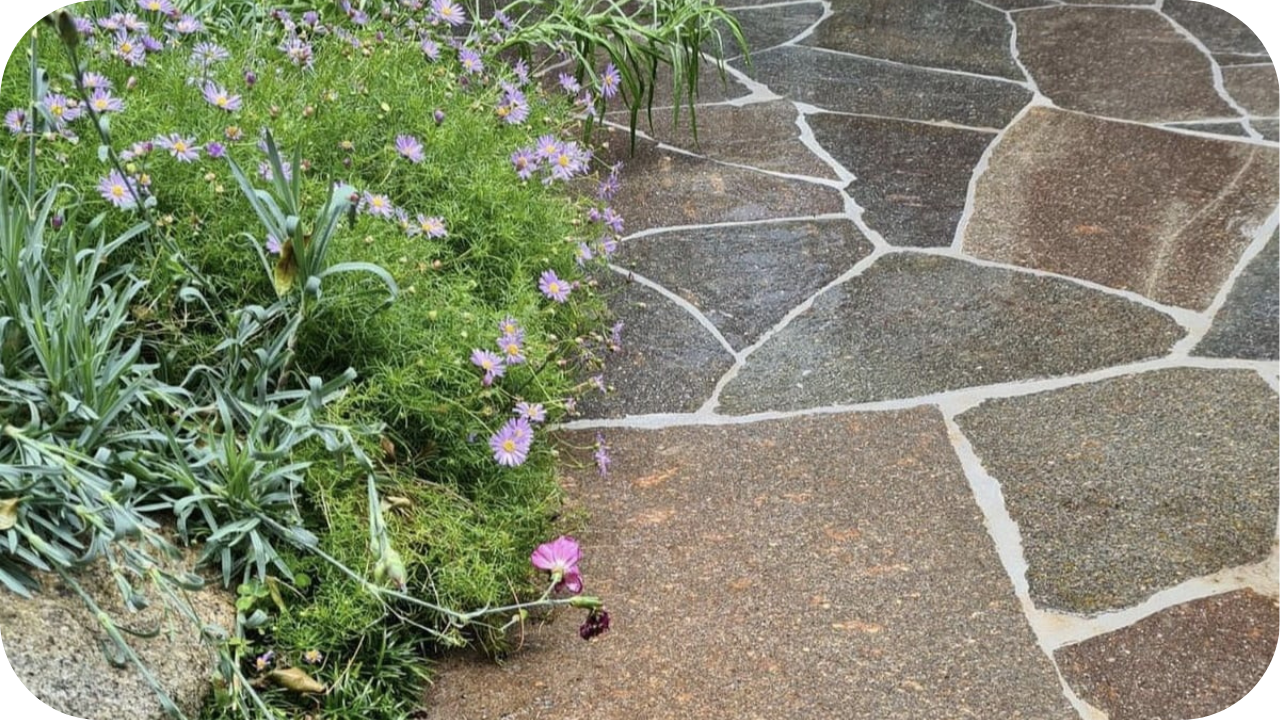
- Staining: Spills from liquids like coffee, wine, or acidic substances such as vinegar can stain travertine. If not cleaned promptly, stains can penetrate the stone and be challenging to remove.
- Scratching and Chipping: Heavy furniture, sharp objects, or abrasive materials can scratch or chip the surface of travertine. These damages may not only affect appearance but also lead to further deterioration.
- Water Damage: Prolonged exposure to water can weaken travertine, especially in high-moisture areas like bathrooms. If not sealed correctly, moisture can cause the stone to degrade, resulting in discolouration and structural issues.
- Improper Cleaning: Using harsh chemicals or abrasive cleaning tools can damage the surface of travertine. Acidic cleaners, in particular, can erode the surface and strip away the protective sealant, reducing its lifespan.
- Sunlight Exposure: Excessive exposure to direct sunlight can cause fading or discolouration of travertine, particularly in outdoor areas. UV rays can break down the stone’s surface and affect its overall appearance.
Signs That Your Travertine Needs to Be Replaced

Over time, travertine may show significant signs that it’s no longer performing at its best. These are the key indicators suggesting it’s time for replacement.
1. Deep Cracks or Large Chips
Deep cracks or large chips that can’t be repaired compromise the integrity of your travertine. If these issues are widespread, it’s often more cost-effective and safe to replace the damaged areas.
2. Extensive Erosion
Erosion caused by prolonged moisture exposure or harsh conditions can result in uneven surfaces that are difficult to restore. If erosion has significantly weakened the stone, replacing the affected sections ensures the surface remains stable.
3. Persistent Staining or Discolouration
Persistent stains or discolouration that cannot be removed with proper cleaning or resealing may signal permanent damage to the stone. Replacing sections with permanent discolouration will restore the overall look and functionality.
4. Loose or Shifting Tiles
If your travertine tiles are loose or shifting, it may indicate that the adhesive or substrate has deteriorated. Replacing these tiles will prevent further instability and help restore the structure and safety of the surface.
5. Structural Instability
If the travertine surface feels unstable or uneven when walked on, it could be due to underlying damage that can’t be repaired. Replacing the affected areas will restore stability and prevent further risks.
6. Severe Water Damage
If your travertine has been exposed to significant water damage that can’t be repaired through cleaning or resealing, it’s likely time for replacement. Water damage can cause the stone to weaken, crack, or stain permanently, affecting its function and appearance.
How to Maximise the Lifespan of Your Travertine

Proper care and maintenance will help ensure your travertine lasts for many years, preserving its beauty and functionality. Follow these essential steps to protect your investment.
- Seal and Maintain Regularly: Apply a high-quality sealer every 1–2 years, based on the traffic and exposure of the area. Regularly clean the surface to prevent dirt accumulation and protect against stains, ensuring the stone retains its appeal.
- Install Properly: Ensure professional installation using the right materials, adhesives, and techniques to prevent shifting or cracking. A stable foundation and proper grouting are crucial for long-lasting travertine surfaces.
- Avoid Harsh Chemicals: Always clean with pH-neutral, mild cleaners. Avoid using acidic or abrasive products, as they can wear away the protective sealant and erode the surface, reducing the stone’s lifespan.
- Protect with Mats, Rugs, and Coasters: Place rugs, mats, or coasters in high-traffic or vulnerable areas to protect the stone from scratches, stains, and moisture. This simple step helps preserve the stone’s appearance and durability.
- Clean Spills Immediately: Promptly clean any spills, particularly from acidic substances like wine, coffee, or citrus, to prevent staining. Blot the spill gently rather than wiping it, as this can prevent further spread of the stain.
- Control Humidity Levels: In humid environments, like bathrooms, use dehumidifiers to maintain the right moisture levels. Excess moisture can damage travertine, leading to mould growth and weakening the stone.
- Inspect for Damage Regularly: Periodically inspect your travertine for signs of damage or wear. Catching small issues early allows for repairs before they become significant problems, preserving the surface and extending its lifespan.
Conclusion
Maintaining and sealing your travertine correctly ensures its longevity and beauty. By understanding when and how often to reseal and following proper maintenance practices, you can protect your stone from damage.
Regular care, such as cleaning, blotting spills, and reapplying sealer, will keep your travertine surfaces looking great for years.
For high-quality travertine and expert sealing services, visit Splendour in Stone for the best products and professional solutions.